I used to buy those pre-made pie crusts from the freezer section because I thought making my own was too hard. My mom always made hers from scratch, but I was convinced I’d mess it up somehow.
Turns out, a good butter pie crust is actually pretty simple—you just need to keep everything cold and not overwork the dough. Once I figured out those two tricks, I never went back to store-bought. This recipe gives you a flaky, tender crust that’s perfect for any pie you want to make.
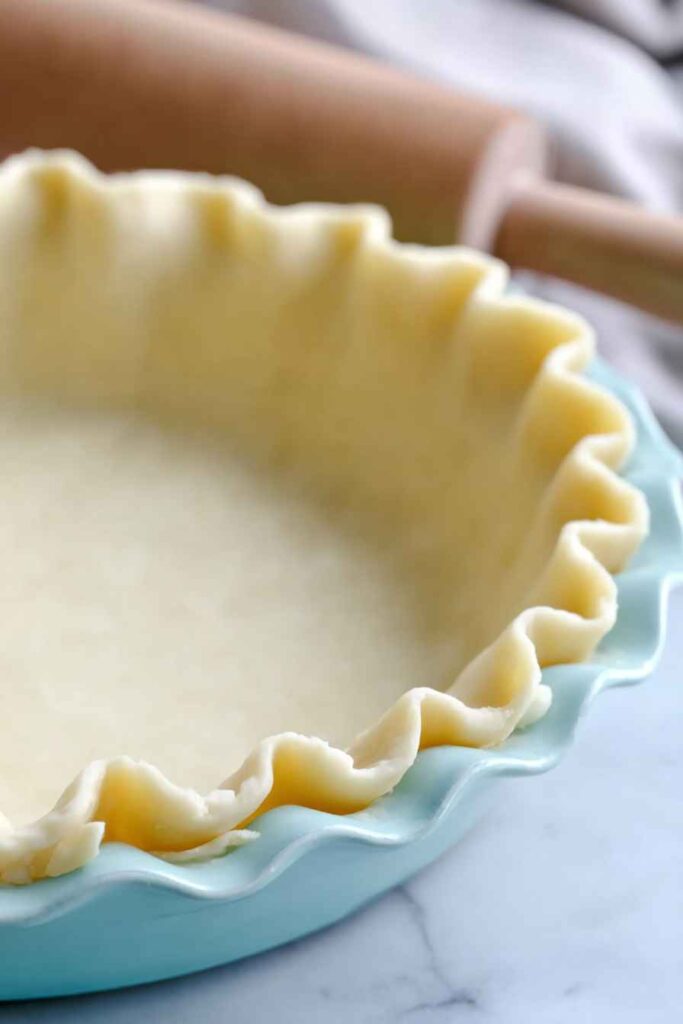
Why You’ll Love This Butter Pie Crust
- Only four simple ingredients – You probably already have butter, flour, salt, and water in your kitchen right now, making this an accessible recipe anytime you want to bake.
- Flaky, buttery texture – The cold butter creates those perfect layers that make your pie crust tender and delicious, just like the ones from your favorite bakery.
- Quick to make – In just 30-45 minutes, you’ll have a homemade pie crust that’s so much better than store-bought versions.
- Perfect for any pie – Whether you’re making apple pie, quiche, or pot pie, this reliable crust works beautifully for both sweet and savory recipes.
What Kind of Butter Should I Use?
For pie crust, unsalted butter is definitely the way to go since it gives you better control over the salt content in your dough. European-style butter with higher fat content (around 82-84%) will give you an even flakier crust, but regular American butter works perfectly fine too. The most important thing is making sure your butter is cold – I like to cut it into cubes and pop it back in the fridge for at least 30 minutes before using. Some bakers even freeze their butter cubes for 15 minutes before mixing, which helps create those lovely flaky layers we all want in a good pie crust.
Options for Substitutions
While pie crust can be finicky, there are a few swaps you can make if needed:
- Unsalted butter: You can use salted butter instead – just reduce the added salt to about 1/2 teaspoon. For a different flavor, try substituting half the butter with cold vegetable shortening or lard for an extra flaky crust.
- All-purpose flour: Pastry flour works great if you have it and will give you an even more tender crust. Avoid substituting with bread flour or whole wheat flour as they’ll make your crust tough.
- Ice water: The key here is keeping everything cold, so ice water is really important for a flaky crust. In a pinch, you can use very cold milk or even cold vodka (which evaporates during baking and creates extra flakiness).
- Salt: Don’t skip the salt – it’s essential for flavor and structure in pie crust. If you only have table salt, use a bit less since it’s finer than kosher salt.
Watch Out for These Mistakes While Baking
The biggest mistake when making pie crust is working with warm butter, which leads to a tough, greasy crust instead of the flaky layers you want – keep those butter cubes ice-cold and work quickly to prevent them from melting.
Another common error is adding too much water at once or using room temperature water, so add the ice water one tablespoon at a time until the dough just barely holds together when squeezed.
Overworking the dough is also a recipe for disaster since it develops the gluten too much, resulting in a chewy crust rather than a tender one – mix just until the ingredients come together and you can still see small pieces of butter throughout.
Finally, don’t skip the chilling step after forming your dough, as at least 30 minutes in the fridge helps the butter firm up again and makes rolling much easier while preventing shrinkage during baking.
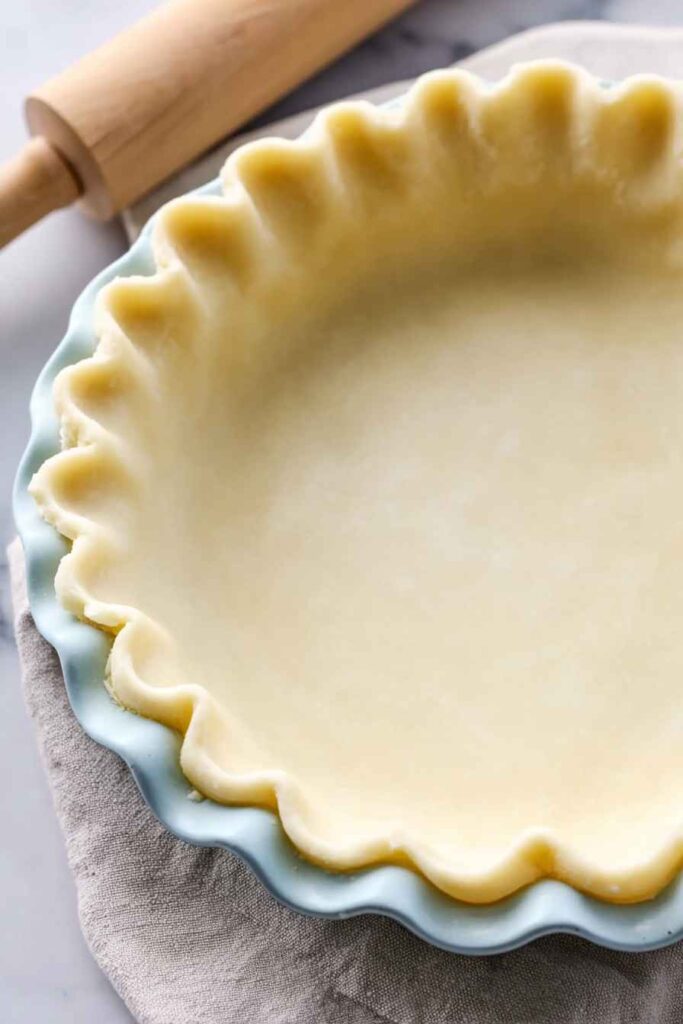
What to Serve With Butter Pie Crust?
This buttery, flaky crust is perfect for both sweet and savory pies, so what you serve alongside really depends on what filling you choose! If you’re making a fruit pie like apple or cherry, a scoop of vanilla ice cream or a dollop of fresh whipped cream is always a crowd-pleaser. For savory pies like chicken pot pie or quiche, a simple mixed greens salad with a light vinaigrette helps balance out the richness of the buttery crust. You could also serve some roasted vegetables or a warm soup as a starter to make it a complete meal.
Storage Instructions
Refrigerate: Wrap your pie crust dough tightly in plastic wrap and keep it in the fridge for up to 3 days. This actually works in your favor since the dough gets easier to roll out after resting overnight. I like to make mine a day ahead when I’m planning a big baking project.
Freeze: This dough freezes like a dream for up to 3 months! Wrap it well in plastic wrap, then pop it in a freezer bag with the date written on it. You can also roll it out and freeze it right in your pie pan if you want to save time later.
Thaw: Move frozen dough to the fridge the night before you plan to use it. If you’re in a hurry, let it sit on the counter for about 30 minutes until it’s soft enough to roll. Don’t try to rush it in the microwave or it’ll get too warm and sticky to work with.
| Preparation Time | 30-40 minutes |
| Cooking Time | 0-5 minutes |
| Total Time | 30-45 minutes |
| Level of Difficulty | Medium |
Estimated Nutrition
Estimated nutrition for the whole recipe (without optional ingredients):
- Calories: 2450-2600
- Protein: 20-25 g
- Fat: 180-190 g
- Carbohydrates: 210-220 g
Ingredients
- 1 cup unsalted butter, chilled and diced into 1/4-inch cubes
- 2 1/4 cups all-purpose flour
- 1 tsp salt
- 8 to 10 tbsp ice water
Step 1: Combine Dry Ingredients and Butter
- 1 cup unsalted butter, chilled and diced into 1/4-inch cubes
- 2 1/4 cups all-purpose flour
- 1 tsp salt
In a food processor, combine the chilled, diced butter, all-purpose flour, and salt.
Pulse the mixture until it takes on the texture of coarse sand, ensuring some small pea-sized lumps of butter remain.
This should take approximately 15 to 20 (1-second) pulses.
The tiny lumps of butter help create a flaky crust later.
Step 2: Add Ice Water and Form Dough
- 8 to 10 tbsp ice water
Add the ice water to the flour mixture one tablespoon at a time through the feed tube, pulsing 4 to 5 times after each addition.
Continue until the dough starts to form large clumps and pulls away from the sides of the bowl.
Be careful not to add too much water; stop as soon as the dough starts coming together.
I like to use the minimum amount of water needed for the dough to hold—this keeps the crust tender.
Step 3: Shape and Chill the Dough
Transfer the dough onto a work surface and use your hands to push it gently into one large lump.
Divide the dough evenly in half, then quickly shape each portion into a ball.
Flatten each ball into a 4-inch disk.
Wrap each disk tightly in plastic wrap or place in a plastic baggie.
Refrigerate for at least 1 hour (and up to 4 days) before using.
Remove the dough from the fridge 3 to 4 minutes before rolling so it softens slightly, making it easier to work with.
Step 4: Roll Out the Chilled Dough
- 1 disk pie dough (from Step 3)
- extra flour for dusting (from the 2 1/4 cups all-purpose flour)
Lightly flour your work surface and rolling pin.
Roll out one disk of dough (from Step 3), starting in the center and working outward.
Rotate the dough a quarter turn after each roll to maintain an even circle.
Roll until the dough is about 4 inches larger than your pie pan.
If you see any cracks along the edge, pinch them together and continue.
Let the rolled dough rest for about 5 minutes to relax the gluten and prevent shrinking in the oven.
I sometimes run my hand gently along the surface to ensure it feels even.
Step 5: Transfer and Shape the Pie Crust
- rolled pie crust (from Step 4)
Carefully transfer the rolled pie crust to your pie pan.
Gently flute or crimp the edges as desired, then proceed with your pie recipe.
If you plan to prebake the crust, follow specific instructions for that process.
Otherwise, your pie crust is now ready for filling and baking.
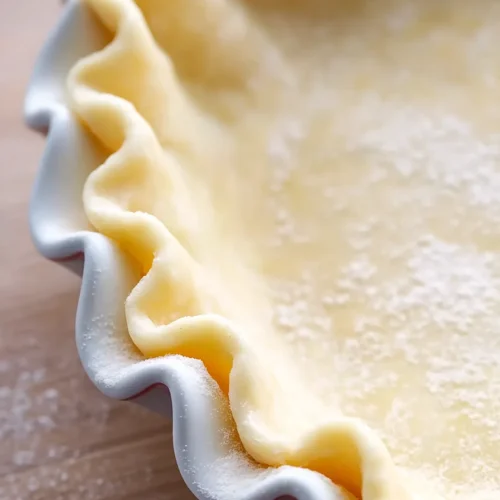
Best Butter Pie Crust
Ingredients
Instructions
-
In a food processor, combine the chilled, diced butter, all-purpose flour, and salt. Pulse the mixture until it takes on the texture of coarse sand, ensuring some small pea-sized lumps of butter remain. This should take approximately 15 to 20 (1-second) pulses. The tiny lumps of butter help create a flaky crust later.
-
Add the ice water to the flour mixture one tablespoon at a time through the feed tube, pulsing 4 to 5 times after each addition. Continue until the dough starts to form large clumps and pulls away from the sides of the bowl. Be careful not to add too much water; stop as soon as the dough starts coming together. I like to use the minimum amount of water needed for the dough to hold—this keeps the crust tender.
-
Transfer the dough onto a work surface and use your hands to push it gently into one large lump. Divide the dough evenly in half, then quickly shape each portion into a ball. Flatten each ball into a 4-inch disk. Wrap each disk tightly in plastic wrap or place in a plastic baggie. Refrigerate for at least 1 hour (and up to 4 days) before using. Remove the dough from the fridge 3 to 4 minutes before rolling so it softens slightly, making it easier to work with.
-
Lightly flour your work surface and rolling pin. Roll out one disk of dough (from Step 3), starting in the center and working outward. Rotate the dough a quarter turn after each roll to maintain an even circle. Roll until the dough is about 4 inches larger than your pie pan. If you see any cracks along the edge, pinch them together and continue. Let the rolled dough rest for about 5 minutes to relax the gluten and prevent shrinking in the oven. I sometimes run my hand gently along the surface to ensure it feels even.
-
Carefully transfer the rolled pie crust to your pie pan. Gently flute or crimp the edges as desired, then proceed with your pie recipe. If you plan to prebake the crust, follow specific instructions for that process. Otherwise, your pie crust is now ready for filling and baking.
Best Butter Pie Crust
Ingredients
- 1 cup unsalted butter, chilled and diced into 1/4-inch cubes
- 2 1/4 cups all-purpose flour
- 1 tsp salt
- 8 to 10 tbsp ice water
Instructions
- In a food processor, combine the chilled, diced butter, all-purpose flour, and salt. Pulse the mixture until it takes on the texture of coarse sand, ensuring some small pea-sized lumps of butter remain. This should take approximately 15 to 20 (1-second) pulses. The tiny lumps of butter help create a flaky crust later.
- Add the ice water to the flour mixture one tablespoon at a time through the feed tube, pulsing 4 to 5 times after each addition. Continue until the dough starts to form large clumps and pulls away from the sides of the bowl. Be careful not to add too much water; stop as soon as the dough starts coming together. I like to use the minimum amount of water needed for the dough to hold—this keeps the crust tender.
- Transfer the dough onto a work surface and use your hands to push it gently into one large lump. Divide the dough evenly in half, then quickly shape each portion into a ball. Flatten each ball into a 4-inch disk. Wrap each disk tightly in plastic wrap or place in a plastic baggie. Refrigerate for at least 1 hour (and up to 4 days) before using. Remove the dough from the fridge 3 to 4 minutes before rolling so it softens slightly, making it easier to work with.
- Lightly flour your work surface and rolling pin. Roll out one disk of dough (from Step 3), starting in the center and working outward. Rotate the dough a quarter turn after each roll to maintain an even circle. Roll until the dough is about 4 inches larger than your pie pan. If you see any cracks along the edge, pinch them together and continue. Let the rolled dough rest for about 5 minutes to relax the gluten and prevent shrinking in the oven. I sometimes run my hand gently along the surface to ensure it feels even.
- Carefully transfer the rolled pie crust to your pie pan. Gently flute or crimp the edges as desired, then proceed with your pie recipe. If you plan to prebake the crust, follow specific instructions for that process. Otherwise, your pie crust is now ready for filling and baking.


Since the instructions say to divide dough in half when forming the disks, should I assume that this recipe makes 2 pie crusts?
Yes Heather! Thats right 🙂