I’ll be honest—I used to think making sugar cookies from scratch was only worth it around Christmas. The rest of the year? I’d just grab the slice-and-bake logs from the grocery store and call it a day.
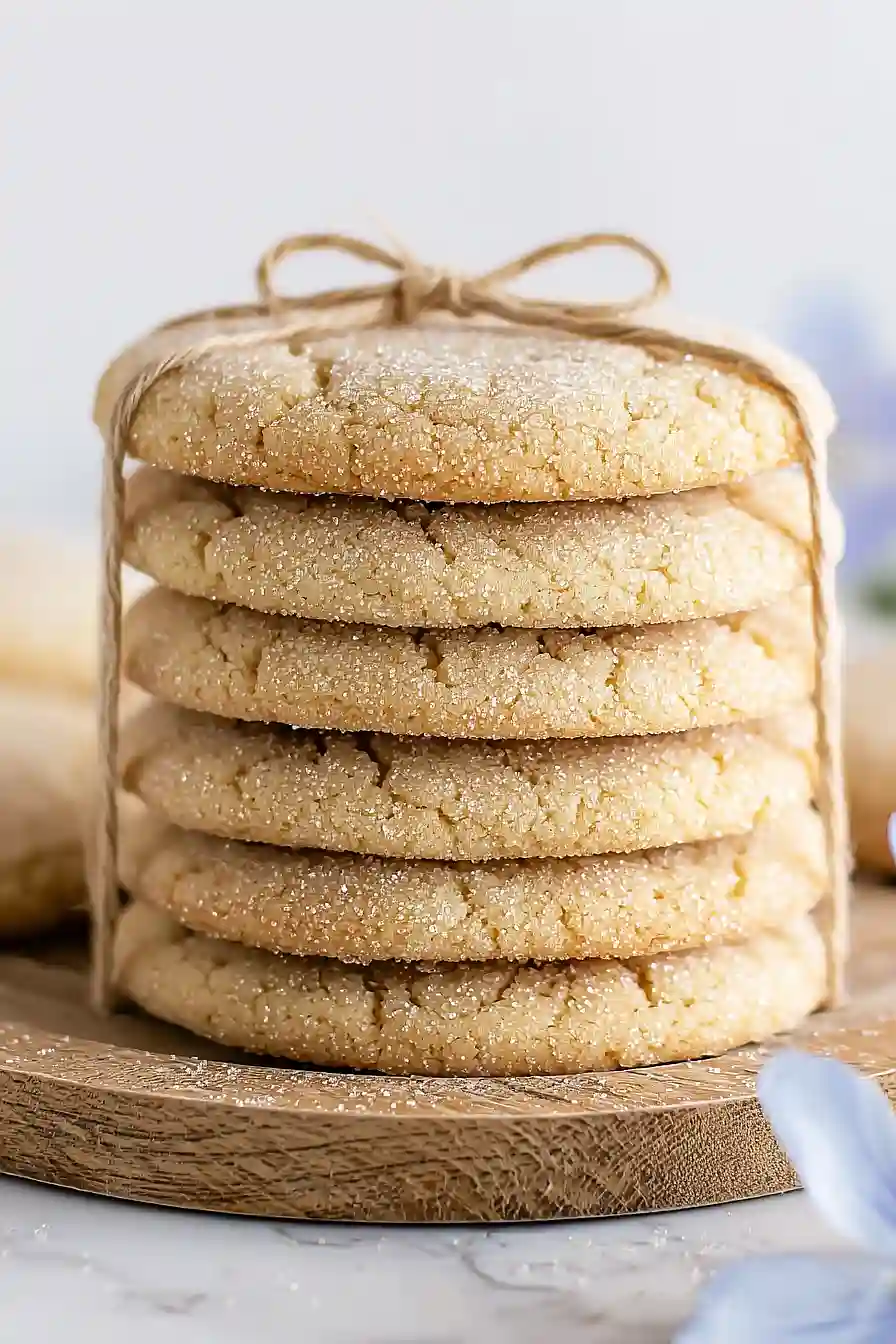
Then one afternoon, my daughter’s soccer team needed treats for their end-of-season party, and I needed about seven dozen cookies. That’s when I realized I needed a recipe that could actually handle feeding a crowd without breaking the bank or my sanity. This large batch recipe makes around 80 cookies, depending on your cookie cutter size, and the dough is forgiving enough that even my nine-year-old can help roll it out without things going sideways. Plus, these cookies hold their shape perfectly, which means no more blobs that were supposed to be stars.

Why You’ll Love These Sugar Cookies
- Large batch recipe – This recipe makes plenty of cookies, perfect for holiday gatherings, bake sales, or stocking your freezer for whenever a cookie craving hits.
- Simple ingredients – You probably already have everything you need in your pantry – no fancy or hard-to-find ingredients required.
- Perfect for decorating – These cookies hold their shape beautifully, making them ideal for cutting into fun shapes and decorating with frosting and sprinkles.
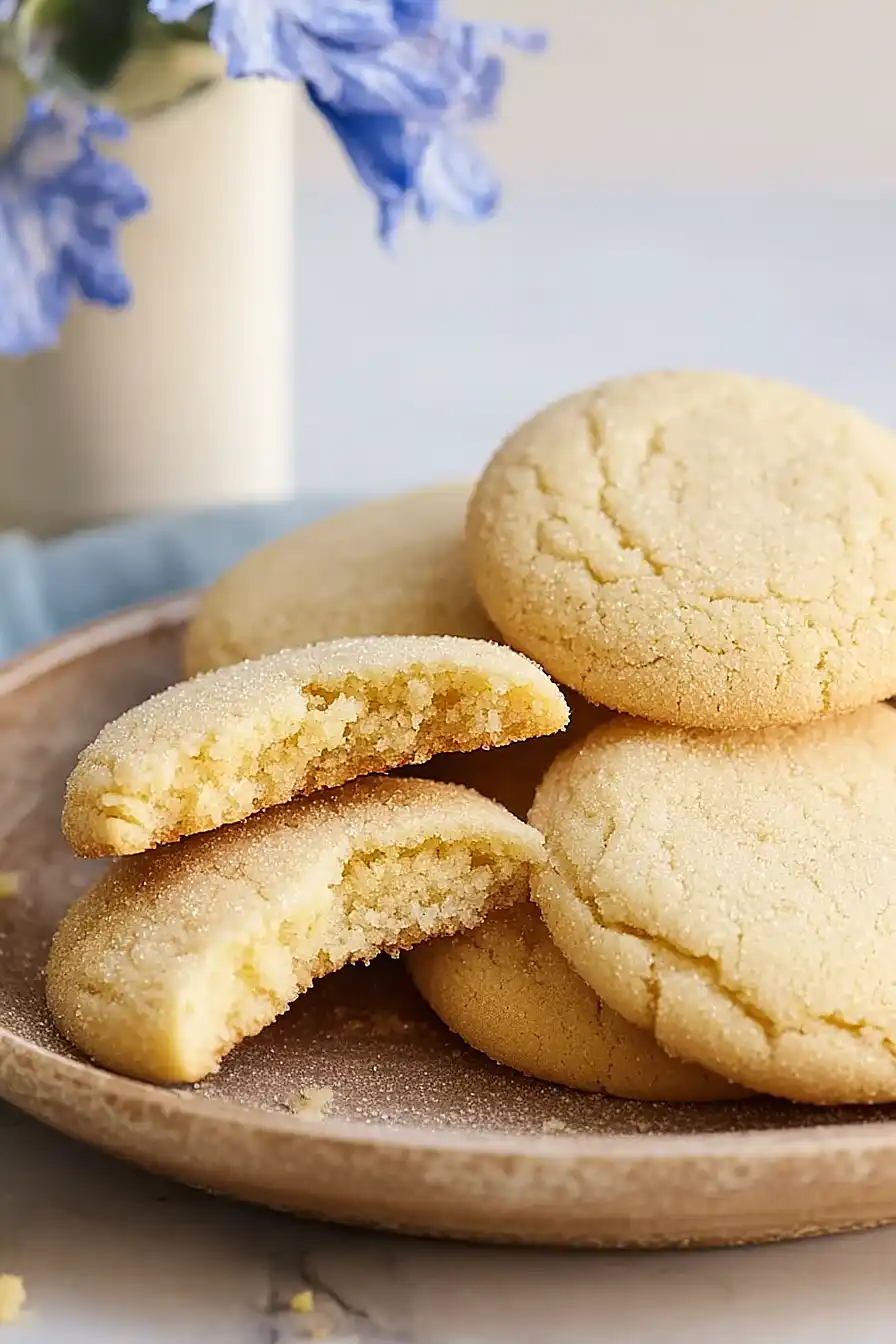
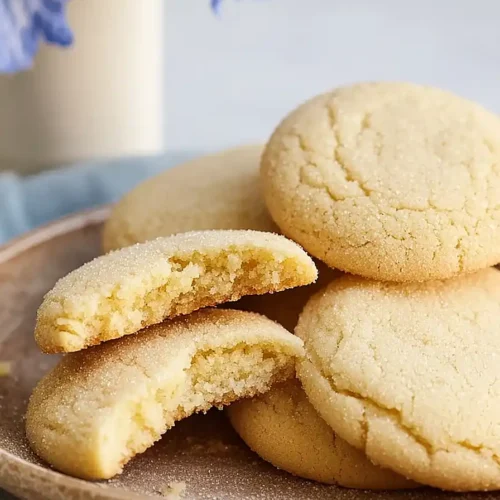
- Classic flavor everyone loves – Sometimes you just can’t beat a traditional sugar cookie – they’re sweet, buttery, and always a hit with kids and adults alike.
What Kind of Butter Should I Use?
For sugar cookies, you’ll want to stick with unsalted butter so you can control the salt level in your recipe. Regular butter works perfectly fine here, though some people swear by European-style butter for a richer flavor since it has a higher fat content. The most important thing is making sure your butter is truly at room temperature – it should be soft enough to leave an indent when you press it, but not melty or greasy. If your butter is too cold, it won’t cream properly with the sugar, and if it’s too warm, your cookies might spread too much while baking.
Options for Substitutions
While sugar cookies are pretty straightforward, here are some swaps you can make if needed:
- Butter: You can use margarine in place of butter, though the flavor won’t be quite as rich. Avoid using oil or shortening as they’ll change the texture and make the cookies spread too much.
- Milk: Any milk works here – whole, 2%, skim, or even non-dairy options like almond or oat milk. You could also use heavy cream if that’s what you have on hand.
- Vanilla: Almond extract makes a nice substitute if you want a different flavor profile. Use the same amount, but keep in mind it has a stronger taste than vanilla.
- All-purpose flour: Don’t substitute the flour in this recipe. Sugar cookies need all-purpose flour to get that perfect texture – using cake flour will make them too soft, and bread flour will make them tough.
- Baking soda and baking powder: These two work together to give the cookies their rise and texture, so it’s best not to substitute them. Make sure they’re fresh for the best results.
Watch Out for These Mistakes While Baking
The biggest mistake when making sugar cookies is overworking the dough after adding the flour, which develops too much gluten and creates tough, dense cookies instead of tender ones – mix just until the flour disappears and no more.
Another common error is skipping the chilling step, but cold dough is much easier to roll out and holds its shape better during baking, so refrigerate your dough for at least 30 minutes before rolling.
To prevent spreading and maintain clean edges, make sure your butter is at room temperature (not melted or too soft), and avoid overbaking by removing the cookies when the edges are just set but the centers still look slightly underdone – they’ll continue cooking on the hot pan.
For perfectly even cookies, use a ruler to measure your dough thickness and rotate your baking sheets halfway through baking to ensure even browning.
What to Serve With Sugar Cookies?
Sugar cookies are perfect on their own, but they really shine when paired with a cold glass of milk or a hot cup of coffee or tea. If you’re serving these at a party or gathering, set up a fun decorating station with different colored frostings, sprinkles, and candies so everyone can customize their own cookies. These cookies also make great ice cream sandwiches – just sandwich your favorite ice cream flavor between two cookies and roll the edges in mini chocolate chips or sprinkles. For a cozy afternoon snack, serve them alongside fresh fruit like strawberries or apple slices to balance out the sweetness.
Storage Instructions
Store: Keep your sugar cookies in an airtight container at room temperature for up to a week. If you’ve decorated them with frosting, layer parchment paper between each cookie so they don’t stick together. They’ll stay soft and delicious for days!
Freeze: These cookies freeze really well, either baked or as dough. For baked cookies, stack them with parchment paper in between and freeze for up to 3 months. You can also roll the dough into logs, wrap tightly in plastic wrap, and freeze for up to 3 months so you can slice and bake whenever you want fresh cookies.
Thaw: Frozen baked cookies will thaw at room temperature in about 30 minutes. If you froze the dough, let it sit in the fridge overnight before rolling and cutting, or thaw at room temperature for about an hour until it’s workable again.
| Preparation Time | 20-30 minutes |
| Cooking Time | 12-15 minutes |
| Total Time | 2 hours 32 minutes – 2 hours 45 minutes |
| Level of Difficulty | Medium |
Estimated Nutrition
Estimated nutrition for the whole recipe (without optional ingredients):
- Calories: 6700-7000
- Protein: 65-75 g
- Fat: 370-380 g
- Carbohydrates: 800-850 g
Ingredients
- 3 cups sugar
- 5 tbsp milk
- 1 lb butter (softened to room temperature, about 70°F)
- 3 eggs (room temperature)
- 6 cups all-purpose flour (I use King Arthur)
- 1.5 tsp salt
- 1.5 tsp baking powder
- 1.5 tsp vanilla extract (I use Nielsen-Massey)
- 1.5 tsp baking soda
Step 1: Prepare Mise en Place and Dry Ingredients
- 6 cups all-purpose flour
- 1.5 tsp salt
- 1.5 tsp baking powder
- 1.5 tsp baking soda
Measure out all ingredients and ensure butter and eggs are at room temperature (about 70°F), as this helps create a lighter, more uniformly mixed dough.
Whisk together the flour, salt, baking powder, and baking soda in a medium bowl and set aside.
Room temperature ingredients are crucial for proper emulsification and will give you better texture in the final cookies.
Step 2: Cream Butter and Sugar
- 1 lb butter
- 3 cups sugar
In a large bowl, beat the softened butter and sugar together on medium-high speed for 3-4 minutes until the mixture is pale, fluffy, and noticeably lighter in color.
This creaming process incorporates air into the dough, which helps create a tender crumb and proper rise during baking.
Scrape down the bowl occasionally to ensure even mixing.
Step 3: Build the Wet Mixture with Eggs, Vanilla, and Milk
- 3 eggs
- 1.5 tsp vanilla extract
- 5 tbsp milk
Add eggs one at a time to the creamed butter and sugar from Step 2, beating well after each addition until fully incorporated before adding the next.
Add vanilla extract and mix for about 30 seconds, then add milk and mix until smooth and cohesive.
The mixture should look creamy and slightly emulsified at this point.
Step 4: Combine Wet and Dry Ingredients
- dry ingredient mixture from Step 1
- wet ingredient mixture from Step 3
Reduce mixer speed to low and add the dry ingredient mixture from Step 1 to the wet mixture from Step 3 in three additions (about 2 cups at a time), mixing on low speed until just combined after each addition.
Do not overmix—stop as soon as you don’t see streaks of flour.
Overmixing develops gluten and creates tough cookies instead of tender ones.
I like to finish the last bit of mixing with a spatula by hand to avoid overworking the dough.
Step 5: Chill the Dough
Cover the dough with plastic wrap and refrigerate for at least 2 hours, or preferably overnight.
Chilling relaxes the gluten and allows the flavors to meld, which improves both texture and taste.
The dough will be much easier to handle and will spread less during baking when it’s properly chilled.
Step 6: Bake the Cookies
Preheat your oven to 350°F.
Scoop chilled dough into 1-inch balls and place them on parchment-lined baking sheets about 2 inches apart.
Dip the bottom of a glass into sugar and use it to gently flatten each ball into a disk about ¼-inch thick.
Bake for 12 minutes or until the edges are light golden and the centers still look just barely set—they will continue to cook slightly from residual heat.
I find that slightly underbaking keeps them tender; they’ll seem soft when warm but will firm up as they cool.
Step 7: Cool and Finish
Let the baked cookies sit on the baking sheet for 3 minutes to set slightly, then transfer them to a wire cooling rack.
Allow them to cool completely before serving or storing.
This resting period on the sheet prevents them from breaking apart while they’re still fragile, and the wire rack ensures even cooling on all sides.
Vanilla Large Batch Sugar Cookies
Ingredients
- 3 cups sugar
- 5 tbsp milk
- 1 lb butter (softened to room temperature, about 70°F)
- 3 eggs (room temperature)
- 6 cups all-purpose flour (I use King Arthur)
- 1.5 tsp salt
- 1.5 tsp baking powder
- 1.5 tsp vanilla extract (I use Nielsen-Massey)
- 1.5 tsp baking soda
Instructions
- Measure out all ingredients and ensure butter and eggs are at room temperature (about 70°F), as this helps create a lighter, more uniformly mixed dough. Whisk together the flour, salt, baking powder, and baking soda in a medium bowl and set aside. Room temperature ingredients are crucial for proper emulsification and will give you better texture in the final cookies.
- In a large bowl, beat the softened butter and sugar together on medium-high speed for 3-4 minutes until the mixture is pale, fluffy, and noticeably lighter in color. This creaming process incorporates air into the dough, which helps create a tender crumb and proper rise during baking. Scrape down the bowl occasionally to ensure even mixing.
- Add eggs one at a time to the creamed butter and sugar from Step 2, beating well after each addition until fully incorporated before adding the next. Add vanilla extract and mix for about 30 seconds, then add milk and mix until smooth and cohesive. The mixture should look creamy and slightly emulsified at this point.
- Reduce mixer speed to low and add the dry ingredient mixture from Step 1 to the wet mixture from Step 3 in three additions (about 2 cups at a time), mixing on low speed until just combined after each addition. Do not overmix—stop as soon as you don't see streaks of flour. Overmixing develops gluten and creates tough cookies instead of tender ones. I like to finish the last bit of mixing with a spatula by hand to avoid overworking the dough.
- Cover the dough with plastic wrap and refrigerate for at least 2 hours, or preferably overnight. Chilling relaxes the gluten and allows the flavors to meld, which improves both texture and taste. The dough will be much easier to handle and will spread less during baking when it's properly chilled.
- Preheat your oven to 350°F. Scoop chilled dough into 1-inch balls and place them on parchment-lined baking sheets about 2 inches apart. Dip the bottom of a glass into sugar and use it to gently flatten each ball into a disk about ¼-inch thick. Bake for 12 minutes or until the edges are light golden and the centers still look just barely set—they will continue to cook slightly from residual heat. I find that slightly underbaking keeps them tender; they'll seem soft when warm but will firm up as they cool.
- Let the baked cookies sit on the baking sheet for 3 minutes to set slightly, then transfer them to a wire cooling rack. Allow them to cool completely before serving or storing. This resting period on the sheet prevents them from breaking apart while they're still fragile, and the wire rack ensures even cooling on all sides.
