Finding the perfect pie recipe for fall gatherings can feel like searching for a needle in a haystack. Between juggling family preferences and trying to stand out at potlucks, it’s easy to get overwhelmed by all the classic options out there. But sometimes, the best recipes come from mixing traditional favorites with something a little unexpected.
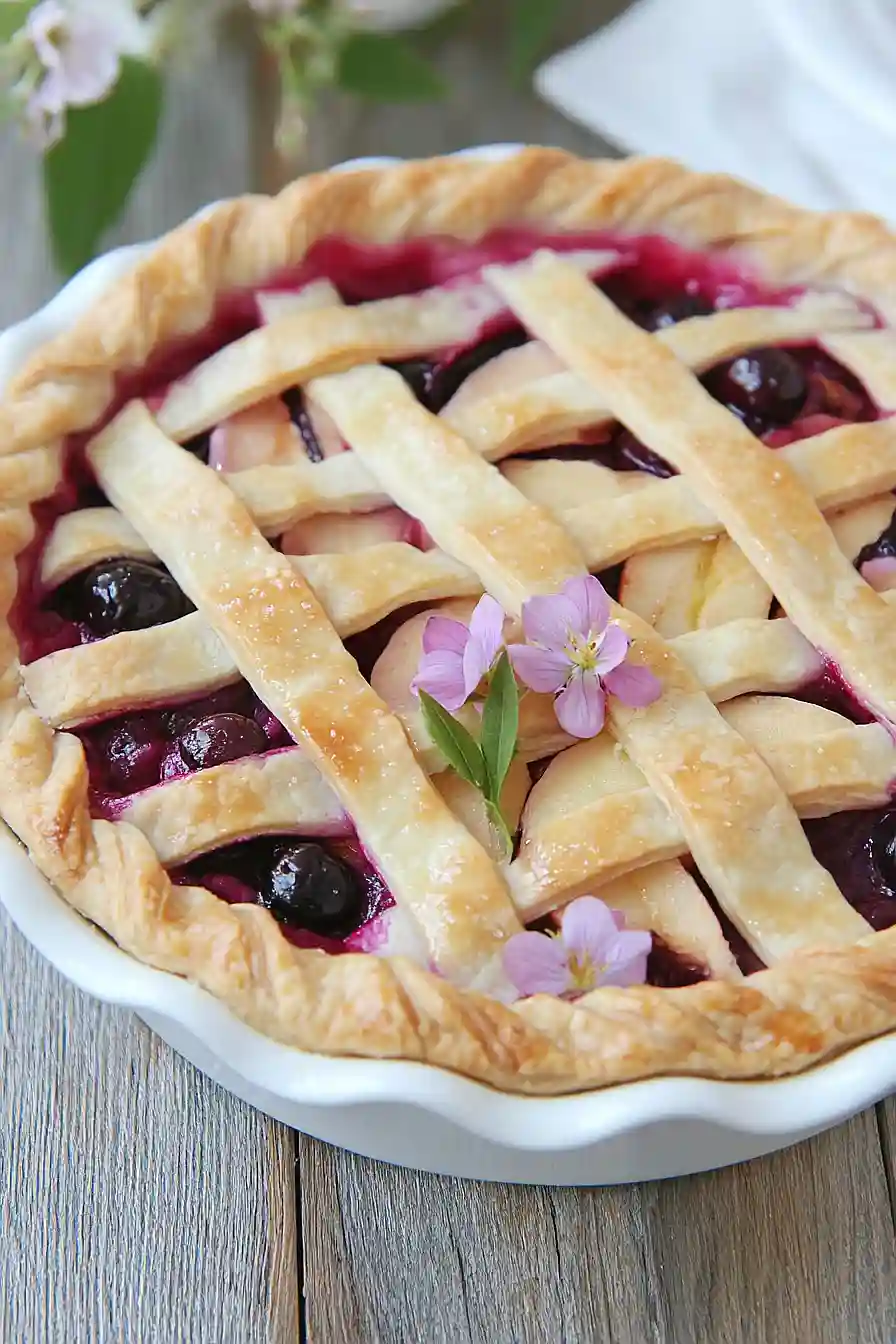
That’s where this apple huckleberry pie comes in – it combines the comfort of classic apple pie with the unique twist of wild huckleberries. It’s easy to make ahead of time, works great with frozen berries when fresh aren’t in season, and brings together two flavors that were meant to be friends.

Why You’ll Love This Apple Huckleberry Pie
- Perfect balance of flavors – The sweet-tart combination of apples and huckleberries creates an exciting twist on classic apple pie, while warm spices like cinnamon, nutmeg, and cardamom add wonderful depth.
- Flexible fruit options – Can’t find huckleberries? No problem! This recipe works beautifully with blackberries too, making it easy to adapt based on what’s available.
- Make-ahead friendly – You can prepare the filling ahead of time and keep it in the fridge, making it perfect for holiday planning or weekend baking.
- Foolproof thickening – The combination of flour and cornstarch ensures your pie filling will be perfectly set – never too runny or too thick.
What Kind of Apples Should I Use?
While this recipe recommends Pink Lady or Pippin apples, you’ve got plenty of good options for your pie. The key is picking apples that are firm and tart-sweet, since they’ll hold their shape during baking and won’t turn to mush. Honeycrisp, Granny Smith, or Braeburn apples would all work great here too. When picking your apples, look for ones that feel firm and heavy for their size, with no soft spots or bruising. If you’re using a mix of different apple varieties (which can actually make your pie more interesting), just make sure they’re all similar in firmness so they cook evenly.
Options for Substitutions
This pie recipe is pretty adaptable – here’s what you can swap if needed:
- Apples: While Pink Lady or Pippin apples are recommended, you can use Granny Smith, Honeycrisp, or Braeburn apples too. Just avoid Red Delicious as they get too mushy when baked.
- Huckleberries: Can’t find huckleberries? No worries! Besides blackberries, you can use blueberries or even raspberries. Each will give the pie its own special flavor.
- Cornstarch: If you’re out of cornstarch, just use double the amount of all-purpose flour instead (so 4 tablespoons total flour).
- Cardamom: This spice is marked as optional, but if you want that warm flavor, try using a pinch of ginger or allspice instead.
- Fresh lemon juice: In a pinch, you can use lime juice, or even orange juice mixed with a tiny splash of white vinegar to get that tart kick.
- Granulated sugar: Brown sugar works too – it’ll give your pie a deeper, more caramel-like sweetness. Just keep the amount the same.
Watch Out for These Mistakes While Baking
The biggest challenge when making fruit pies is ending up with a soggy bottom crust – to prevent this, try blind baking your bottom crust for 10-15 minutes before adding the filling, and make sure to let your apple mixture sit in a colander for 15 minutes to drain excess juice.
Getting the right consistency is crucial, so avoid skipping the cornstarch or flour, as these thickeners prevent your pie from becoming a runny mess when cut – and remember to let the pie cool completely for at least 3 hours before slicing, allowing the filling to properly set.
Watch your baking temperature carefully – starting at 425°F for 20 minutes helps achieve a crispy crust, then reducing to 375°F for the remaining time ensures the filling cooks evenly without burning the edges.
If using frozen huckleberries or blackberries, don’t thaw them first as this can make your filling too wet – add them frozen directly to your apple mixture, and consider tossing them in a bit of extra cornstarch to control moisture.

What to Serve With Apple Huckleberry Pie?
This fruit-filled pie practically begs for a scoop of vanilla ice cream – the warm, spiced filling meets cold, creamy vanilla in the most perfect way! If you’re not in the mood for ice cream, a dollop of freshly whipped cream or a drizzle of caramel sauce works wonderfully too. For a cozy fall touch, serve your pie with a cup of hot coffee or spiced apple cider, which really brings out those warm cinnamon and nutmeg flavors. And if you’re feeling extra indulgent, a slice of sharp cheddar cheese on the side is an old-fashioned pairing that’s totally worth trying.
Storage Instructions
Counter Storage: Your freshly baked apple huckleberry pie can hang out on the counter for up to 2 days. Just cover it loosely with foil or pop it in a pie keeper if you have one. The crust stays crispier at room temperature, which is perfect if you’re planning to finish it within a couple of days.
Refrigerate: Want to keep your pie around a bit longer? Place it in the fridge, covered with foil or in an airtight container, and it’ll stay good for up to 5 days. The fruit filling might get a bit juicier, but it’s still just as yummy!
Freeze: This pie freezes really well! Let it cool completely, then wrap it tightly in plastic wrap and aluminum foil, or place it in a freezer bag. It’ll keep its flavor for up to 4 months in the freezer. When you’re ready to enjoy it, thaw it overnight in the fridge.
Warm Up: If you like your pie warm (and who doesn’t?), pop individual slices in the microwave for 20-30 seconds, or place the whole pie in a 350°F oven for about 15 minutes. Add a scoop of vanilla ice cream and you’re good to go!
| Preparation Time | 30-45 minutes |
| Cooking Time | 50-60 minutes |
| Total Time | 80-105 minutes |
| Level of Difficulty | Medium |
Estimated Nutrition
Estimated nutrition for the whole recipe (without optional ingredients):
- Calories: 400-450
- Protein: 2-4 g
- Fat: 0-2 g
- Carbohydrates: 100-110 g
Ingredients
- 8 cups apples, peeled, cored, and sliced (pink lady or pippin recommended)
- 2 tablespoons fresh lemon juice
- 3/4 cup granulated sugar
- 1/4 teaspoon salt
- 2 tablespoons all-purpose flour
- 2 tablespoons cornstarch
- 2 teaspoons cinnamon powder
- 1/4 teaspoon ground nutmeg
- 1/4 teaspoon cardamom powder (optional)
- 1/2 cup huckleberries (fresh or frozen)
- Or 1 cup blackberries (fresh or frozen)
Step 1: Prepare the Apples
Start by slicing your apples and placing them in a large bowl.
Add a touch of lemon juice to the sliced apples to enhance their flavor and prevent them from browning.
Toss the apples gently to ensure they’re well-coated with the lemon juice.
Step 2: Mix the Dry Ingredients
In a separate small bowl, combine the sugar, flour, corn starch, salt, and your choice of spices (such as cinnamon or nutmeg).
Mix these dry ingredients together until they are well blended and uniformly distributed.
Step 3: Coat the Apples and Add Berries
Sprinkle the sugar and spice mixture over the sliced apples in the large bowl.
Mix well to ensure the apples are evenly coated with the flavorful mixture.
Then, add your preferred berries and gently stir to distribute them evenly throughout the apple mixture.
Step 4: Assemble the Pie
Take your prepped bottom pie crust out of the refrigerator and gently spoon the apple-berry mixture into the crust, spreading it evenly.
If your pie crust recipe calls for a specific method to add the top crust, follow those instructions to cover the filled pie appropriately.
Step 5: Bake the Pie
Place the assembled pie on a baking sheet lined with parchment paper.
This will catch any drips during baking and make cleanup easier.
Preheat your oven to 450°F (232°C) and bake the pie for 10 minutes.
Then, reduce the oven temperature to 350°F (175°C) and continue baking for an additional 40 minutes.
The pie is ready when the apples are soft, which can be tested with a cake tester or a skewer.
Step 6: Cool and Serve
Once the pie is baked to perfection, remove it from the oven and allow it to cool on a wire rack.
This will help the filling set up a bit more before slicing.
Once cooled to your liking, slice and serve your delicious pie as a delightful dessert or sweet treat!
