I didn’t discover sweetened condensed milk could be used in cookies until I was browsing through my grandmother’s recipe box last winter. I’d always thought of it as something you only used for making fudge or key lime pie—you know, the sticky sweet stuff that comes in a can.
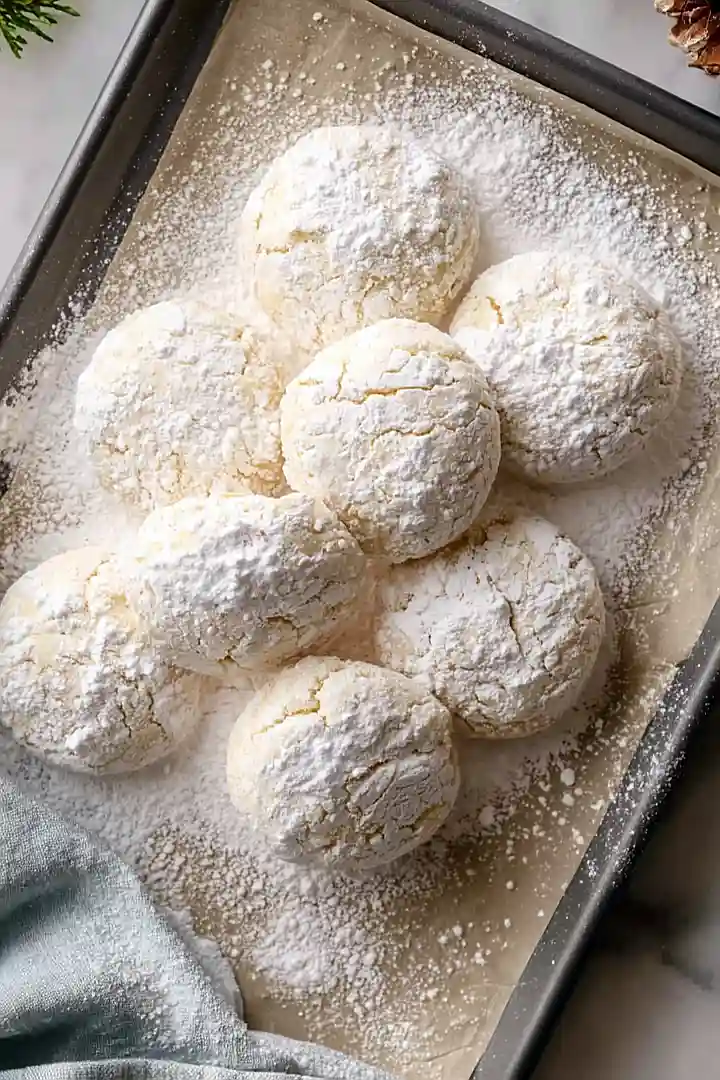
But here’s the thing: a few tablespoons of sweetened condensed milk in snowball cookies makes them incredibly soft and gives them this melt-in-your-mouth texture that regular butter-based versions just can’t match. They’re still got that classic powdered sugar coating and crumbly bite, but there’s something about the condensed milk that keeps them from being too dry. My kids like them better than the traditional Mexican wedding cookies I used to make, and honestly, they’re easier to throw together on a weeknight.
Why You’ll Love These Sweetened Condensed Milk Snowball Cookies
- Minimal ingredients – With just five simple ingredients you probably already have in your pantry, these cookies come together without a trip to the store.
- Quick and easy – Ready in under an hour from start to finish, these snowball cookies are perfect when you need a last-minute treat for guests or a holiday cookie swap.
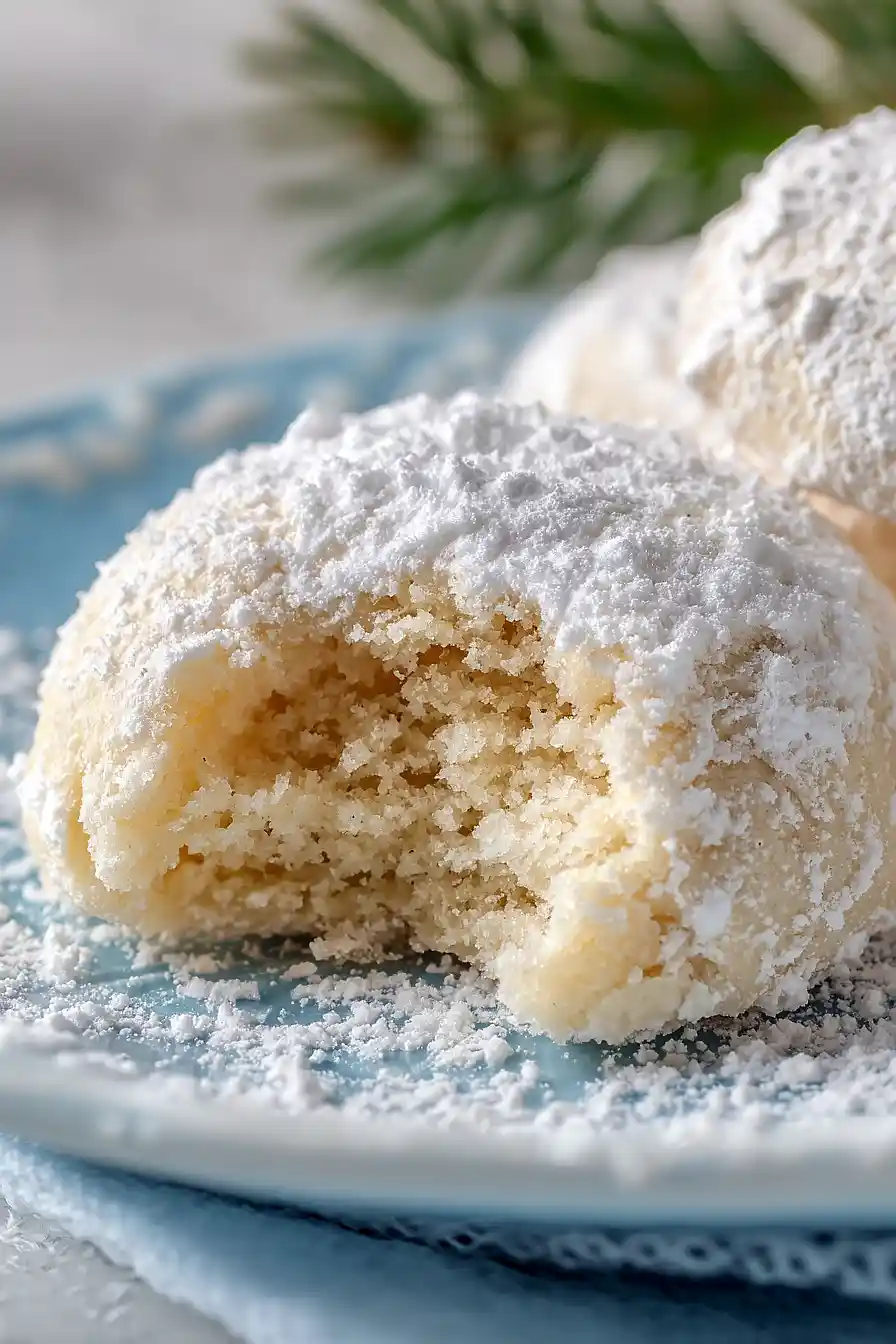
- Melt-in-your-mouth texture – The sweetened condensed milk creates an incredibly tender, buttery cookie that practically dissolves on your tongue.
- Perfect for beginners – This straightforward recipe requires no special techniques or equipment, making it ideal if you’re new to baking or want to make cookies with kids.
What Kind of Sweetened Condensed Milk Should I Use?
Any brand of sweetened condensed milk will work perfectly for these snowball cookies, so feel free to grab whatever’s available at your local grocery store. The standard canned variety is what you’re looking for – it’s that thick, sweet, creamy milk that comes in a can and has been a baking staple for generations. If you accidentally pick up evaporated milk instead, just double-check the label before you start baking, since they look similar but evaporated milk isn’t sweetened and will give you totally different results. Once you open your can, make sure to give it a good stir before measuring out what you need, as sometimes it can settle a bit in the can.
Options for Substitutions
These cookies are pretty straightforward, but here are a few swaps you can make if needed:
- Butter: You really want to stick with butter for these cookies – it’s what gives them that melt-in-your-mouth texture and rich flavor. Margarine or shortening won’t give you the same results.
- Sweetened condensed milk: This is the star ingredient that makes these cookies special, so I wouldn’t recommend substituting it. If you’re in a pinch, you can make homemade sweetened condensed milk by simmering 1 cup whole milk with 1/3 cup sugar until reduced by half, but store-bought works best.
- Icing sugar: You can use powdered sugar or confectioners’ sugar – they’re the same thing. If you only have granulated sugar, you can blend it in a food processor until fine and powdery, though it won’t be quite as smooth.
- All-purpose flour: Stick with all-purpose flour for this recipe. Cake flour might make them too delicate, and whole wheat flour will change the texture and flavor completely.
Watch Out for These Mistakes While Baking
The biggest mistake when making snowball cookies is overworking the dough after adding the sweetened condensed milk, which can make your cookies tough instead of tender and crumbly – mix just until the dough comes together and stop.
Another common error is rolling the cookies in powdered sugar while they’re still too hot, causing the sugar to melt and disappear instead of creating that signature snowy coating, so always wait the full 5 minutes for cooling.
Make sure your butter is actually cold when you start mixing it with the flour, as room temperature butter won’t create the right crumbly texture you’re looking for.
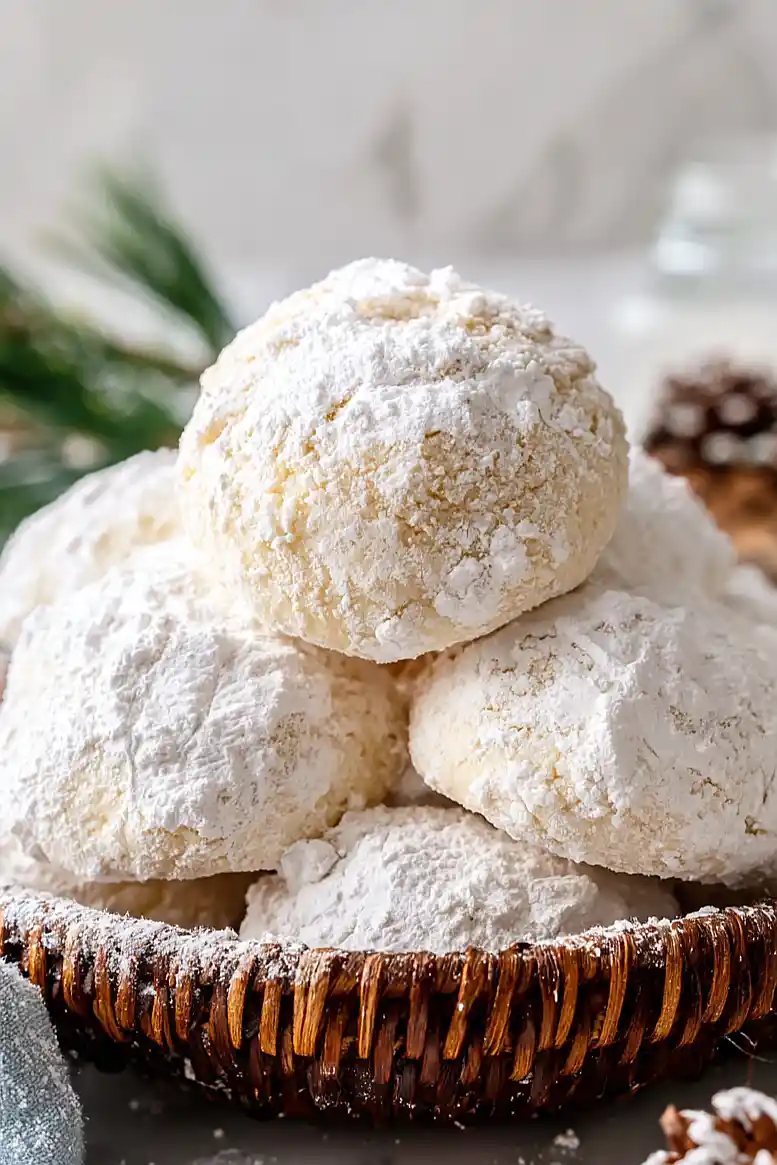
Finally, resist the urge to skip the second coating of powdered sugar once the cookies are completely cool – this double coating is what gives snowball cookies their classic look and sweet finish.
What to Serve With Sweetened Condensed Milk Snowball Cookies?
These cookies are perfect alongside a hot cup of coffee or tea, especially during the holidays when you want something sweet but not too heavy. I love setting out a plate of snowball cookies with hot chocolate for a cozy afternoon treat, and they’re also great for cookie exchanges since they look so festive with their powdered sugar coating. If you’re putting together a dessert spread, pair them with other simple cookies like chocolate chip or oatmeal raisin to give people variety. They also make a nice light dessert after a heavy meal since they’re buttery and sweet without being overly rich.
Storage Instructions
Store: These snowball cookies keep really well in an airtight container at room temperature for up to a week. Just make sure they’re completely cooled before you pack them up, and layer them with parchment paper if you’re stacking them so they don’t stick together.
Freeze: You can freeze these cookies for up to 3 months in a freezer-safe container. They thaw quickly at room temperature in about 15-20 minutes. You might want to dust them with a fresh coating of icing sugar after thawing to make them look pretty again.
Make Ahead: The dough can be made ahead and kept in the fridge for up to 2 days before baking. You can also freeze the unbaked dough balls for up to a month, then bake them straight from frozen by adding a couple extra minutes to the baking time.
| Preparation Time | 20-30 minutes |
| Cooking Time | 15-20 minutes |
| Total Time | 35-50 minutes |
| Level of Difficulty | Easy |
| Servings | 24 cookies |
Estimated Nutrition
Estimated nutrition for the whole recipe (without optional ingredients):
- Calories: 1550-1700
- Protein: 12-15 g
- Fat: 85-95 g
- Carbohydrates: 185-200 g
Ingredients
For the dough:
- 1/2 cup unsalted butter, chilled and cubed
- 1 1/8 cups all-purpose flour
- 1/4 teaspoon salt
- 1/3 cup sweetened condensed milk
- 1/2 teaspoon pure vanilla extract
For the coating:
- 3/4 cup powdered sugar, sifted
- 1 tablespoon cornstarch (optional, for a drier snowy finish)
Step 1: Prepare the Mise en Place and Preheat
- 1/2 cup unsalted butter, chilled and cubed
- 1 1/8 cups all-purpose flour
- 1/4 teaspoon salt
- 1 tablespoon cornstarch
Preheat your oven to 350°F and line a baking sheet with parchment paper.
Cube your cold butter into small pieces—keeping it cold is essential for creating a tender, crumbly cookie texture.
Sift together the all-purpose flour, salt, and cornstarch (if using) in a small bowl to remove any lumps and ensure even distribution.
Step 2: Create the Dough Base
- dry ingredient mixture from Step 1
- 1/3 cup sweetened condensed milk
- 1/2 teaspoon pure vanilla extract
In a medium bowl, combine the cubed cold butter with the dry ingredient mixture from Step 1.
Using a pastry cutter, two knives, or your fingertips, work the butter into the flour until the mixture resembles coarse breadcrumbs or wet sand.
This texture is crucial—you want distinct butter pockets throughout the dough, not a smooth paste.
Then, stir in the sweetened condensed milk and vanilla extract until the dough just comes together.
I like to use a gentle hand here; overmixing develops gluten and makes the cookies tough instead of delicate and crumbly.
Step 3: Shape and Bake the Cookies
- dough from Step 2
Working quickly while the dough is still cool, roll the dough into 1-inch balls using your palms and place them about 1 inch apart on your prepared baking sheet.
The dough will be soft and slightly sticky, which is normal.
Bake at 350°F for 12-15 minutes, until the bottoms are light golden brown but the tops remain pale—don’t overbake, as these cookies continue to firm up as they cool.
Step 4: Cool and Coat with Powdered Sugar
- baked cookies from Step 3
- 3/4 cup powdered sugar, sifted
Remove the cookies from the oven and let them cool on the baking sheet for 5 minutes.
They should still be warm and slightly soft at this point.
Sift the powdered sugar into a shallow bowl.
Working with just a few cookies at a time, gently roll the warm cookies in the powdered sugar, coating all sides thoroughly.
This first coating while warm helps it adhere and creates a light, delicate layer.
Set the coated cookies on a wire rack to cool completely.
Step 5: Final Powdered Sugar Coating
- cooled cookies from Step 4
- additional powdered sugar as needed for second coating
Once the cookies are completely cool (about 1-2 hours), sift the remaining powdered sugar and give each cookie a second generous coating, rolling them again until they’re completely covered in a thick, snowy layer.
This double-coating technique ensures those beautiful frosted snowball cookies with a luxurious powdered sugar exterior.
I find the second coating sticks best when the cookies are fully cooled because there’s less moisture on the surface.
Tender Sweetened Condensed Milk Snowball Cookies
Ingredients
For the dough
- 1/2 cup unsalted butter, chilled and cubed
- 1 1/8 cups all-purpose flour
- 1/4 teaspoon salt
- 1/3 cup sweetened condensed milk
- 1/2 teaspoon pure vanilla extract
For the coating
- 3/4 cup powdered sugar, sifted
- 1 tablespoon cornstarch (optional, for a drier snowy finish)
Instructions
- Preheat your oven to 350°F and line a baking sheet with parchment paper. Cube your cold butter into small pieces—keeping it cold is essential for creating a tender, crumbly cookie texture. Sift together the all-purpose flour, salt, and cornstarch (if using) in a small bowl to remove any lumps and ensure even distribution.
- In a medium bowl, combine the cubed cold butter with the dry ingredient mixture from Step 1. Using a pastry cutter, two knives, or your fingertips, work the butter into the flour until the mixture resembles coarse breadcrumbs or wet sand. This texture is crucial—you want distinct butter pockets throughout the dough, not a smooth paste. Then, stir in the sweetened condensed milk and vanilla extract until the dough just comes together. I like to use a gentle hand here; overmixing develops gluten and makes the cookies tough instead of delicate and crumbly.
- Working quickly while the dough is still cool, roll the dough into 1-inch balls using your palms and place them about 1 inch apart on your prepared baking sheet. The dough will be soft and slightly sticky, which is normal. Bake at 350°F for 12-15 minutes, until the bottoms are light golden brown but the tops remain pale—don't overbake, as these cookies continue to firm up as they cool.
- Remove the cookies from the oven and let them cool on the baking sheet for 5 minutes. They should still be warm and slightly soft at this point. Sift the powdered sugar into a shallow bowl. Working with just a few cookies at a time, gently roll the warm cookies in the powdered sugar, coating all sides thoroughly. This first coating while warm helps it adhere and creates a light, delicate layer. Set the coated cookies on a wire rack to cool completely.
- Once the cookies are completely cool (about 1-2 hours), sift the remaining powdered sugar and give each cookie a second generous coating, rolling them again until they're completely covered in a thick, snowy layer. This double-coating technique ensures those beautiful frosted snowball cookies with a luxurious powdered sugar exterior. I find the second coating sticks best when the cookies are fully cooled because there's less moisture on the surface.
