Here is my favorite sourdough pumpkin scone recipe, with tangy sourdough starter, warm spices, and real pumpkin puree that creates tender, flaky scones perfect for fall mornings.
These sourdough pumpkin scones have become our go-to weekend breakfast treat when the weather starts getting cooler. I love making a batch on Sunday so the kids can grab one with their coffee before school. There’s something so cozy about fresh scones and the smell of cinnamon filling the kitchen, right?
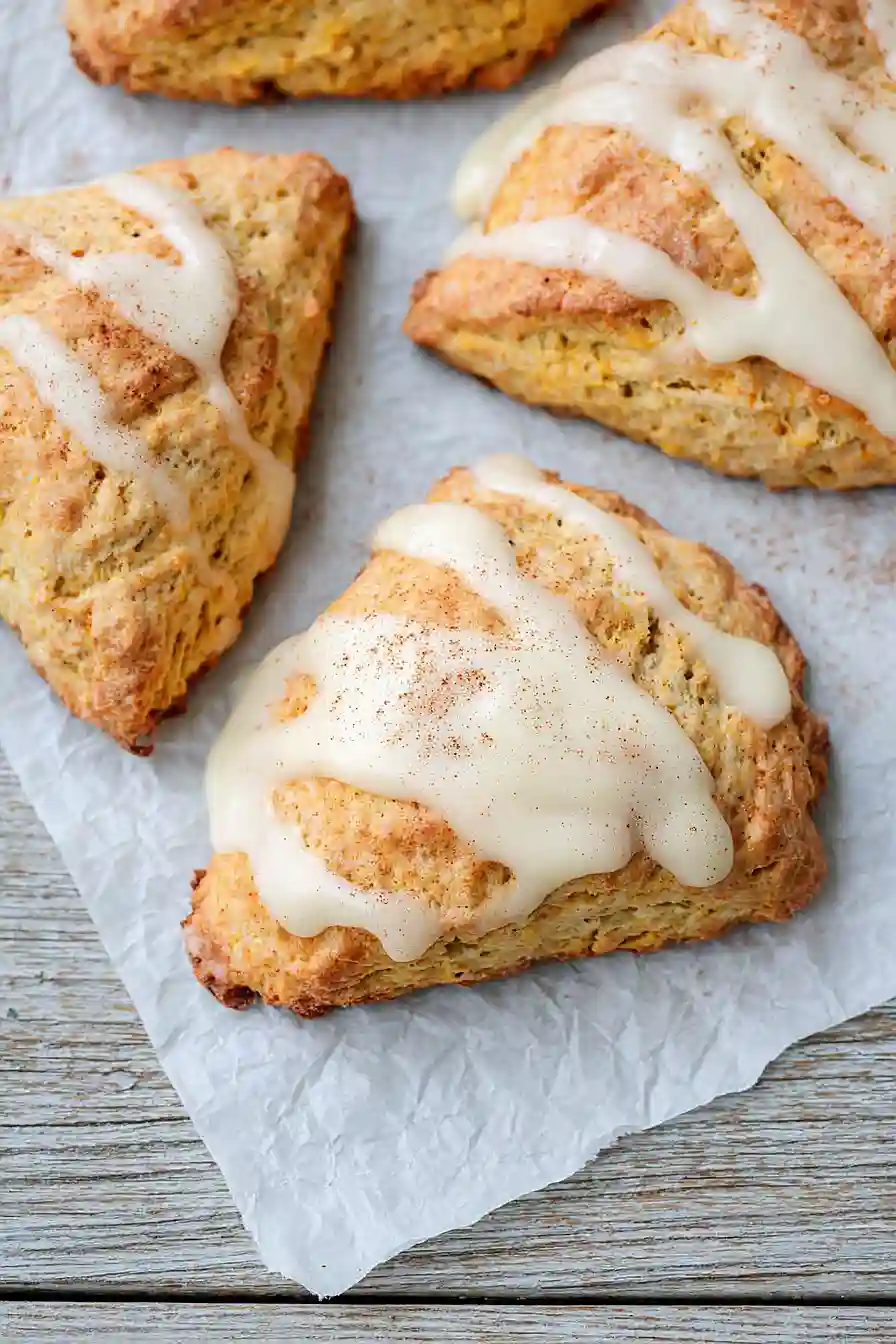
Why You’ll Love These Sourdough Pumpkin Scones
- Perfect use for sourdough discard – Instead of throwing away your sourdough starter discard, you can turn it into these delicious scones that have a subtle tangy flavor.
- Quick and easy – Ready in just 30-40 minutes from start to finish, these scones are perfect for weekend breakfast or an afternoon treat with coffee.
- Cozy fall flavors – The combination of pumpkin puree and pumpkin spice creates that warm, seasonal taste that makes your kitchen smell amazing.
- Tender, flaky texture – The cold butter and sour cream work together to create scones that are perfectly tender on the inside with a slightly crispy exterior.
- Simple pantry ingredients – Most of these ingredients are probably already in your kitchen, making this an easy recipe to whip up whenever a craving hits.
What Kind of Pumpkin Puree Should I Use?
For these scones, you’ll want to use plain pumpkin puree, not pumpkin pie filling – there’s a big difference! Plain pumpkin puree is just cooked and mashed pumpkin with no added spices or sugar, while pumpkin pie filling already has spices and sweeteners that could throw off your recipe. You can find canned pumpkin puree in the baking aisle year-round, and brands like Libby’s work perfectly fine. If you’re feeling ambitious, you can also make your own by roasting a sugar pumpkin and pureeing the flesh, but honestly, the canned stuff is convenient and consistent. Just make sure to give it a good stir before measuring, as it can separate in the can.
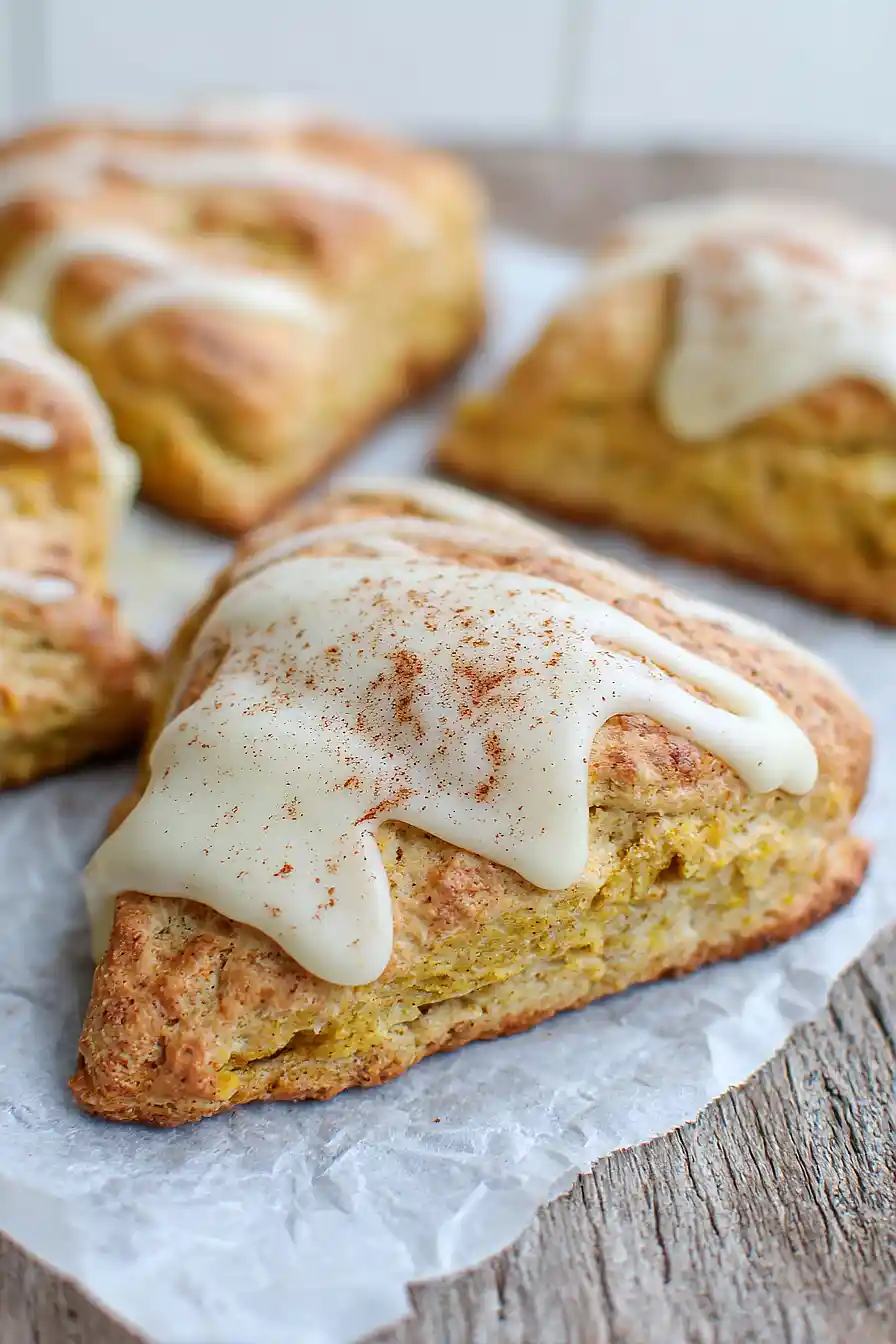
Options for Substitutions
These scones are pretty forgiving when it comes to swapping ingredients:
- Sourdough discard: Don’t have sourdough discard? You can replace it with an equal amount of plain Greek yogurt or buttermilk. The tang won’t be quite the same, but you’ll still get tender, flaky scones.
- Pumpkin puree: Sweet potato puree works great as a 1:1 substitute, or you can try mashed banana (though this will change the flavor profile). Make sure whatever you use has a similar thick consistency.
- Sour cream: Heavy cream, Greek yogurt, or even buttermilk can step in here. If using buttermilk, you might need to add a tablespoon less since it’s thinner than sour cream.
- Pumpkin spice: No pumpkin spice blend? Mix 1 teaspoon cinnamon, 1/2 teaspoon nutmeg, 1/4 teaspoon ginger, and 1/4 teaspoon cloves. Or just use cinnamon alone for a simpler flavor.
- All-purpose flour: You can substitute up to half the all-purpose flour with whole wheat flour for a nuttier taste, but don’t go beyond that or your scones might turn out dense.
- Cold butter: Cold butter is really important for flaky scones, so don’t substitute this one. The cold fat creates steam pockets that give you those lovely layers.
Watch Out for These Mistakes While Baking
The biggest mistake when making sourdough pumpkin scones is overworking the dough, which leads to tough, dense scones instead of the light, flaky texture you want – mix just until the ingredients come together and stop there.
Your butter needs to stay ice-cold throughout the process, so if it starts to soften while you’re working, pop the bowl in the freezer for 10 minutes to firm it back up.
Don’t skip the step of cutting your butter into small, uniform pieces before mixing, as this creates those pockets of fat that give scones their signature flaky layers.
Make sure your pumpkin puree isn’t too wet by patting it with paper towels if needed, and when shaping the dough, use a sharp knife or bench scraper to cut straight down without twisting, which can prevent the scones from rising properly.
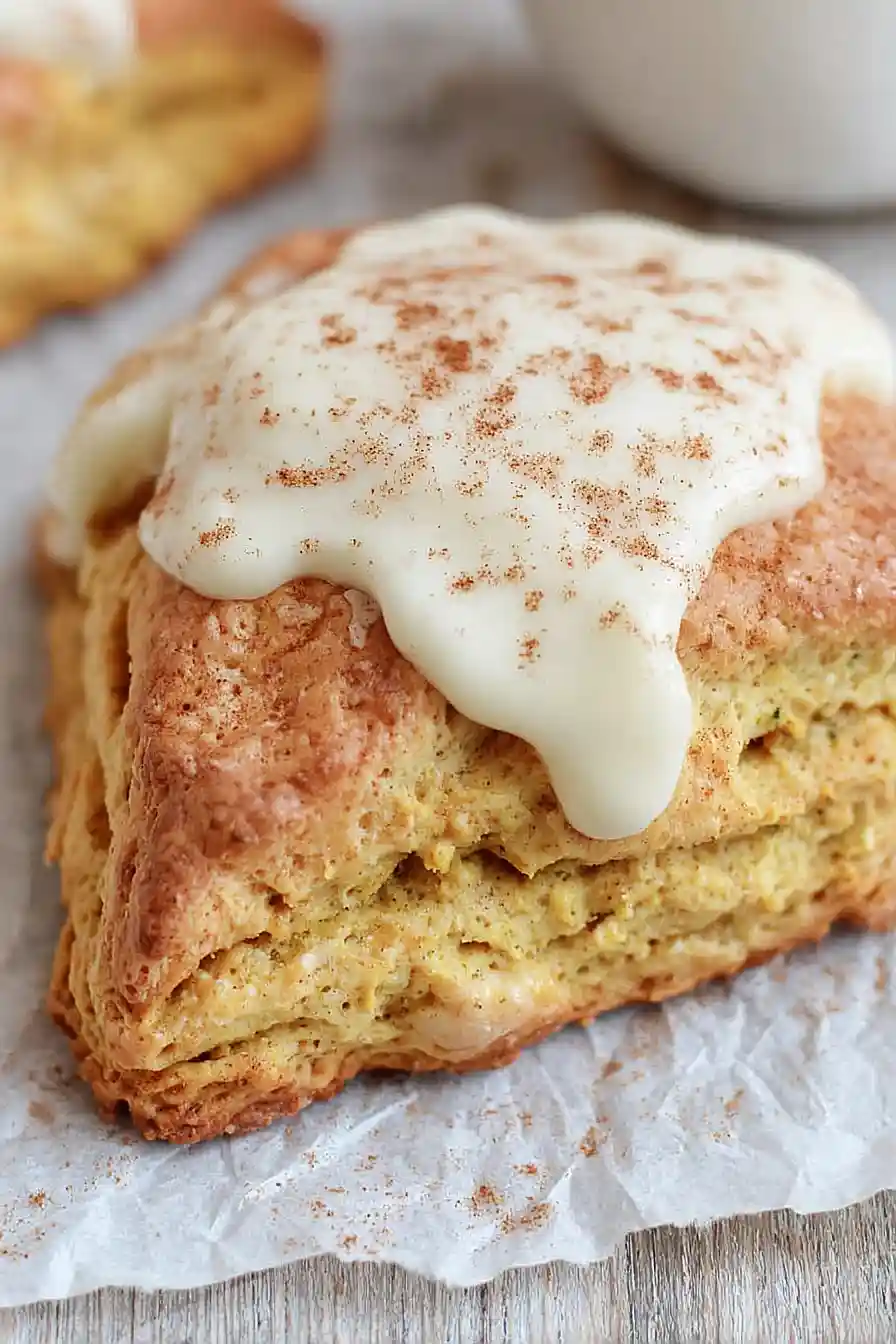
What to Serve With Sourdough Pumpkin Scones?
These pumpkin scones are perfect for a cozy fall breakfast or afternoon snack, and they pair beautifully with a hot cup of coffee or spiced chai tea. I love serving them with a little pat of butter and a drizzle of honey, or you can go all out with some maple butter for an extra autumn flavor boost. They’re also great alongside a warm bowl of oatmeal or yogurt if you want to make them part of a bigger breakfast spread. For something special, try them with cream cheese frosting or even just a dusting of powdered sugar on top.
Storage Instructions
Keep Fresh: These pumpkin scones taste best when stored in an airtight container at room temperature for up to 3 days. I like to wrap them individually in plastic wrap if I’m packing them for lunch or snacks. They’ll stay nice and tender this way without drying out.
Freeze: You can freeze these scones for up to 3 months, either baked or unbaked! If freezing unbaked, shape them and place on a baking sheet until solid, then transfer to a freezer bag. For baked scones, just wrap them well and freeze – perfect for busy mornings when you want a quick breakfast.
Warm Up: To bring back that fresh-baked taste, warm your scones in a 350°F oven for about 5-7 minutes if they’re room temperature, or 10-12 minutes if frozen. You can also pop them in the microwave for 15-20 seconds, but the oven gives you that nice crispy outside again.
| Preparation Time | 15-20 minutes |
| Cooking Time | 15-20 minutes |
| Total Time | 30-40 minutes |
| Level of Difficulty | Medium |
Estimated Nutrition
Estimated nutrition for the whole recipe (without optional ingredients):
- Calories: 1550-1700
- Protein: 20-24 g
- Fat: 60-70 g
- Carbohydrates: 215-235 g
Ingredients
For the scone dough:
- 2 cups all-purpose flour
- 2 tsp baking powder
- 1/4 cup granulated sugar
- 2 tsp pumpkin pie spice blend
- 1/2 tsp salt
- 1/2 cup unsalted butter, very cold, diced
- 1/4 cup sourdough starter discard
- 1/3 cup canned pumpkin puree
- 1/2 cup sour cream
For the optional glaze:
- 1 cup powdered sugar
- 1 tbsp milk
- 1 tbsp maple syrup
Step 1: Preheat the Oven and Prepare the Baking Sheet
Preheat your oven to 400°F (200°C).
Line a baking sheet with parchment paper and set it aside.
This ensures your scones will bake evenly and not stick.
Step 2: Mix Dry Ingredients
- 2 cups all-purpose flour
- 2 tsp baking powder
- 1/4 cup granulated sugar
- 2 tsp pumpkin pie spice blend
- 1/2 tsp salt
In a large mixing bowl, combine the all-purpose flour, granulated sugar, baking powder, pumpkin pie spice blend, and salt.
Mix thoroughly to distribute the leavening agents and spices evenly throughout the flour.
Step 3: Cut in the Cold Butter
- 1/2 cup unsalted butter, very cold, diced
Dice the very cold unsalted butter into small pieces.
Add the butter to the flour mixture from Step 2 and use a fork or food processor to cut the butter in until the mixture is crumbly and the butter is distributed in pea-sized chunks.
This helps create a flaky texture in the final scones.
Step 4: Combine Wet Ingredients and Form Dough
- 1/2 cup sour cream
- 1/4 cup sourdough starter discard
- 1/3 cup canned pumpkin puree
Add the sour cream, sourdough starter discard, and canned pumpkin puree to the bowl with the flour and butter mixture.
Mix just until a dough forms—be careful not to overmix, as this can make the scones tough.
I like to gently fold the ingredients together with a spatula to keep the dough light.
Step 5: Shape and Bake the Scones
Turn the dough onto a lightly floured surface.
Gently shape it into a round and cut it into 8 equal-sized pieces (or 10 smaller pieces, if you prefer).
Place the scone pieces onto the prepared baking sheet from Step 1 and bake for 15-20 minutes, or until the tops are lightly golden brown.
Step 6: Prepare the Maple Glaze
- 1 cup powdered sugar
- 1 tbsp milk
- 1 tbsp maple syrup
While the scones bake, make the glaze by mixing the powdered sugar, milk, and maple syrup in a small bowl until smooth.
Allow the scones to cool before drizzling the glaze over them.
For extra shine, I sometimes add an extra splash of maple syrup to the glaze.

