Finding a cake recipe that’s both simple to make and genuinely moist can feel like searching for a needle in a haystack. Most cake recipes either require a dozen ingredients you don’t have on hand, or they end up dry and disappointing after all that effort.
That’s where this vanilla yogurt cake comes to the rescue. It uses just a handful of pantry staples, takes about 10 minutes to mix together, and the yogurt keeps it perfectly tender every single time.
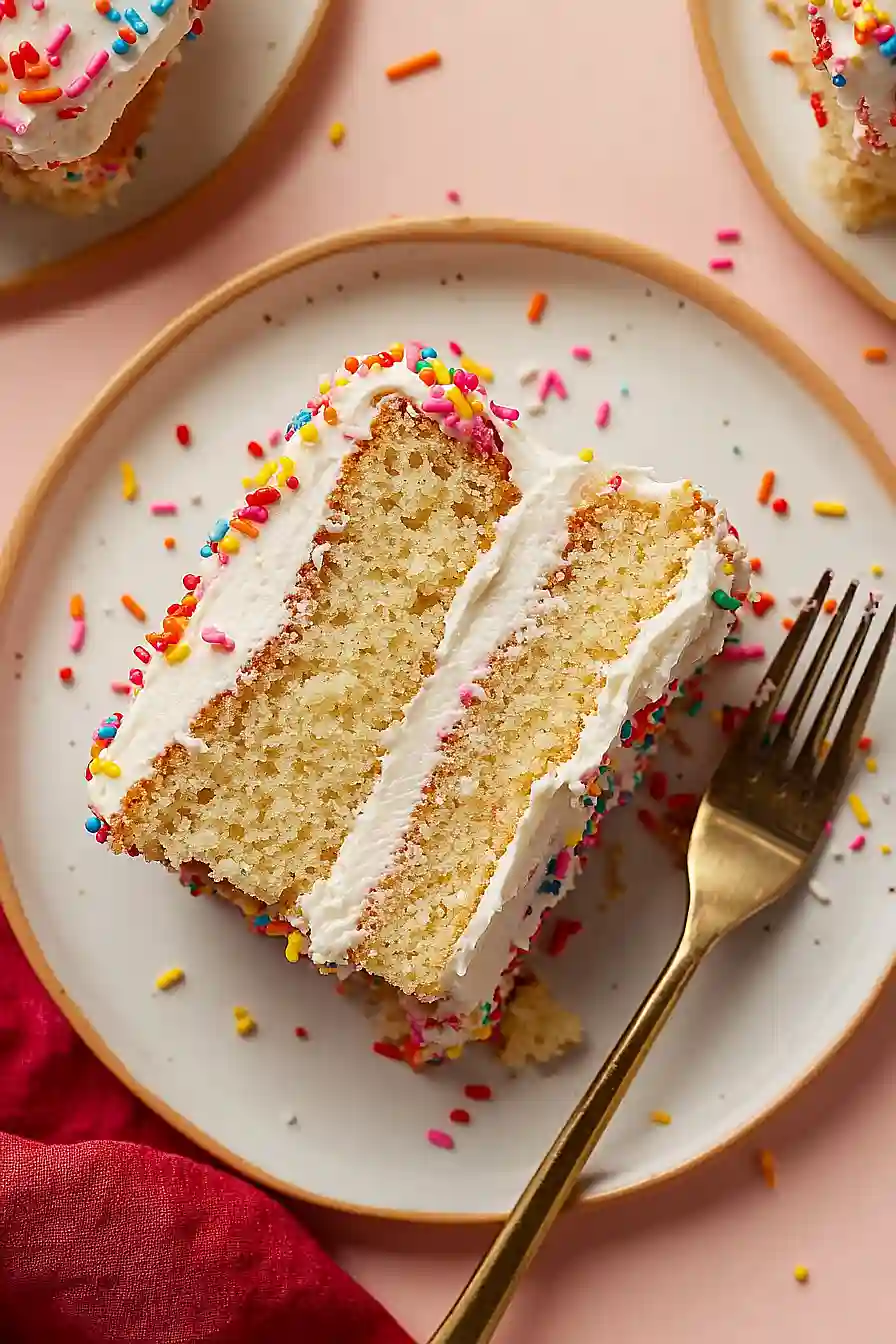
Why You’ll Love This Vanilla Yogurt Cake
- Moist and fluffy texture – The Greek yogurt keeps this cake incredibly tender and adds a subtle tang that balances the sweetness perfectly.
- Dairy-free friendly options – You can easily make this cake dairy-free by using the suggested substitutions, making it perfect for guests with dietary restrictions.
- Classic vanilla flavor – Sometimes simple is best, and this vanilla cake delivers that comforting, familiar taste that everyone loves.
- Perfect for celebrations – With its festive rainbow sprinkles and beautiful frosting, this cake is ready for birthdays, parties, or any special occasion.
- Made with quality ingredients – Using organic flour, eggs, and real vanilla extract means you’re getting a homemade cake that tastes so much better than store-bought.
What Kind of Flour Should I Use?
All-purpose flour is your best bet for this vanilla yogurt cake, and you really can’t go wrong with either organic or regular varieties. The recipe calls for organic, but standard all-purpose flour will work just as well if that’s what you have on hand. Make sure to measure your flour properly by spooning it into your measuring cup and leveling it off with a knife – this prevents you from accidentally packing in too much flour, which can make your cake dense. If you only have self-rising flour available, you’ll want to skip the baking powder since self-rising flour already contains leavening agents.
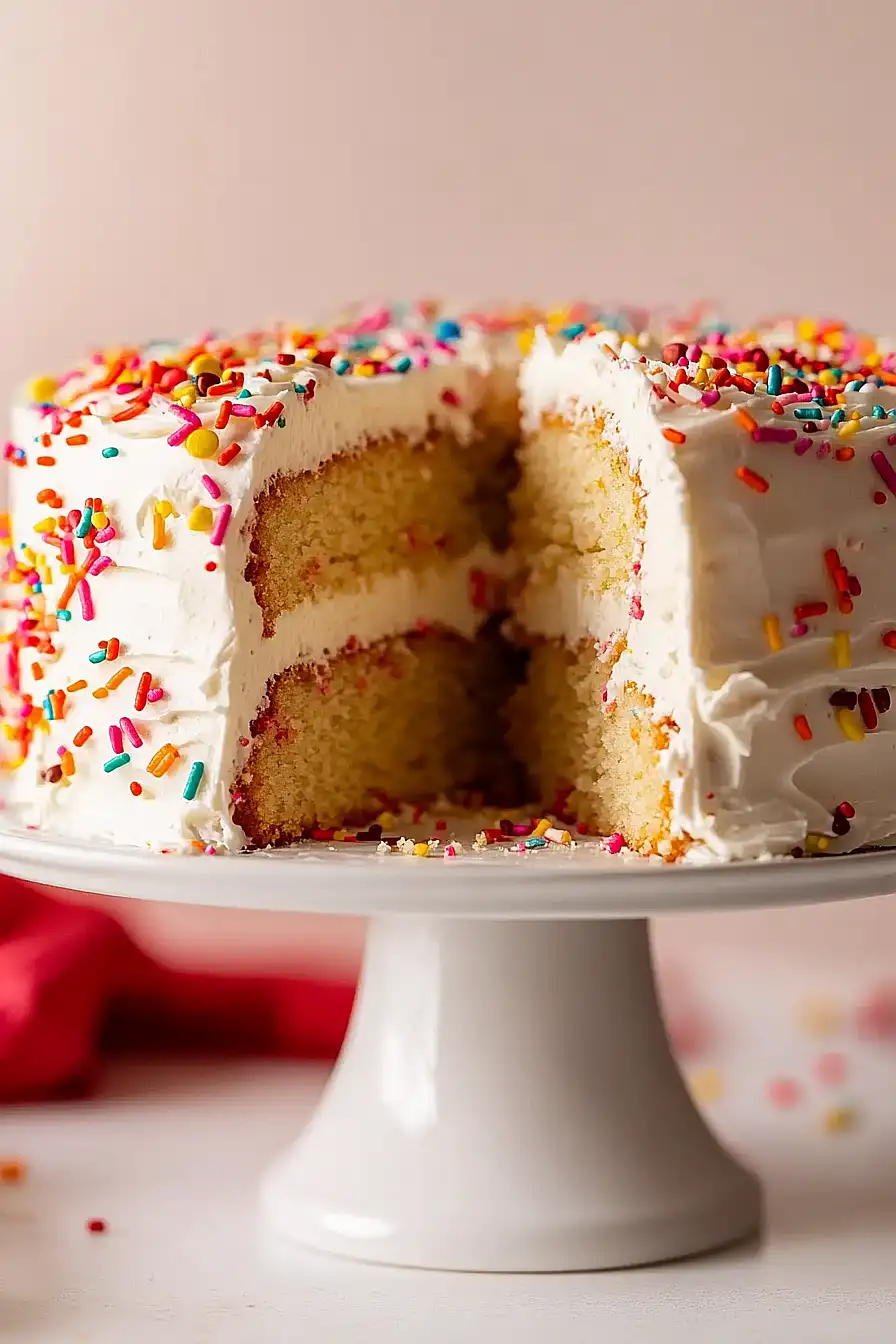
Options for Substitutions
This cake recipe is pretty forgiving when it comes to swaps – here are some easy substitutions you can make:
- All-purpose flour: You can use regular all-purpose flour instead of organic, or try a 1:1 gluten-free flour blend if you need it gluten-free. Just know that gluten-free versions might be slightly more crumbly.
- Organic cane sugar: Regular granulated sugar works just fine here. You could also try coconut sugar, though it will give the cake a slightly caramel-like flavor and darker color.
- Greek yogurt: Plain Greek yogurt with a splash of vanilla works if you can’t find vanilla-flavored. Sour cream is another good substitute – use the same amount.
- Dairy-free buttermilk: Regular buttermilk is totally fine if you’re not avoiding dairy. If you need to make your own, just mix 1 1/2 cups of any milk with 1 1/2 tablespoons of lemon juice or vinegar.
- Almond milk: Any milk works for the frosting – regular dairy milk, oat milk, or even water in a pinch. Start with less and add more until you get the right consistency.
- Unsalted butter: If you only have salted butter, just skip the added salt in the recipe. For dairy-free, try vegan butter sticks – they work best for both the cake and frosting.
Watch Out for These Mistakes While Baking
The biggest mistake with vanilla yogurt cake is not bringing your eggs and butter to room temperature before mixing, which can cause the batter to curdle and result in a dense, heavy cake instead of a light and fluffy one. Make sure to cream your butter and sugar for at least 3-4 minutes until it’s pale and fluffy – rushing this step will give you a tough cake that doesn’t rise properly. Another common error is overmixing once you add the flour, so fold it in gently just until combined to avoid developing too much gluten. For the smoothest frosting, always sift your powdered sugar beforehand to prevent lumps, and add the almond milk gradually – you can always add more, but you can’t take it back if the frosting becomes too thin.
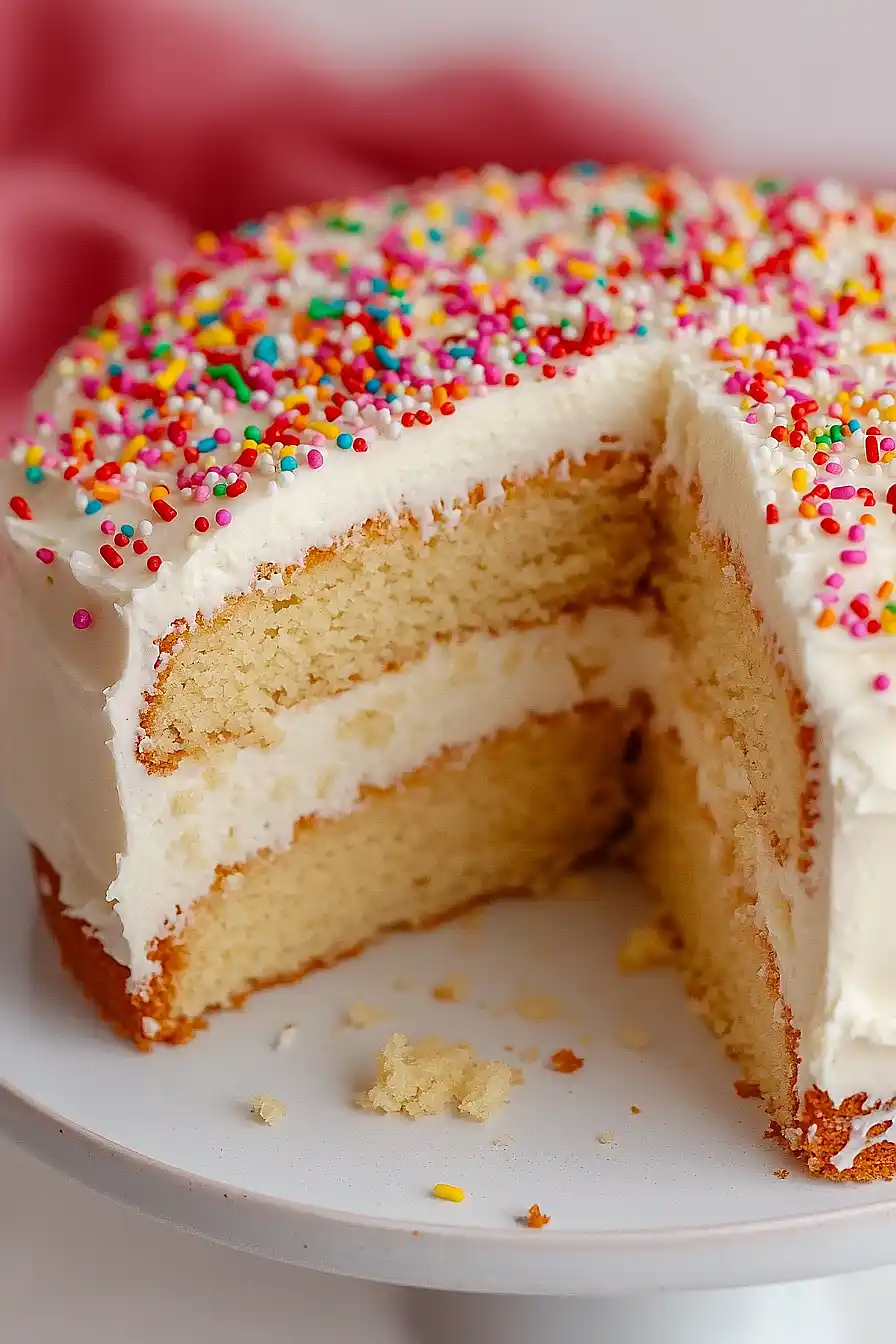
What to Serve With Vanilla Yogurt Cake?
This vanilla yogurt cake is perfect on its own, but I love serving it with fresh berries like strawberries, blueberries, or raspberries that add a nice tart contrast to the sweet, creamy cake. A scoop of vanilla ice cream or a dollop of whipped cream makes it feel extra special for birthdays or celebrations. For a cozy afternoon treat, pair a slice with a hot cup of coffee or tea – the vanilla flavors really complement both drinks beautifully. You can also drizzle some berry compote or chocolate sauce over individual slices if you want to dress it up a bit more.
Storage Instructions
Keep Fresh: This vanilla yogurt cake stays moist and delicious when covered tightly with plastic wrap or stored in a cake keeper at room temperature for up to 3 days. If your kitchen is really warm, you can pop it in the fridge for up to a week, just let it come to room temperature before serving for the best flavor.
Freeze: You can absolutely freeze this cake for later celebrations! Wrap individual slices or the whole cake tightly in plastic wrap, then aluminum foil, and freeze for up to 3 months. I like to freeze slices separately so I can grab just what I need for a sweet treat.
Serve: When you’re ready to enjoy frozen cake, just thaw it in the fridge overnight or let it sit at room temperature for about an hour. The frosting might look a little different after freezing, but the taste is still wonderful and the cake stays perfectly moist.
| Preparation Time | 20-30 minutes |
| Cooking Time | 30-35 minutes |
| Total Time | 50-70 minutes |
| Level of Difficulty | Medium |
Estimated Nutrition
Estimated nutrition for the whole recipe (without optional ingredients):
- Calories: 6000-6400
- Protein: 60-70 g
- Fat: 300-320 g
- Carbohydrates: 750-800 g
Ingredients
For the cake layers:
- 4 cups organic all-purpose flour
- 2 1/2 tsp baking powder
- 1/2 tsp sea salt
- 1 1/2 cups organic cane sugar
- 1 cup unsalted butter, softened
- 4 large organic eggs, at room temperature
- 2 tsp vanilla extract
- 1/2 cup vanilla greek yogurt
- 1 1/2 cups dairy-free buttermilk (mix milk with 1 tbsp lemon juice or use regular buttermilk)
For the buttercream:
- 1 cup unsalted butter, at room temperature
- 5 cups sifted organic powdered sugar
- 1 1/2 tbsp vanilla extract
- 3 to 4 tbsp almond milk (or use dairy milk)
For decorating:
- Rainbow sprinkles
Step 1: Prepare the Cake Pans and Buttermilk
- unsalted butter, for greasing pans
- parchment paper
- 1 1/2 cups dairy-free buttermilk (mix milk with 1 tbsp lemon juice or use regular buttermilk)
Preheat your oven to 350°F (175°C).
Lightly grease the bottoms of two 9-inch or 8-inch cake pans (for thicker layers) or three 6-inch cake pans with butter and line them with parchment paper.
In a small bowl, whisk together the dairy-free buttermilk by combining your milk with 1 tablespoon of lemon juice, then set aside for 5-10 minutes to allow the mixture to ‘activate’.
Step 2: Mix the Cake Batter
- 4 cups organic all-purpose flour
- 2 1/2 tsp baking powder
- 1/2 tsp sea salt
- 1 1/2 cups organic cane sugar
- 1 cup unsalted butter, softened
- 4 large organic eggs, at room temperature
- 2 tsp vanilla extract
- 1/2 cup vanilla Greek yogurt
- 1 1/2 cups dairy-free buttermilk (from Step 1)
In a large bowl, whisk together the all-purpose flour, baking powder, and sea salt until evenly combined.
In another bowl, add 1 cup of softened unsalted butter and organic cane sugar.
Beat these together on high speed with a hand mixer until the mixture becomes pale and fluffy, about 2-3 minutes.
Add the eggs one at a time, mixing well after each addition, then add 2 teaspoons vanilla extract and vanilla Greek yogurt, mixing until fully incorporated.
Next, on low speed, add the dry ingredients in several additions, alternating with the prepared buttermilk, and continue mixing until the batter is smooth.
The batter should be thick but should slowly run off the whisk when lifted.
Step 3: Bake the Cakes
- cake batter (from Step 2)
Divide the prepared batter evenly among the cake pans.
Place the pans in the preheated oven and bake for 30-35 minutes.
To test for doneness, insert a toothpick or butter knife into the center of the cakes; they are ready when it comes out clean.
Remove the cakes from the oven and let them cool in their pans for about 10 minutes.
Then, carefully transfer the cakes to a wire rack to cool completely, at least 1-2 hours.
I always let my cakes cool fully before frosting to prevent the buttercream from melting.
Step 4: Make the Vanilla Buttercream Frosting
- 1 cup unsalted butter, at room temperature
- 5 cups sifted organic powdered sugar
- 1 1/2 tbsp vanilla extract
- 3 to 4 tbsp almond milk (or use dairy milk)
Place 1 cup of room temperature unsalted butter in a large mixing bowl.
Using an electric mixer on medium-high speed, beat the butter until smooth and pale.
Add the sifted powdered sugar, vanilla extract, and 3 to 4 tablespoons of almond milk (or dairy milk), then mix on medium speed until the frosting is smooth and fluffy.
If the frosting is too thick, add more milk 1 tablespoon at a time; if it’s too thin, add more powdered sugar.
For a richer flavor, I like to use a little extra vanilla in the buttercream.
Step 5: Assemble and Frost the Cake
- cooled cakes (from Step 3)
- vanilla buttercream frosting (from Step 4)
- rainbow sprinkles
Place the first cooled cake layer on your cake stand or serving plate.
Evenly cover the top with a layer of buttercream frosting, then scatter a handful of rainbow sprinkles over the frosting.
Add the second cake layer on top and spread more buttercream over the top and sides of the cake, creating a thin and even coat.
If you baked three layers, repeat the process for the third layer.
Once the cake is fully covered, use a piping bag and tip to pipe small decorative designs with the remaining buttercream around the sides and top, and finish with more rainbow sprinkles.
I like to chill the cake for 5 minutes after frosting to help set the buttercream before slicing.
Step 6: Chill, Serve, and Enjoy
Once the cake is decorated, let it chill in the refrigerator for about 5 minutes to help the buttercream set.
When ready to serve, take the cake out, slice, and enjoy.
Bon Appetit!

