If you love tiramisu and you love brownies, this vegan recipe was made for you.
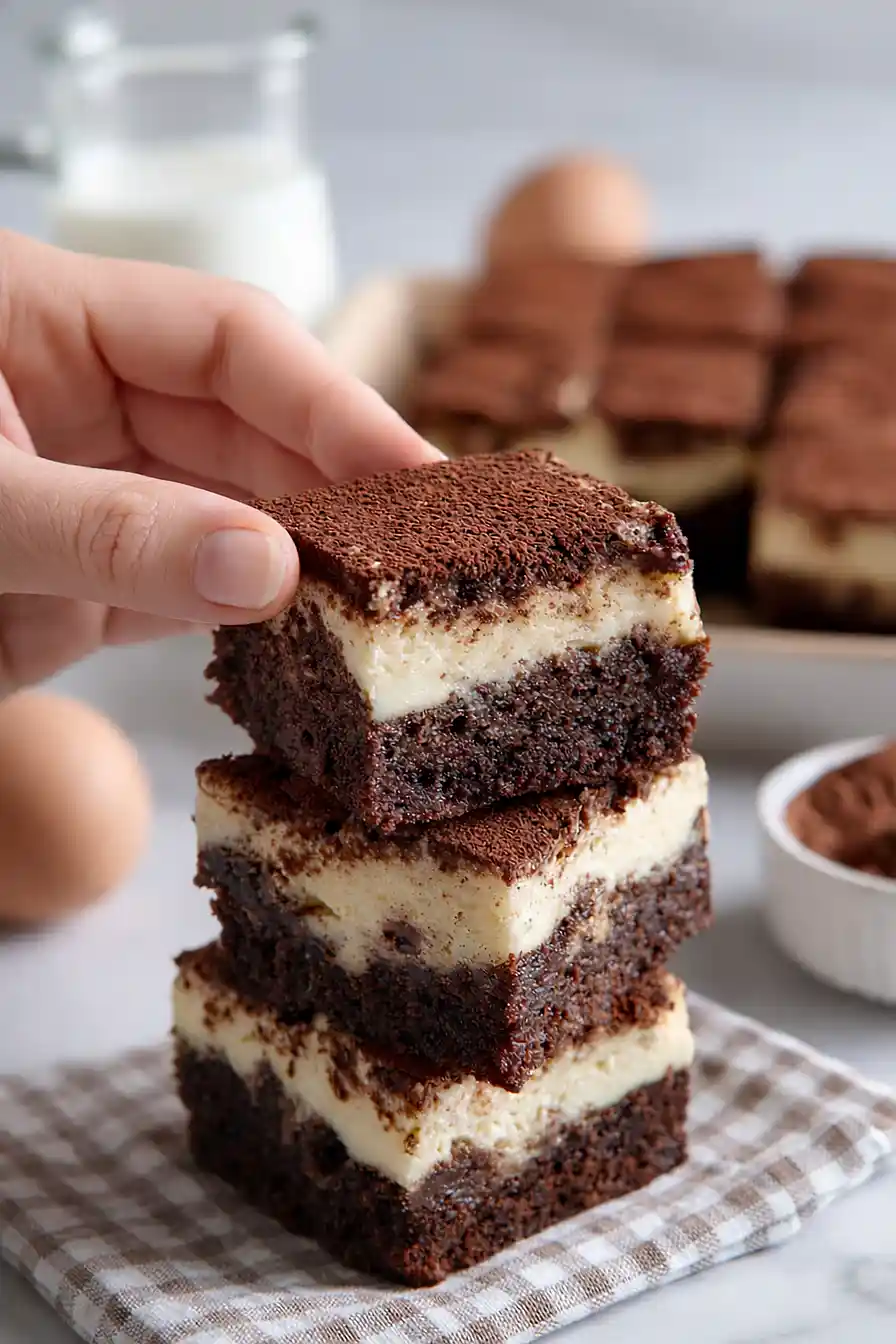
These cheesecake brownies bring together rich chocolate, coffee, and a creamy tofu layer that tastes just like the mascarpone filling in classic tiramisu. The brownie base is made with oat flour and almond flour for a fudgy texture, while instant coffee and espresso powder give it that signature tiramisu kick.
The tofu cheesecake layer sits on top, providing a smooth contrast to the dense brownie underneath. A dusting of cocoa powder finishes it off, just like the real thing.
They’re completely plant-based but taste indulgent, making them perfect for when you want something special without heating up the oven for hours.
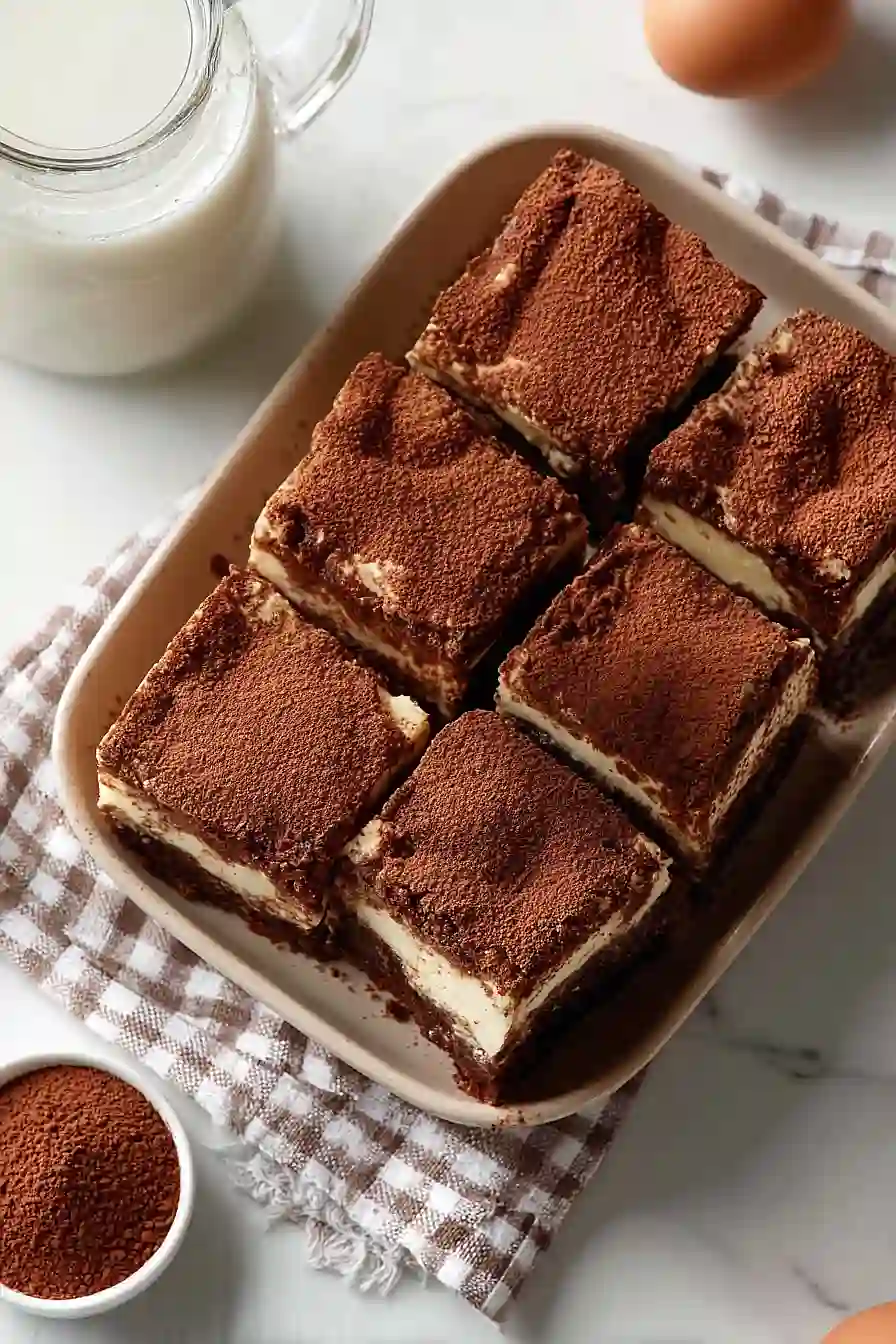
Why You’ll Love These Tiramisu Cheesecake Brownies
- Two desserts in one – You get the fudgy richness of brownies combined with the creamy, coffee-flavored goodness of tiramisu cheesecake all in one bite.
- Completely plant-based – These brownies are vegan-friendly, using tofu for the cheesecake layer and simple plant-based ingredients throughout, so everyone can enjoy them.
- Ready in about an hour – From start to finish, you can have these impressive layered brownies on your table in just over an hour.
- Coffee lover’s dream – The instant coffee adds that classic tiramisu flavor without being overwhelming, making these perfect for your afternoon coffee break.
- Healthier ingredients – Made with oat flour, almond flour, and maple syrup instead of refined ingredients, these brownies let you indulge a little more guilt-free.
The Right Tofu for This Recipe
You’ll want to use silken tofu rather than regular firm or extra-firm tofu. Silken tofu has a much smoother, creamier texture that blends beautifully into the cheesecake layer without any graininess.
You can find it in shelf-stable boxes in the Asian foods section of most grocery stores, or sometimes in the refrigerated section alongside other tofu products.
Make sure to drain off any excess liquid before using it and blend until completely smooth. This is key to getting that creamy cheesecake texture.

Substitution Guide
Not all ingredients are always easy to find, so here are some useful substitutions.
- Oat flour: You can easily make your own by blending rolled oats in a food processor until they’re fine. All-purpose flour works too if you’re not keeping things gluten-free.
- Almond flour: If you have a nut allergy or just don’t have almond flour, try using more oat flour or even coconut flour (but use only 2 tablespoons since coconut flour is super absorbent).
- Flaxmeal: This acts as an egg replacer here. You can use a chia egg instead (1 tablespoon chia seeds mixed with 2.5 tablespoons water, let sit for 5 minutes) or a store-bought egg replacer.
- Maple syrup: Agave nectar or date syrup work just as well. You could also use honey if you’re not strictly vegan.
- Non-dairy milk: Any plant-based milk works – almond, soy, oat, or cashew. If you’re not vegan, regular milk is fine too.
- Tofu: This is pretty essential for the cheesecake layer’s texture, so I’d recommend sticking with silken tofu. In a pinch, you could try cashew cream (1 cup soaked cashews blended with 1/4 cup water), but the texture will be slightly different.
- Instant coffee: Since this is tiramisu-inspired, the coffee flavor is important. But if you’re not a coffee fan, you can reduce it to 1/2 teaspoon or skip it entirely.
Getting the Best Results
Press the tofu properly before blending. Excess water will make the cheesecake layer runny, so wrap it in a clean towel and press for at least 15 minutes.
Check the brownies at the 40-minute mark. Oat and almond flours dry out faster than regular flour, so remove them when the center still has a slight jiggle.
Use a light hand when swirling. Too much mixing will muddy the layers instead of creating those pretty marbled patterns.
Do not slice too soon. Cool completely for at least 2 hours, or refrigerate overnight for clean, beautiful cuts.
Serving Ideas Worth Trying
- Espresso or strong coffee to play up those tiramisu flavors.
- Coconut whipped cream and fresh berries to cut through the richness.
- A scoop of vanilla ice cream, especially served warm.
- A coffee bar setup for casual get-togethers.
Storage and Freshness Tips
Store: Keep your tiramisu cheesecake brownies in an airtight container in the fridge for up to 5 days. They actually taste even better the next day once all the flavors have had time to meld together, so don’t be shy about making them ahead!
Freeze: These brownies freeze really well for up to 2 months. Just cut them into individual squares, wrap each one in plastic wrap, and store them in a freezer-safe container. It’s nice to have a stash ready whenever you’re craving something sweet.
Serve: Let frozen brownies thaw in the fridge overnight or at room temperature for about 30 minutes before eating. I actually love eating them straight from the fridge because the cheesecake layer gets nice and firm, but room temperature works great too if you prefer a softer texture.
| Preparation Time | 20-30 minutes |
| Cooking Time | 40-45 minutes |
| Total Time | 60-75 minutes |
| Level of Difficulty | Medium |
| Servings | 9 slices |
Estimated Nutrition
Estimated nutrition for the whole recipe (without optional ingredients):
- Calories: 1700-1900
- Protein: 28-34 g
- Fat: 90-105 g
- Carbohydrates: 210-230 g
Ingredients
For the brownie layer:
- 1/2 cup oat flour (I always use King Arthur for a finer grind)
- 1/4 cup almond flour
- 3 tbsp cocoa powder
- 1/4 tsp baking powder
- 1 tbsp flaxmeal
- 2 tbsp non-dairy milk
- 1/4 cup maple syrup
- 1.5 oz dark chocolate (melted and cooled slightly)
- 1 tsp vanilla
- 1 tsp instant coffee (enhances the chocolate flavor)
- 1/8 tsp salt
- 2 tbsp oil
- 1/3 cup sugar
- 1/4 cup chocolate chips
- 1/4 tsp espresso powder
For the cheesecake layer:
- 8 oz tofu (I prefer Mori-Nu silken tofu for a smoother texture)
- 2 tbsp coconut flour
- 2 tbsp oil
- 3 tbsp sugar
- 1 tsp vanilla
- 3/4 tsp lemon juice
- 1/3 tsp salt
For the garnish:
- cocoa powder (sifted over the top for a professional finish)
Step 1: Prepare Pan and Make Brownie Batter
- 1/2 cup oat flour
- 1/4 cup almond flour
- 3 tbsp cocoa powder
- 1/4 tsp baking powder
- 1 tsp instant coffee
- 1/4 tsp espresso powder
- 1/8 tsp salt
- 2 tbsp non-dairy milk
- 1/4 cup maple syrup
- 1.5 oz dark chocolate
- 1 tbsp flaxmeal
- 1 tsp vanilla
- 2 tbsp oil
- 1/4 cup chocolate chips
Line a 9×9 inch baking pan with parchment paper for easy removal.
In a large bowl, whisk together the oat flour, almond flour, cocoa powder, baking powder, instant coffee, espresso powder, and salt.
In a separate small saucepan, heat the non-dairy milk and maple syrup over medium heat until steaming (about 2-3 minutes).
Remove from heat and stir in the melted dark chocolate and flaxmeal until fully combined, then add the vanilla and 2 tablespoons oil.
Pour the wet mixture into the dry ingredients and fold together until just combined, then gently fold in the chocolate chips.
Reserve 1 tablespoon of batter in a small bowl for later swirling, then spread the remaining brownie batter evenly into the prepared pan.
Step 2: Blend and Layer Cheesecake Filling
- 8 oz tofu
- 2 tbsp coconut flour
- 3 tbsp sugar
- 1 tsp vanilla
- 3/4 tsp lemon juice
- 1/3 tsp salt
- 2 tbsp oil
Add the silken tofu, coconut flour, 3 tablespoons sugar, 1 teaspoon vanilla, lemon juice, and 1/3 teaspoon salt to a food processor or blender.
Blend until completely smooth and creamy, scraping down the sides as needed—I like to use silken tofu here because it creates the smoothest, most authentic cheesecake texture without any graininess.
Pour the cheesecake mixture evenly over the brownie layer in the pan.
Step 3: Swirl and Bake
- 1 tbsp reserved brownie batter from Step 1
- 2 tsp non-dairy milk
Thin the reserved 1 tablespoon of brownie batter with 2 teaspoons of non-dairy milk until it reaches a drizzle consistency.
Using a toothpick or thin knife, drizzle this thinned brownie mixture randomly across the top of the cheesecake layer, then drag the toothpick through the drizzles in alternating directions to create a swirled pattern.
Bake at 350°F for 40-45 minutes, until the cheesecake layer is set but still has a slight jiggle in the center—this slight wobble ensures a creamy texture rather than a dense, overdone cake.
Step 4: Cool and Finish
- cocoa powder
Remove from the oven and let the brownies cool in the pan to room temperature (about 1 hour), then refrigerate for at least 2 hours before slicing.
Just before serving, sift cocoa powder over the top for a professional, elegant finish.
Slice with a sharp knife dipped in hot water and wiped clean between cuts for clean edges.

