I used to think making homemade granola bars was way too complicated. All that mixing and measuring seemed like a lot of work when I could just grab a box from the store.
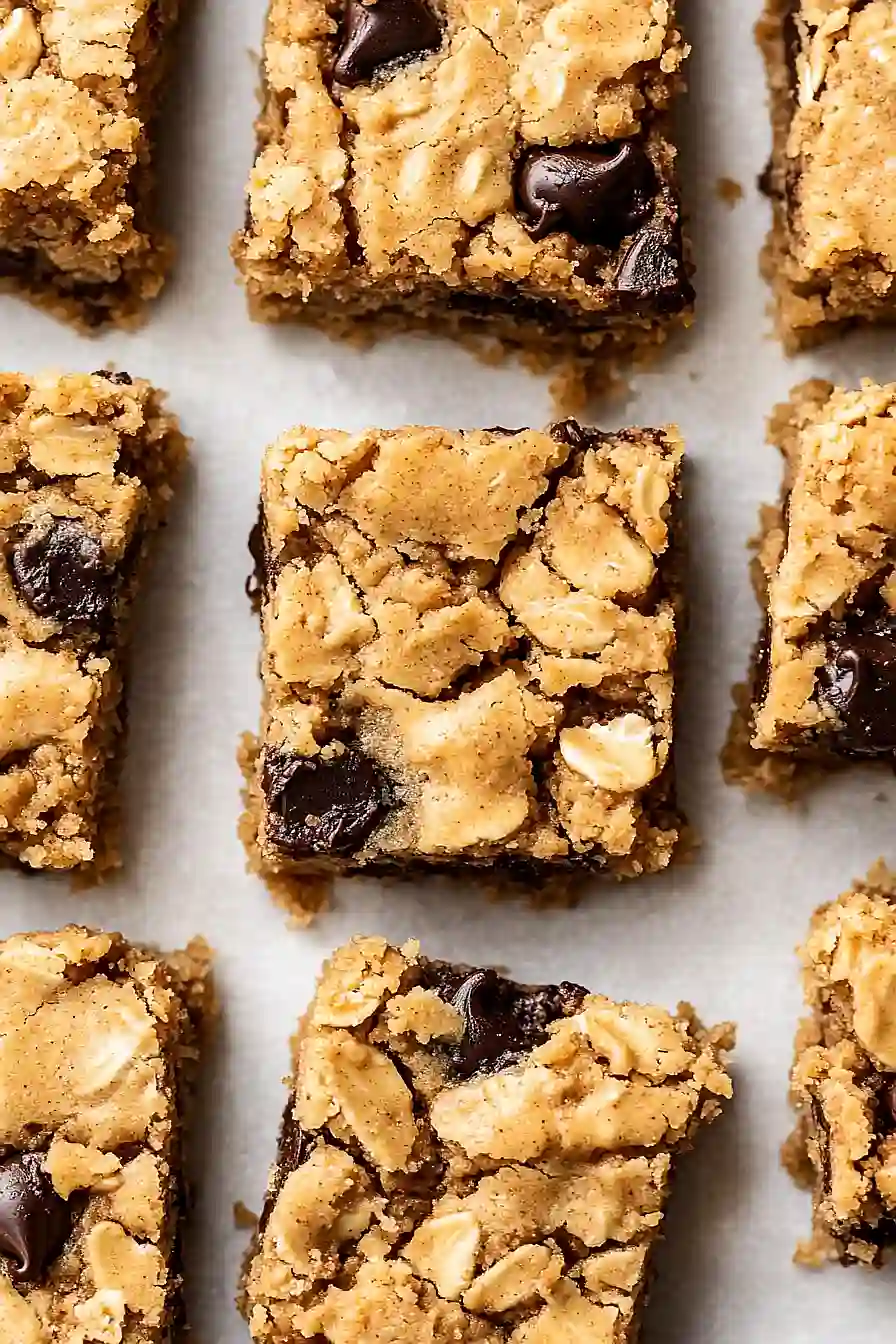
But then I discovered peanut butter oatmeal bars. They’re basically foolproof—just stir everything together, press it into a pan, and bake. No fancy techniques required. Plus, my kids actually prefer these chewy, peanut buttery bars over anything I’ve ever bought at the grocery store.
Why You’ll Love These Peanut Butter Oatmeal Bars
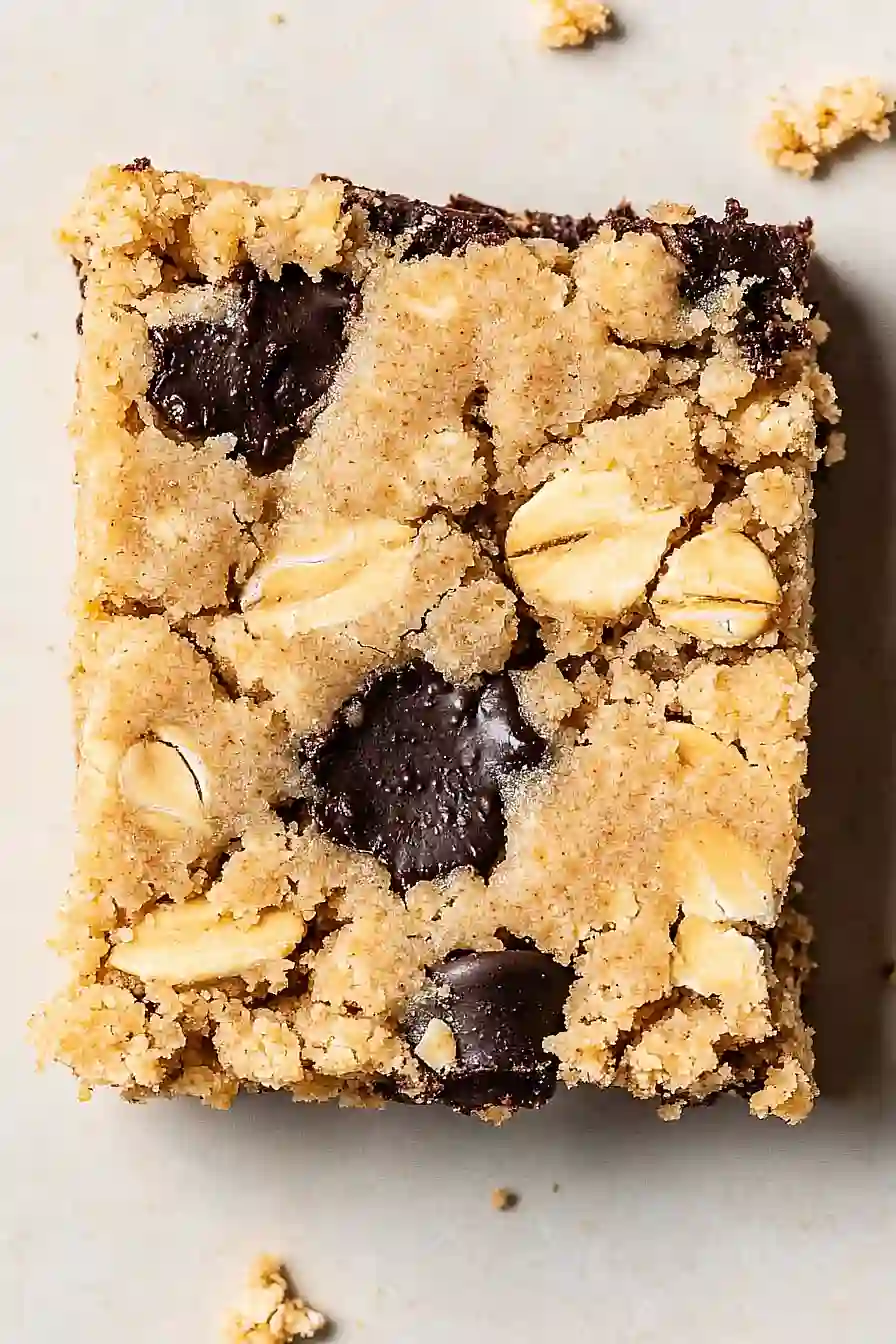
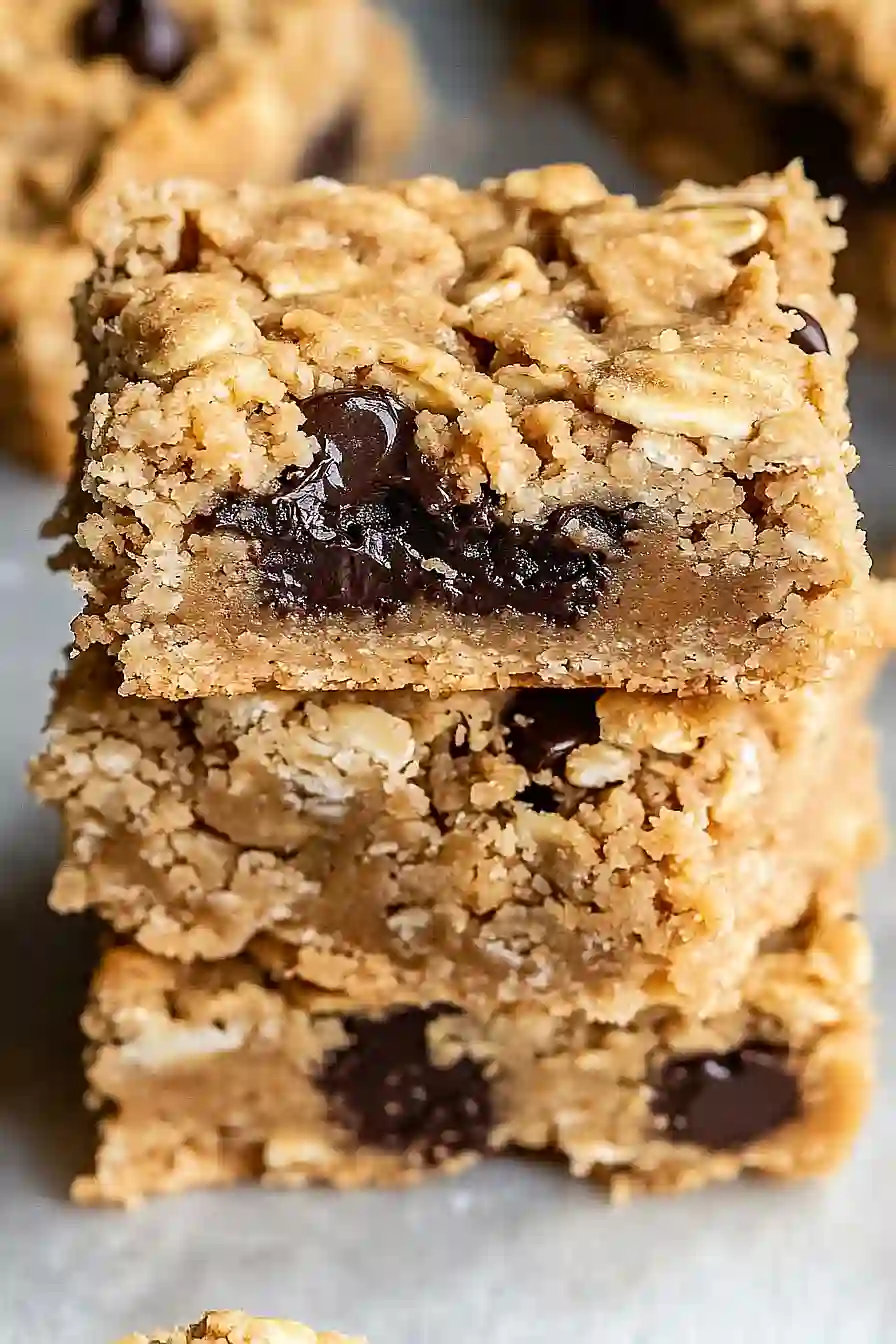
- Perfect chewy texture – The combination of oats and peanut butter creates bars that are soft and chewy in all the right ways, with just enough bite from the oats to make them interesting.
- Simple pantry ingredients – You probably already have most of these ingredients in your kitchen, making this an easy go-to recipe when you need a sweet treat.
- Great for meal prep – These bars keep well for days and are perfect for packing in lunch boxes, taking to work, or having on hand for a quick snack.
- Kid-friendly favorite – The classic peanut butter and oat combination is a hit with children and adults alike, plus you can add chocolate chips to make them even more appealing.
- One-bowl mixing – No need to dirty multiple bowls – you can mix everything together in one bowl and have these in the oven quickly.
What Kind of Peanut Butter Should I Use?
For these oatmeal bars, creamy peanut butter works best since it blends smoothly into the dough and creates an even texture throughout. You can use any brand you like, but I’d recommend sticking with regular peanut butter rather than natural varieties for this recipe. Natural peanut butter tends to be more oily and can make your bars a bit too soft or greasy. If you only have crunchy peanut butter on hand, that’ll work too – it’ll just add some extra texture to your bars. Just make sure your peanut butter is at room temperature so it mixes easily with the other ingredients.
Options for Substitutions
These bars are pretty forgiving when it comes to swaps, so here’s what you can switch up:
- All purpose flour: You can use whole wheat flour for a nuttier flavor, but use about ¾ cup since it’s denser. Oat flour works too – just grind up extra oats in a blender until fine.
- Old fashioned oats: Quick oats will work in a pinch, but your bars might be a bit less chewy. Don’t use instant oats though – they’ll turn mushy.
- Creamy peanut butter: Crunchy peanut butter adds nice texture, or try almond butter or sunflower seed butter for different flavors. Just make sure whatever you use isn’t too oily or runny.
- Unsalted butter: You can use salted butter – just skip the added salt in the recipe. Coconut oil works too if it’s solid at room temperature.
- Brown and granulated sugar: You can use all brown sugar for chewier bars, or all white sugar for a bit more crispness. Coconut sugar works as a 1:1 swap too.
- Chocolate chips: Mini chocolate chips, butterscotch chips, or chopped nuts all work great. You could even add dried fruit like cranberries or raisins for a different twist.
Watch Out for These Mistakes While Baking
The biggest mistake when making peanut butter oatmeal bars is overbaking them, which turns chewy bars into dry, crumbly ones – pull them from the oven when the edges are just set and the center still looks slightly underdone, as they’ll continue cooking from residual heat.
Another common error is not letting your butter and egg come to room temperature first, which can cause the dough to be lumpy and not mix properly, so take them out about an hour before you start baking.
Don’t skip pressing the dough firmly into your pan either, because loose dough will result in bars that fall apart when you try to cut them, and make sure to line your pan with parchment paper for easy removal.
Finally, resist the urge to cut into them right away – letting the bars cool completely in the pan for at least 2 hours will give you clean, neat squares instead of a crumbly mess.
What to Serve With Peanut Butter Oatmeal Bars?
These bars are perfect on their own, but they’re even better with a cold glass of milk for dunking – trust me on this one! I love serving them as an afternoon snack with some fresh fruit like sliced apples or bananas, which pair really nicely with the peanut butter flavor. For a more indulgent treat, try warming them up slightly and serving with a scoop of vanilla ice cream or a dollop of whipped cream. They also make a great addition to any dessert table alongside cookies and brownies, or pack them up for lunch boxes and picnics since they travel so well.
Storage Instructions
Keep Fresh: These peanut butter oatmeal bars stay soft and chewy when stored in an airtight container at room temperature for up to a week. I like to cut them into squares and layer them with parchment paper between each layer to keep them from sticking together.
Freeze: You can freeze these bars for up to 3 months! Wrap them individually in plastic wrap or store them in a freezer-safe container with parchment paper between layers. They thaw quickly at room temperature, making them perfect for grabbing a quick snack.
Make Ahead: I love making these bars a day ahead because they actually taste better after sitting overnight – the flavors meld together nicely. Just cover the pan with foil or plastic wrap and leave them on the counter until you’re ready to cut and serve.
| Preparation Time | 15-20 minutes |
| Cooking Time | 20-25 minutes |
| Total Time | 80-85 minutes |
| Level of Difficulty | Easy |
Estimated Nutrition
Estimated nutrition for the whole recipe (without optional ingredients):
- Calories: 2300-2500
- Protein: 30-35 g
- Fat: 110-120 g
- Carbohydrates: 300-320 g
Ingredients
For the dry mix:
- 1 cup all purpose flour
- 1 cup rolled oats
- 1/2 tsp baking soda
- 1/4 tsp salt
For the wet mix:
- 1/2 cup unsalted butter
- 1/2 cup packed light brown sugar
- 1/2 cup white sugar
- 3/4 cup smooth peanut butter
- 1 large egg, at room temp
- 1 tsp vanilla extract
For the add-ins:
- 1 cup chocolate chips (optional)
Step 1: Prepare the Baking Pan and Preheat Oven
Preheat your oven to 350°F (177°C).
Lightly grease an 8 x 8 inch (20 cm) baking pan.
Line the bottom and two long sides of the pan with parchment paper to help with easy removal of the bars after baking.
Step 2: Combine the Dry Ingredients
- 1 cup all purpose flour
- 1 cup rolled oats
- 1/2 tsp baking soda
- 1/4 tsp salt
In a mixing bowl, whisk together the all purpose flour, rolled oats, baking soda, and salt until everything is well combined.
This ensures that the leavening agents and salt are evenly distributed throughout the mixture.
Step 3: Melt the Butter and Cream with Sugars
- 1/2 cup unsalted butter
- 1/2 cup packed light brown sugar
- 1/2 cup white sugar
Cut the unsalted butter into tablespoon-sized pieces and place them in a microwave-safe bowl.
Heat the butter in the microwave in 45-second bursts until mostly melted, but with a few solid pieces remaining.
Transfer the partially melted butter to the bowl of a stand mixer.
Add the packed light brown sugar and white sugar, and cream them together with the butter until smooth and well combined.
Step 4: Mix Wet Ingredients and Combine with Creamed Mixture
- 3/4 cup smooth peanut butter
- 1 large egg, at room temp
- 1 tsp vanilla extract
Add the smooth peanut butter to the butter-sugar mixture and continue to mix until the mixture is fully smooth and combined.
Then, on low speed, beat in the egg and vanilla extract until well incorporated.
The dough should be smooth and cohesive at this point.
I find using room temperature egg helps the mixture come together more easily.
Step 5: Combine Wet and Dry Ingredients, Add Chocolate Chips
- dry ingredient mixture from Step 2
- wet mixture from Step 4
- 1 cup chocolate chips (optional)
Gradually stir the dry ingredients from Step 2 into the wet mixture from Step 4, adding about half of the dry mixture at a time.
Mix gently until just combined to avoid overmixing.
Then, fold in the chocolate chips, reserving a handful to sprinkle on top if desired.
Press the peanut butter oat dough evenly into the prepared baking pan and use a flexible spatula to smooth the surface.
Sprinkle the reserved chocolate chips over the top.
Step 6: Bake and Cool the Bars
Bake the bars in the preheated oven for 20 to 25 minutes, or until the edges are light golden brown, slightly puffed up, and just starting to pull away from the sides of the pan.
Allow the bars to cool in the pan until they reach room temperature, which takes about 45 to 60 minutes.
I like to leave them in the pan so they set completely and are easier to slice.
Step 7: Remove, Slice, and Serve
Once completely cool, use the parchment paper to gently lift the bars out of the pan.
Transfer them to a cutting board, slice into bars, and enjoy.
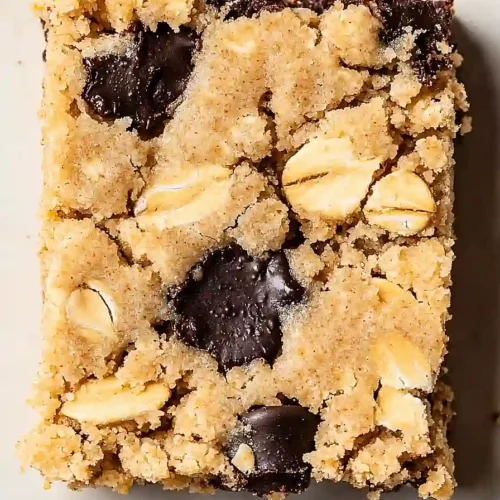
For extra flavor, you can sprinkle a pinch of sea salt over the bars before serving—I love the way it complements the chocolate and peanut butter!
Tasty Peanut Butter Oatmeal Bars
Ingredients
For the dry mix:
- 1 cup all purpose flour
- 1 cup rolled oats
- 1/2 tsp baking soda
- 1/4 tsp salt
For the wet mix:
- 1/2 cup unsalted butter
- 1/2 cup packed light brown sugar
- 1/2 cup white sugar
- 3/4 cup smooth peanut butter
- 1 large egg, at room temp
- 1 tsp vanilla extract
For the add-ins:
- 1 cup chocolate chips (optional)
Instructions
- Preheat your oven to 350°F (177°C). Lightly grease an 8 x 8 inch (20 cm) baking pan. Line the bottom and two long sides of the pan with parchment paper to help with easy removal of the bars after baking.
- In a mixing bowl, whisk together the all purpose flour, rolled oats, baking soda, and salt until everything is well combined. This ensures that the leavening agents and salt are evenly distributed throughout the mixture.
- Cut the unsalted butter into tablespoon-sized pieces and place them in a microwave-safe bowl. Heat the butter in the microwave in 45-second bursts until mostly melted, but with a few solid pieces remaining. Transfer the partially melted butter to the bowl of a stand mixer. Add the packed light brown sugar and white sugar, and cream them together with the butter until smooth and well combined.
- Add the smooth peanut butter to the butter-sugar mixture and continue to mix until the mixture is fully smooth and combined. Then, on low speed, beat in the egg and vanilla extract until well incorporated. The dough should be smooth and cohesive at this point. I find using room temperature egg helps the mixture come together more easily.
- Gradually stir the dry ingredients from Step 2 into the wet mixture from Step 4, adding about half of the dry mixture at a time. Mix gently until just combined to avoid overmixing. Then, fold in the chocolate chips, reserving a handful to sprinkle on top if desired. Press the peanut butter oat dough evenly into the prepared baking pan and use a flexible spatula to smooth the surface. Sprinkle the reserved chocolate chips over the top.
- Bake the bars in the preheated oven for 20 to 25 minutes, or until the edges are light golden brown, slightly puffed up, and just starting to pull away from the sides of the pan. Allow the bars to cool in the pan until they reach room temperature, which takes about 45 to 60 minutes. I like to leave them in the pan so they set completely and are easier to slice.
- Once completely cool, use the parchment paper to gently lift the bars out of the pan. Transfer them to a cutting board, slice into bars, and enjoy. For extra flavor, you can sprinkle a pinch of sea salt over the bars before serving—I love the way it complements the chocolate and peanut butter!
