I used to think cheesecake was one of those desserts you could only get right in a fancy restaurant. My first attempt at a full-size cheesecake cracked down the middle and took forever to set. Plus, it was way too much for just our family of four.
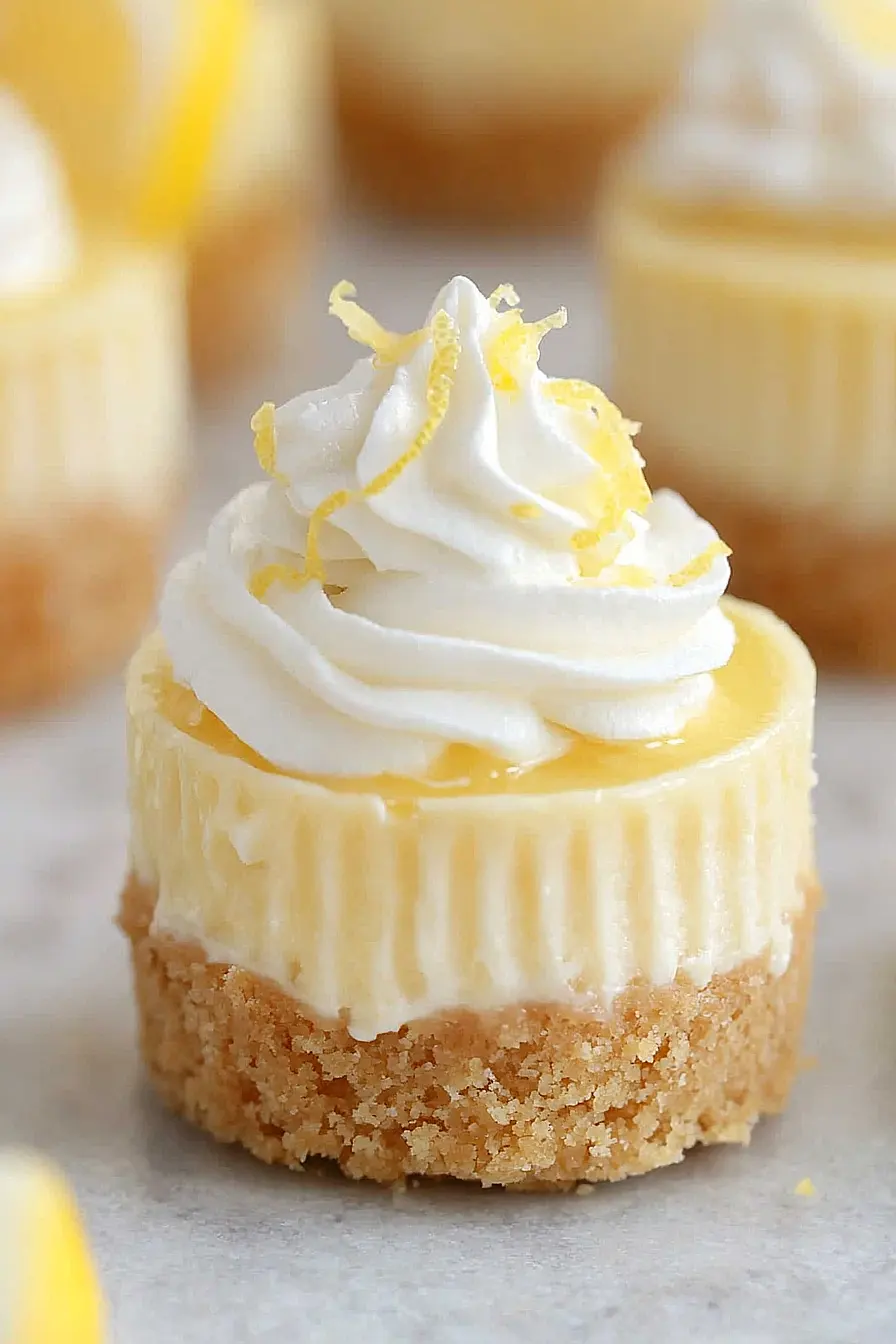
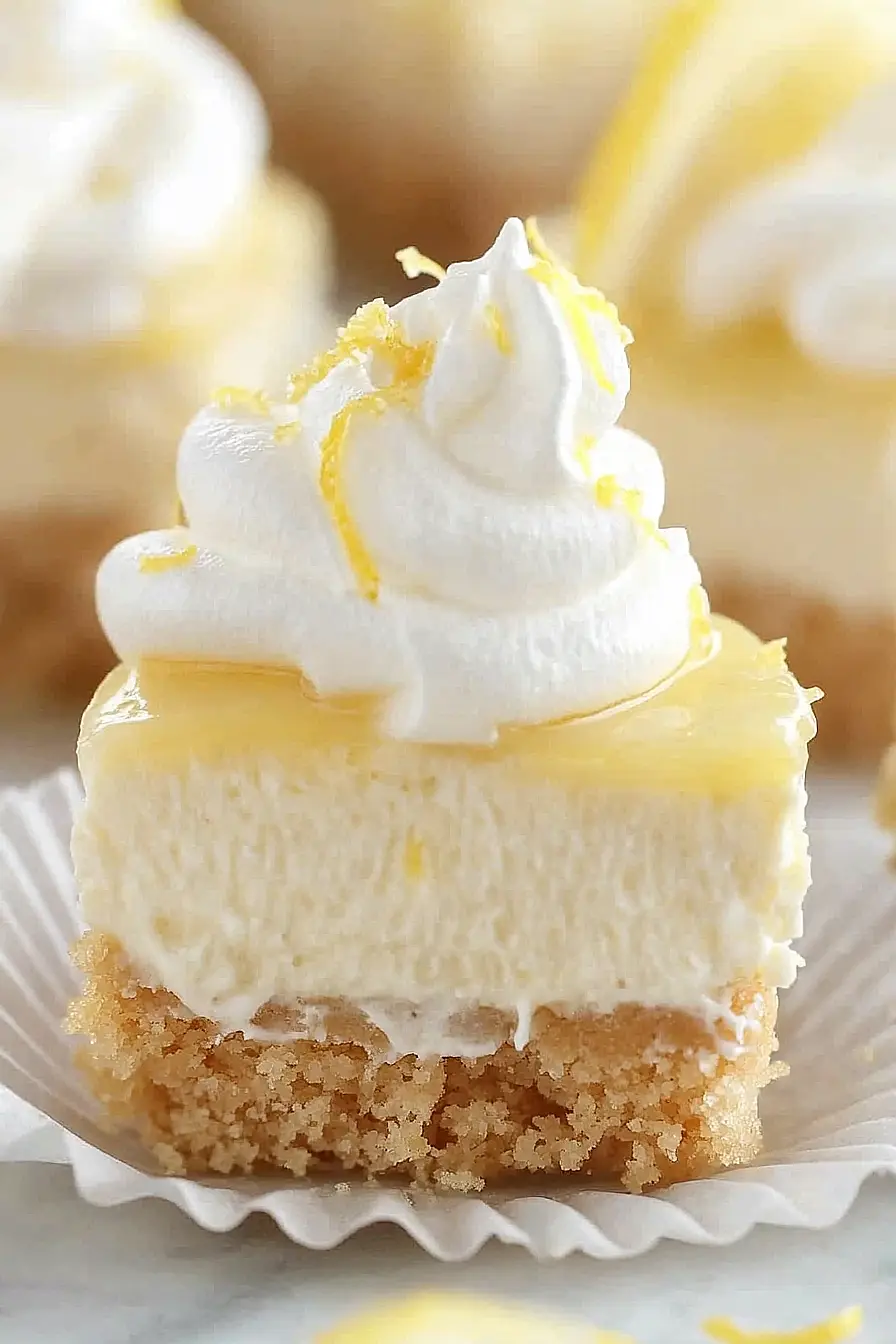
That’s when I discovered cheesecake bites. These little guys give you all the creamy, tangy goodness of regular cheesecake without the stress of getting a whole cake perfect. The lemon version is my go-to because it’s light and refreshing, and honestly, they disappear from the fridge faster than I can make them.
Why You’ll Love These Lemon Cheesecake Bites
- Perfect portion control – These bite-sized treats give you all the creamy cheesecake satisfaction without the guilt of cutting a huge slice from a whole cake.
- Bright, refreshing flavor – The combination of fresh lemon zest, juice, and extract creates a tangy taste that’s perfect for spring and summer gatherings or when you need something light after a heavy meal.
- Make-ahead friendly – You can prepare these little cheesecakes a day or two in advance, making them ideal for parties, potlucks, or busy weekends when you want dessert ready to go.
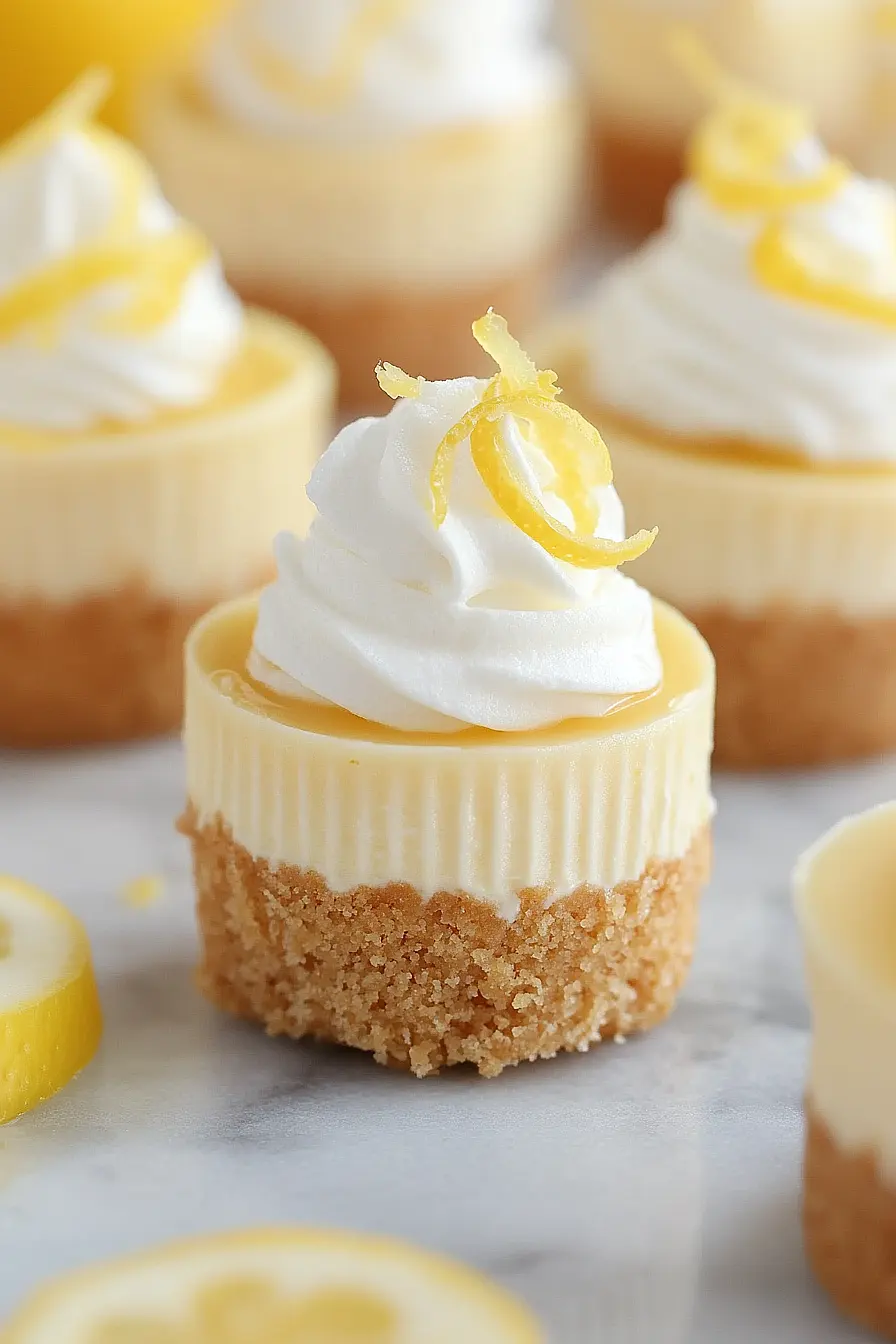
- Impressive presentation – These individual cheesecakes look fancy and professional, but they’re actually quite simple to make using a muffin tin or mini cheesecake pan.
- Customizable toppings – The optional lemon curd adds an extra burst of citrus flavor, but you can also top them with fresh berries, whipped cream, or enjoy them plain.
What Kind of Cream Cheese Should I Use?
For these lemon cheesecake bites, you’ll want to stick with full-fat cream cheese – it’s really the key to getting that rich, creamy texture we’re after. Avoid the reduced-fat or fat-free versions since they tend to make your cheesecake more likely to crack and won’t give you that smooth, luxurious consistency. Make sure your cream cheese is completely at room temperature before you start mixing, which usually takes about an hour on the counter. If you’re in a hurry, you can cut it into smaller chunks to help it soften faster, but don’t try to microwave it since that can create hot spots and affect the texture.
Options for Substitutions
These little cheesecake bites are pretty forgiving when it comes to swaps:
- Graham cracker crumbs: You can easily substitute with crushed vanilla wafers, digestive biscuits, or even crushed shortbread cookies. Just make sure you have the same amount of crumbs.
- Full-fat cream cheese: This is one ingredient I wouldn’t mess with – the full-fat version is really important for the right texture and richness. Low-fat versions will make your cheesecake too soft and less creamy.
- Sour cream: If you don’t have sour cream, Greek yogurt works great as a substitute. Just make sure it’s plain and at room temperature like the original ingredient.
- Lemon extract: No lemon extract? You can skip it and just add an extra tablespoon of fresh lemon juice, or use vanilla extract for a different flavor profile.
- Heavy whipping cream: For the topping, you can use whipped topping from a container if you prefer something easier, though fresh whipped cream tastes better.
- Lemon curd: This is totally optional anyway, but you could swap it for berry jam, caramel sauce, or just leave it off entirely for simple lemon cheesecake bites.
Watch Out for These Mistakes While Baking
The biggest mistake when making cheesecake bites is using cold cream cheese, which leads to lumpy filling that won’t smooth out no matter how much you mix – make sure your cream cheese, sour cream, and eggs are all at room temperature for at least an hour before starting.
Another common error is overbaking these little treats, so keep a close eye on them and remove when the centers are just barely set with a slight jiggle, as they’ll continue cooking from residual heat.
To prevent cracks on top, avoid overmixing the batter once you add the eggs (mix just until combined), and consider placing a pan of hot water on the bottom oven rack to create steam during baking.
Finally, resist the urge to remove them from the pan immediately – let them cool completely in the pan first, then chill for at least 2 hours before attempting to remove, which prevents them from falling apart.
What to Serve With Lemon Cheesecake Bites?
These little lemon cheesecake bites are perfect on their own, but they’re also great as part of a dessert spread alongside fresh berries like strawberries, blueberries, or raspberries. The tartness of the lemon pairs beautifully with sweet fruits, so consider adding some sliced peaches or even a handful of blackberries on the side. If you’re serving them at a party, they work wonderfully with other bite-sized desserts like chocolate truffles or mini fruit tarts. For a simple finishing touch, dust them with a little extra powdered sugar or serve with a small dollop of whipped cream and a mint leaf for a nice presentation.
Storage Instructions
Refrigerate: These lemon cheesecake bites need to stay chilled in the fridge to keep their creamy texture. Store them in an airtight container for up to 5 days. I like to keep them covered with plastic wrap too, just to make sure they don’t pick up any funky fridge flavors.
Freeze: You can absolutely freeze these little treats for up to 3 months! Just wrap each bite individually in plastic wrap, then pop them in a freezer bag. They’re actually pretty good eaten straight from the freezer – kind of like mini frozen cheesecakes.
Thaw: If you want the full creamy experience, let frozen bites thaw in the fridge for about 2-3 hours before serving. They’ll be perfectly soft and ready to enjoy. You can also let them sit at room temperature for about 30 minutes if you’re in a hurry.
| Preparation Time | 30-45 minutes |
| Cooking Time | 15-20 minutes |
| Total Time | 2 hours 45 minutes to 3 hours 5 minutes |
| Level of Difficulty | Medium |
Estimated Nutrition
Estimated nutrition for the whole recipe (without optional ingredients):
- Calories: 2100-2400
- Protein: 30-40 g
- Fat: 170-200 g
- Carbohydrates: 150-180 g
Ingredients
For the crust:
- 1 1/4 cups graham cracker crumbs
- 3 tbsp unsalted butter, melted
For the cheesecake filling:
- 16 oz full-fat cream cheese, room temperature
- 1/4 cup granulated sugar
- 1/2 cup sour cream, at room temperature
- 2 tbsp grated lemon peel
- 2 tbsp lemon juice
- 1 tsp lemon extract
- 2 large eggs, at room temperature
For the whipped cream topping:
- 1 cup heavy cream
- 1/2 cup confectioners’ sugar
For garnish (optional):
- 2/3 cup lemon curd
Step 1: Prepare the Cheesecake Crust
- 1 1/4 cups graham cracker crumbs
- 3 tbsp unsalted butter, melted
Preheat your oven to 350°F and line a cupcake pan with baking liners.
Using a food processor or blender, grind the graham cracker crumbs into a fine texture.
In a bowl, combine these crumbs with the melted butter and stir until the mixture is well incorporated.
Spoon about 1 heaping tablespoon of the crust mixture into each cupcake liner and firmly press down using the back of a spoon to form a compact base.
Set the tray aside.
Step 2: Make the Lemon Cheesecake Filling
- 16 oz full-fat cream cheese, room temperature
- 1/4 cup granulated sugar
- 1/2 cup sour cream, at room temperature
- 2 tbsp grated lemon peel
- 2 tbsp lemon juice
- 1 tsp lemon extract
- 2 large eggs, at room temperature
In a mixing bowl, beat the room temperature cream cheese and granulated sugar together until smooth and free of lumps, scraping down the sides as needed.
Add the sour cream, grated lemon peel, lemon juice, and lemon extract, beating until the mixture is fully combined and creamy.
Finally, incorporate the eggs one at a time, mixing on low speed just until combined to avoid overmixing.
The batter should be smooth and velvety.
Step 3: Fill and Bake the Cheesecakes
- cheesecake batter from Step 2
- crusts in cupcake liners from Step 1
Using a large cookie scoop or a 1/4 cup measuring cup, divide the cheesecake batter evenly among the prepared cupcake liners with crusts, filling nearly to the top but leaving about 1/4-inch space.
Bake in the preheated oven for 15 to 18 minutes, until the centers are set but still slightly jiggly.
Remove the pan from the oven and let the cheesecakes cool completely at room temperature.
Once cooled, refrigerate for at least 2 hours before serving to allow them to fully set.
I always refrigerate overnight for the very best texture.
Step 4: Top with Lemon Curd
- 2/3 cup lemon curd
Once the cheesecakes are fully chilled, add a dollop of lemon curd to the top of each cheesecake.
This adds a burst of tart and sweet lemon flavor that pairs perfectly with the creamy cheesecake base.
Step 5: Make and Pipe the Whipped Cream
- 1 cup heavy cream
- 1/2 cup confectioners’ sugar
Chill your mixing bowl and whisk attachment in the freezer for 5 to 10 minutes.
Pour the heavy cream into the chilled bowl and use an electric mixer to beat on medium-high speed until soft peaks form.
Gradually add the confectioners’ sugar and beat on high until stiff peaks are achieved.
Pipe or spoon the whipped cream onto each chilled and topped cheesecake just before serving.
For a more decorative finish, I like using a star piping tip, but a spoon works just as well!

These sound perfect, but how many does the recipe make? Also, do you know how long I’d bake these if I tried to make them mini-cupcakes? Thanks!
Excellent directions! To answer my own question, this makes 12 regular cupcake-size cakes. And you DO need to take them out of their liners to serve! Keep them cold.