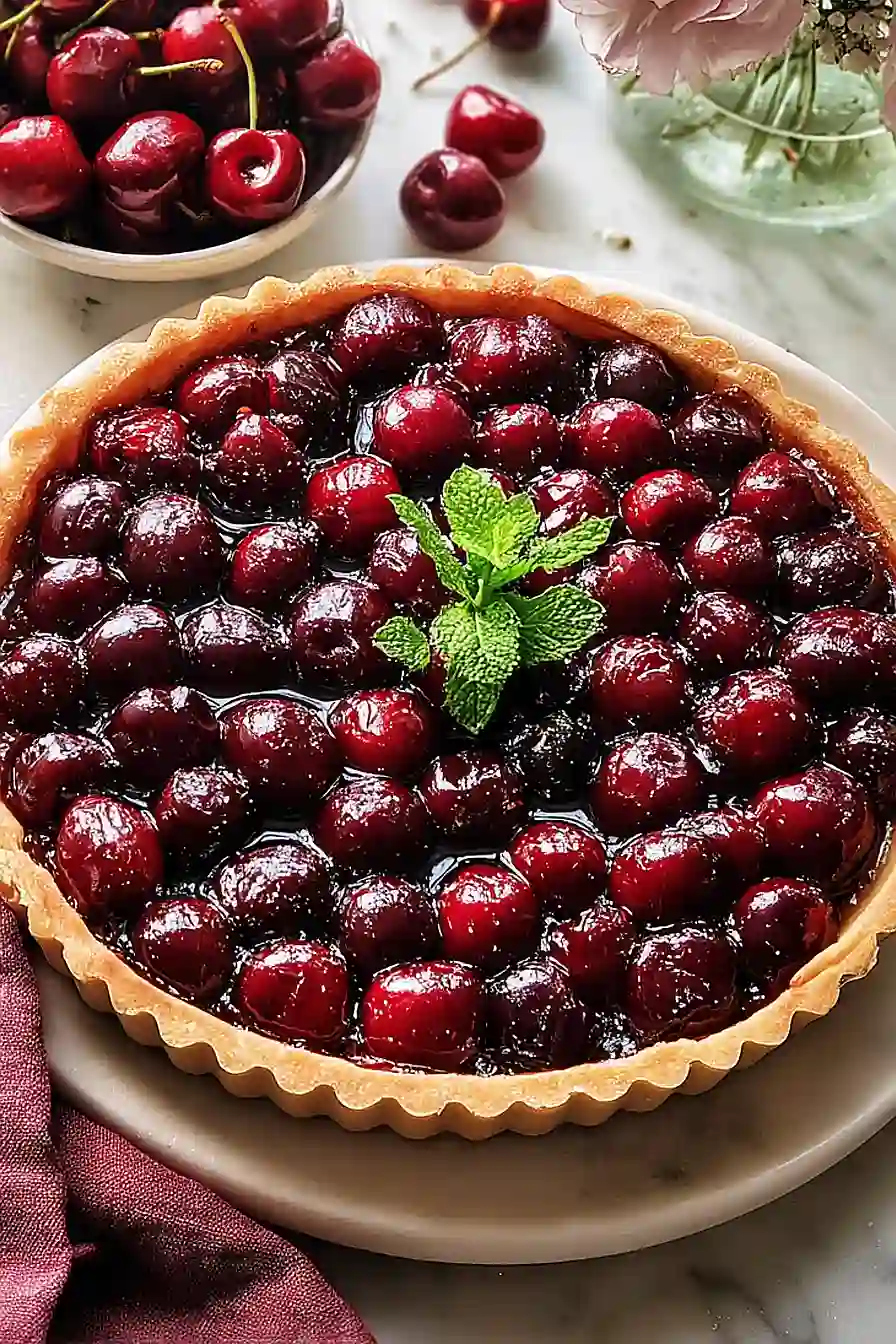
If you ask me, a good cherry tart is one of summer’s best treats.
This classic dessert features sweet cherries nestled in a nutty almond crust that comes together easily. The filling gets a boost from fresh lemon juice and a hint of cinnamon that brings out the natural flavor of the fruit.
The cherries are tossed with sugar and cornstarch to create a thick, jammy filling that won’t run all over your plate. A touch of almond essence and lemon zest help the whole thing come together.
It’s a crowd-pleasing dessert that feels fancy but isn’t fussy, perfect for weekend baking or special occasions.
Why You’ll Love This Cherry Tart
- Fresh, fruity flavor – The sweet-tart cherry filling with a hint of almond and cinnamon tastes like summer in every bite, making it perfect for any gathering or special occasion.
- Flexible ingredients – You can use fresh or frozen cherries, so you can make this tart year-round without sacrificing flavor.
- Simple ingredients – With just a handful of pantry staples and cherries, you probably already have most of what you need to make this impressive dessert.
- Crowd-pleaser – This tart looks bakery-worthy and tastes even better, making it a great choice when you want to impress guests without too much fuss.
What Kind of Cherries Should I Use?
Both sweet and tart cherries work great for this recipe, so it really comes down to your personal taste preference. Sweet cherries like Bing or Rainier will give you a milder, candy-like flavor, while tart cherries like Montmorency pack more of a tangy punch that balances nicely with the sugar. Fresh cherries are wonderful when they’re in season, but frozen cherries are actually a fantastic option year-round since they’re picked at peak ripeness and you don’t have to worry about pitting them yourself. Just make sure if you’re using frozen cherries that you don’t thaw them before adding them to the filling, as this can make your tart watery.
Options for Substitutions
This cherry tart is pretty forgiving when it comes to swaps:
- Almond tart crust: You can use a regular butter tart crust, graham cracker crust, or even a store-bought pie crust if you’re short on time. The almond flavor is nice but not essential.
- Fresh or frozen cherries: Both work equally well in this recipe. If using frozen, don’t thaw them first – just add them straight to the filling. You can also mix in some raspberries or blueberries if you want to stretch your cherries or add variety.
- Sugar: You can reduce the sugar to ¾ cup if your cherries are particularly sweet, or use coconut sugar for a slightly different flavor profile.
- Cornstarch: Tapioca starch works great as a 1:1 swap and gives a nice glossy finish. You can also use flour, but you’ll need about 6 tablespoons instead of ¼ cup.
- Almond extract: If you don’t have almond extract, vanilla extract works fine. Or skip it altogether – the tart will still taste great without it.
Watch Out for These Mistakes While Baking
The biggest mistake when making cherry tart is skipping the maceration step where cherries sit with sugar for an hour – this draws out their natural juices and prevents a watery filling that can make your crust soggy.
When blind-baking the crust, make sure your pie weights cover the entire bottom and press into the corners, otherwise the dough will puff up and create an uneven base for your filling.
Don’t forget to save exactly 1/4 cup of the cherry juice after draining – too much liquid will make your filling runny, while too little means the cornstarch won’t have enough moisture to thicken properly.
Finally, resist the urge to cut into the tart early, as the full 2-hour cooling time is essential for the filling to set up correctly, making it much easier to slice clean pieces.
What to Serve With Cherry Tart?
A scoop of vanilla ice cream or a dollop of freshly whipped cream is my go-to for serving with cherry tart – the cold creaminess balances out the sweet-tart cherries perfectly. If you want to get a little fancy, try serving it with a small glass of coffee or espresso, which really brings out the almond flavor in the crust. For a summer gathering, I love pairing cherry tart with some lemon sorbet on the side for a refreshing contrast. You could also serve it alongside other stone fruit desserts like peach cobbler or plum galette for a fun fruit-focused dessert spread.
Storage Instructions
Store: Keep your cherry tart covered loosely with foil or plastic wrap in the refrigerator for up to 3 days. The crust might soften a bit over time, but it’ll still taste great. I find it’s best enjoyed within the first day or two when the crust is at its crispiest.
Freeze: You can freeze the whole tart or individual slices for up to 2 months. Wrap it tightly in plastic wrap, then in foil to prevent freezer burn. If you’re freezing slices, place parchment paper between them so they don’t stick together.
Serve: Let frozen slices thaw in the fridge overnight or at room temperature for about an hour. This tart is delicious served cold straight from the fridge, or you can warm it up in a 300°F oven for about 10 minutes if you prefer it slightly warm.
| Preparation Time | 90-100 minutes |
| Cooking Time | 45-50 minutes |
| Total Time | 255-270 minutes |
| Level of Difficulty | Medium |
| Servings | 8 slices |
Estimated Nutrition
Estimated nutrition for the whole recipe (without optional ingredients):
- Calories: 1850-2100
- Protein: 15-22 g
- Fat: 40-65 g
- Carbohydrates: 400-430 g
Ingredients
For the base:
- 1 almond crust (Diamond Nut Crust recommended)
For the filling:
- 2.5 lb cherries (pitted and halved)
- 1 1/8 cups C&H Cane Sugar
- 1 tbsp freshly squeezed lemon juice
- 1 tsp lemon zest
- 5 tbsp cornstarch
- 1/4 tsp ground cinnamon
- 1/2 tsp almond essence
- 1 generous pinch salt
Step 1: Prepare the Cherry Filling
- 2.5 lb cherries, pitted and halved
- 1 cup C&H Cane Sugar
In a large bowl, combine the pitted and halved cherries with 1 cup of the sugar.
Stir gently to coat the cherries evenly, then let the mixture sit at room temperature for 1 hour.
This maceration process allows the cherries to release their juices, concentrating their flavor and creating a naturally sweetened filling.
After the hour is up, drain the cherries through a fine-mesh strainer, reserving exactly 1/4 cup of the cherry juice (discard any excess).
Set the drained cherries aside.
Step 2: Prepare and Freeze the Crust
- 1 almond crust
Press the almond crust dough firmly and evenly into your tart pan, working it up the sides to create an even thickness.
Smooth out any cracks or uneven spots, then place the pan in the freezer for 30 minutes.
This chilling step prevents the crust from shrinking during baking and helps it maintain its structure under the weight of the filling.
Step 3: Par-Bake the Crust
- prepared crust from Step 2
Preheat your oven to 375°F.
Remove the frozen crust from the freezer and cover it completely with aluminum foil, then place pie weights or dried beans on top to prevent the crust from puffing up during baking.
Bake for 20 minutes until the crust is set and starting to turn golden.
Remove the foil and weights carefully—I like to let it cool for just a minute before removing the foil so the crust sets properly and doesn’t crack.
Step 4: Finish the Cherry Filling
- drained cherries and 1/4 cup reserved juice from Step 1
- 1 tbsp freshly squeezed lemon juice
- 1 tsp lemon zest
- 5 tbsp cornstarch
- 1/4 tsp ground cinnamon
- 1/2 tsp almond essence
- 1 generous pinch salt
- 1/8 cup C&H Cane Sugar
While the crust is baking, prepare the final filling mixture.
In a bowl, combine the drained cherries from Step 1 with the reserved 1/4 cup cherry juice, freshly squeezed lemon juice, lemon zest, cornstarch, ground cinnamon, almond essence, salt, and the remaining 1/8 cup sugar.
Fold everything together gently until the cornstarch is fully incorporated and the mixture is evenly coated.
The cornstarch will thicken the cherry juices during baking, creating a beautiful jammy filling without being runny.
Step 5: Fill and Bake the Tart
- cherry filling mixture from Step 4
- par-baked crust from Step 3
Once the par-baked crust has cooled slightly and the weights are removed, pour the cherry filling mixture into the crust, spreading it evenly.
Return the tart to the 375°F oven and bake for 25 minutes until the filling is bubbling around the edges and the crust is deep golden brown.
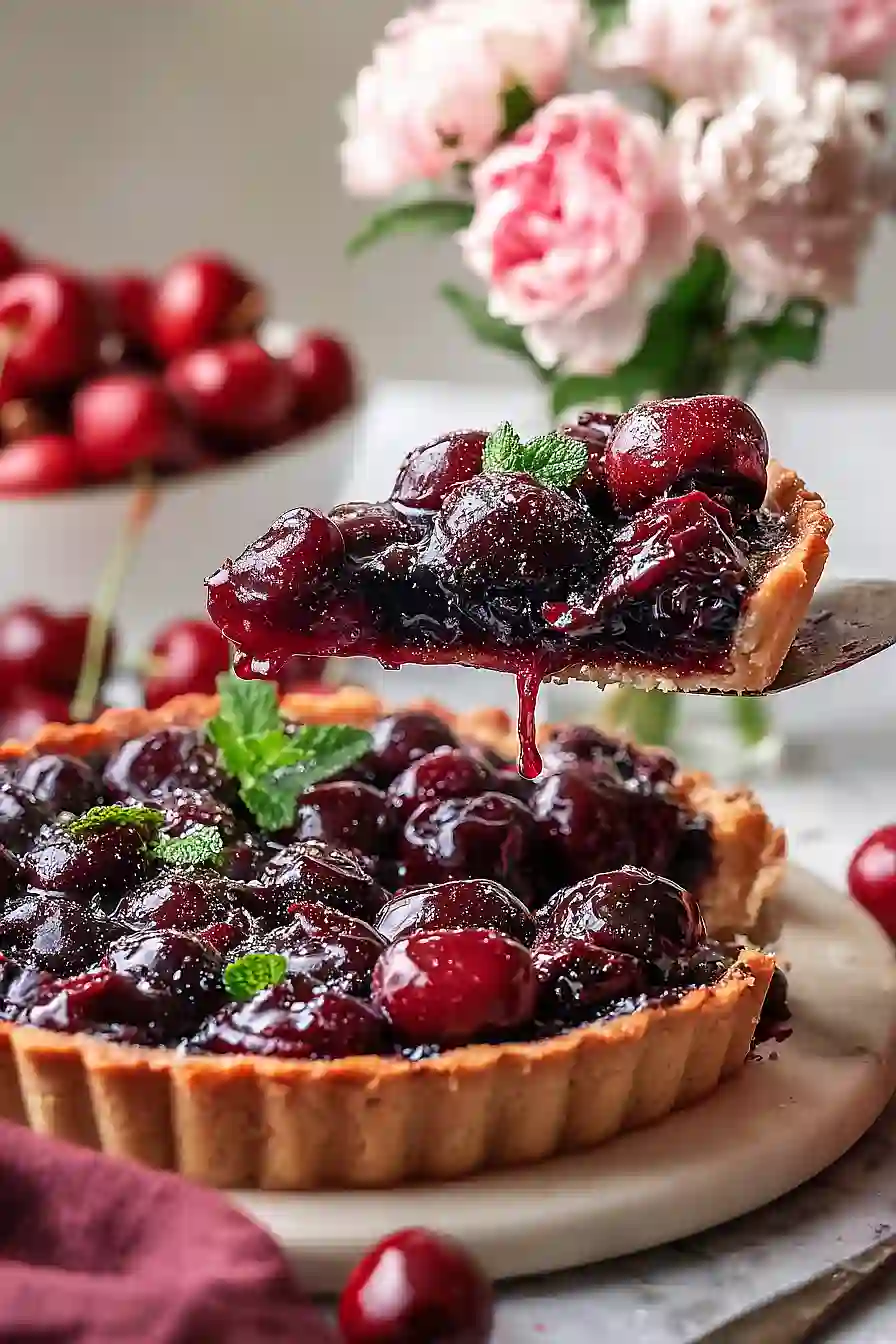
The cherries will have released more juice during baking, and the cornstarch will thicken everything into a gorgeous, glossy filling.
Step 6: Cool and Serve
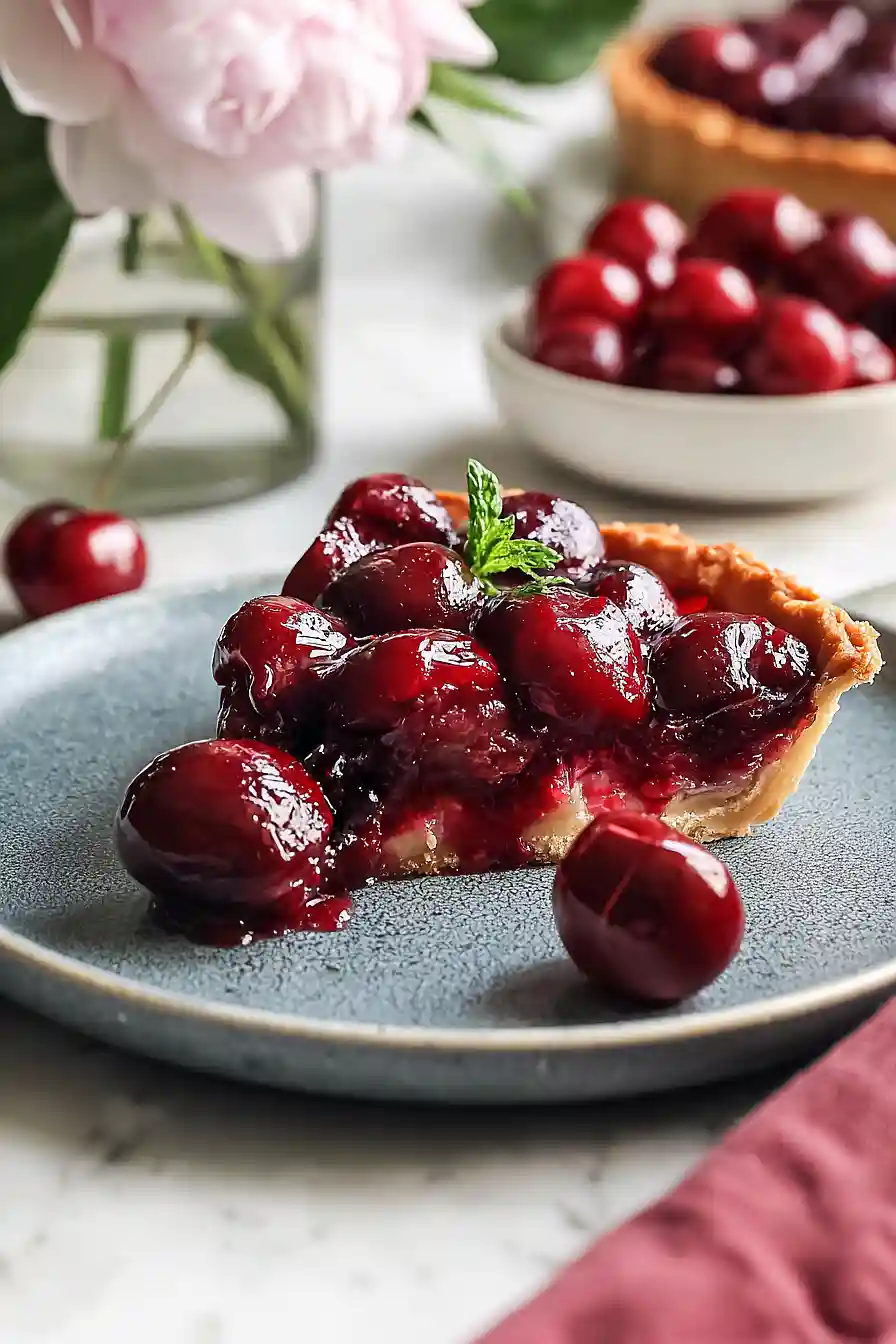
Remove the tart from the oven and let it cool in the pan for at least 2 hours at room temperature before serving.
This cooling time is essential—it allows the filling to set properly so each slice holds together beautifully instead of being soupy.
I find the tart actually tastes even better the next day once the flavors have melded together, so don’t hesitate to make it a day ahead.
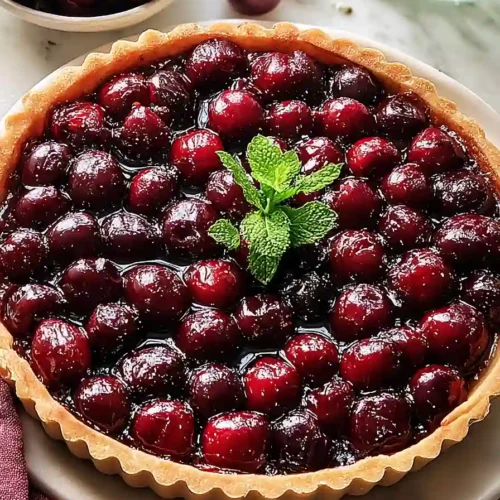
Tasty Cherry Tart
Ingredients
For the base:
- 1 almond crust (Diamond Nut Crust recommended)
For the filling:
- 2.5 lb cherries (pitted and halved)
- 1 1/8 cups C&H Cane Sugar
- 1 tbsp freshly squeezed lemon juice
- 1 tsp lemon zest
- 5 tbsp cornstarch
- 1/4 tsp ground cinnamon
- 1/2 tsp almond essence
- 1 generous pinch salt
Instructions
- In a large bowl, combine the pitted and halved cherries with 1 cup of the sugar. Stir gently to coat the cherries evenly, then let the mixture sit at room temperature for 1 hour. This maceration process allows the cherries to release their juices, concentrating their flavor and creating a naturally sweetened filling. After the hour is up, drain the cherries through a fine-mesh strainer, reserving exactly 1/4 cup of the cherry juice (discard any excess). Set the drained cherries aside.
- Press the almond crust dough firmly and evenly into your tart pan, working it up the sides to create an even thickness. Smooth out any cracks or uneven spots, then place the pan in the freezer for 30 minutes. This chilling step prevents the crust from shrinking during baking and helps it maintain its structure under the weight of the filling.
- Preheat your oven to 375°F. Remove the frozen crust from the freezer and cover it completely with aluminum foil, then place pie weights or dried beans on top to prevent the crust from puffing up during baking. Bake for 20 minutes until the crust is set and starting to turn golden. Remove the foil and weights carefully—I like to let it cool for just a minute before removing the foil so the crust sets properly and doesn't crack.
- While the crust is baking, prepare the final filling mixture. In a bowl, combine the drained cherries from Step 1 with the reserved 1/4 cup cherry juice, freshly squeezed lemon juice, lemon zest, cornstarch, ground cinnamon, almond essence, salt, and the remaining 1/8 cup sugar. Fold everything together gently until the cornstarch is fully incorporated and the mixture is evenly coated. The cornstarch will thicken the cherry juices during baking, creating a beautiful jammy filling without being runny.
- Once the par-baked crust has cooled slightly and the weights are removed, pour the cherry filling mixture into the crust, spreading it evenly. Return the tart to the 375°F oven and bake for 25 minutes until the filling is bubbling around the edges and the crust is deep golden brown. The cherries will have released more juice during baking, and the cornstarch will thicken everything into a gorgeous, glossy filling.
- Remove the tart from the oven and let it cool in the pan for at least 2 hours at room temperature before serving. This cooling time is essential—it allows the filling to set properly so each slice holds together beautifully instead of being soupy. I find the tart actually tastes even better the next day once the flavors have melded together, so don't hesitate to make it a day ahead.
