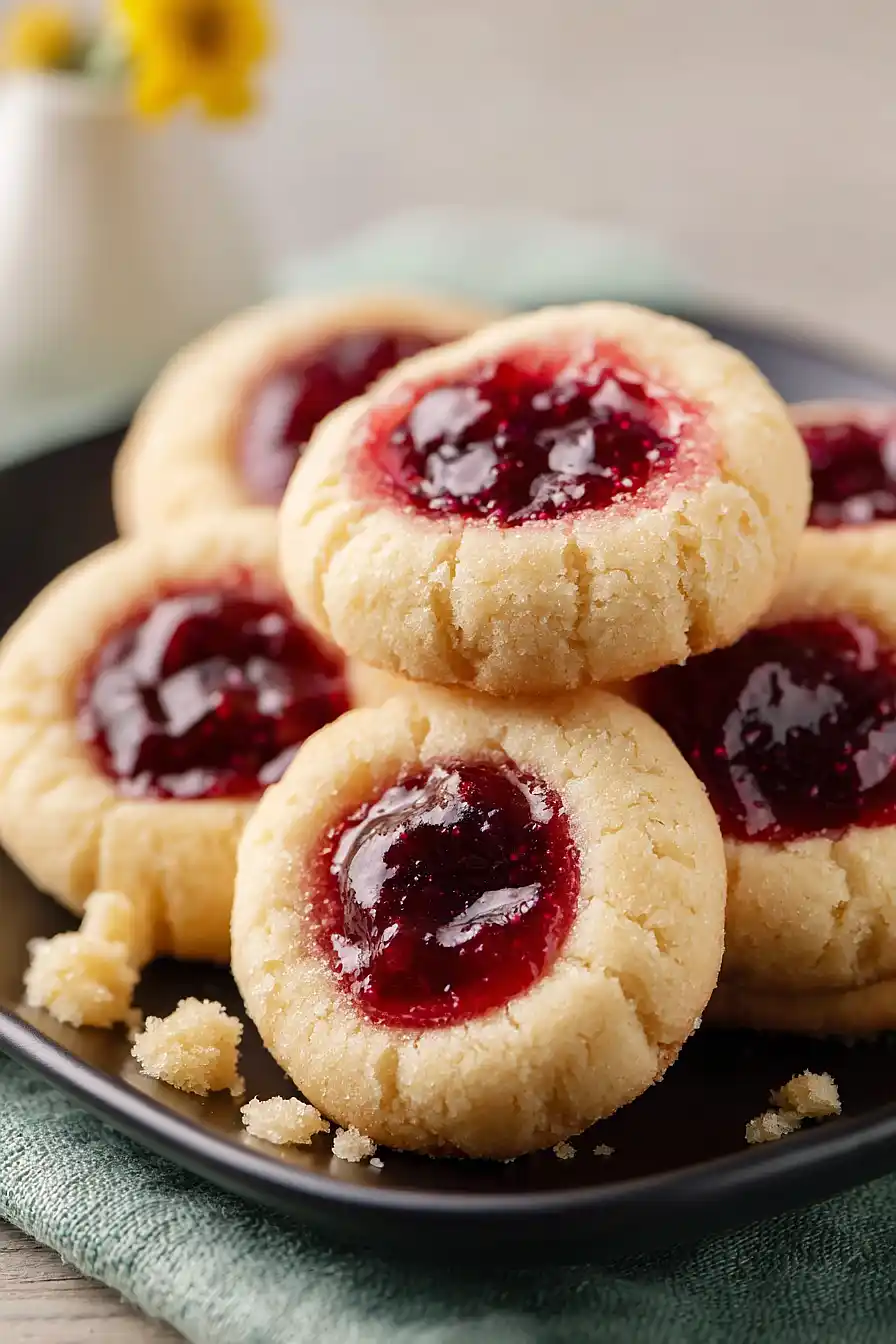
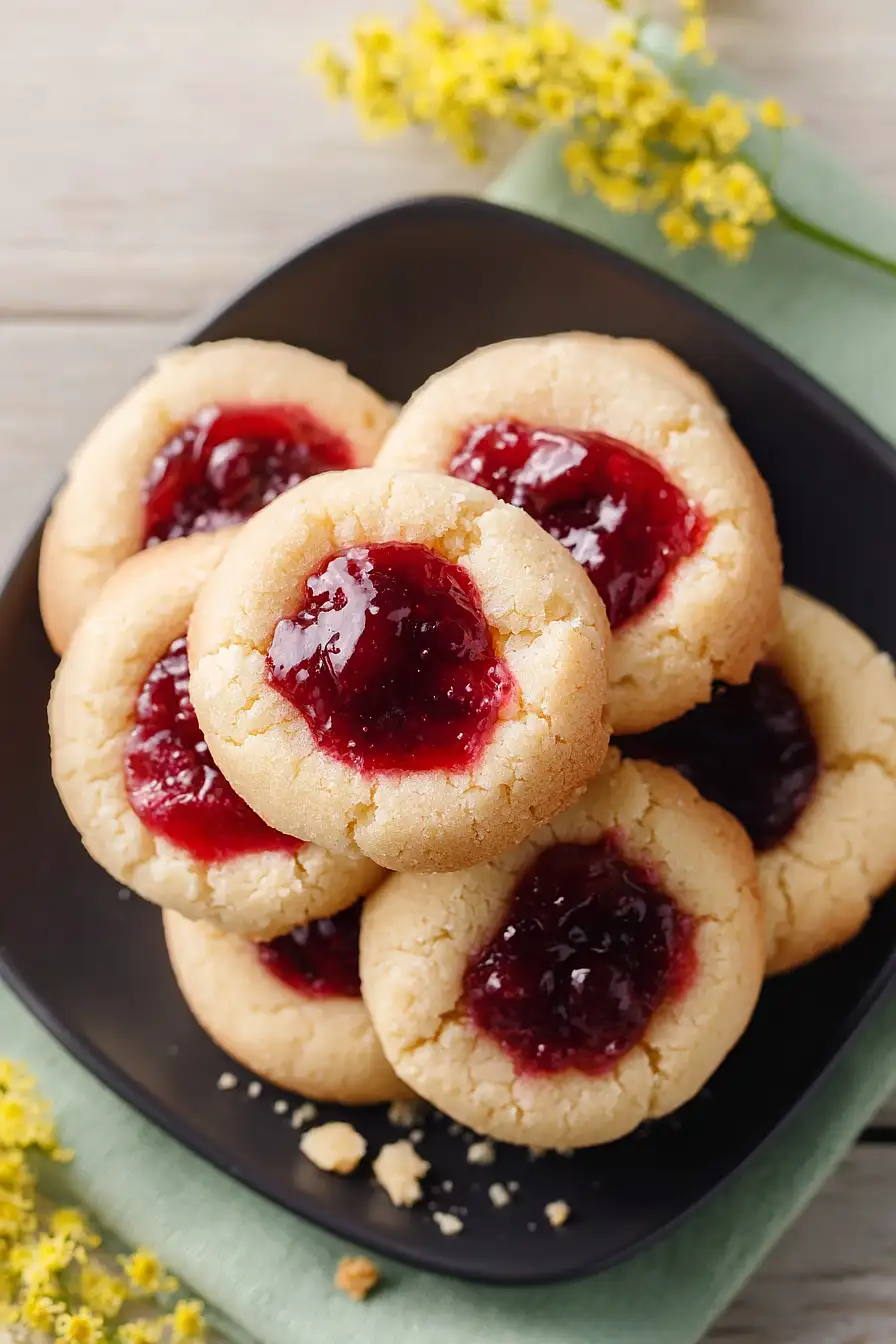
Here are my cherry thumbprint cookies, with a buttery cream cheese dough rolled in graham cracker crumbs, and filled with sweet dark cherries mixed with cherry jam and a hint of almond extract.
These cookies are always the first to disappear at bake sales and holiday parties. The combination of the soft, rich cookie base with that sweet cherry center is something my kids request all year long.
Why You’ll Love These Cherry Thumbprint Cookies
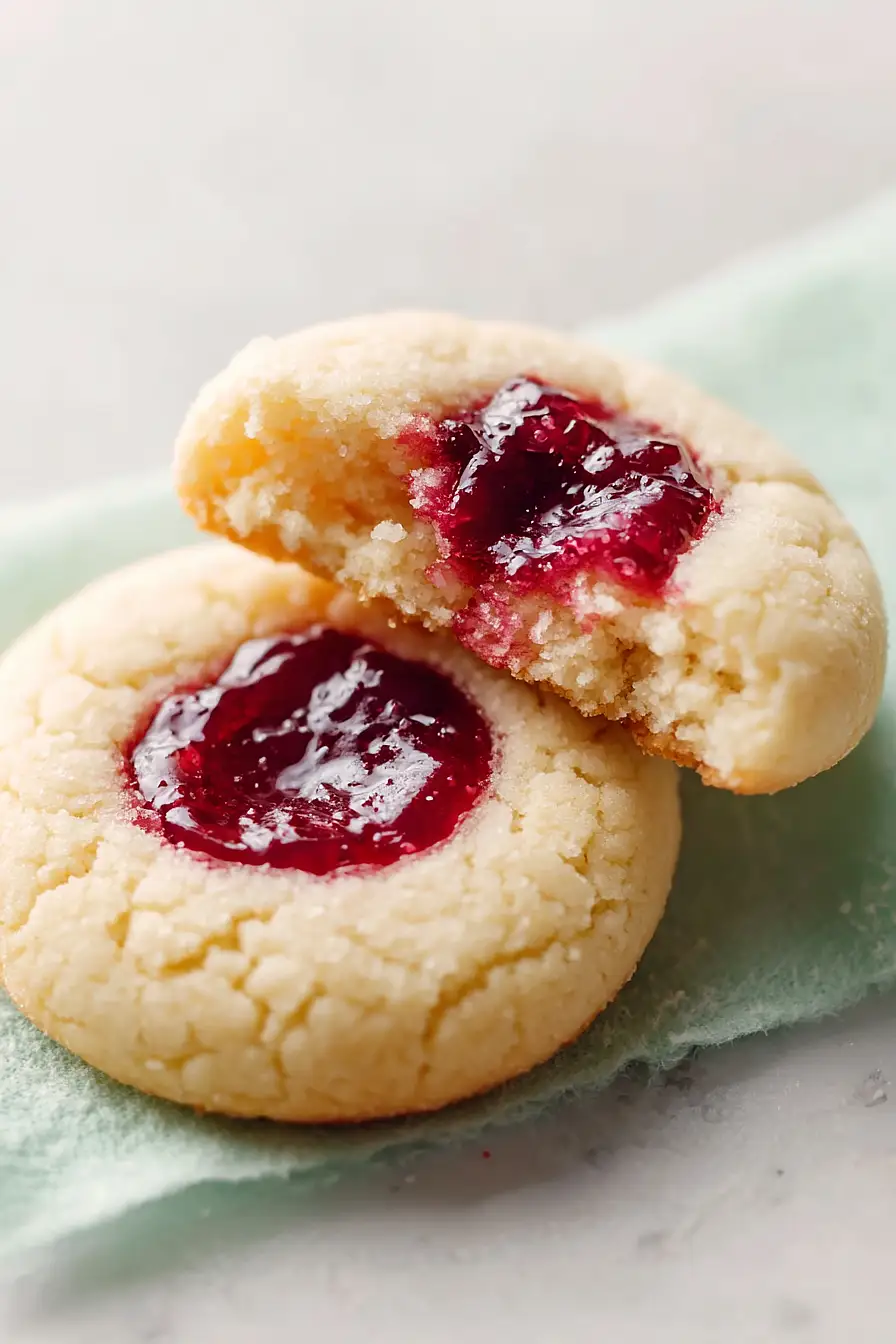
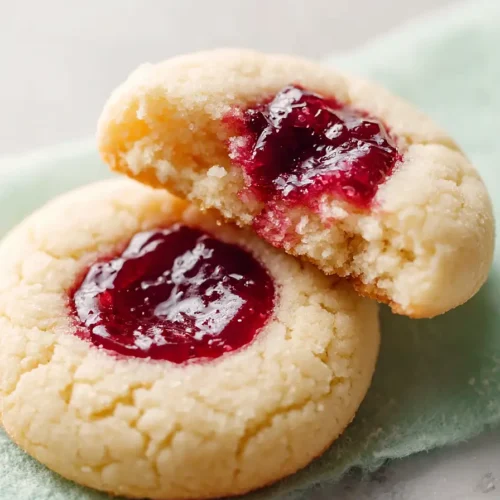
- Soft, melt-in-your-mouth texture – The combination of butter and cream cheese creates an incredibly tender cookie that’s different from your typical thumbprint recipe.
- Fresh cherry filling – Using real cherries instead of just jam gives these cookies a burst of fruity flavor that tastes homemade and special.
- Perfect for any occasion – These cookies look fancy enough for holiday cookie trays or special gatherings, but they’re simple enough to make any day of the week.
- Make-ahead friendly – You can prepare the dough in advance and bake them when you’re ready, making them great for busy schedules or last-minute entertaining.
What Kind of Cherries Should I Use?
For thumbprint cookies, you’ll want to use dark-sweet cherries, which give you that perfect balance of sweetness and rich cherry flavor. Fresh cherries work great when they’re in season, but frozen cherries are totally fine too – just make sure to thaw and drain them well so you don’t end up with soggy cookies. If you can’t find dark-sweet cherries, regular sweet cherries or even Bing cherries will do the trick. Just avoid sour or tart cherries unless you really love that tangy bite, since the jam already adds plenty of sweetness to balance things out.
Options for Substitutions
These cookies are pretty forgiving when it comes to swaps, so here are some options if you need them:
- Cream cheese: If you don’t have cream cheese, you can use an additional 1/2 cup (1 stick) of softened butter instead. The cookies will be slightly less rich but still tasty.
- Graham crackers: No graham crackers? Try using vanilla wafer crumbs, crushed digestive biscuits, or even finely ground almonds for a different flavor profile.
- Dark-sweet cherries: Fresh cherries can be swapped with frozen cherries (thaw and drain them well first) or even canned cherries in a pinch – just make sure to drain them thoroughly and pat dry.
- Cherry jam: As mentioned in the recipe, raspberry or red currant jam work great. You could also use strawberry jam if that’s what you have on hand.
- Almond extract: If you’re not a fan of almond flavor or don’t have it, just use an extra 1/2 teaspoon of vanilla extract instead.
- Unsalted butter: Salted butter can work here – just reduce or omit the kosher salt in the recipe to avoid over-salting your cookies.
Watch Out for These Mistakes While Baking
The biggest mistake with thumbprint cookies is making the indentation too shallow or waiting until after baking – press your thumb firmly into each dough ball before they go in the oven, creating a deep well that won’t disappear during baking.
Another common error is overmixing the dough once you add the flour, which can lead to tough cookies instead of tender ones, so mix just until the flour disappears.
Make sure your butter and cream cheese are truly softened to room temperature (not melted), as this ensures they blend smoothly and creates the right cookie texture.
If your cherry filling seems too runny, let it simmer on the stove for a few minutes to thicken it up before spooning it into the cookies, and wait until the cookies have cooled for at least 10 minutes before filling them so the jam doesn’t run off the sides.
What to Serve With Cherry Thumbprint Cookies?
These cookies are perfect for serving at holiday parties, cookie exchanges, or just keeping around the house for whenever you need something sweet. They pair really well with a hot cup of coffee or tea, especially in the afternoon when you want a little pick-me-up. If you’re putting together a dessert platter, these look great alongside other classic cookies like chocolate chip, snickerdoodles, or shortbread. For a fun dessert spread, serve them with vanilla ice cream or a glass of cold milk for dunking.
Storage Instructions
Store: These cherry thumbprint cookies keep really well in an airtight container at room temperature for about 5 days. Just make sure they’re completely cooled before you stack them, and you might want to put a piece of parchment paper between layers to keep the jam from sticking.
Freeze: You can freeze these cookies for up to 3 months in a freezer-safe container. I like to freeze them on a baking sheet first so they don’t stick together, then transfer them to a container once they’re solid. They thaw pretty quickly on the counter in about 30 minutes.
Make Ahead: The dough is great for making ahead! You can shape the cookies and make the thumbprints, then cover and refrigerate them overnight before baking. Just add a minute or two to the baking time if you’re putting them in the oven straight from the fridge.
| Preparation Time | 60-75 minutes |
| Cooking Time | 10-12 minutes |
| Total Time | 70-87 minutes |
| Level of Difficulty | Medium |
Estimated Nutrition
Estimated nutrition for the whole recipe (without optional ingredients):
- Calories: 3300-3500
- Protein: 28-32 g
- Fat: 200-220 g
- Carbohydrates: 370-390 g
Ingredients
For the cookie dough:
- 2 cups all-purpose flour (I use King Arthur all-purpose flour)
- 1 cup unsalted butter (softened to room temperature, about 70°F)
- 1/2 tsp kosher salt
- 6 oz cream cheese (softened)
- 1 cup sugar
- 1/3 cup graham cracker crumbs (finely crushed)
- 1 tsp vanilla extract
For the filling:
- 2 cups dark-sweet cherries (pitted and halved)
- 3 tbsp cherry jam (I prefer Bonne Maman)
- 1/4 tsp almond extract (for authentic cherry flavor)
Step 1: Prepare mise en place and preheat oven
- 2 cups all-purpose flour
- 1/2 tsp kosher salt
- 1/3 cup graham cracker crumbs
Line two baking sheets with parchment paper and preheat your oven to 325°F.
Measure out all dry ingredients (flour, salt, and graham cracker crumbs) into separate bowls, and have the cream cheese and butter at room temperature—they should feel slightly soft when you press them with your finger, around 70°F.
This is crucial for achieving a smooth, creamy dough that’s easy to work with.
Step 2: Cream butter, cream cheese, and sugar
- 1 cup unsalted butter
- 6 oz cream cheese
- 1 cup sugar
- 1 tsp vanilla extract
- 1/2 tsp kosher salt
In a large bowl, beat the softened butter and cream cheese together for about 1 minute until well combined.
Add the sugar and vanilla extract, then continue beating for 2-3 more minutes until the mixture is light, fluffy, and pale in color.
This aeration is what gives these cookies their tender, delicate crumb.
I like to add a pinch of the salt at this stage for better flavor distribution throughout the dough.
Step 3: Mix in flour and chill dough
- dry ingredient mixture from Step 1
Add the flour to the creamed mixture and stir with a wooden spoon or fold gently with a spatula until just combined—do not overmix, as this can develop gluten and make the cookies tough.
Once the dough comes together, cover the bowl with plastic wrap and refrigerate for at least 1 hour.
Cold dough will hold its shape better when you form the balls and create the thumbprint wells.
Step 4: Shape cookies and add graham cracker coating
- chilled dough from Step 3
- graham cracker crumb mixture from Step 1
Remove the chilled dough from the refrigerator and scoop it into 1-tablespoon portions, rolling each between your palms to form smooth balls.
Pour the graham cracker crumbs into a shallow dish, then dip the top of each ball into the crumbs, coating just that side generously.
Arrange the cookies crumb-side up on the prepared baking sheets, spacing them about 1.5 inches apart to allow for slight spreading during baking.
Step 5: Prepare cherry filling and create thumbprints
- 2 cups dark-sweet cherries
- 3 tbsp cherry jam
- 1/4 tsp almond extract
While the shaped cookies rest for a few minutes, combine the pitted and halved cherries, cherry jam, and almond extract in a small bowl, stirring gently to coat the cherries evenly.
The almond extract adds an authentic cherry flavor depth that makes these cookies special.
Now, using your thumb or the back of a small spoon, press a gentle well into the center of each cookie—don’t press all the way through, just create a shallow indent about 1/4 inch deep.
Place one cherry piece and a small amount of the cherry-jam mixture into each well.
Step 6: Bake and cool
Bake the cookies at 325°F for 10-12 minutes, until the edges are set but the centers still have a slight give when you gently press them.
The cookies will continue to cook slightly as they cool on the pan, so don’t overbake—they should look barely set in the middle.
Let them cool on the baking sheets for 5 minutes, then transfer to a wire rack.
I find that cookies baked at this slightly lower temperature have a more tender, cake-like texture that pairs beautifully with the jammy cherries.
Sweet Cherry Thumbprint Cookies
Ingredients
For the cookie dough:
- 2 cups all-purpose flour (I use King Arthur all-purpose flour)
- 1 cup unsalted butter (softened to room temperature, about 70°F)
- 1/2 tsp kosher salt
- 6 oz cream cheese (softened)
- 1 cup sugar
- 1/3 cup graham cracker crumbs (finely crushed)
- 1 tsp vanilla extract
For the filling:
- 2 cups dark-sweet cherries (pitted and halved)
- 3 tbsp cherry jam (I prefer Bonne Maman)
- 1/4 tsp almond extract (for authentic cherry flavor)
Instructions
- Line two baking sheets with parchment paper and preheat your oven to 325°F. Measure out all dry ingredients (flour, salt, and graham cracker crumbs) into separate bowls, and have the cream cheese and butter at room temperature—they should feel slightly soft when you press them with your finger, around 70°F. This is crucial for achieving a smooth, creamy dough that's easy to work with.
- In a large bowl, beat the softened butter and cream cheese together for about 1 minute until well combined. Add the sugar and vanilla extract, then continue beating for 2-3 more minutes until the mixture is light, fluffy, and pale in color. This aeration is what gives these cookies their tender, delicate crumb. I like to add a pinch of the salt at this stage for better flavor distribution throughout the dough.
- Add the flour to the creamed mixture and stir with a wooden spoon or fold gently with a spatula until just combined—do not overmix, as this can develop gluten and make the cookies tough. Once the dough comes together, cover the bowl with plastic wrap and refrigerate for at least 1 hour. Cold dough will hold its shape better when you form the balls and create the thumbprint wells.
- Remove the chilled dough from the refrigerator and scoop it into 1-tablespoon portions, rolling each between your palms to form smooth balls. Pour the graham cracker crumbs into a shallow dish, then dip the top of each ball into the crumbs, coating just that side generously. Arrange the cookies crumb-side up on the prepared baking sheets, spacing them about 1.5 inches apart to allow for slight spreading during baking.
- While the shaped cookies rest for a few minutes, combine the pitted and halved cherries, cherry jam, and almond extract in a small bowl, stirring gently to coat the cherries evenly. The almond extract adds an authentic cherry flavor depth that makes these cookies special. Now, using your thumb or the back of a small spoon, press a gentle well into the center of each cookie—don't press all the way through, just create a shallow indent about 1/4 inch deep. Place one cherry piece and a small amount of the cherry-jam mixture into each well.
- Bake the cookies at 325°F for 10-12 minutes, until the edges are set but the centers still have a slight give when you gently press them. The cookies will continue to cook slightly as they cool on the pan, so don't overbake—they should look barely set in the middle. Let them cool on the baking sheets for 5 minutes, then transfer to a wire rack. I find that cookies baked at this slightly lower temperature have a more tender, cake-like texture that pairs beautifully with the jammy cherries.
