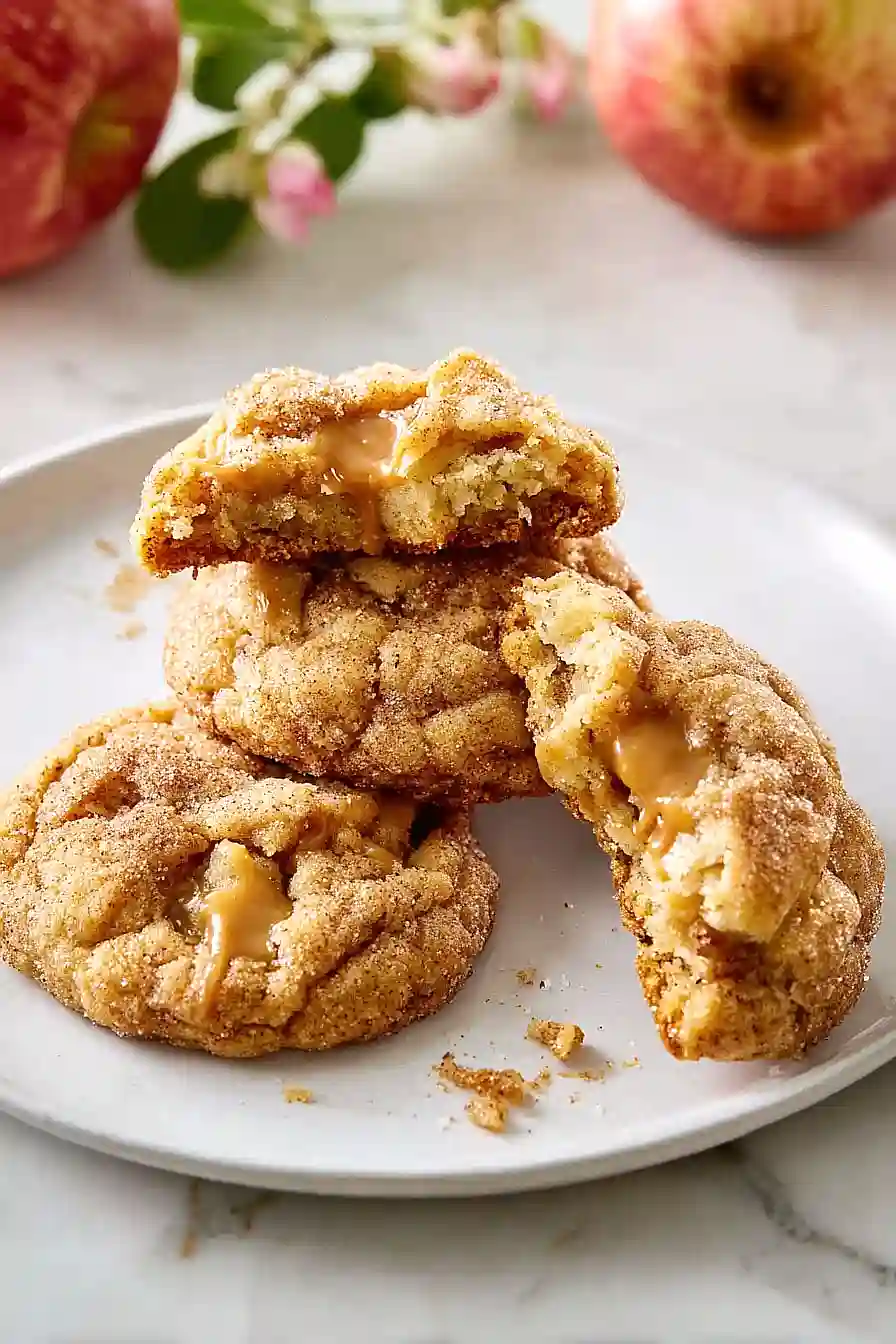
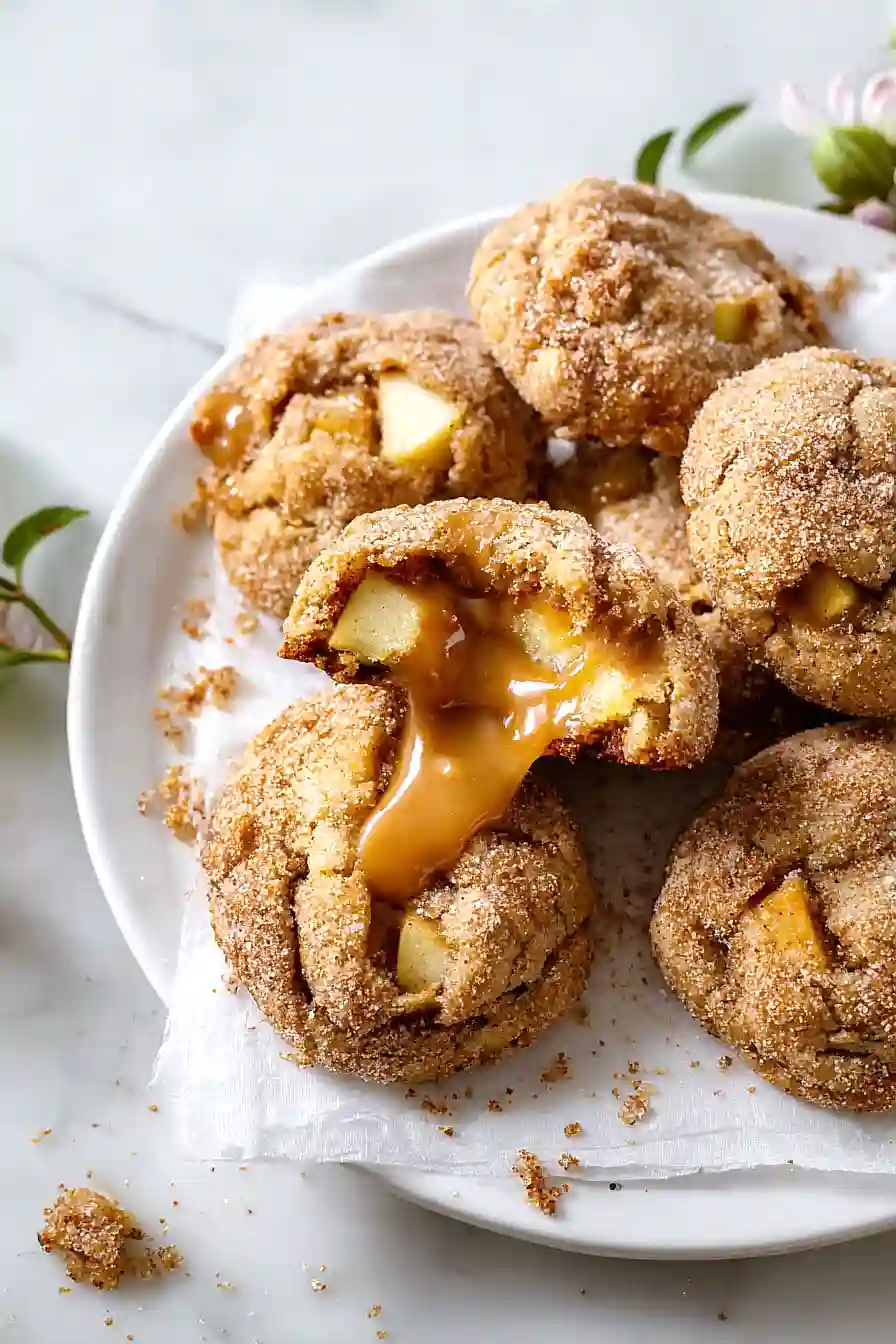
Here are my caramel stuffed apple cookies, with soft, chewy cookie dough wrapped around sweet apple pieces and gooey caramel centers that ooze out with every bite.
These cookies are what happens when you can’t decide between apple pie and caramel apples, so you just make both into one perfect treat. My kids love helping me stuff the caramel into the dough, though half of it usually ends up in their mouths instead of the cookies.

Why You’ll Love These Caramel Stuffed Apple Cookies
- Perfect fall treat – These cookies capture all the cozy flavors of autumn with sweet apples and gooey caramel in every bite.
- Gooey caramel surprise – Each cookie has a delicious caramel center that creates the perfect sweet surprise when you bite into it.
- Quick baking time – Ready in under an hour, these cookies are perfect when you need a homemade treat without spending all day in the kitchen.
- Crowd-pleasing combination – The classic pairing of apples and caramel makes these cookies a hit at parties, bake sales, or just as an afternoon snack with coffee.
I notice that no ingredients were provided in the ingredient list for the caramel stuffed apple cookies recipe. Without knowing what ingredients are used in this recipe, I cannot identify the main ingredient or write an informational section about it.
Could you please provide the ingredient list for the caramel stuffed apple cookies recipe so I can create the appropriate section about the main ingredient?
Options for Substitutions
I’d love to help you with substitution options for your caramel stuffed apple cookies, but it looks like the ingredient list didn’t come through properly:
- Missing ingredients: Without the specific ingredients listed, I can’t give you targeted substitution advice. Could you share the ingredient list? Once I have that, I can suggest great swaps for things like different types of flour, butter alternatives, or apple varieties that would work well in these cookies.
Watch Out for These Mistakes While Baking
The biggest mistake when making caramel stuffed apple cookies is using caramel that’s too hot or runny, which will leak out during baking and create a sticky mess – let your caramel cool to room temperature and thicken slightly before stuffing.
Another common error is overfilling the cookies with caramel, so stick to about a teaspoon per cookie and make sure to seal the edges well by pinching the dough together firmly.
Fresh apples can release too much moisture during baking, making your cookies soggy, so try patting diced apples dry with paper towels or using freeze-dried apple pieces instead.
Finally, don’t skip chilling the stuffed cookie dough for at least 30 minutes before baking, as this helps the cookies hold their shape and prevents the caramel from oozing out in the oven.
What to Serve With Caramel Stuffed Apple Cookies?
These cookies are pretty much perfect on their own, but they’re amazing with a cold glass of milk for dunking or a warm cup of coffee if you’re looking for that cozy fall vibe. I love serving them alongside vanilla ice cream for a simple dessert that feels a bit more special, especially when the caramel center gets all gooey and mixes with the cold ice cream. They also pair really well with hot apple cider or chai tea, since the warm spices complement the apple and caramel flavors beautifully. For a fun presentation, you can dust them with a little powdered sugar or serve them on a platter with other fall treats like pumpkin bread or cinnamon rolls.
Storage Instructions
Store: These caramel stuffed apple cookies stay soft and chewy when kept in an airtight container at room temperature for up to a week. I like to place a piece of bread in the container to help maintain their moisture. Just make sure they’re completely cooled before storing so the caramel doesn’t get sticky.
Freeze: You can freeze these cookies for up to 3 months in a freezer-safe container with parchment paper between layers. They thaw beautifully at room temperature in about 30 minutes, and the caramel center stays perfectly gooey.
Make Ahead: The cookie dough can be made ahead and chilled for up to 2 days before baking. You can also freeze the shaped cookies on a baking sheet, then transfer to freezer bags and bake directly from frozen – just add an extra minute or two to the baking time.
| Preparation Time | 20-30 minutes |
| Cooking Time | 15-25 minutes |
| Total Time | 35-55 minutes |
| Level of Difficulty | Medium |
Estimated Nutrition
Estimated nutrition for the whole recipe (without optional ingredients):
- Calories: 0-0
- Protein: 0-0 g
- Fat: 0-0 g
- Carbohydrates: 0-0 g
Ingredients
Step 1: Gather and Organize Ingredients and Equipment
Begin by collecting all necessary ingredients and tools required for the recipe.
Ensure your workspace is clean and that all equipment is organized for efficient cooking.
This preparation will help the entire process run smoothly.
Step 2: Prepare Ingredients
Wash, chop, measure, or otherwise prepare each ingredient as needed for the recipe.
Properly preparing each component in advance helps streamline the cooking process.
I find that having everything prepped before I start cooking really reduces stress and avoids last-minute scrambling.
Step 3: Combine and Mix Ingredients
Add the prepared ingredients together in the order specified by your recipe, thoroughly mixing after each addition to ensure even distribution.
This step is essential for developing balanced flavors and textures in the finished dish.
Step 4: Cook or Bake the Mixture
Transfer the mixture to the appropriate cooking vessel and cook or bake at the temperature specified in your recipe.
Follow the suggested time guidelines, but keep a close eye on the dish to avoid overcooking or burning.
Step 5: Monitor and Finish Cooking
Continue to monitor the dish as it cooks, checking for doneness.
Once cooked through, remove from heat or oven and allow the dish to cool or rest as recommended.
Allowing it to rest is especially important for meats and baked goods because it helps retain moisture and improves flavor.
Step 6: Serve or Store the Finished Dish
Once the dish has adequately cooled or rested, serve immediately or store it using suitable containers if saving for later.
Properly storing leftovers can help maintain quality and safety.
