Finding the perfect fall dessert that captures all those cozy autumn flavors without spending hours in the kitchen can feel impossible. You want something that tastes like the season but doesn’t require a ton of fancy ingredients or complicated steps, especially when you’re juggling work deadlines and family schedules.
These pumpkin spice blondies are exactly what you need: they’re packed with warm spices and pumpkin flavor, come together in one bowl, and satisfy that fall craving without all the fuss of making a layer cake or pie.
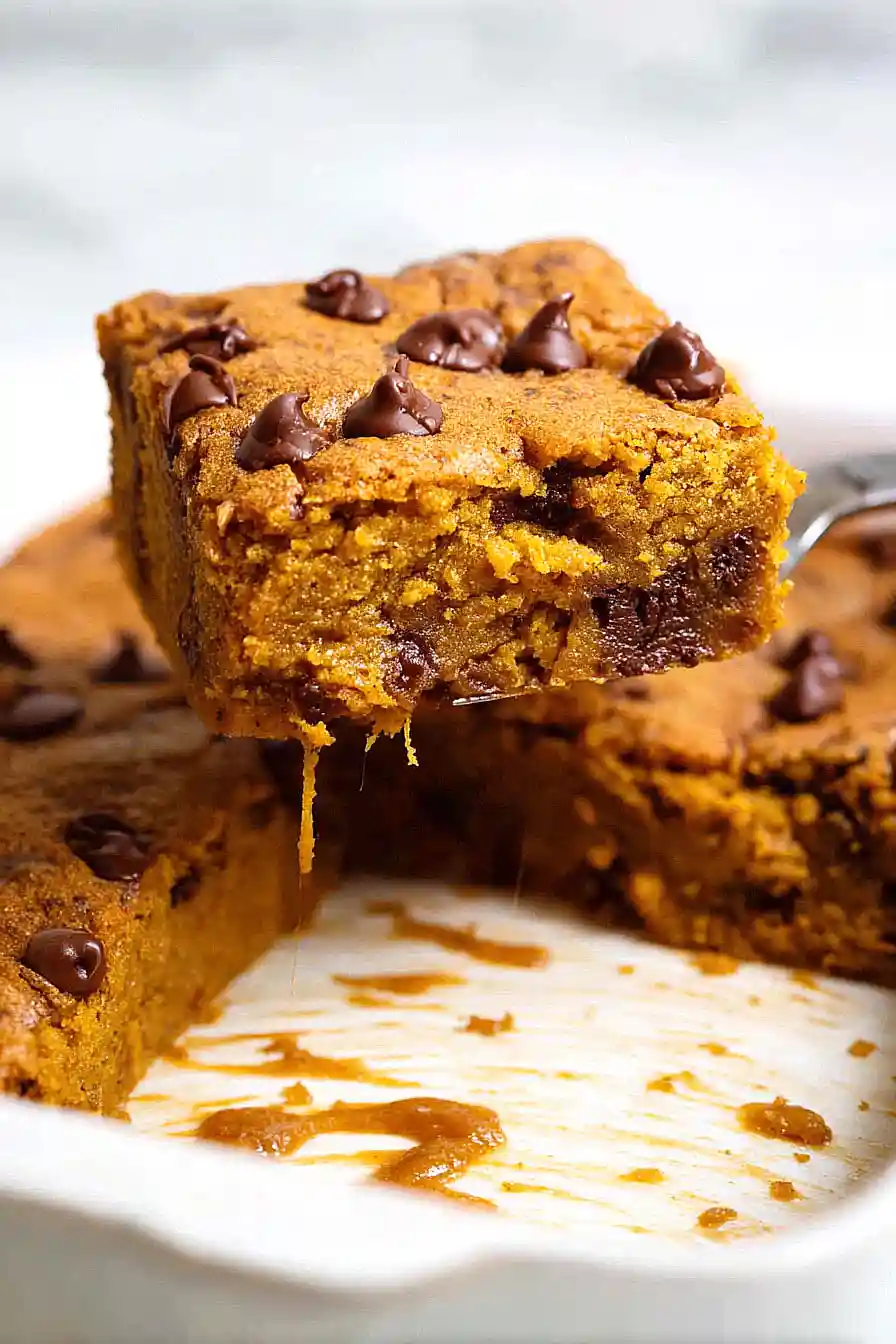
Why You’ll Love These Pumpkin Spice Blondies
- Perfect fall treat – These blondies capture all the cozy flavors of autumn with warm pumpkin pie spice and real pumpkin puree in every bite.
- Easy one-bowl recipe – No complicated steps or fancy equipment needed – just mix everything together and bake for a foolproof dessert.
- Soft and chewy texture – The pumpkin puree keeps these blondies incredibly moist and tender, while the chocolate chips add the perfect sweet contrast.
- Quick baking time – Ready in about an hour from start to finish, these are perfect when you need a homemade dessert without spending all day in the kitchen.
- Crowd-pleasing dessert – Whether it’s for a potluck, bake sale, or family gathering, these blondies disappear fast and always get recipe requests.
What Kind of Pumpkin Puree Should I Use?
For these blondies, you’ll want to use plain pumpkin puree, not pumpkin pie filling – there’s a big difference! Pumpkin pie filling already has spices and sugar added, which will throw off the balance of your recipe. Look for canned pumpkin puree that lists only pumpkin as the ingredient, like Libby’s 100% Pure Pumpkin. If you’re feeling ambitious, you can also make your own by roasting a sugar pumpkin and pureeing the flesh, but the canned stuff works just as well and saves you time. Just make sure to give the can a good stir before measuring, as the puree can separate a bit while sitting on the shelf.
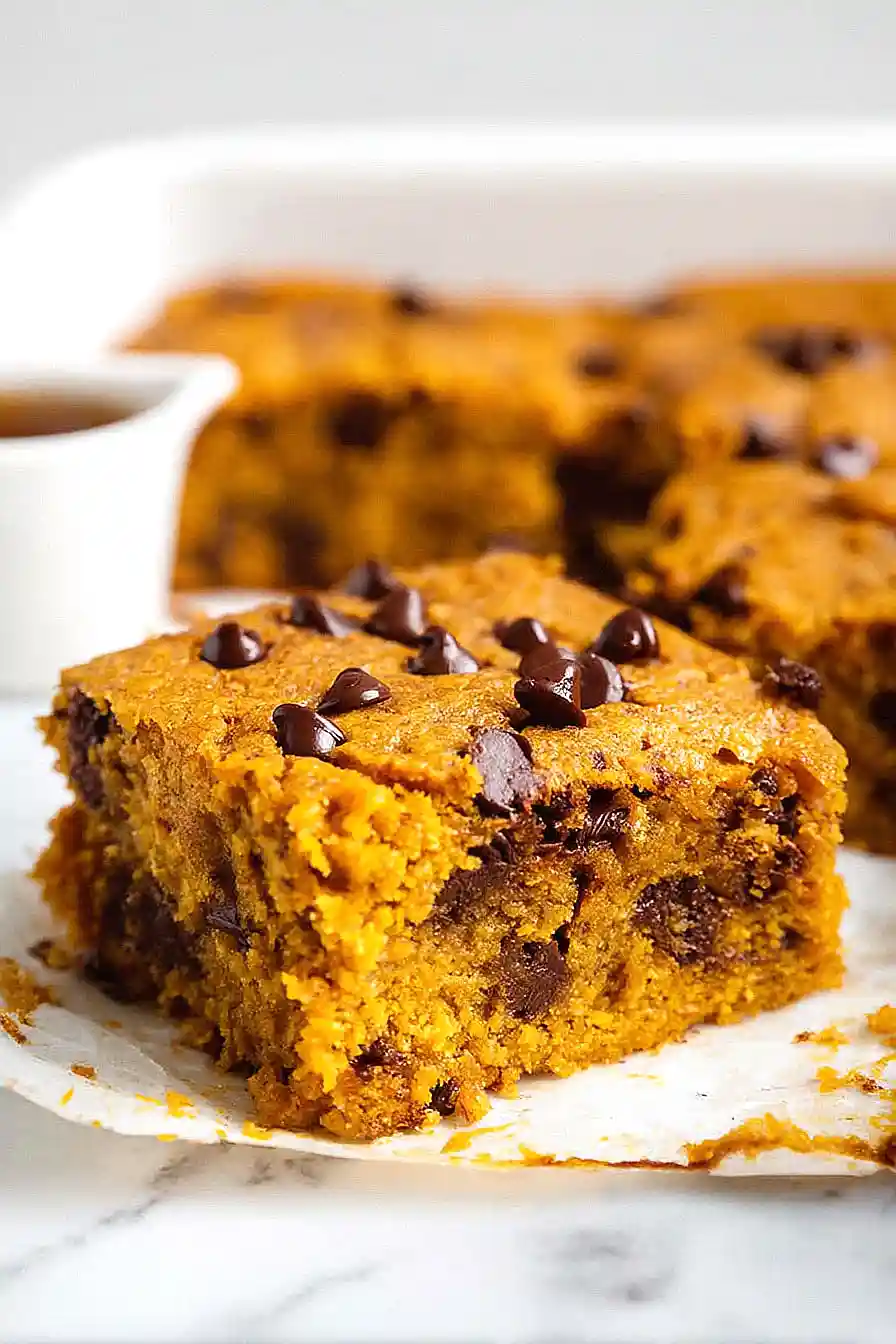
Options for Substitutions
These blondies are pretty forgiving when it comes to swaps, so here are some options if you need to make changes:
- Pumpkin pie spice: Don’t have pumpkin pie spice? Make your own by mixing 2 teaspoons cinnamon, 1 teaspoon ground ginger, 1/2 teaspoon nutmeg, and 1/4 teaspoon each of allspice and cloves.
- Pumpkin puree: This is really the star of the recipe, so I’d recommend sticking with pumpkin puree for the best results. In a pinch, you could try sweet potato puree, but the flavor will be different.
- All-purpose flour: You can substitute with a 1:1 gluten-free flour blend if needed, though the texture might be slightly different. Whole wheat flour works too – just use about 2 1/4 cups instead.
- Unsalted butter: Melted coconut oil or vegetable oil can work in place of butter. Use 3/4 cup oil instead of the full cup of butter.
- Chocolate chips: Feel free to swap these with butterscotch chips, white chocolate chips, chopped walnuts, or even mini marshmallows for a fun twist.
- Granulated sugar: You can use brown sugar instead for a deeper, molasses flavor – just pack it lightly when measuring.
Watch Out for These Mistakes While Baking
The biggest mistake when making pumpkin spice blondies is overbaking them, which turns these soft, chewy treats into dry, cake-like squares – start checking for doneness about 5 minutes before the timer goes off and look for edges that are just set while the center still looks slightly underdone.
Another common error is using pumpkin pie filling instead of pure pumpkin puree, which adds extra sugar and spices that can throw off the recipe’s balance and make your blondies too sweet.
Don’t skip the step of letting your butter come to room temperature, as cold butter won’t cream properly with the sugar and can result in dense, heavy blondies instead of the tender texture you’re after.
For extra flavor, try toasting your chocolate chips in a dry pan for 2-3 minutes before folding them in, and always let the blondies cool completely in the pan before cutting to prevent them from falling apart.
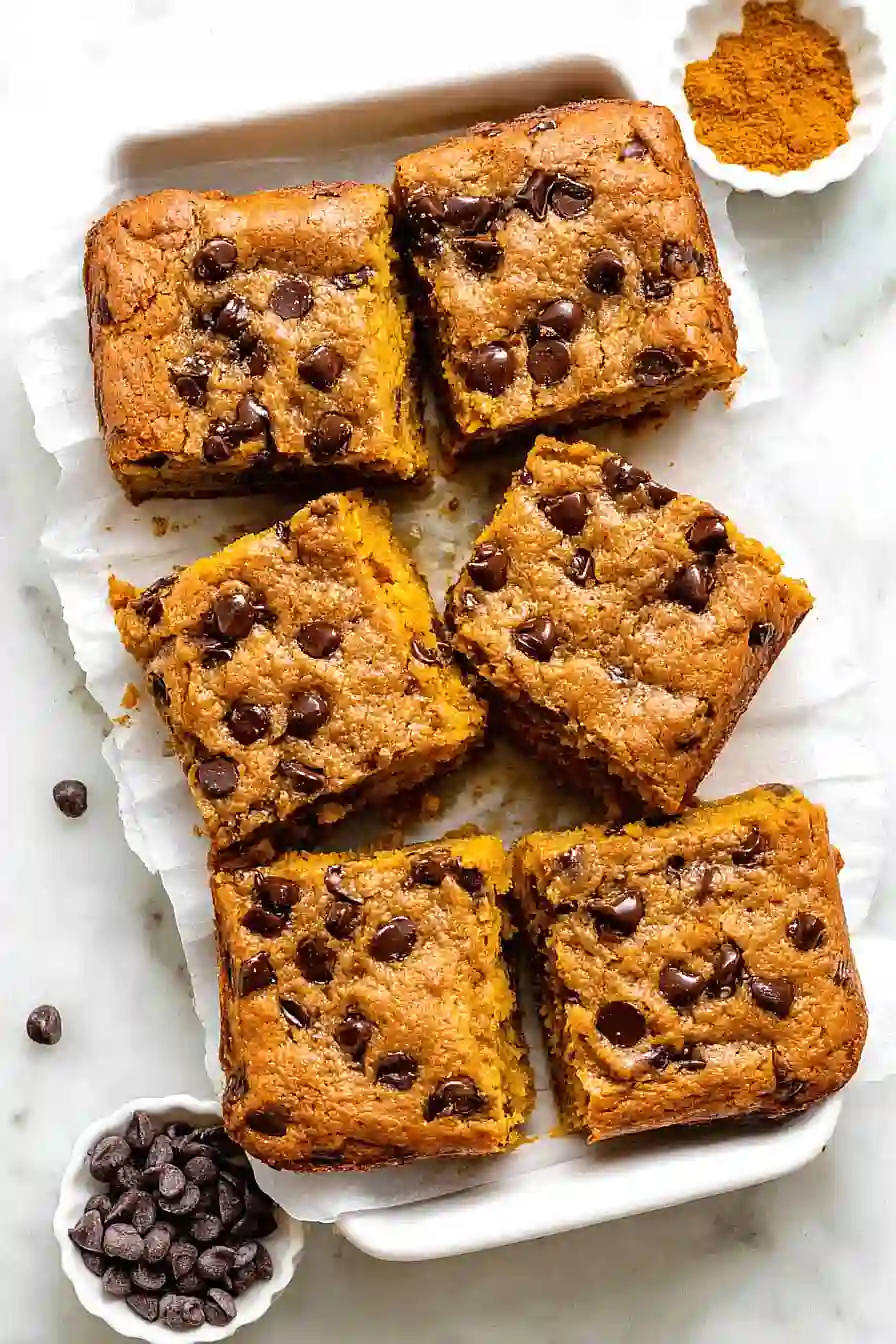
What to Serve With Pumpkin Spice Blondies?
These pumpkin spice blondies are perfect on their own, but they’re even better when paired with a scoop of vanilla ice cream or some freshly whipped cream. I love serving them warm with a drizzle of caramel sauce and a sprinkle of cinnamon for an extra cozy fall treat. They also make a great dessert alongside a hot cup of coffee, chai tea, or even hot chocolate on chilly autumn evenings. For a fun presentation, you can cut them into squares and serve them on a platter with other fall desserts like apple crisp or cinnamon cookies.
Storage Instructions
Keep Fresh: These pumpkin spice blondies stay moist and chewy when stored in an airtight container at room temperature for up to a week. I like to layer them between sheets of parchment paper to keep them from sticking together, especially since they’re so wonderfully soft and gooey.
Freeze: You can absolutely freeze these blondies for longer storage! Wrap individual squares in plastic wrap or store them in a freezer-safe container with parchment between layers for up to 3 months. They thaw perfectly at room temperature in about 30 minutes.
Make Ahead: These are actually fantastic make-ahead treats since the flavors get even better after a day or two. You can also freeze the baked and cooled blondies, then pull out just what you need for unexpected guests or when that pumpkin spice craving hits!
| Preparation Time | 15-20 minutes |
| Cooking Time | 35-45 minutes |
| Total Time | 50-65 minutes |
| Level of Difficulty | Easy |
Estimated Nutrition
Estimated nutrition for the whole recipe (without optional ingredients):
- Calories: 3500-4000
- Protein: 30-40 g
- Fat: 180-200 g
- Carbohydrates: 500-550 g
Ingredients
For the dry mixture:
- 2 1/2 cups all-purpose flour
- 1 tbsp pumpkin pie spice
- 1 1/2 tsp baking soda
- 1 tsp kosher salt
For the wet mixture:
- 1 cup unsalted butter
- 1 3/4 cups granulated sugar
- 1 large egg
- 1 1/2 cups pumpkin puree
- 2 tbsp vanilla extract
For folding in:
- 1 to 1 1/2 cups chocolate chips
Step 1: Prepare the Baking Dish and Preheat Oven
Preheat your oven to 350°F (175°C).
Butter or spray a piece of parchment paper with nonstick cooking spray and fit it into a 9×13-inch baking dish.
This prevents sticking and makes it easy to remove the bars later.
Set the dish aside for when the batter is ready.
Step 2: Mix Dry Ingredients
- 2 1/2 cups all-purpose flour
- 1 tbsp pumpkin pie spice
- 1 1/2 tsp baking soda
- 1 tsp kosher salt
In a large bowl, whisk together the all-purpose flour, pumpkin pie spice, baking soda, and kosher salt until thoroughly combined.
This ensures the leavening and flavorings are evenly dispersed throughout the batter.
Step 3: Cream Butter and Sugar, Add Wet Ingredients
- 1 cup unsalted butter
- 1 3/4 cups granulated sugar
- 1 large egg
- 1 1/2 cups pumpkin puree
- 2 tbsp vanilla extract
In a separate bowl, use an electric mixer to beat the unsalted butter until pale and creamy.
Add the granulated sugar and continue to beat until the mixture is light and fluffy.
Next, mix in the large egg, pumpkin puree, and vanilla extract until smooth.
I like to take my time creaming the butter and sugar, as it creates a wonderfully tender texture in the finished bars.
Step 4: Combine Wet and Dry Mixtures, Then Add Chocolate Chips
- dry mixture from Step 2
- wet mixture from Step 3
- 1 to 1 1/2 cups chocolate chips
Slowly add the dry ingredients from Step 2 into the wet mixture from Step 3, mixing until just combined.
Be careful not to overmix.
Using a rubber spatula, gently fold in the chocolate chips.
I recommend reserving a small handful of chocolate chips to sprinkle on top for a prettier presentation.
Step 5: Bake the Bars
- batter from Step 4
- prepared baking dish from Step 1
Spread the batter evenly into the prepared baking dish from Step 1.
Bake in the preheated oven for 35 to 45 minutes, or until a toothpick inserted in the center comes out clean.
If you notice the top is browning too quickly before the center is set, loosely cover the pan with foil partway through baking.
Step 6: Cool, Slice, and Serve
Let the baked bars cool in the dish for 20 minutes before transferring them to a wire rack to cool completely.
Once fully cooled, cut into bars and enjoy!
For extra neat slices, I like to chill the bars in the fridge for an hour before cutting.

