Let’s be honest – sometimes you just can’t decide between cookies and brownies. I’ve spent countless evenings staring at my baking sheets, trying to pick which one to make. And then it hit me – why choose? That’s where brookies come in, and these ones are perfect for anyone who can’t have eggs.
They’re basically what happens when a chocolate chip cookie and a fudgy brownie decide to become best friends. I started making these when my neighbor mentioned her daughter couldn’t eat eggs, and now they’re a regular request at our house. The best part? They’re just as good as the original version – maybe even better (but don’t tell my regular brownie recipe I said that).
Whether you’re avoiding eggs by choice or necessity, or just want to try something different, these brookies are going to make your day. Trust me, once you try them, you’ll wonder why you ever made cookies and brownies separately.

Why You’ll Love These Brookies
- Egg-free baking success – Perfect for those with egg allergies or when you’re out of eggs – these brookies turn out rich and fudgy without any eggs needed.
- Quick preparation – Ready in just 30 minutes from start to finish, making them perfect for last-minute dessert cravings or unexpected guests.
- Simple ingredients – Made with basic pantry staples you likely already have on hand, no special ingredients required besides the chocolate.
- Foolproof recipe – With straightforward measurements and easy-to-follow steps, these brookies turn out great even if you’re new to baking.
What Kind of Dark Chocolate Should I Use?
For brookies, you’ll want to reach for a good quality dark chocolate with around 60-70% cocoa content – this gives you the perfect balance of sweetness and rich chocolate flavor. Regular chocolate chips aren’t the best choice for the melted chocolate portion since they contain stabilizers that can affect how they melt, so stick to chocolate bars or baking chocolate that’s specifically made for melting. If you’re shopping at the supermarket, look for brands like Ghirardelli, Lindt, or Baker’s in the baking aisle. Just be sure to avoid chocolate that’s labeled “compound chocolate” or contains vegetable oils instead of cocoa butter, as these won’t give you that smooth, glossy melt you’re looking for.
Options for Substitutions
Need to make some swaps? Here’s what you can do with this eggless recipe:
- Dark chocolate: While dark chocolate gives the best flavor, you can use semi-sweet chocolate chips in a pinch. Just avoid milk chocolate as it’s too sweet and might change the texture.
- Butter: You can swap butter with dairy-free margarine or coconut oil (use refined coconut oil if you don’t want any coconut flavor). Just make sure it’s at room temperature.
- Superfine sugar: Regular granulated sugar works too – just blend it in a food processor for a few seconds to make it finer. Caster sugar is also a perfect substitute.
- Plain flour: All-purpose flour works exactly the same. For a gluten-free version, try a 1:1 gluten-free flour blend, but note that the texture might be slightly different.
- Cornstarch: You can use arrowroot powder or potato starch in equal amounts if you’re out of cornstarch.
- Cocoa powder: This is a key ingredient for the chocolate flavor – stick to unsweetened cocoa powder. Dutch-process or natural cocoa both work well here.
Watch Out for These Mistakes While Baking
The biggest challenge when making eggless brookies is getting the texture right – using too much water can make them cakey instead of fudgy, so stick precisely to the 50ml measurement and avoid the temptation to add more liquid.
Temperature control is crucial when melting chocolate and butter – using too high heat or overheating can cause the chocolate to seize or become grainy, so always melt them together slowly over a double boiler or in 30-second microwave intervals, stirring between each burst.
Another common mistake is overbaking these treats – since there are no eggs to indicate doneness, pull them from the oven when the edges are set but the center still looks slightly underdone (around 12-14 minutes at 350°F), as they’ll continue to firm up while cooling.
For the best texture, make sure your ingredients are at room temperature before starting, and don’t skip the cornstarch – it’s essential for achieving that perfect chewy texture in the absence of eggs.

What to Serve With Brookies?
These chocolate-cookie-brownie hybrids are perfect for serving with a cold glass of milk or a scoop of vanilla ice cream on top while they’re still a bit warm. If you’re hosting a dessert party, try setting up a simple sundae bar where people can top their brookies with different ice cream flavors, whipped cream, and maybe some caramel or chocolate sauce. For coffee lovers, these treats pair wonderfully with a hot cup of coffee or cappuccino – the bitter coffee notes really complement the chocolate flavors. You could also serve them as part of a dessert platter with some fresh berries on the side to cut through the richness.
Storage Instructions
Keep Fresh: These eggless brookies stay perfectly good at room temperature for up to 5 days when kept in an airtight container. I like to place a piece of bread in the container – it helps keep the brookies soft and chewy, just like when they first came out of the oven!
Freeze: Want to save some for later? These brookies freeze really well for up to 3 months. Just wrap them individually in plastic wrap and place them in a freezer bag. This way, you can grab one whenever you’re craving something sweet!
Thaw: When you’re ready to enjoy your frozen brookies, just take them out and let them sit at room temperature for about an hour. If you want them slightly warm, pop them in the microwave for 10-15 seconds – they’ll taste just like freshly baked!
| Preparation Time | 15-20 minutes |
| Cooking Time | 8-10 minutes |
| Total Time | 23-30 minutes |
| Level of Difficulty | Medium |
Estimated Nutrition
Estimated nutrition for the whole recipe (without optional ingredients):
- Calories: 500-600
- Protein: 7-10 g
- Fat: 30-35 g
- Carbohydrates: 60-70 g
Ingredients
- 60 grams dark chocolate, chopped (use quality baking chocolate)
- 30 grams butter
- 40 grams superfine sugar
- 30 grams dark brown sugar (or swap for soft brown or additional superfine sugar)
- 50 ml water
- 60 grams plain flour
- 3.5 grams cornstarch
- 15 grams cocoa powder
- 1/4 teaspoon baking powder
- 1/2 teaspoon vanilla extract
- Pinch of sea salt
- Chocolate chips, if desired
Step 1: Prepare Baking Sheet and Ingredients
Preheat your oven to 180°C (356°F).
Line a baking sheet with parchment paper to prevent the cookies from sticking.
This ensures a smooth baking process later on.
Step 2: Melt Butter and Chocolate
Melt butter and chocolate together using either a microwave (checking every 30 seconds) or the double-boiler method.
For the double-boiler method, place a heat-proof bowl over a pot of simmering water, ensuring the bowl does not touch the water.
Stir occasionally until fully melted.
Once the mixture is smooth, set it aside to cool down slightly.
Step 3: Create Sugar Syrup
In a saucepan, stir together the sugars and water.
Place the saucepan on low heat, stirring regularly until all the sugars dissolve completely into the water.
As soon as the sugars have dissolved, remove the pan from the heat.
Step 4: Combine Wet Ingredients
Whisk the warm sugar syrup into the warm melted chocolate mixture.
It’s important both mixtures remain warm to blend smoothly and achieve a uniform texture.
Step 5: Incorporate Dry Ingredients
Quickly sift cocoa powder, baking powder, flour, and cornflour into the chocolate-sugar mixture.
Gently fold the dry ingredients with a spatula until you achieve a thick, gooey brownie-like batter.
Step 6: Form and Bake Cookies
While the batter is still warm, use an ice cream scooper or similar tool to drop dough onto the prepared baking sheet.
Leave space between each scoop for expansion.
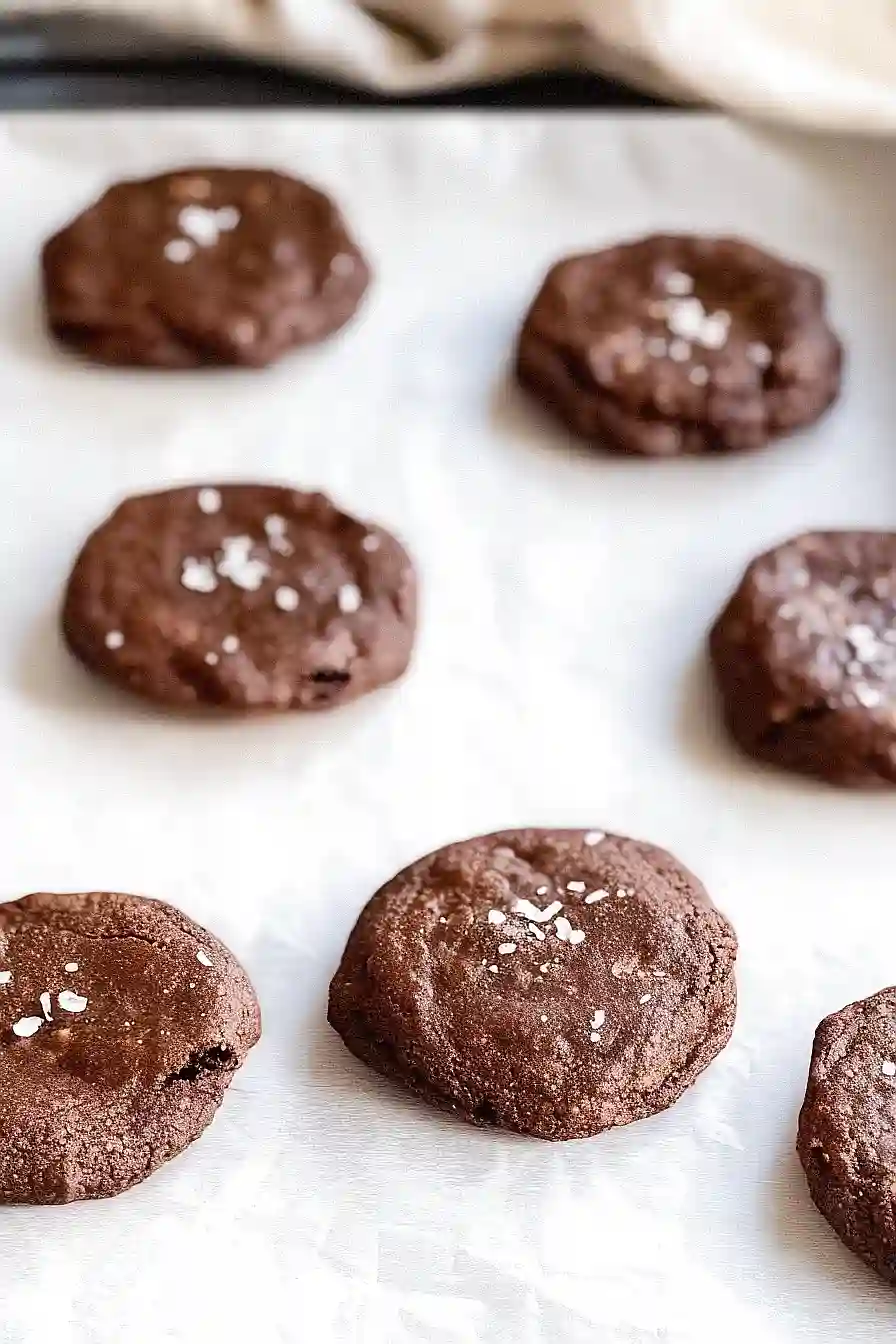
Optionally, sprinkle sea salt and/or press some chocolate chips on top.
Bake the cookies in the preheated oven for 8-10 minutes, until the edges are barely set and the tops have a shiny, slightly crinkly crust.
Step 7: Cool and Serve
Let the cookies rest on the baking sheet for 5-10 minutes to firm up.
Transfer them to a wire rack to cool completely before serving.
Enjoy your delicious, gooey cookies!
