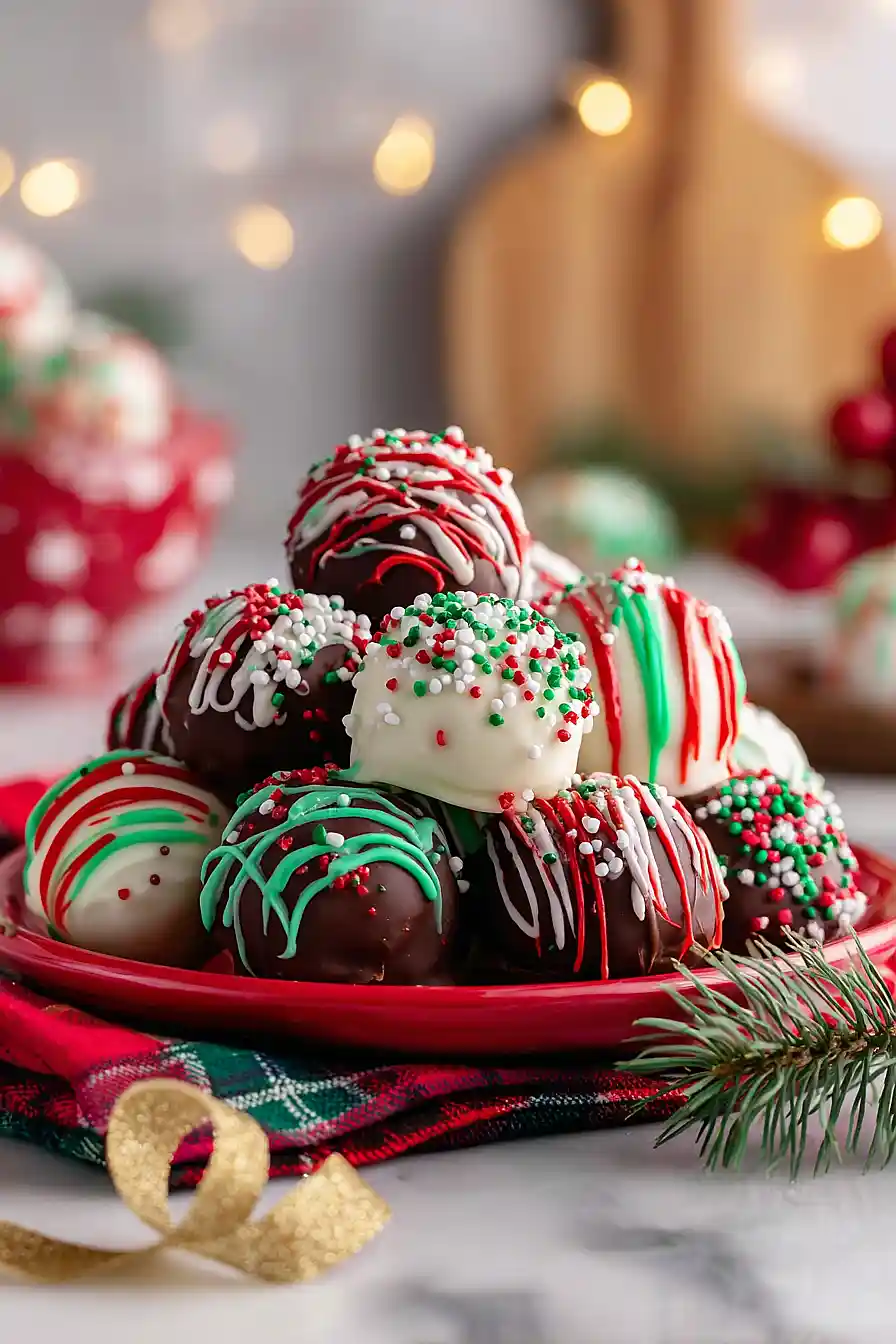
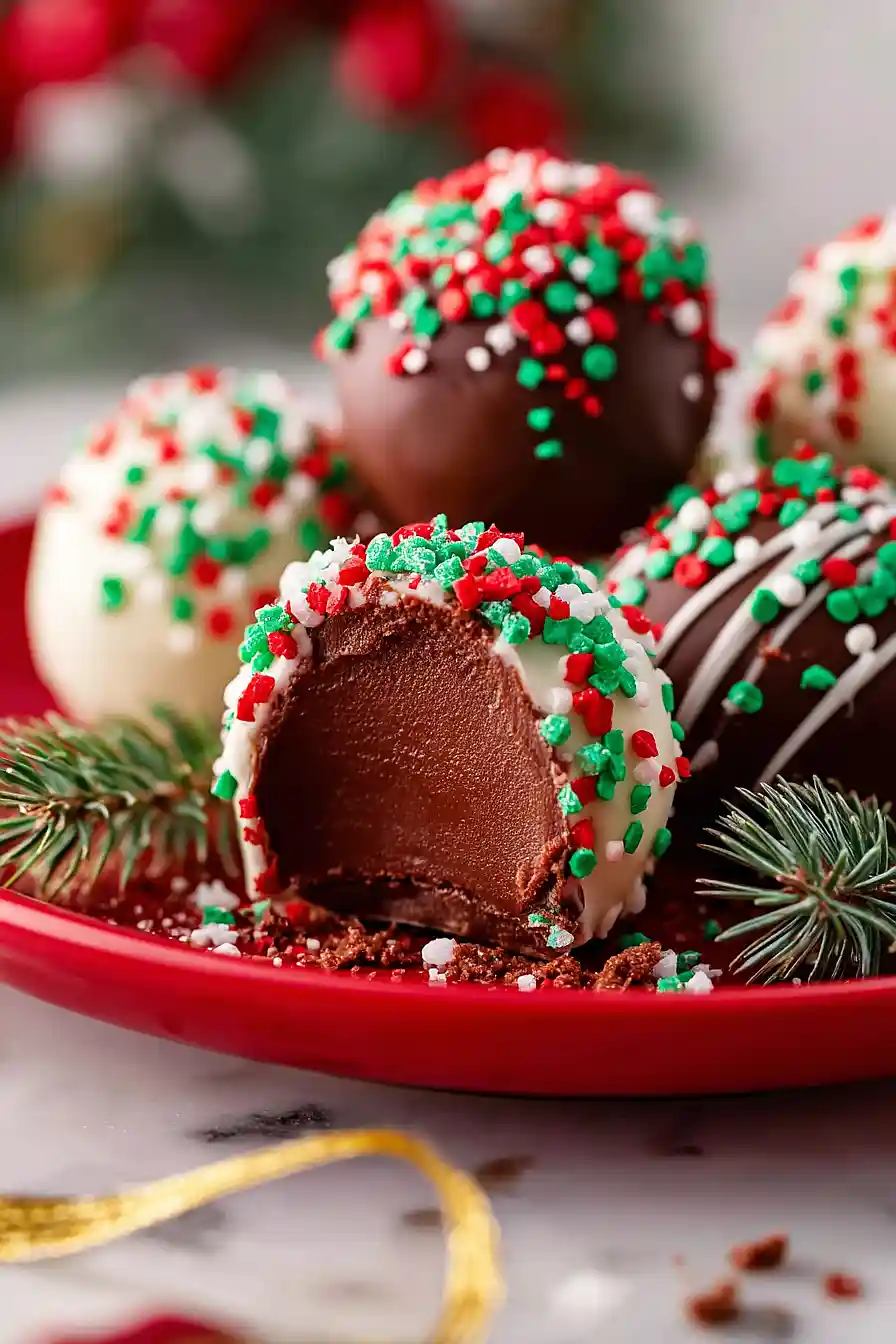
Here are my favorite Christmas chocolate truffles, with a smooth, creamy ganache center made from quality chocolate and heavy cream, a hint of vanilla, and an optional coating of melted chocolate with festive sprinkles.
These truffles have become our go-to holiday treat every December. I usually make a double batch because they disappear so fast at parties, and honestly, they’re perfect for late-night snacking while wrapping presents.

Why You’ll Love These Christmas Chocolate Truffles
- Simple ingredients – You only need a few basic ingredients like chocolate, cream, and vanilla to make these impressive treats.
- Perfect for gift-giving – These homemade truffles make thoughtful holiday gifts that look fancy but are surprisingly easy to make at home.
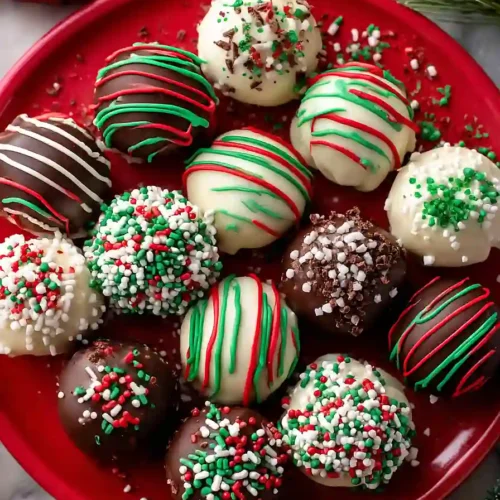
- Customizable decorations – You can decorate them however you like with festive sprinkles, icing, or different chocolate coatings to match your holiday theme.
- Make-ahead friendly – These truffles can be made days in advance and stored in the fridge, making holiday prep so much easier.
What Kind of Chocolate Should I Use?
For the best truffles, you’ll want to use a good quality baking chocolate bar rather than chocolate chips. Baking bars melt more smoothly and create that silky, melt-in-your-mouth texture you’re looking for in a truffle. Semi-sweet chocolate is the classic choice and gives you a nice balance of sweetness, but you can also use dark chocolate if you prefer something less sweet or milk chocolate if you want them extra creamy. When it comes to the coating, feel free to mix it up – you could do half your batch in dark chocolate and half in white chocolate for a nice variety on your holiday platter.
Options for Substitutions
These truffles are pretty forgiving when it comes to swaps, so feel free to get creative:
- Semi-sweet chocolate: You can use dark chocolate for a more intense flavor or milk chocolate if you prefer something sweeter. Chocolate chips work too, though bar chocolate melts more smoothly.
- Heavy cream: In a pinch, you can use half-and-half or whole milk, but your truffles will be slightly less rich and creamy. For a dairy-free option, try full-fat coconut cream – just make sure it’s well-stirred before measuring.
- Vanilla extract: Switch things up with almond extract, peppermint extract, or even a splash of your favorite liqueur like Grand Marnier or Baileys for an adult twist.
- Coating chocolate: The coating is totally optional. If you skip it, just roll your truffles in cocoa powder, crushed nuts, or shredded coconut instead. Candy melts also work well and come in fun holiday colors.
- Sprinkles and icing: Get creative here! Use crushed candy canes, edible glitter, or even a drizzle of melted white chocolate. You can also skip decorations entirely for a simple, classic look.
Watch Out for These Mistakes While Cooking
The biggest mistake when making chocolate truffles is adding the cream when it’s boiling hot, which can cause the chocolate to seize up and turn grainy – instead, heat the cream until it just starts to simmer, then pour it over your chopped chocolate and let it sit for a minute before stirring.
Rolling the truffles while the ganache is too warm will leave you with a sticky mess on your hands, so make sure to chill the mixture for at least 2 hours until it’s firm enough to scoop and shape easily.
If you’re coating your truffles in melted chocolate, work quickly and use a fork to dip them, tapping off excess chocolate to avoid thick, uneven layers that can crack.
Keep your finished truffles refrigerated until about 30 minutes before serving, as they taste best when they’re slightly cool but not rock-hard from the fridge.
What to Serve With Christmas Chocolate Truffles?
These chocolate truffles are perfect for setting out on a dessert table alongside other holiday treats like sugar cookies, peppermint bark, or fudge. I love serving them after a big Christmas dinner with coffee or hot chocolate – they’re rich enough that just one or two satisfies your sweet tooth. You can also package them up in little boxes or bags as homemade gifts for friends, neighbors, or teachers. If you’re hosting a holiday party, arrange them on a platter with some fresh berries and nuts for a simple but festive dessert spread.
Storage Instructions
Store: Keep your chocolate truffles in an airtight container in the fridge for up to 2 weeks. I like to place parchment paper between layers so they don’t stick together. They taste amazing cold straight from the fridge, or you can let them sit at room temperature for about 10 minutes before serving for a softer, creamier texture.
Freeze: These truffles freeze really well for up to 3 months. Just arrange them in a single layer on a baking sheet and freeze until solid, then transfer to a freezer-safe container with parchment between layers. Perfect for making ahead during the busy holiday season!
Serve: When you’re ready to enjoy frozen truffles, let them thaw in the fridge for a few hours or overnight. They’re best served chilled or at cool room temperature, so avoid leaving them out too long or the chocolate coating might get soft and messy.
| Preparation Time | 30-40 minutes |
| Cooking Time | 20-30 minutes |
| Total Time | 180-210 minutes |
| Level of Difficulty | Medium |
| Servings | 24 pieces |
Estimated Nutrition
Estimated nutrition for the whole recipe (without optional ingredients):
- Calories: 1800-2000
- Protein: 16-20 g
- Fat: 110-130 g
- Carbohydrates: 220-250 g
Ingredients
For the truffles:
- 1/2 tsp vanilla extract (pure vanilla for best flavor)
- 8 oz semi-sweet baking chocolate (I use Ghirardelli)
- 1/2 cup heavy cream (brings rich, creamy texture)
For the coating and decoration:
- holiday icing (optional but recommended for decorated finish)
- 8 oz baking chocolate (for dipping, melted and cooled slightly)
- holiday sprinkles (optional, adds festive crunch)
Step 1: Create the Ganache Base
- 8 oz semi-sweet baking chocolate
- 1/2 cup heavy cream
- 1/2 tsp vanilla extract
Chop the 8 oz semi-sweet baking chocolate into small, uniform pieces and place in a heat-safe bowl.
Heat the heavy cream in a small saucepan over medium heat until it just begins to steam and small bubbles form around the edges—don’t let it boil.
Pour the hot cream directly over the chopped chocolate and let it sit undisturbed for 1 minute to allow the residual heat to begin melting the chocolate.
This gentle heating method ensures smooth, lump-free ganache.
Add the vanilla extract and stir slowly with a spatula until the mixture is completely smooth and homogeneous.
Step 2: Chill and Set the Ganache
- ganache mixture from Step 1
Transfer the ganache mixture from Step 1 to a shallow container or bowl and cover it tightly with plastic wrap or a lid.
Refrigerate for 2 hours until the mixture is firm enough to scoop but still slightly soft—you’re aiming for the consistency of cookie dough.
I like to use a shallow dish rather than a deep bowl because it allows the ganache to chill more evenly and makes scooping easier.
Check the texture at the 1.5-hour mark; depending on your refrigerator, it may be ready a bit earlier.
Step 3: Shape into Truffles
- chilled ganache from Step 2
Remove the chilled ganache from Step 2 and let it sit at room temperature for 2-3 minutes to soften slightly, making it easier to work with.
Using a small ice cream scoop, melon baller, or two spoons, portion the ganache into roughly 1-inch balls and place them on a parchment-lined baking sheet.
Roll each portion between your palms to create smooth, uniform spheres.
If the ganache becomes too soft during rolling, return it to the refrigerator for 10 minutes to firm up.
Step 4: Prepare for Dipping and Decorating
- 8 oz baking chocolate
- holiday icing
- holiday sprinkles
Chop the 8 oz baking chocolate for dipping into small pieces and melt it gently using a double boiler or microwave in 30-second intervals, stirring between each interval until completely smooth.
Allow it to cool for 2-3 minutes so it’s still fluid but not so hot that it will cause the truffle centers to collapse.
Line a baking sheet with parchment paper.
If using holiday icing for decoration, have it nearby in a small bowl or piping container along with any sprinkles you’d like to use.
Step 5: Dip and Finish the Truffles
- truffle balls from Step 3
- melted dipping chocolate from Step 4
- holiday icing
- holiday sprinkles
Working with one truffle at a time, drop it into the melted chocolate from Step 4 and use a fork to coat it completely, then lift it out and let the excess chocolate drip back into the bowl.
Place the chocolate-coated truffle on the prepared parchment-lined sheet.
Immediately decorate with holiday sprinkles, a drizzle of icing, or additional melted chocolate if desired—work quickly before the chocolate coating sets.
I find that decorating right after dipping ensures the toppings stick beautifully to the still-warm chocolate.
Step 6: Final Chill and Serve
- decorated truffles from Step 5
Once all truffles are dipped and decorated, refrigerate them for 20-30 minutes until the chocolate coating is completely set and firm.
Remove from the refrigerator 5 minutes before serving to allow them to come to room temperature slightly, which will give them the best texture and flavor.
Store any remaining truffles in an airtight container in the refrigerator for up to one week.
Rich Christmas Chocolate Truffles
Ingredients
For the truffles:
- 1/2 tsp vanilla extract (pure vanilla for best flavor)
- 8 oz semi-sweet baking chocolate (I use Ghirardelli)
- 1/2 cup heavy cream (brings rich, creamy texture)
For the coating and decoration:
- holiday icing (optional but recommended for decorated finish)
- 8 oz baking chocolate (for dipping, melted and cooled slightly)
- holiday sprinkles (optional, adds festive crunch)
Instructions
- Chop the 8 oz semi-sweet baking chocolate into small, uniform pieces and place in a heat-safe bowl. Heat the heavy cream in a small saucepan over medium heat until it just begins to steam and small bubbles form around the edges—don't let it boil. Pour the hot cream directly over the chopped chocolate and let it sit undisturbed for 1 minute to allow the residual heat to begin melting the chocolate. This gentle heating method ensures smooth, lump-free ganache. Add the vanilla extract and stir slowly with a spatula until the mixture is completely smooth and homogeneous.
- Transfer the ganache mixture from Step 1 to a shallow container or bowl and cover it tightly with plastic wrap or a lid. Refrigerate for 2 hours until the mixture is firm enough to scoop but still slightly soft—you're aiming for the consistency of cookie dough. I like to use a shallow dish rather than a deep bowl because it allows the ganache to chill more evenly and makes scooping easier. Check the texture at the 1.5-hour mark; depending on your refrigerator, it may be ready a bit earlier.
- Remove the chilled ganache from Step 2 and let it sit at room temperature for 2-3 minutes to soften slightly, making it easier to work with. Using a small ice cream scoop, melon baller, or two spoons, portion the ganache into roughly 1-inch balls and place them on a parchment-lined baking sheet. Roll each portion between your palms to create smooth, uniform spheres. If the ganache becomes too soft during rolling, return it to the refrigerator for 10 minutes to firm up.
- Chop the 8 oz baking chocolate for dipping into small pieces and melt it gently using a double boiler or microwave in 30-second intervals, stirring between each interval until completely smooth. Allow it to cool for 2-3 minutes so it's still fluid but not so hot that it will cause the truffle centers to collapse. Line a baking sheet with parchment paper. If using holiday icing for decoration, have it nearby in a small bowl or piping container along with any sprinkles you'd like to use.
- Working with one truffle at a time, drop it into the melted chocolate from Step 4 and use a fork to coat it completely, then lift it out and let the excess chocolate drip back into the bowl. Place the chocolate-coated truffle on the prepared parchment-lined sheet. Immediately decorate with holiday sprinkles, a drizzle of icing, or additional melted chocolate if desired—work quickly before the chocolate coating sets. I find that decorating right after dipping ensures the toppings stick beautifully to the still-warm chocolate.
- Once all truffles are dipped and decorated, refrigerate them for 20-30 minutes until the chocolate coating is completely set and firm. Remove from the refrigerator 5 minutes before serving to allow them to come to room temperature slightly, which will give them the best texture and flavor. Store any remaining truffles in an airtight container in the refrigerator for up to one week.

