There’s something about a good pasta salad that just makes sense for summer. It’s filling enough to be a real meal, but you don’t have to turn on the stove for very long. Just boil your pasta, drain it, and you’re basically done with the hard part.
I started making this tuna pasta salad when I needed something I could throw together on busy weeknights. It’s one of those recipes where you can prep everything while the pasta cooks, so you’re not standing around waiting. The whole thing comes together in about twenty minutes, and then it sits in the fridge getting better while you do literally anything else.
The best part? Everyone in my family actually eats it without complaining. That’s a win in my book. Pack it for lunch, bring it to a potluck, or just eat it straight from the bowl while standing at the counter. I won’t judge.
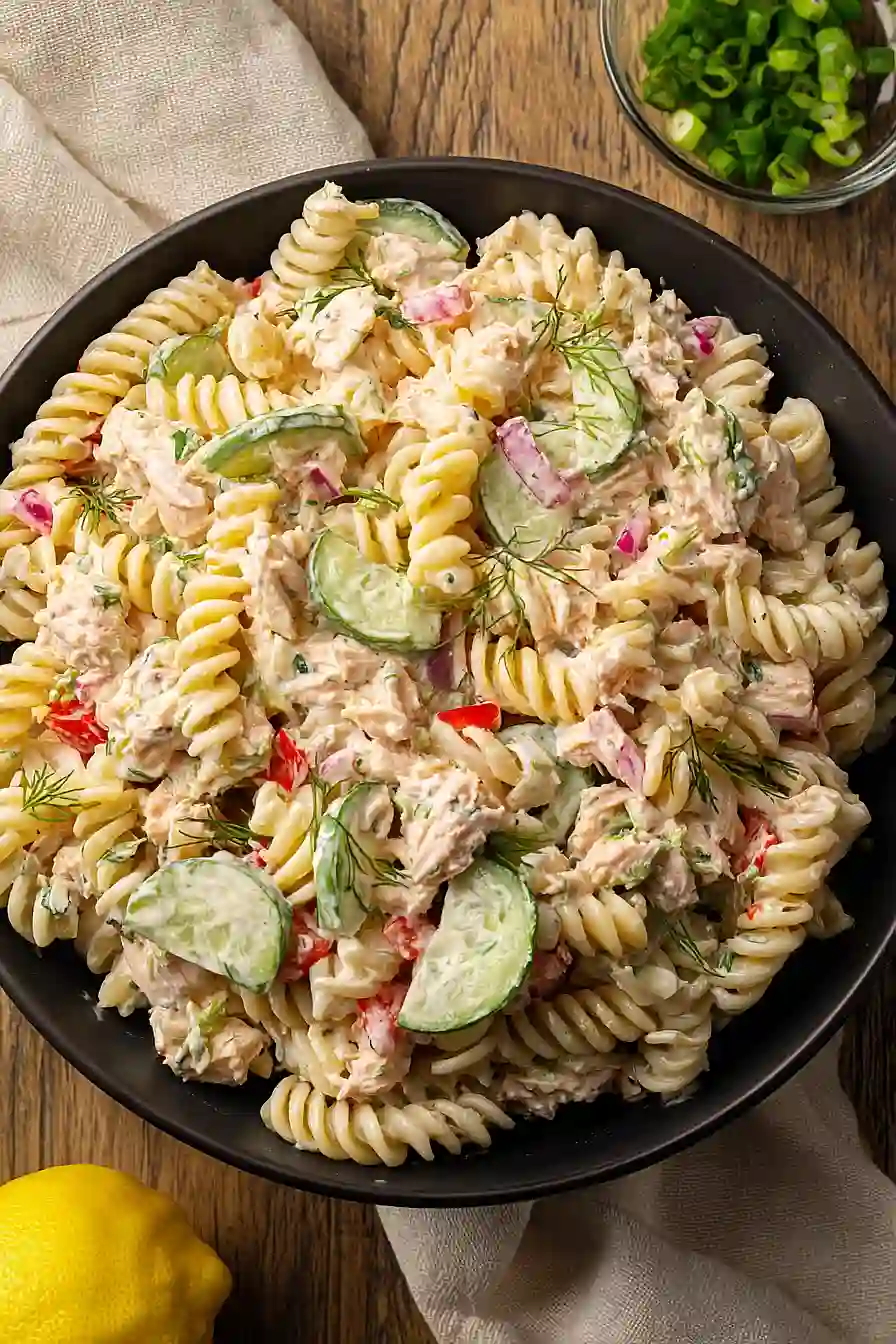
Why You’ll Love This Tuna Pasta Salad
- Quick and easy – This pasta salad comes together in under 30 minutes, making it perfect for busy weeknights or last-minute potluck contributions.
- High-protein meal – With tuna as the star ingredient, you’re getting a satisfying, protein-packed dish that keeps you full without feeling heavy.
- Lighter mayo alternative – The combo of mayo and yogurt gives you all the creaminess you want with fewer calories and a nice tangy flavor.
- Great for meal prep – This salad actually tastes better the next day after the flavors meld together, so you can make it ahead and enjoy it throughout the week.
- Simple pantry ingredients – Most of these ingredients are things you probably already have on hand, so no special shopping trip required.
What Kind of Tuna Should I Use?
For pasta salad, you can use either chunk light or solid white albacore tuna – both work great, though albacore has a milder flavor and firmer texture. Canned tuna packed in water is the most common choice since it keeps the salad from getting too oily, but if you prefer a richer taste, tuna packed in olive oil works too. Just make sure to drain it well either way, and if you’re feeling fancy, you could even use pouched tuna which tends to have larger, more intact pieces. The beauty of this recipe is that it’s pretty forgiving, so whatever tuna you have in your pantry will do the job just fine.
Options for Substitutions
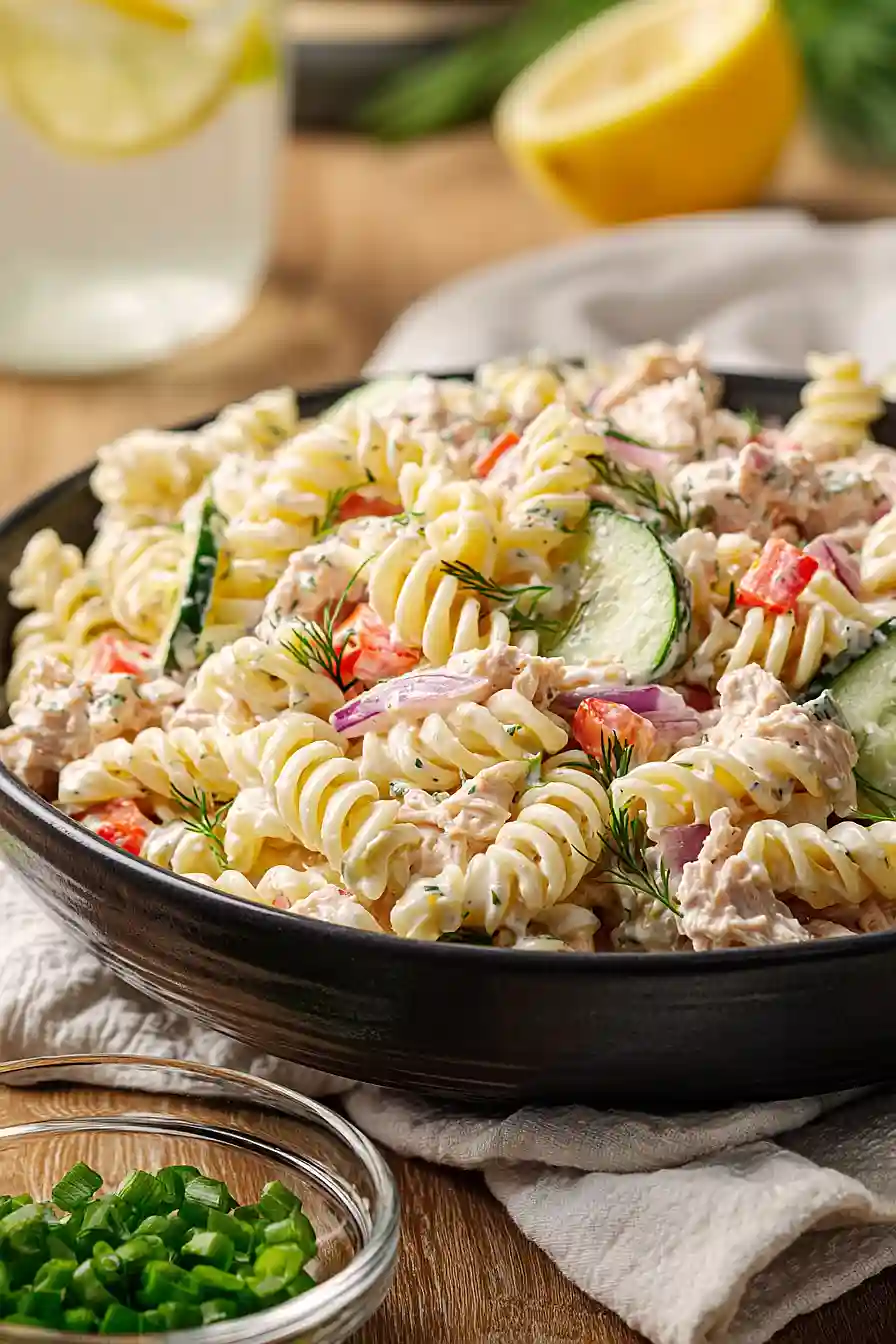
This pasta salad is easy to customize based on what you have in your kitchen:
- Fusilli: Any short pasta shape works great here – try rotini, penne, bow ties, or shells. They all hold the dressing nicely and are easy to eat.
- Tuna: Canned salmon or cooked chicken breast make good alternatives if you’re not a tuna fan. You could also use cooked shrimp for a different twist.
- Mayonnaise and yogurt: You can adjust the ratio to your preference – use all mayo for a richer taste, or all yogurt (or Greek yogurt) for a lighter version. Sour cream also works in place of yogurt.
- Rice wine vinegar: White wine vinegar, apple cider vinegar, or regular white vinegar all work fine. You might want to use slightly less if using white vinegar since it’s a bit stronger.
- Dillweed: Fresh dill is always great if you have it (use about 3 tablespoons chopped). Parsley or basil can step in if dill isn’t your thing.
- Bell peppers: Any color bell pepper works, or you can swap in cherry tomatoes, celery, or shredded carrots for extra crunch.
Watch Out for These Mistakes While Cooking
The biggest mistake people make with pasta salad is not rinsing the cooked pasta with cold water, which stops the cooking process and prevents the noodles from getting mushy and clumping together.
Another common error is adding the dressing while the pasta is still warm, causing the mayonnaise to break down and create a watery, separated mess – always make sure your pasta is completely cool before mixing in the creamy dressing.
To keep your pasta salad from drying out in the fridge, reserve a few tablespoons of the yogurt-mayo mixture to stir in before serving, since pasta absorbs liquid as it sits.
Finally, don’t skip seasoning the pasta itself with the vinegar and spices in step 4, as this adds flavor throughout the dish rather than just on the surface.
What to Serve With Tuna Pasta Salad?
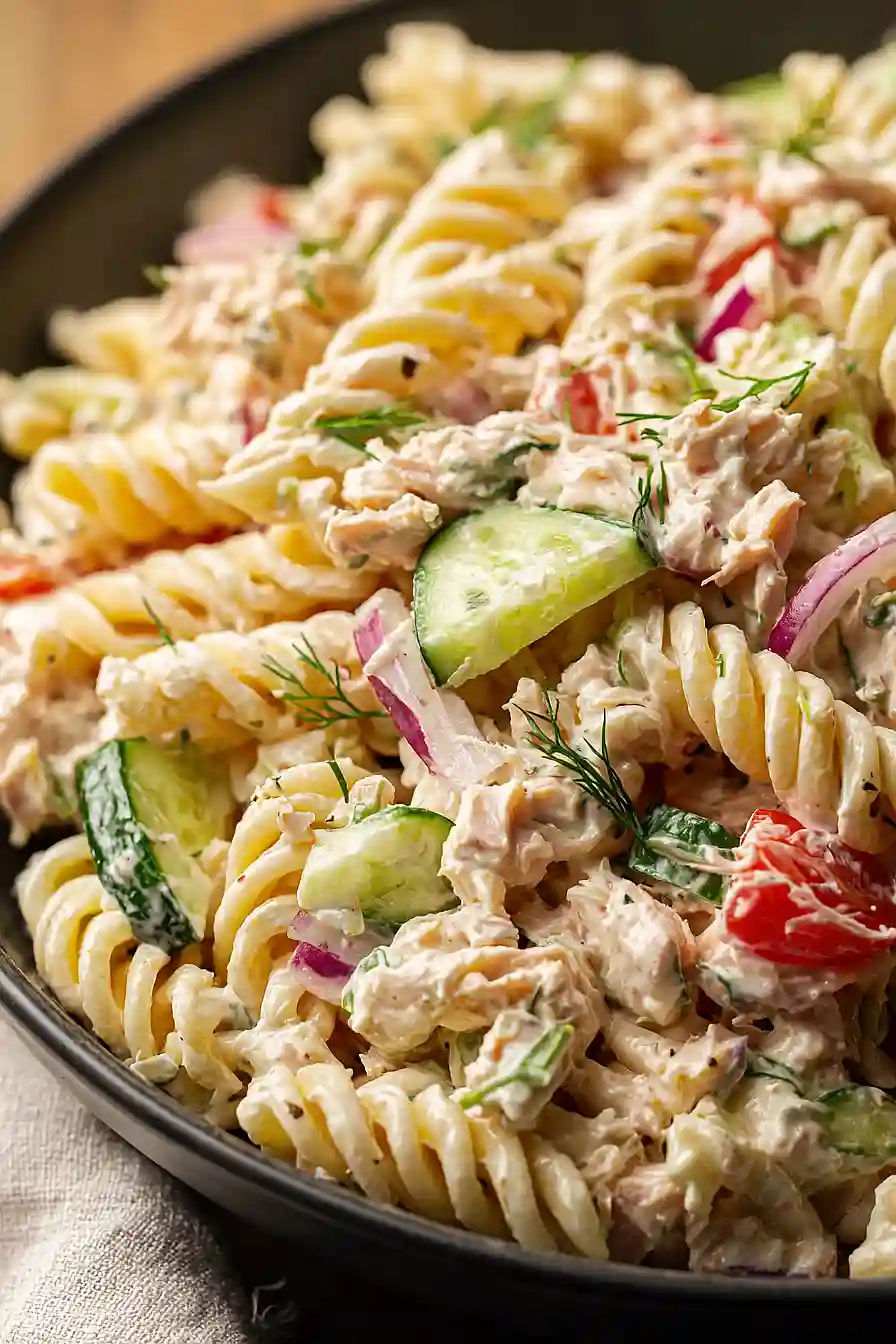
Tuna pasta salad is pretty filling on its own, but I love serving it alongside some fresh fruit like watermelon slices or grapes to balance out the creamy, savory flavors. A handful of kettle-cooked potato chips or some buttery crackers on the side adds a nice crunch that goes perfectly with the soft pasta. If you’re feeding a crowd at a picnic or barbecue, this pairs really well with coleslaw, corn on the cob, or some simple deviled eggs. For a lighter option, try it with a tomato and mozzarella caprese salad or some marinated olives for a Mediterranean-style spread.
Storage Instructions
Store: This tuna pasta salad actually tastes better the next day after all the flavors have had time to mingle! Keep it in an airtight container in the fridge for up to 3 days. Just give it a good stir before serving since the dressing might settle a bit.
Make Ahead: You can definitely prep this salad a day in advance, which makes it perfect for potlucks or meal prep. If you’re making it more than a few hours ahead, you might want to add the cucumber right before serving to keep it extra crunchy.
Serve: This salad is meant to be enjoyed cold, straight from the fridge. If it seems a little dry after sitting, just stir in a spoonful of mayo or yogurt to freshen it up. I wouldn’t recommend freezing this one since the pasta and veggies don’t hold up well after thawing.
| Preparation Time | 15-20 minutes |
| Cooking Time | 10-15 minutes |
| Total Time | 25-35 minutes |
| Level of Difficulty | Easy |
| Servings | 6 servings |
Estimated Nutrition
Estimated nutrition for the whole recipe (without optional ingredients):
- Calories: 1450-1600
- Protein: 70-80 g
- Fat: 60-70 g
- Carbohydrates: 150-170 g
Ingredients
For the salad:
- 3.5 cups fusilli (I always use Barilla for the best al dente texture)
- 15 oz tuna (drained and flaked into small chunks)
- 1 1/2 cups cucumber (de-seeded and diced into 1/2-inch pieces)
- 1 tbsp rice wine vinegar
- 1.5 tbsp capers
- 1 cup bell peppers (finely diced into 1/4-inch pieces for even distribution)
- 1/4 cup red onion
- 1/2 tsp garlic salt
- 1/2 tsp red pepper flakes
- 1/2 tbsp fresh lemon juice
- salt
- black pepper
For the dressing:
- 2/3 cup mayonnaise (I prefer Hellmann’s for a creamier consistency)
- 1/2 cup yogurt
- 1.5 tbsp dillweed
Step 1: Prepare Mise en Place – Chop All Vegetables
- 1 1/2 cups cucumber
- 1 cup bell peppers
- 1/4 cup red onion
While the pasta water comes to a boil, prepare all your vegetables to have them ready.
De-seed the cucumber and dice it into 1/2-inch pieces, finely dice the bell peppers into 1/4-inch pieces for even distribution throughout the salad, and mince the red onion.
I find that doing all the chopping at once keeps the kitchen organized and prevents you from being caught mid-preparation when the pasta finishes cooking.
Step 2: Cook and Cool the Pasta
- 3.5 cups fusilli
- salt
Bring a large pot of salted water to a boil and cook the fusilli according to package directions until al dente—I always use Barilla for the best texture.
Drain the pasta thoroughly in a colander, then rinse it with cold water until completely cooled.
This stops the cooking process and prevents the pasta from becoming mushy when combined with the other ingredients.
Step 3: Season the Pasta Base
- cooked pasta from Step 2
- 1 tbsp rice wine vinegar
- 1/2 tsp garlic salt
- 1/2 tsp red pepper flakes
- black pepper
In a large mixing bowl, combine the cooled pasta from Step 2 with the rice wine vinegar, garlic salt, red pepper flakes, and black pepper.
Toss everything together thoroughly so the pasta absorbs these flavors evenly.
This early seasoning is crucial because it flavors the pasta itself rather than just coating it with dressing later.
Step 4: Combine Pasta with Vegetables, Tuna, and Capers
- pasta mixture from Step 3
- prepared vegetables from Step 1
- 15 oz tuna, drained and flaked
- 1.5 tbsp capers
- 1/2 tbsp fresh lemon juice
Add the diced vegetables from Step 1, the drained and flaked tuna, capers, and fresh lemon juice to the seasoned pasta bowl.
Gently fold everything together to combine without breaking up the tuna chunks.
The lemon juice adds brightness and acidity that balances the richness of the dressing you’ll add next.
Step 5: Make and Add the Creamy Dressing
- 2/3 cup mayonnaise
- 1/2 cup yogurt
- 1.5 tbsp dillweed
In a small bowl, whisk together the mayonnaise, yogurt, and dillweed until smooth and well combined.
I prefer Hellmann’s mayo for a creamier consistency that coats the salad beautifully.
Pour the dressing over the pasta mixture and fold everything together gently until all ingredients are evenly coated.
Step 6: Season to Taste and Serve
- salt
- black pepper
Taste the finished salad and adjust the seasoning with additional salt and black pepper as needed.
Serve immediately while the pasta is still cool and fresh, or refrigerate until ready to serve.
Quick Tuna Pasta Salad Recipe
Ingredients
For the salad::
- 3.5 cups fusilli (I always use Barilla for the best al dente texture)
- 15 oz tuna (drained and flaked into small chunks)
- 1 1/2 cups cucumber (de-seeded and diced into 1/2-inch pieces)
- 1 tbsp rice wine vinegar
- 1.5 tbsp capers
- 1 cup bell peppers (finely diced into 1/4-inch pieces for even distribution)
- 1/4 cup red onion
- 1/2 tsp garlic salt
- 1/2 tsp red pepper flakes
- 1/2 tbsp fresh lemon juice
- salt
- black pepper
For the dressing::
- 2/3 cup mayonnaise (I prefer Hellmann's for a creamier consistency)
- 1/2 cup yogurt
- 1.5 tbsp dillweed
Instructions
- While the pasta water comes to a boil, prepare all your vegetables to have them ready. De-seed the cucumber and dice it into 1/2-inch pieces, finely dice the bell peppers into 1/4-inch pieces for even distribution throughout the salad, and mince the red onion. I find that doing all the chopping at once keeps the kitchen organized and prevents you from being caught mid-preparation when the pasta finishes cooking.
- Bring a large pot of salted water to a boil and cook the fusilli according to package directions until al dente—I always use Barilla for the best texture. Drain the pasta thoroughly in a colander, then rinse it with cold water until completely cooled. This stops the cooking process and prevents the pasta from becoming mushy when combined with the other ingredients.
- In a large mixing bowl, combine the cooled pasta from Step 2 with the rice wine vinegar, garlic salt, red pepper flakes, and black pepper. Toss everything together thoroughly so the pasta absorbs these flavors evenly. This early seasoning is crucial because it flavors the pasta itself rather than just coating it with dressing later.
- Add the diced vegetables from Step 1, the drained and flaked tuna, capers, and fresh lemon juice to the seasoned pasta bowl. Gently fold everything together to combine without breaking up the tuna chunks. The lemon juice adds brightness and acidity that balances the richness of the dressing you'll add next.
- In a small bowl, whisk together the mayonnaise, yogurt, and dillweed until smooth and well combined. I prefer Hellmann's mayo for a creamier consistency that coats the salad beautifully. Pour the dressing over the pasta mixture and fold everything together gently until all ingredients are evenly coated.
- Taste the finished salad and adjust the seasoning with additional salt and black pepper as needed. Serve immediately while the pasta is still cool and fresh, or refrigerate until ready to serve.

