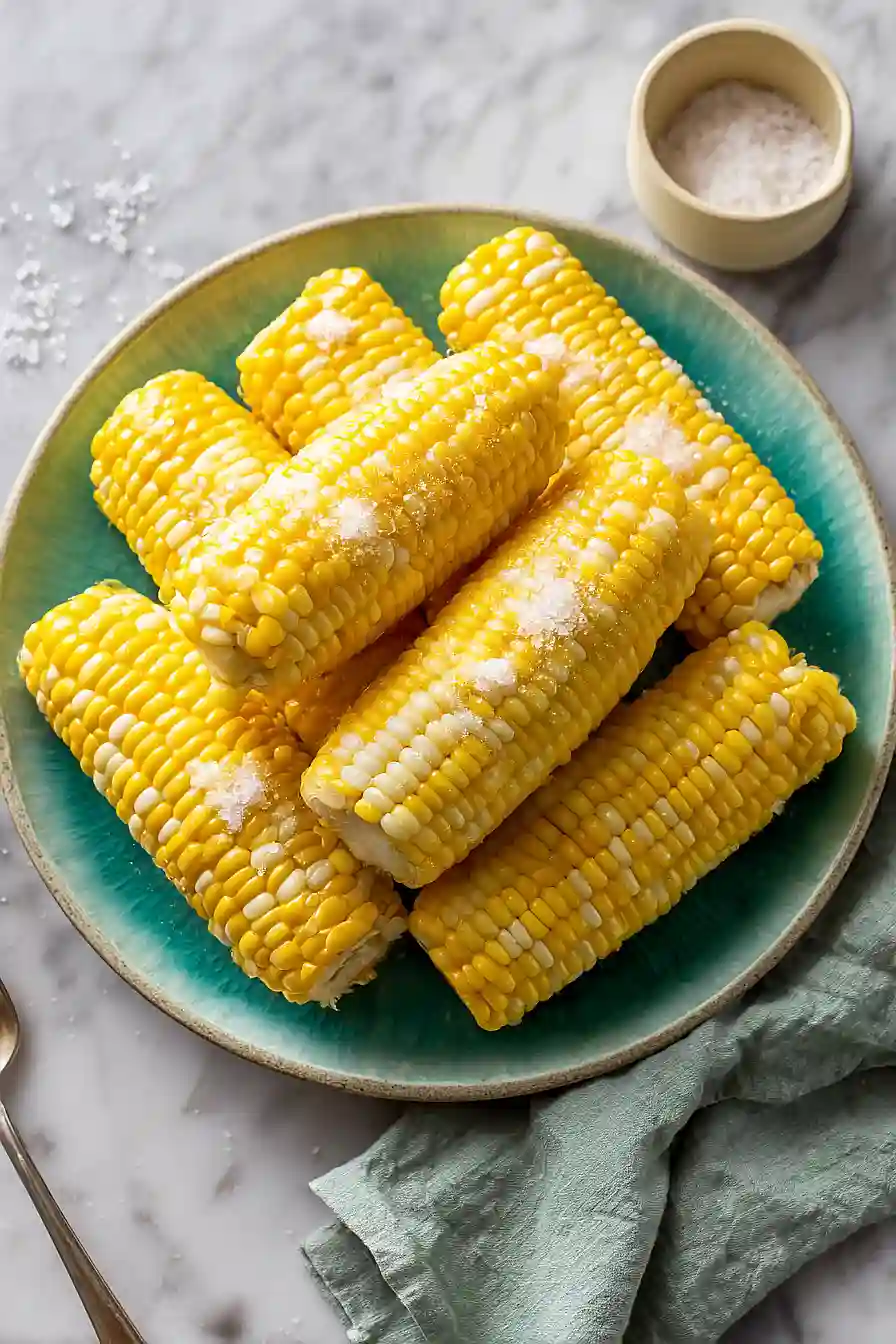
Here is my favorite pressure cooker corn on the cob recipe, with corn cooked right in the husk for maximum flavor, and finished with a butter mixture seasoned with salt, pepper, and smoked paprika.
This corn on the cob is perfect for busy weeknights when you want something fresh and tasty without heating up the whole kitchen. I love that it cooks in just minutes, and that seasoned butter? My kids ask for it every single time.
Why You’ll Love This Corn on the Cob
- Super quick cooking – Your pressure cooker gets perfectly tender corn on the cob ready in under 30 minutes, making it way faster than traditional boiling methods.
- Minimal ingredients – You only need corn and water to make this recipe work, with butter and seasonings being completely optional.
- Foolproof method – The pressure cooker takes all the guesswork out of cooking corn, so you’ll get consistent results every single time without having to watch a pot of boiling water.
- Perfect for busy weeknights – This is an easy side dish that practically cooks itself while you focus on preparing the rest of your meal.
What Kind of Corn Should I Use?
Fresh corn on the cob is always your best bet for this recipe, especially if you can grab it during peak summer season when it’s sweet and tender. Look for ears with bright green husks that feel slightly damp and kernels that are plump and tightly packed together. If fresh corn isn’t available, you can absolutely use frozen corn on the cob – just don’t thaw it first, and you might need to add a minute or two to your cooking time. When picking out fresh corn at the store or farmer’s market, give it a gentle squeeze to make sure the ear feels firm and full from top to bottom.
Options for Substitutions
This simple recipe is pretty straightforward, but here are a few things you can swap:
- Butter: If you’re avoiding dairy, olive oil or coconut oil work great for that rich, glossy finish. You could also try herb-infused butter or garlic butter for extra flavor.
- Water: While water is the standard choice for pressure cooking, you can use vegetable or chicken broth instead to add a subtle flavor boost to your corn.
- Fresh corn on the cob: This recipe really needs fresh corn on the cob to work properly in the pressure cooker. Frozen corn won’t give you the same results, so stick with fresh ears for this one.
- Salt and pepper: These are totally optional seasonings. Try other options like cajun seasoning, chili lime seasoning, or parmesan cheese for a different twist.
Watch Out for These Mistakes While Cooking
The biggest mistake people make with pressure cooker corn is overcooking it, which turns those crisp, sweet kernels into mushy mush – stick to exactly 4 minutes on high pressure and use a quick release to stop the cooking process immediately.
Another common error is adding too little water, which can cause your pressure cooker to not come to pressure properly or even burn the bottom, so make sure you have at least 2 cups of water in the pot.
Don’t skip the quick release step and let the pressure come down naturally, as those extra minutes of residual heat will continue cooking your corn and make it overcooked.
Finally, if you’re planning to add butter and seasonings, wait until after the corn is cooked and husked – adding them during cooking won’t improve the flavor and can make a mess in your pressure cooker.
What to Serve With Corn on the Cob?
Corn on the cob is one of those side dishes that goes with just about any summer meal, especially grilled meats like burgers, chicken, or ribs. I love serving it alongside coleslaw and baked beans for a classic backyard barbecue spread that everyone enjoys. If you’re doing a seafood night, corn pairs perfectly with grilled shrimp, crab legs, or a simple fish fillet. For a lighter option, try it with a fresh tomato and cucumber salad or some grilled vegetables like zucchini and bell peppers.
Storage Instructions
Store: Leftover corn on the cob keeps well in the fridge for 3-5 days. Just wrap each ear in plastic wrap or aluminum foil, or toss them in an airtight container. I like to cut the kernels off the cob before storing if I know I’ll use them in salads or other dishes later.
Freeze: You can freeze cooked corn on the cob for up to 3 months. Wrap each ear tightly in plastic wrap, then place them in a freezer bag. For easier use, I usually slice the kernels off and freeze them in portions instead.
Serve: To enjoy your leftover corn, you can eat it cold straight from the fridge, or warm it up in the microwave for about 1-2 minutes. If you froze whole ears, let them thaw in the fridge overnight before reheating.
| Preparation Time | 5-10 minutes |
| Cooking Time | 10-15 minutes |
| Total Time | 15-30 minutes |
| Level of Difficulty | Easy |
| Servings | 4 ears of corn |
Estimated Nutrition
Estimated nutrition for the whole recipe (without optional ingredients):
- Calories: 350-400
- Protein: 10-13 g
- Fat: 4-6 g
- Carbohydrates: 78-84 g
Ingredients
For the corn:
- 4 ears corn (trimmed with 2-3 husk layers remaining)
- 1 1/2 cups water
- 1 teaspoon granulated sugar
For the seasoning:
- 1/3 cup high-quality unsalted butter (such as Kerrygold)
- 1/2 teaspoon kosher salt
- 1/4 teaspoon freshly ground black pepper
- 1/4 teaspoon smoked paprika
Step 1: Prepare the Corn and Pressure Cooker
- 4 ears corn
- 1 1/2 cups water
Trim the stem end of each ear of corn and remove the outer husk layers, leaving 2-3 layers intact to protect the kernels during cooking.
Add 1 1/2 cups water to your pressure cooker and place the steamer rack inside.
Arrange the prepared corn on the rack in a single layer, standing them upright or laying them flat depending on your cooker’s size—the water should not touch the corn directly.
Step 2: Pressure Cook the Corn
Close the lid and bring the pressure cooker to high pressure.
Cook for 4 minutes—this timing produces tender, juicy corn without overcooking it to mushiness.
I find that 4 minutes gives you that perfect balance between tender kernels and a slight bite to the texture.
Once the timer goes off, immediately release the pressure using the quick release valve to stop the cooking process and preserve the corn’s texture.
Step 3: Prepare the Butter Mixture and Finish the Corn
- 1/3 cup high-quality unsalted butter
- 1 teaspoon granulated sugar
- 1/2 teaspoon kosher salt
- 1/4 teaspoon freshly ground black pepper
- 1/4 teaspoon smoked paprika
While the pressure releases, whisk together the softened butter with the granulated sugar, kosher salt, smoked paprika, and freshly ground black pepper in a small bowl until well combined.
Carefully remove the corn from the pressure cooker and peel back the remaining husk layers.
I like to use a dry kitchen towel to protect my hands while peeling—the corn will be very hot and the towel makes it much easier to work with.
Step 4: Butter and Serve
- butter mixture from Step 3
- cooked corn from Step 2
Generously brush or spread the butter mixture from Step 3 over each ear of hot corn, working quickly so the butter melts into all the kernels.
Serve immediately while the corn is still warm and the butter is at its most flavorful.
Quick Pressure Cooker Corn on the Cob
Ingredients
For the corn
- 4 ears corn (trimmed with 2-3 husk layers remaining)
- 1 1/2 cups water
- 1 teaspoon granulated sugar
For the seasoning
- 1/3 cup high-quality unsalted butter (such as Kerrygold)
- 1/2 teaspoon kosher salt
- 1/4 teaspoon freshly ground black pepper
- 1/4 teaspoon smoked paprika
Instructions
- Trim the stem end of each ear of corn and remove the outer husk layers, leaving 2-3 layers intact to protect the kernels during cooking. Add 1 1/2 cups water to your pressure cooker and place the steamer rack inside. Arrange the prepared corn on the rack in a single layer, standing them upright or laying them flat depending on your cooker's size—the water should not touch the corn directly.
- Close the lid and bring the pressure cooker to high pressure. Cook for 4 minutes—this timing produces tender, juicy corn without overcooking it to mushiness. I find that 4 minutes gives you that perfect balance between tender kernels and a slight bite to the texture. Once the timer goes off, immediately release the pressure using the quick release valve to stop the cooking process and preserve the corn's texture.
- While the pressure releases, whisk together the softened butter with the granulated sugar, kosher salt, smoked paprika, and freshly ground black pepper in a small bowl until well combined. Carefully remove the corn from the pressure cooker and peel back the remaining husk layers. I like to use a dry kitchen towel to protect my hands while peeling—the corn will be very hot and the towel makes it much easier to work with.
- Generously brush or spread the butter mixture from Step 3 over each ear of hot corn, working quickly so the butter melts into all the kernels. Serve immediately while the corn is still warm and the butter is at its most flavorful.
