Finding a cookie recipe that doesn’t require eggs can feel like searching for a needle in a haystack, especially when you’re dealing with egg allergies or simply ran out of eggs right when that cookie craving hits. And let’s be honest, nobody wants to run to the store at 8 PM just to grab a carton of eggs.
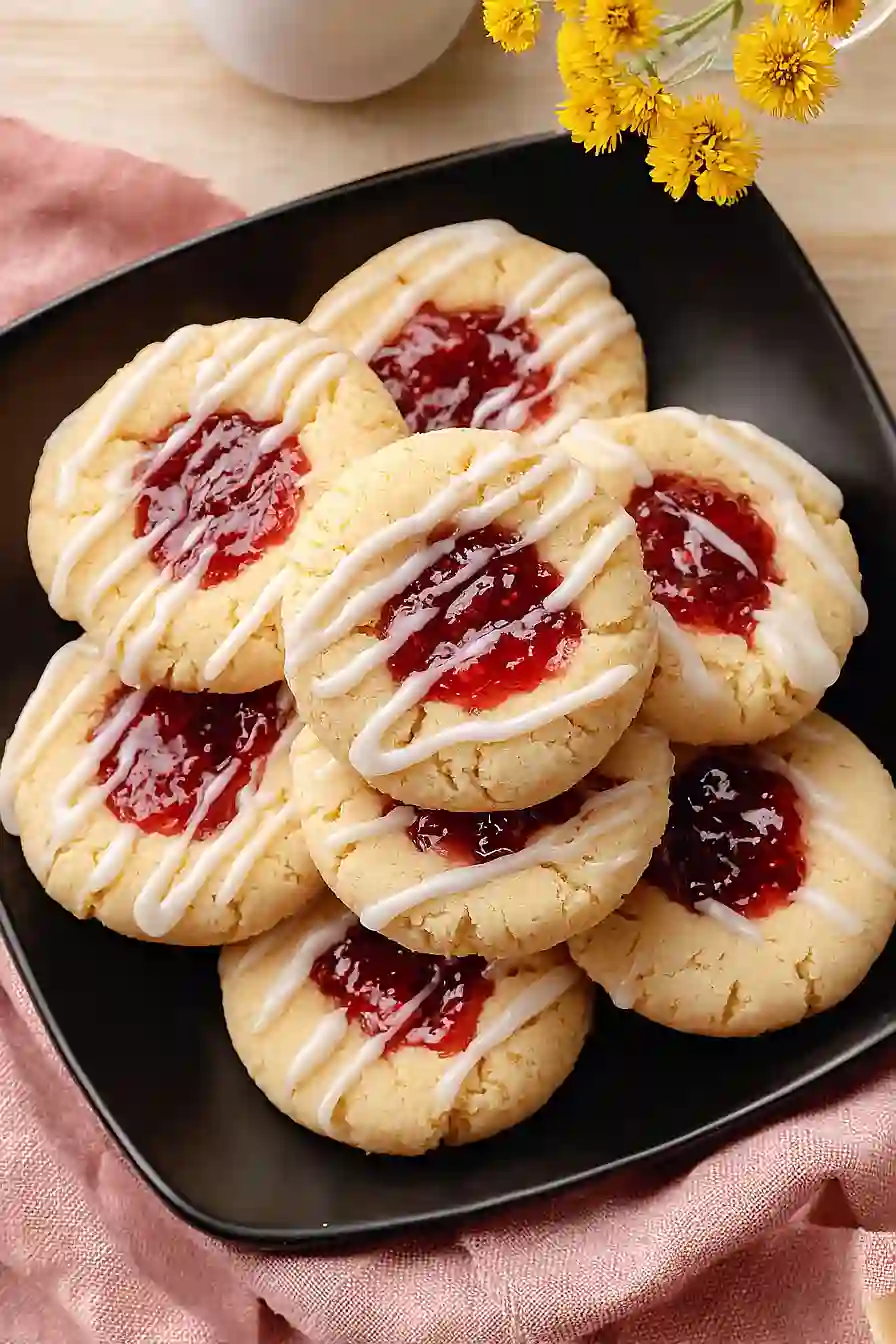
That’s where these eggless thumbprint cookies come to the rescue. They’re buttery, perfectly sweet, and hold their shape beautifully without a single egg. Plus, that little jam-filled center makes them look homemade and special without requiring any fancy decorating skills.
Why You’ll Love These Thumbprint Cookies
- Egg-free baking – Perfect for anyone with egg allergies or dietary restrictions, these cookies prove you don’t need eggs to make delicious treats.
- Quick and easy – Ready in under an hour from start to finish, making them ideal for last-minute gatherings or when a cookie craving hits.
- Simple ingredients – You probably have most of these pantry staples on hand already, so no special shopping trip required.
- Customizable flavors – Use your favorite jam flavor in the center, whether it’s strawberry, raspberry, apricot, or whatever you have in your fridge.
- Beautiful presentation – The classic thumbprint shape with colorful jam centers and sweet glaze makes these cookies look bakery-worthy with minimal effort.
What Kind of Jam Should I Use?
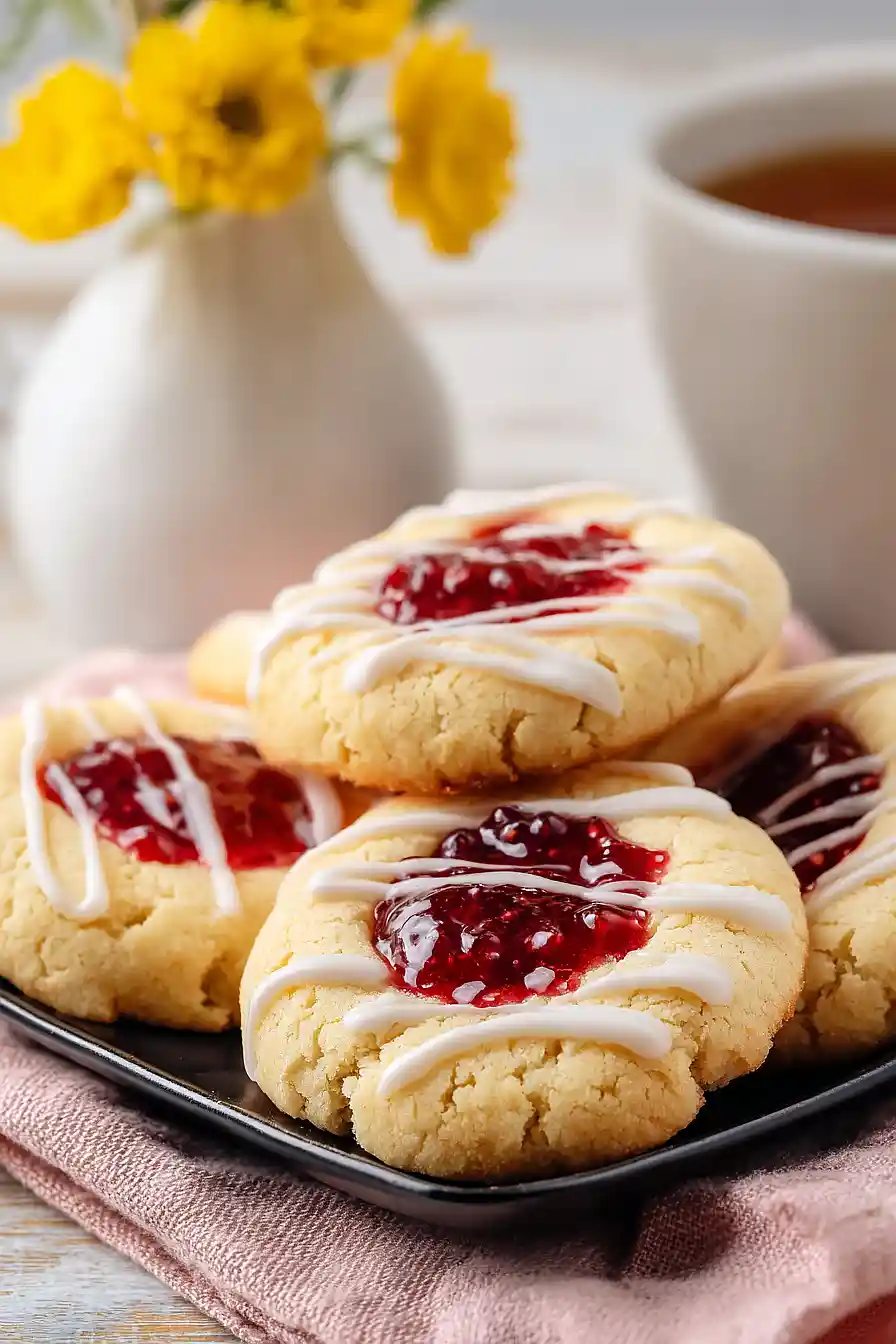
You can use pretty much any jam or preserves you have in your fridge for these thumbprint cookies. Strawberry, raspberry, and apricot are classic choices that work beautifully, but feel free to get creative with flavors like blueberry, cherry, or even lemon curd. Thicker jams tend to work better than runny ones since they’ll hold their shape in the cookie’s indentation during baking. If your jam seems too loose, you can simmer it on the stove for a few minutes to thicken it up before using it in the recipe.
Options for Substitutions
These cookies are pretty forgiving when it comes to swaps, so here are some options if you need to make changes:
- Butter: You can use salted butter if that’s what you have – just skip the added salt in the recipe. Margarine also works, though the flavor won’t be quite as rich.
- Cornstarch: If you’re out of cornstarch, just use an extra 2 tablespoons of all-purpose flour instead. The cookies will be slightly less tender but still tasty.
- Jam: Any flavor of jam or preserves works great here – raspberry, apricot, blueberry, or even lemon curd. You can also use Nutella or peanut butter for a different twist.
- Milk for glaze: Water works just fine if you don’t have milk on hand. You can also use any plant-based milk like almond or oat milk.
- Vanilla extract: Almond extract makes a nice substitute and gives the cookies a slightly different flavor profile. Use the same amount.
Watch Out for These Mistakes While Baking
The biggest mistake when making thumbprint cookies is pressing the indent too shallow, which causes the jam to spill over during baking – make sure to press deep enough (about halfway through the cookie) and use a rounded teaspoon or your thumb to create a well-defined crater.
Another common issue is adding the jam before baking, which can cause it to bubble over and burn, so it’s better to bake the cookies for about 10 minutes first, then remove them to re-press the indents and add the jam before finishing the baking time.
To prevent your cookies from spreading too much and losing their shape, chill the dough balls in the refrigerator for 15-20 minutes before baking, and avoid overmixing the butter and sugar which can incorporate too much air.
When making the glaze, add the milk gradually – start with just 2 teaspoons and add more only if needed, since a glaze that’s too thin will run right off the cookies instead of creating that nice drizzle effect.
What to Serve With Eggless Thumbprint Cookies?
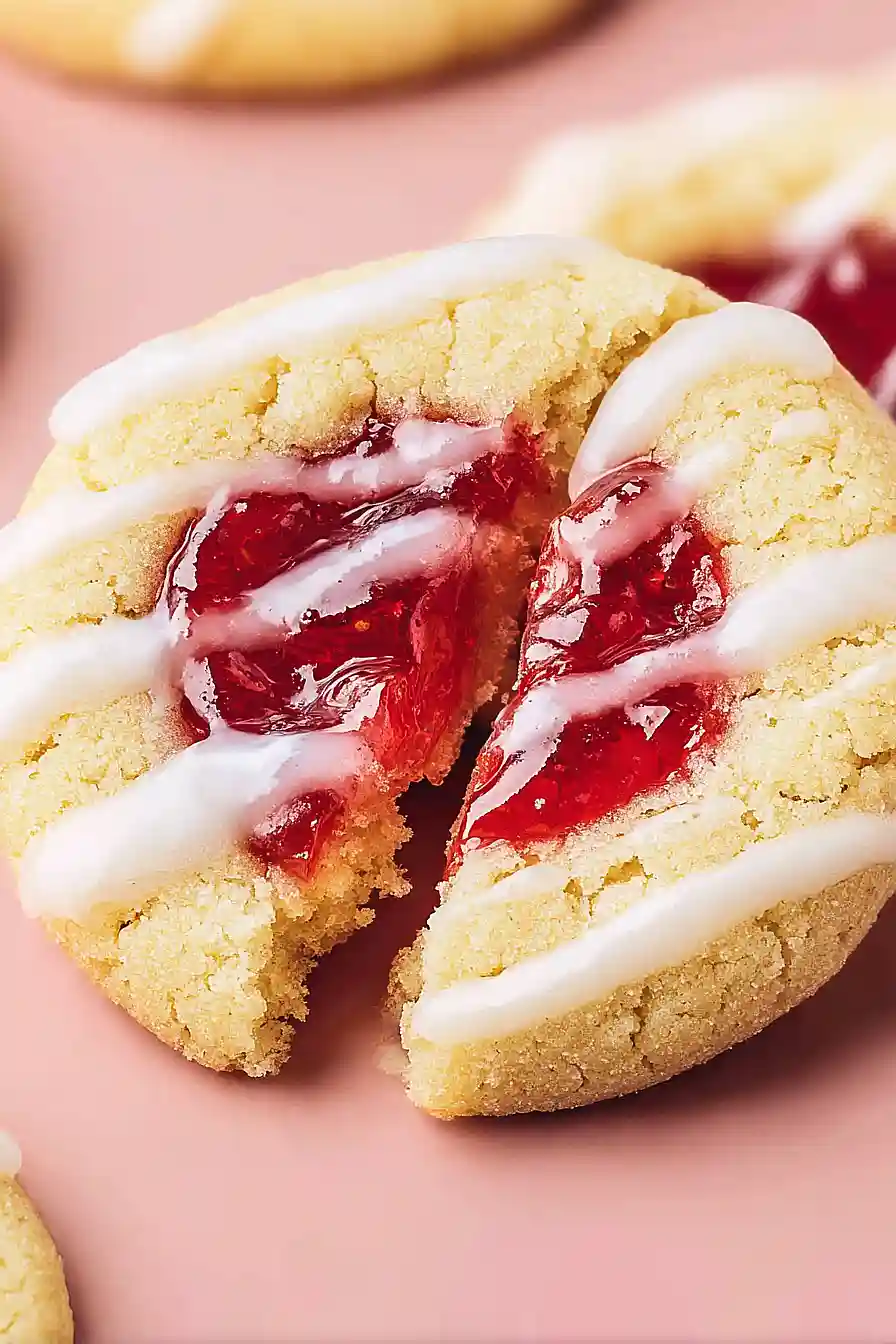
These thumbprint cookies are perfect alongside a hot cup of coffee or tea for an afternoon treat or after-dinner dessert. I love setting out a platter of these cookies with different jam flavors – try raspberry, apricot, or even lemon curd to give everyone some variety. They’re also great for cookie exchanges or holiday gatherings since they look pretty on a dessert table next to brownies, sugar cookies, or chocolate chip cookies. For a cozy evening snack, serve them with a glass of cold milk or hot chocolate.
Storage Instructions
Store: Keep your thumbprint cookies in an airtight container at room temperature for up to 5 days. I like to layer them between sheets of parchment paper so the jam doesn’t stick to other cookies. They actually taste even better the next day once the flavors have had time to meld together!
Freeze: These cookies freeze really well for up to 3 months. You can freeze them before or after adding the jam and glaze. If freezing with the jam, make sure they’re completely set first, then arrange them in a single layer on a baking sheet to freeze solid before transferring to a freezer bag.
Thaw: Just leave the cookies out at room temperature for about 30 minutes and they’re ready to eat. If you froze them without the jam and glaze, you can add those finishing touches after they’ve thawed completely.
| Preparation Time | 30-45 minutes |
| Cooking Time | 14-16 minutes |
| Total Time | 44-61 minutes |
| Level of Difficulty | Medium |
Estimated Nutrition
Estimated nutrition for the whole recipe (without optional ingredients):
- Calories: 2900-3300
- Protein: 20-26 g
- Fat: 150-170 g
- Carbohydrates: 370-420 g
Ingredients
For the cookies:
- 2 tbsp cornstarch
- 3/4 cup sugar
- 1 tsp vanilla extract (for best flavor)
- 1 cup unsalted butter (room temperature for easier creaming)
- 2 cups all-purpose flour (I use King Arthur all-purpose flour)
- 1/4 tsp salt
For the filling:
- 1/2 cup strawberry jam (or any flavor you prefer)
For the glaze:
- 1 cup powdered sugar (sifted to remove lumps)
- 2 tsp milk
Step 1: Prepare Mise en Place and Dry Ingredients
- 2 cups all-purpose flour
- 2 tbsp cornstarch
- 1/4 tsp salt
- parchment paper
Line two baking sheets with parchment paper and set aside.
In a medium bowl, whisk together the flour, cornstarch, and salt.
I like to sift these together to ensure the cornstarch distributes evenly—it helps create a more tender cookie texture.
Set this dry mixture aside while you prepare the butter mixture.
Step 2: Cream Butter and Sugar
- 1 cup unsalted butter
- 3/4 cup sugar
In a large bowl, beat the room-temperature butter and sugar together for about 5 minutes until the mixture is light, fluffy, and pale in color.
This creaming process incorporates air into the dough, which helps the cookies rise slightly and creates a tender crumb.
Stop occasionally to scrape down the sides of the bowl to ensure even mixing.
Step 3: Combine Wet and Dry Ingredients
- 1 tsp vanilla extract
- dry ingredient mixture from Step 1
Add the vanilla extract to the creamed butter and sugar, then mix until combined.
Gradually add the dry ingredient mixture from Step 1 in two parts, mixing on low speed after each addition until just combined.
Avoid overmixing once the flour is added, as this can develop gluten and make the cookies tough.
The dough should come together without any visible streaks of flour.
Step 4: Shape and Chill Dough
- dough from Step 3
Using a small cookie scoop or your hands, form the dough into 1-inch balls and place them about 2 inches apart on the prepared baking sheets.
Gently press your thumb into the center of each ball to create a thumbprint indentation—don’t press all the way through to the bottom.
Cover the baking sheets with plastic wrap and refrigerate for at least 2 hours (or up to overnight).
This chilling is essential because it prevents the cookies from spreading too much during baking and helps them hold their shape.
Step 5: Fill and Bake Cookies
- chilled dough from Step 4
- 1/2 cup strawberry jam
Preheat your oven to 350°F (175°C).
Remove the chilled dough from the refrigerator and carefully spoon about 1/4 to 1/3 teaspoon of strawberry jam into each thumbprint.
I find it helps to use a very small spoon so you don’t overfill—too much jam can leak out during baking.
Bake for 14-16 minutes, until the edges are light golden brown but the centers still look slightly underdone.
They’ll continue to cook as they cool.
Step 6: Cool Cookies and Prepare Glaze
- 1 cup powdered sugar
- 2 tsp milk
Allow the cookies to rest on the baking sheets for 5 minutes to set, then transfer them to a wire cooling rack to cool completely.
While the cookies cool, prepare the glaze by whisking together the sifted powdered sugar and milk in a small bowl until smooth and pourable.
Add more milk one drop at a time if the glaze is too thick, or a bit more powdered sugar if it’s too thin.
Step 7: Glaze and Serve
- glaze from Step 6
- cooled cookies from Step 6
Once the cookies are completely cool, drizzle the glaze over each one using a fork or small spoon.
Work over parchment paper to catch any drips.
Allow the glaze to set for a few minutes before serving.
These cookies stay fresh in an airtight container for up to 5 days.
Quick Eggless Thumbprint Cookies
Ingredients
For the cookies:
- 2 tbsp cornstarch
- 3/4 cup sugar
- 1 tsp vanilla extract (for best flavor)
- 1 cup unsalted butter (room temperature for easier creaming)
- 2 cups all-purpose flour (I use King Arthur all-purpose flour)
- 1/4 tsp salt
For the filling:
- 1/2 cup strawberry jam (or any flavor you prefer)
For the glaze:
- 1 cup powdered sugar (sifted to remove lumps)
- 2 tsp milk
Instructions
- Line two baking sheets with parchment paper and set aside. In a medium bowl, whisk together the flour, cornstarch, and salt. I like to sift these together to ensure the cornstarch distributes evenly—it helps create a more tender cookie texture. Set this dry mixture aside while you prepare the butter mixture.
- In a large bowl, beat the room-temperature butter and sugar together for about 5 minutes until the mixture is light, fluffy, and pale in color. This creaming process incorporates air into the dough, which helps the cookies rise slightly and creates a tender crumb. Stop occasionally to scrape down the sides of the bowl to ensure even mixing.
- Add the vanilla extract to the creamed butter and sugar, then mix until combined. Gradually add the dry ingredient mixture from Step 1 in two parts, mixing on low speed after each addition until just combined. Avoid overmixing once the flour is added, as this can develop gluten and make the cookies tough. The dough should come together without any visible streaks of flour.
- Using a small cookie scoop or your hands, form the dough into 1-inch balls and place them about 2 inches apart on the prepared baking sheets. Gently press your thumb into the center of each ball to create a thumbprint indentation—don't press all the way through to the bottom. Cover the baking sheets with plastic wrap and refrigerate for at least 2 hours (or up to overnight). This chilling is essential because it prevents the cookies from spreading too much during baking and helps them hold their shape.
- Preheat your oven to 350°F (175°C). Remove the chilled dough from the refrigerator and carefully spoon about 1/4 to 1/3 teaspoon of strawberry jam into each thumbprint. I find it helps to use a very small spoon so you don't overfill—too much jam can leak out during baking. Bake for 14-16 minutes, until the edges are light golden brown but the centers still look slightly underdone. They'll continue to cook as they cool.
- Allow the cookies to rest on the baking sheets for 5 minutes to set, then transfer them to a wire cooling rack to cool completely. While the cookies cool, prepare the glaze by whisking together the sifted powdered sugar and milk in a small bowl until smooth and pourable. Add more milk one drop at a time if the glaze is too thick, or a bit more powdered sugar if it's too thin.
- Once the cookies are completely cool, drizzle the glaze over each one using a fork or small spoon. Work over parchment paper to catch any drips. Allow the glaze to set for a few minutes before serving. These cookies stay fresh in an airtight container for up to 5 days.

