I used to think making muffins from scratch was way too much work. All that measuring flour, mixing wet and dry ingredients separately, trying not to overmix the batter—it felt like a science experiment that could go wrong at any moment.
Then I discovered you can throw everything straight into a blender and still get fluffy, delicious muffins. My kids were skeptical when they first saw me dump pumpkin puree, eggs, and flour into our Vitamix. But these blender pumpkin muffins proved that sometimes the easiest method really is the best one.
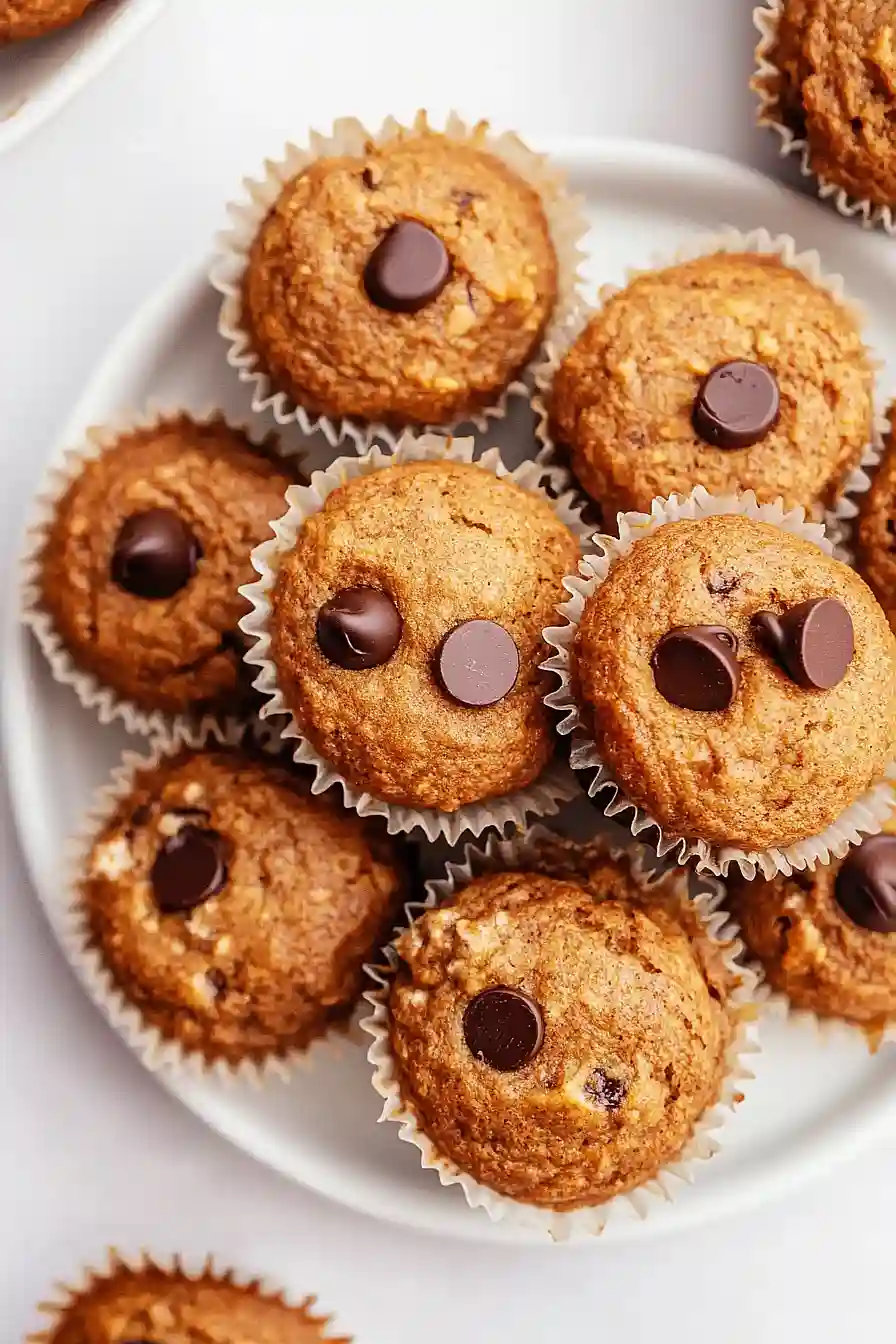
Why You’ll Love These Pumpkin Muffins
- Quick and easy prep – Just toss everything in your blender and you’re done mixing – no bowls to wash or complicated steps to follow.
- Wholesome ingredients – Made with oats and pumpkin puree, these muffins give you a nutritious breakfast or snack that actually tastes like a treat.
- Ready in 30 minutes – From start to finish, you’ll have warm muffins on the table in half an hour, perfect for busy mornings or last-minute baking.
- Naturally gluten-free option – Using oats instead of flour makes these muffins naturally gluten-free when you use certified gluten-free oats.
- Kid-approved flavor – The warm pumpkin spice and optional chocolate chips make these muffins taste like fall in every bite, and kids love them just as much as adults do.
What Kind of Oats Should I Use?
For these blender muffins, you’ll want to stick with old-fashioned rolled oats rather than quick oats or steel-cut oats. Old-fashioned oats have the perfect texture for blending into a flour-like consistency, which is exactly what we need for this recipe. Quick oats are too processed and won’t give you the same hearty texture, while steel-cut oats are too tough and won’t blend properly. Make sure your oats are fresh and stored in a cool, dry place – stale oats can give your muffins an off flavor. If you only have quick oats on hand, they can work in a pinch, but your muffins might turn out a bit more dense than intended.
Options for Substitutions
These muffins are pretty forgiving when it comes to swaps, so here are some options if you need to make changes:
- Rolled oats: You can use quick oats instead of rolled oats, but the texture will be slightly different – a bit more tender. Don’t substitute with steel-cut oats as they won’t blend properly.
- Pumpkin pie spice: No pumpkin pie spice? Mix together ½ teaspoon cinnamon, ¼ teaspoon nutmeg, and a pinch each of ginger and cloves to make your own blend.
- Dark brown sugar: Light brown sugar works just fine, or you can use regular white sugar plus 1 tablespoon of molasses for that deeper flavor.
- Grapeseed or canola oil: Melted butter (cooled slightly), vegetable oil, or even unsweetened applesauce can work here. If using applesauce, start with 2 tablespoons and add more if the batter seems too thick.
- Mini chocolate chips: Regular chocolate chips, chopped walnuts, pecans, or even raisins make great alternatives. You can also leave them out completely for plain pumpkin muffins.
- Pumpkin puree: Make sure you’re using plain pumpkin puree, not pumpkin pie filling. In a pinch, you could use mashed sweet potato or butternut squash, but the flavor will be different.
Watch Out for These Mistakes While Baking
The biggest mistake when making blender pumpkin muffins is over-blending the oats, which can turn them into powder and create dense, heavy muffins – pulse just until you get a coarse flour-like texture with some small oat pieces remaining.
Another common error is not letting the batter rest for 5-10 minutes after blending, which allows the oat flour to hydrate properly and prevents gummy muffins.
Make sure you’re using pumpkin puree and not pumpkin pie filling, as the latter contains added spices and sugar that will throw off your recipe’s balance.
To keep your chocolate chips from sinking to the bottom, toss them in a little oat flour before folding them into the batter, and don’t overfill your muffin cups – stick to about 2/3 full for the best rise.
What to Serve With Pumpkin Muffins?
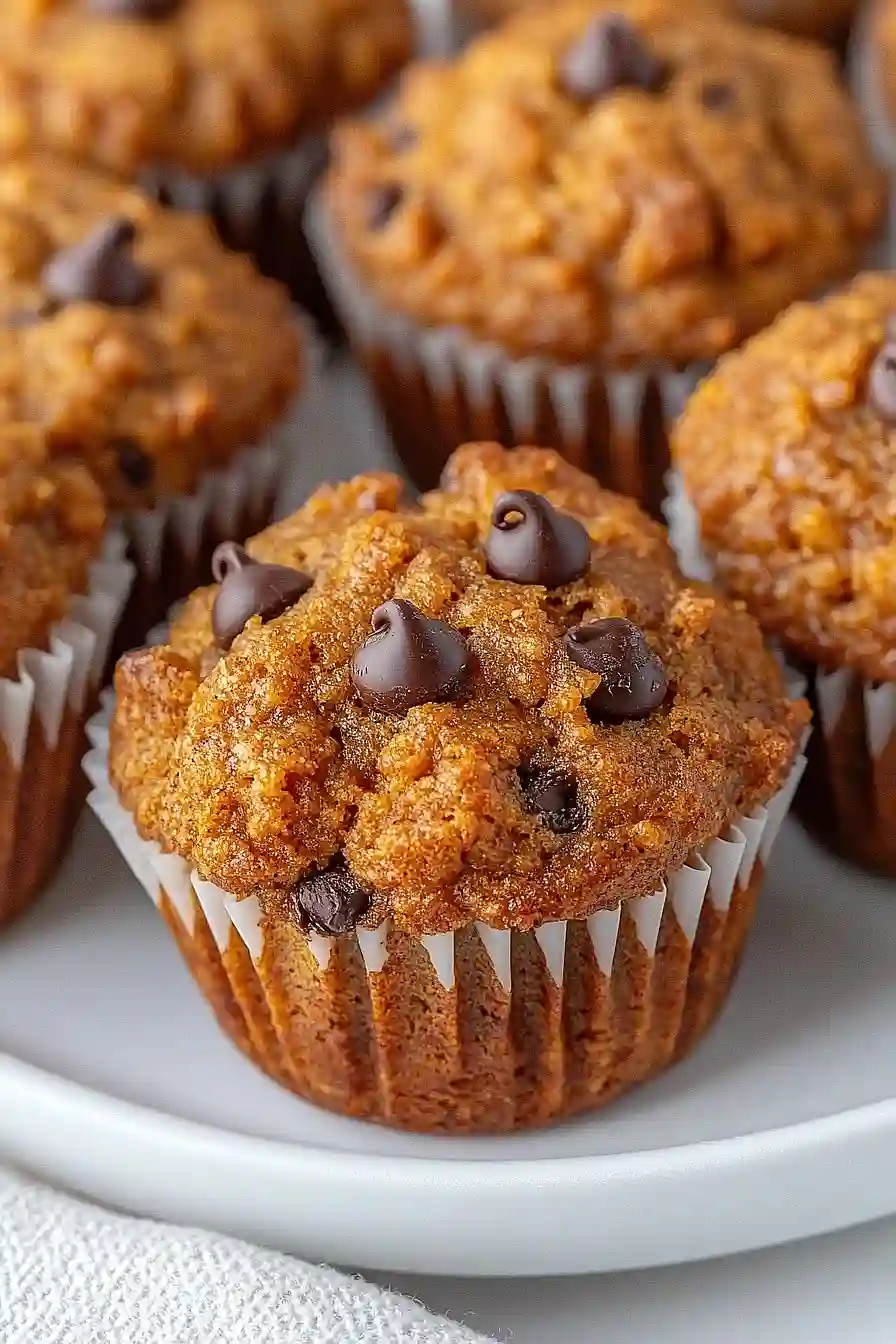
These pumpkin muffins are perfect for breakfast or an afternoon snack, and they pair beautifully with a hot cup of coffee or chai tea. I love serving them warm with a little pat of butter or cream cheese spread on top, which really brings out those cozy fall flavors. They’re also great alongside a bowl of Greek yogurt with a drizzle of honey for a more filling breakfast. For something special, try them with a glass of cold milk or even a pumpkin spice latte if you’re feeling extra festive!
Storage Instructions
Keep Fresh: These pumpkin muffins stay moist and delicious when stored in an airtight container at room temperature for up to 3 days. I like to line the container with paper towels to absorb any extra moisture. They’re perfect for grabbing on busy mornings or packing in lunch boxes.
Freeze: Wrap each muffin individually in plastic wrap or pop them in a freezer-safe bag for up to 3 months. I love having a stash of these in my freezer for quick breakfasts or afternoon snacks. They thaw perfectly and taste just as good as fresh!
Warm Up: To enjoy them warm, just microwave a room temperature muffin for 15-20 seconds or pop a frozen one in for 30-45 seconds. You can also warm them in a 300°F oven for about 5 minutes if you prefer that toasty texture.
| Preparation Time | 10-15 minutes |
| Cooking Time | 15-17 minutes |
| Total Time | 25-32 minutes |
| Level of Difficulty | Easy |
Estimated Nutrition
Estimated nutrition for the whole recipe (without optional ingredients):
- Calories: 1450-1600
- Protein: 25-30 g
- Fat: 40-48 g
- Carbohydrates: 255-275 g
Ingredients
For the dry mixture:
- 1 1/2 cups old-fashioned oats
- 1 tsp baking powder
- 1 tsp pumpkin pie spice blend
- 1/4 tsp baking soda
- 1/4 tsp salt
For the wet mixture:
- 2 large eggs
- 1 cup plain pumpkin puree
- 3/4 cup packed dark brown sugar
- 3 tbsp canola oil or grapeseed oil
- 1 tsp vanilla extract
To fold in:
- 1/3 cup mini chocolate chips or chopped dried cranberries
Step 1: Preheat Oven and Prepare Muffin Tin
Preheat your oven to 350 degrees F.
Lightly coat a 24-cup mini muffin tin with cooking spray to prevent the muffins from sticking.
Step 2: Grind Oats and Combine Dry Ingredients
- 1 1/2 cups old-fashioned oats
- 1 tsp baking powder
- 1 tsp pumpkin pie spice blend
- 1/4 tsp baking soda
- 1/4 tsp salt
Place the old-fashioned oats in a blender and pulse until they are finely ground, resembling flour.
Add the baking powder, pumpkin pie spice blend, baking soda, and salt to the blender.
Pulse once or twice until the dry ingredients are well combined.
Step 3: Blend in Wet Ingredients
- 2 large eggs
- 1 cup plain pumpkin puree
- 3/4 cup packed dark brown sugar
- 3 tbsp canola oil or grapeseed oil
- 1 tsp vanilla extract
Add the eggs, pumpkin puree, dark brown sugar, oil, and vanilla extract to the oat mixture in the blender.
Puree the mixture until completely smooth and evenly blended.
I like to scrape down the sides to make sure everything is incorporated.
Step 4: Stir in Chocolate Chips or Cranberries and Fill Muffin Cups
- 1/3 cup mini chocolate chips or chopped dried cranberries
- batter from Step 3
Transfer the batter to a mixing bowl and gently stir in the mini chocolate chips or chopped dried cranberries until they are evenly distributed.
Fill each prepared muffin cup about two-thirds full with the batter.
For a little extra treat, I sometimes sprinkle a few extra chocolate chips on top before baking.
Step 5: Bake and Cool the Muffins
Bake the filled muffin tin in the preheated oven for 15 to 17 minutes, or until a toothpick inserted into the center of a muffin comes out clean.
Cool the muffins in the pan on a wire rack for 5 minutes, then carefully turn them out onto the rack to cool completely before serving.

