If you ask me, no-bake lemon meringue pie is one of those perfect desserts that just makes sense.
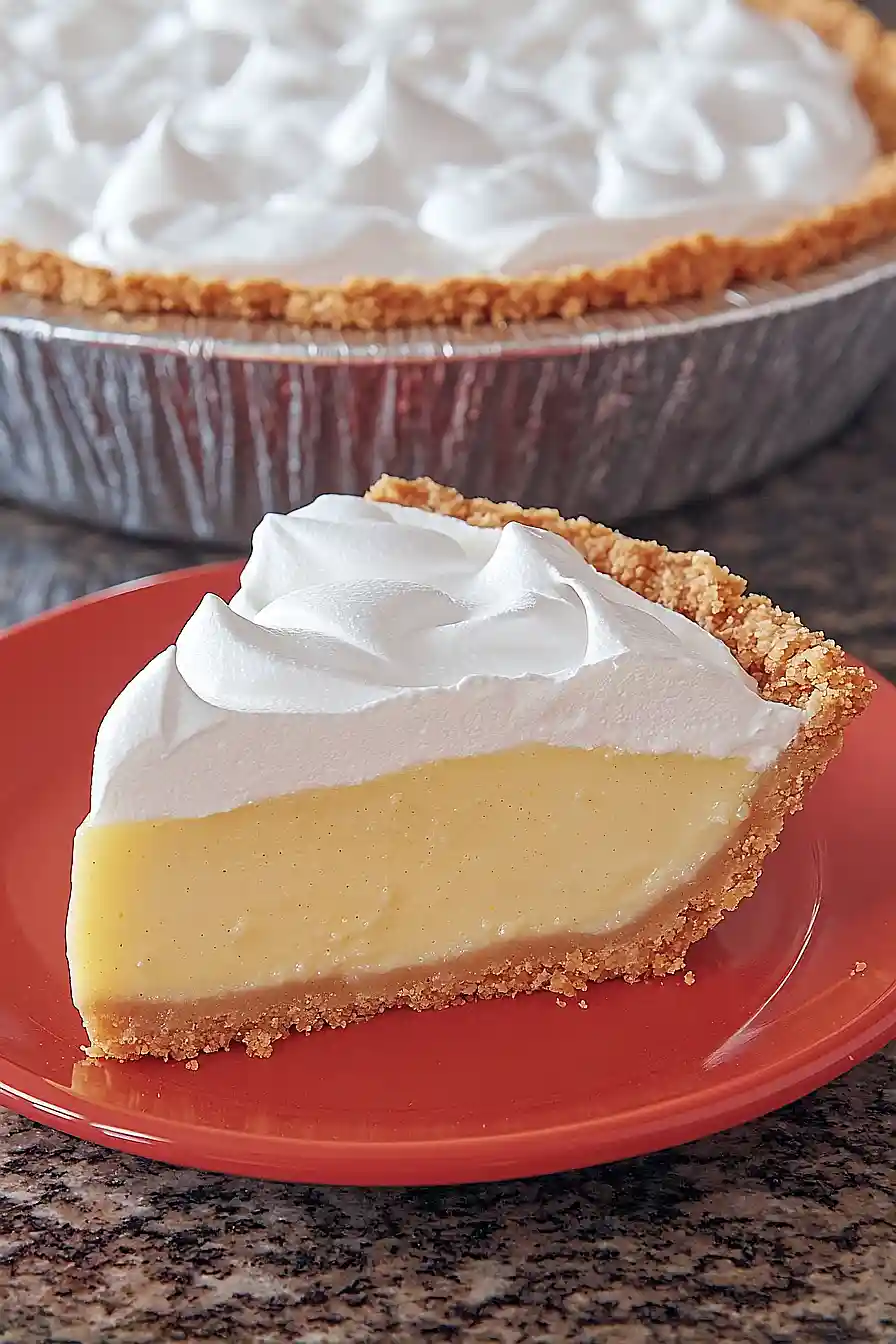
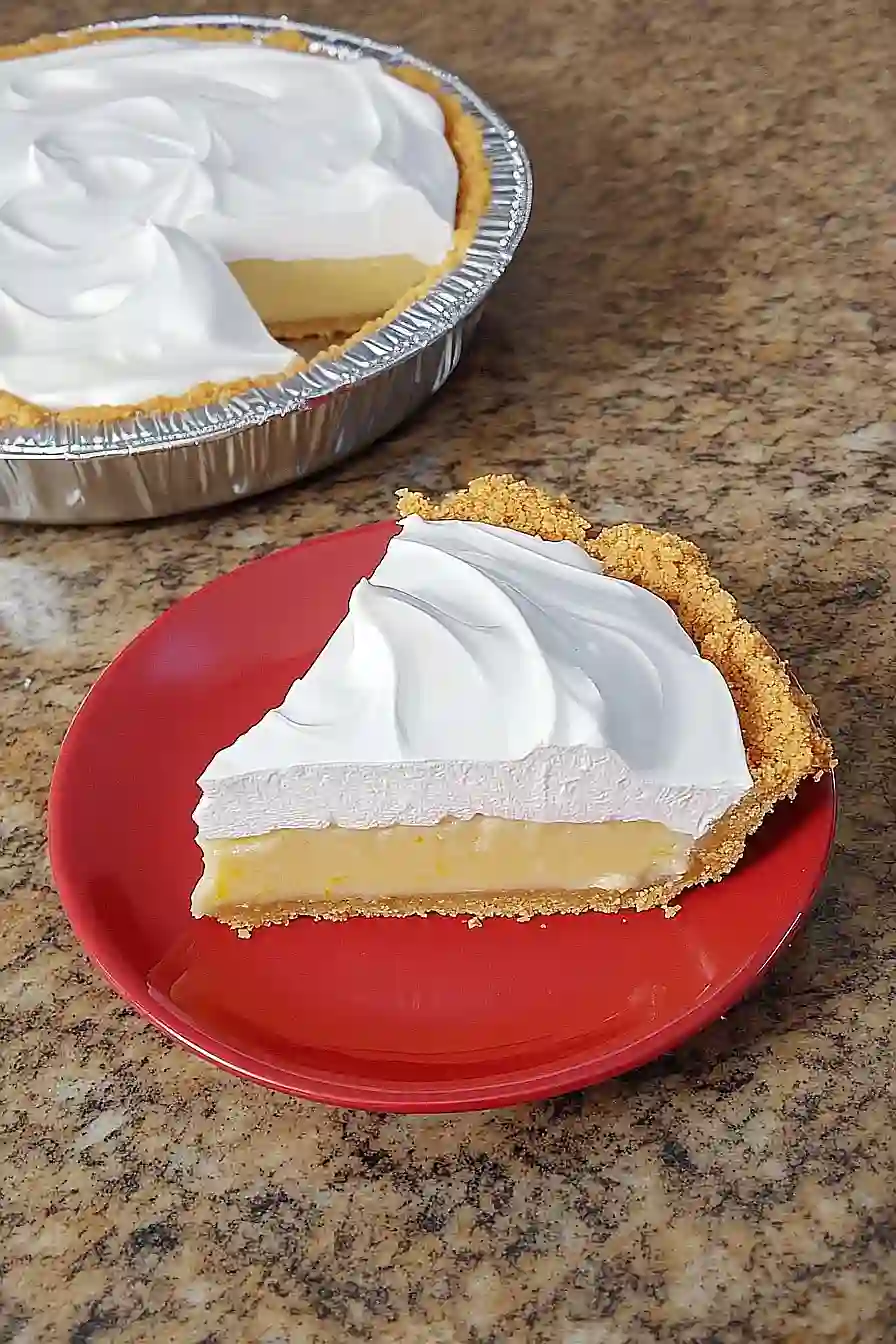
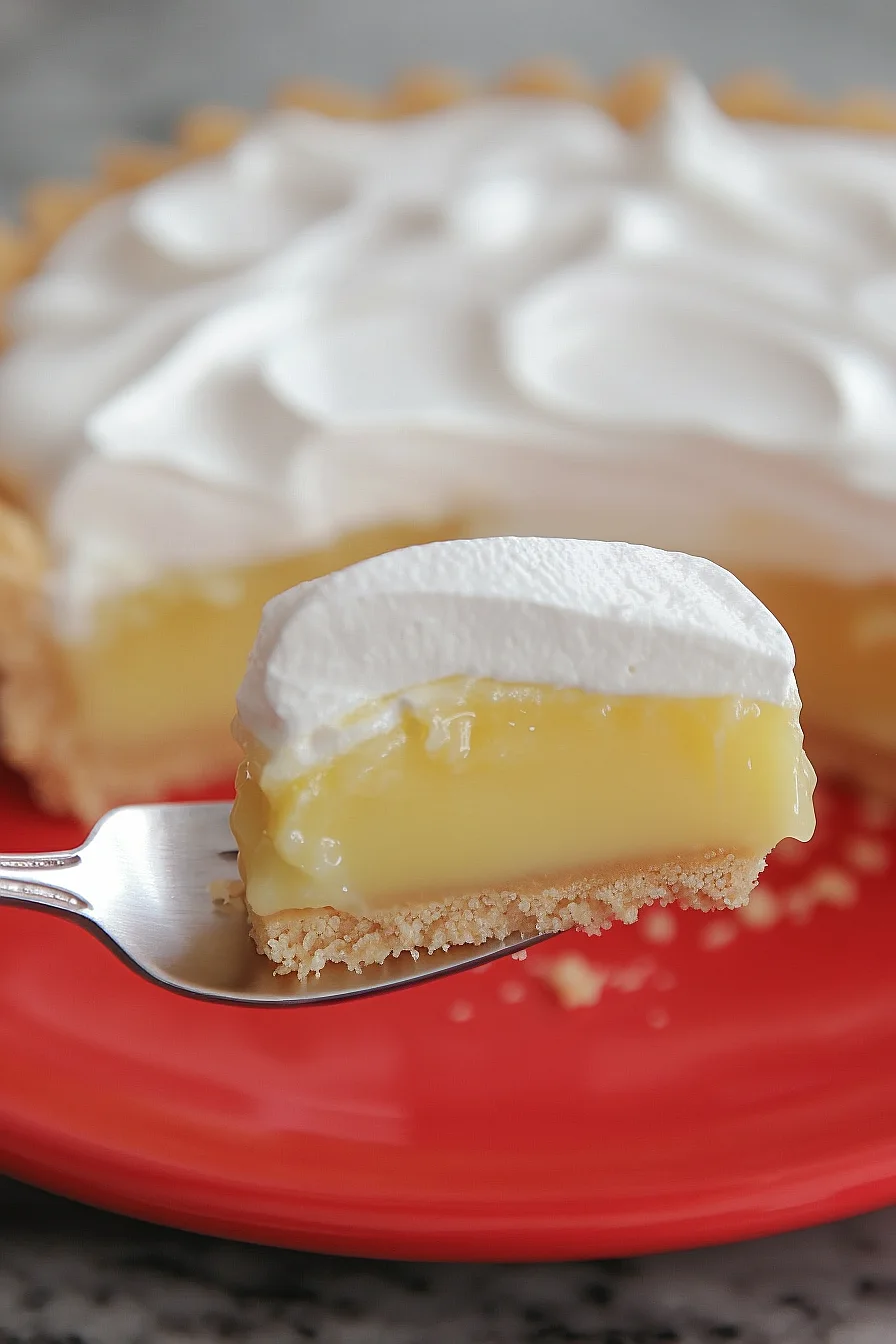
This cool and creamy pie brings together smooth lemon filling and fluffy meringue topping without ever turning on the oven. The graham cracker crust adds a nice bit of crunch, while the filling hits that perfect balance of sweet and tart.
The filling comes together quickly on the stovetop, and once it’s poured into the crust, you just top it with clouds of meringue. A quick blast with a kitchen torch gives it that classic toasted look.
It’s a great make-ahead dessert that’s especially welcome during hot summer days when you don’t want to heat up the kitchen.
Why You’ll Love This Lemon Meringue Pie
- No-bake convenience – Skip turning on the oven in warm weather – this pie sets up perfectly in your refrigerator, making it an ideal summer dessert.
- Make-ahead friendly – You can prepare this pie up to 2 days in advance, which is perfect for planning ahead for special occasions or family gatherings.
- Classic flavor combination – The balance of sweet, fluffy meringue and tangy lemon filling sitting on a buttery graham cracker crust creates that perfect mix of flavors and textures everyone loves.
- Simple ingredients – You’ll only need basic pantry staples like graham crackers, lemons, eggs, and sugar – no special trips to the store for unusual ingredients.
What Kind of Lemons Should I Use?
Regular grocery store lemons (usually Eureka or Lisbon varieties) work perfectly fine for this no-bake pie, but Meyer lemons can add an interesting twist if you can find them. Meyer lemons are slightly sweeter and less acidic than regular lemons, with an almost orange-like undertone. When choosing your lemons, look for ones that feel heavy for their size and have a bright yellow color – these will give you the most juice. For the zest, make sure to wash your lemons well first, and only grate the yellow part since the white pith underneath can add unwanted bitterness. If you’re planning ahead, letting your lemons come to room temperature and rolling them on the counter before juicing will help you get the most juice out of them.
Options for Substitutions
While some ingredients are essential for this no-bake lemon pie, there are several substitutions you can try:
- Graham crackers: You can swap graham crackers with digestive biscuits, vanilla wafers, or even gingersnaps for a spicier kick. Just make sure to use the same amount by weight.
- Lemon juice and zest: Fresh is best, but bottled lemon juice works in a pinch. You can also try lime juice and zest for a different citrus twist. Just don’t skip the citrus – it’s crucial for this recipe!
- Flour: For thickening, you can use cornstarch instead of flour – just use half the amount (¼ cup + ½ tablespoon) as it’s more powerful.
- Butter: For the crust, you can use coconut oil as a 1:1 replacement. For the filling, stick with real butter for the best texture.
- Egg whites and yolks: Sorry, but there’s no good substitute here – fresh eggs are essential for both the custard and meringue. Packaged egg whites won’t whip up properly for the meringue.
Watch Out for These Mistakes While Making
The biggest challenge when making no-bake lemon meringue pie comes from the meringue itself – room temperature egg whites will whip up much better than cold ones, so let them sit on the counter for about 30 minutes before starting. When making the lemon filling, a common mistake is not cooking it long enough – the mixture should be thick and glossy, and coat the back of a spoon before removing from heat. To prevent a weepy meringue that slides off your pie, make sure to spread it all the way to the edges of the crust, creating a seal that helps it stick to the filling. For the perfect golden-brown finish on your meringue, hold your kitchen torch about 6 inches away from the surface and move it constantly to avoid burning any spots (if you don’t have a torch, you can skip this step since this is a no-bake version).
What to Serve With Lemon Meringue Pie?
This bright and tangy pie is perfect on its own, but there are some simple ways to make it even more special! A dollop of fresh whipped cream on the side adds a nice contrast to the sweet meringue and tart lemon filling. For a refreshing summer dessert spread, serve it alongside fresh berries like raspberries or blackberries – their natural tartness pairs really well with the lemony flavors. If you’re serving this at a dinner party, a cup of hot coffee or earl grey tea makes for a lovely complement to balance out the sweetness of the pie.
Storage Instructions
Keep Chilled: This no-bake lemon meringue pie needs to stay cold! Place it in the refrigerator, loosely covered with plastic wrap or in an airtight container. It’ll stay fresh for up to 3 days, though the meringue texture is best within the first 24 hours.
Make Ahead: You can prepare the graham cracker crust and lemon filling a day in advance – just keep them separate and stored in the fridge. When you’re ready to serve, whip up the fresh meringue topping and assemble. This way, you’ll get the best texture and presentation!
Important Note: This pie isn’t suitable for freezing since the meringue texture would change too much. For the tastiest results, plan to enjoy it within a few days of making it. The lemon filling might weep a bit after day one, but it’ll still taste great!
| Preparation Time | 30-40 minutes |
| Cooking Time | 5-10 minutes |
| Total Time | 180-360 minutes |
| Level of Difficulty | Medium |
Estimated Nutrition
Estimated nutrition for the whole recipe (without optional ingredients):
- Calories: 2900-3200
- Protein: 30-40 g
- Fat: 130-150 g
- Carbohydrates: 400-450 g
Ingredients
For the crust:
- 1 1/4 cups crushed graham cracker crumbs (about 9 whole sheets)
- 5 tbsp melted butter
For the lemon filling:
- 1 1/2 cups water
- 1 cup granulated sugar
- 1/2 cup lemon juice
- 1/2 cup plus 1 tbsp all-purpose flour
- 4 large egg yolks
- 1 tbsp butter
- 1 tsp lemon zest
- 1/8 tsp salt
For the meringue:
- 4 large egg whites
- 1 cup granulated sugar
Step 1: Prepare the Graham Cracker Crust
- 1 1/4 cups crushed graham cracker crumbs (about 9 whole sheets)
- 5 tbsp melted butter
Crush 9 full sheets of graham crackers in a bag or blender until you have 1 1/4 cups of fine crumbs.
Stir in the melted butter until the crumbs are well coated.
Press the mixture firmly into the bottom and sides of a 9-inch pie pan to create an even crust.
Chill the crust in the refrigerator for at least 30 minutes or until it becomes firm.
I find pressing with the bottom of a measuring cup helps achieve an even, compact crust.
Step 2: Separate the Eggs and Prepare Egg Whites
- 4 large eggs, separated
Separate 4 large eggs, placing the yolks in a heat-proof medium bowl and the whites in a separate large heat-proof bowl.
Set both aside.
The bowl for the egg whites should be large enough to fit over a small or medium saucepan for the next step.
Step 3: Cook and Whip the Egg Whites for Meringue
- egg whites from Step 2
- sugar (amount per full recipe)
Fill a medium saucepan with about 1 inch of water and bring it to a simmer (about 185°F/85°C).
Place the bowl with egg whites and the required sugar over the saucepan, ensuring the bowl doesn’t touch the water.
Whisk the mixture continuously with a dry towel or oven mitt to hold the bowl, until the sugar is fully dissolved and the mixture reaches 160°F–169°F (71°C–76°C).
Remove the bowl from the saucepan and, using a mixer on low speed, start beating the egg whites, gradually increasing to medium or medium-high speed.
Continue beating until the egg whites are cool and reach medium to stiff peaks.
Set the meringue aside.
I like to add a pinch of cream of tartar at this stage if you have it on hand—it helps stabilize the meringue.
Step 4: Make Lemon Filling
- egg yolks from Step 2
- 1/2 cup lemon juice
- 1 tsp lemon zest
- sugar (amount per full recipe)
- salt (amount per full recipe)
- flour (amount per full recipe)
- water (amount per full recipe)
- 1 tbsp butter
Rinse and dry 2–3 medium lemons, zest them, and then juice them, making sure to remove seeds.
Measure out 1/2 cup lemon juice and 1 teaspoon zest.
In a medium heavy-bottom saucepan, whisk together the sugar, salt, and flour.
Gradually whisk in water to prevent lumps.
Set over medium–medium-high heat, whisking constantly until the mixture thickens and forms large bubbles.
Reduce heat slightly and continue whisking for 2 minutes, or until reaching about 185°F/85°C.
Remove from heat.
Gradually temper the egg yolks by whisking in about 1/4 cup of the hot mixture, then slowly add a quarter of the mixture, whisking constantly.
Return the yolk mixture to the pan, return to medium heat, and cook while whisking until thick and bubbling.
Remove from heat, add butter until melted, then fold in lemon zest and juice.
Step 5: Assemble the Pie
- lemon filling from Step 4
- graham cracker crust from Step 1
- meringue from Step 3
Pour the warm lemon filling (from Step 4) into the chilled graham cracker crust (from Step 1) and spread it out evenly.
Next, gently spoon the meringue (from Step 3) over the filling, starting with a small amount to cover the top and seal to the edges, then add the rest and use the back of a spoon to swirl or create peaks.
Step 6: Chill and Serve the Pie
Let the assembled pie cool to room temperature.
Chill the pie for 4–6 hours, or overnight, to allow it to set and the flavors to develop.
Keep the pie refrigerated until ready to serve.
For best results, I recommend a full overnight chill—this makes slicing much easier and gives the filling an ideal texture.
