If you ask me, oatmeal raisin cookies deserve way more love than they get.
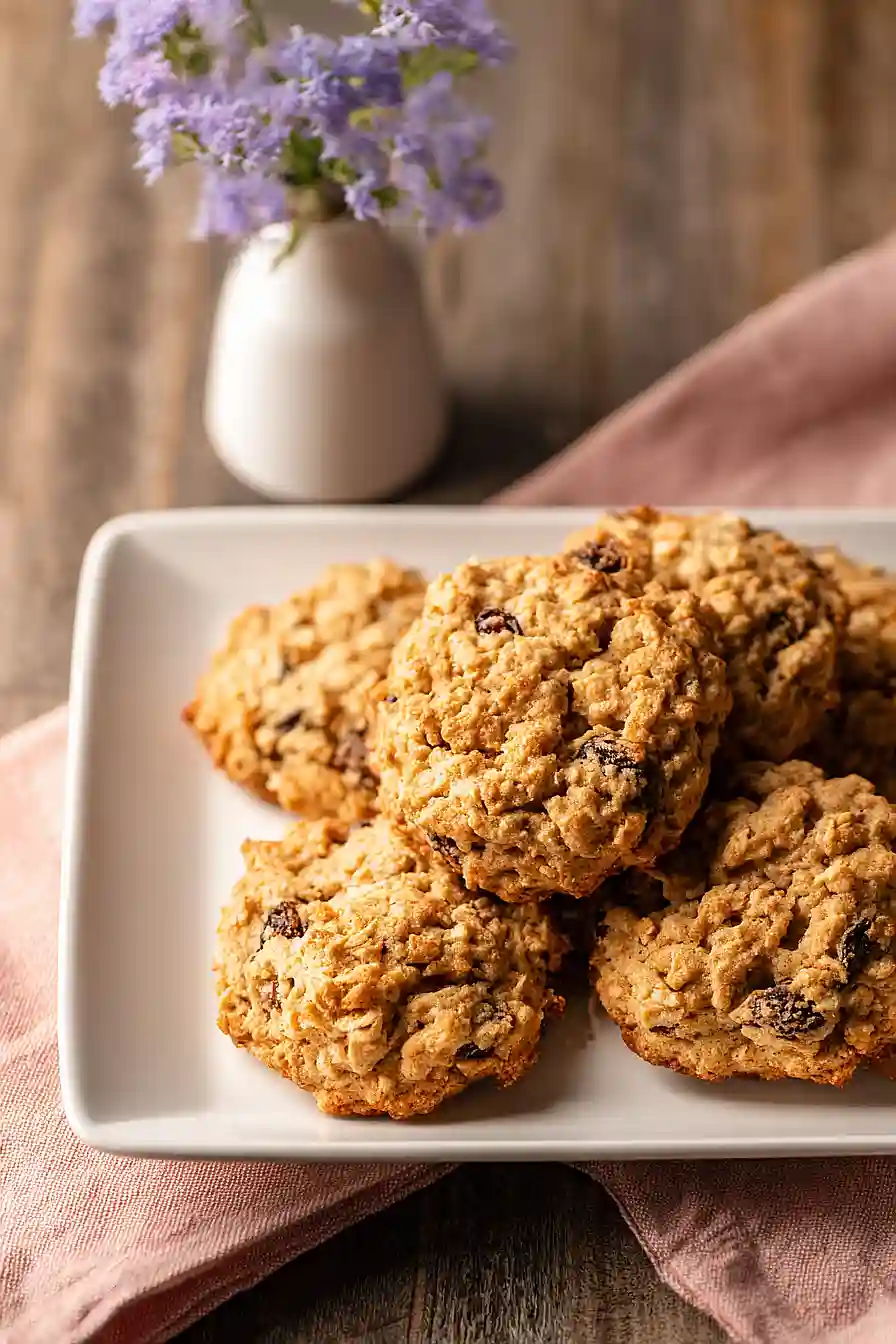
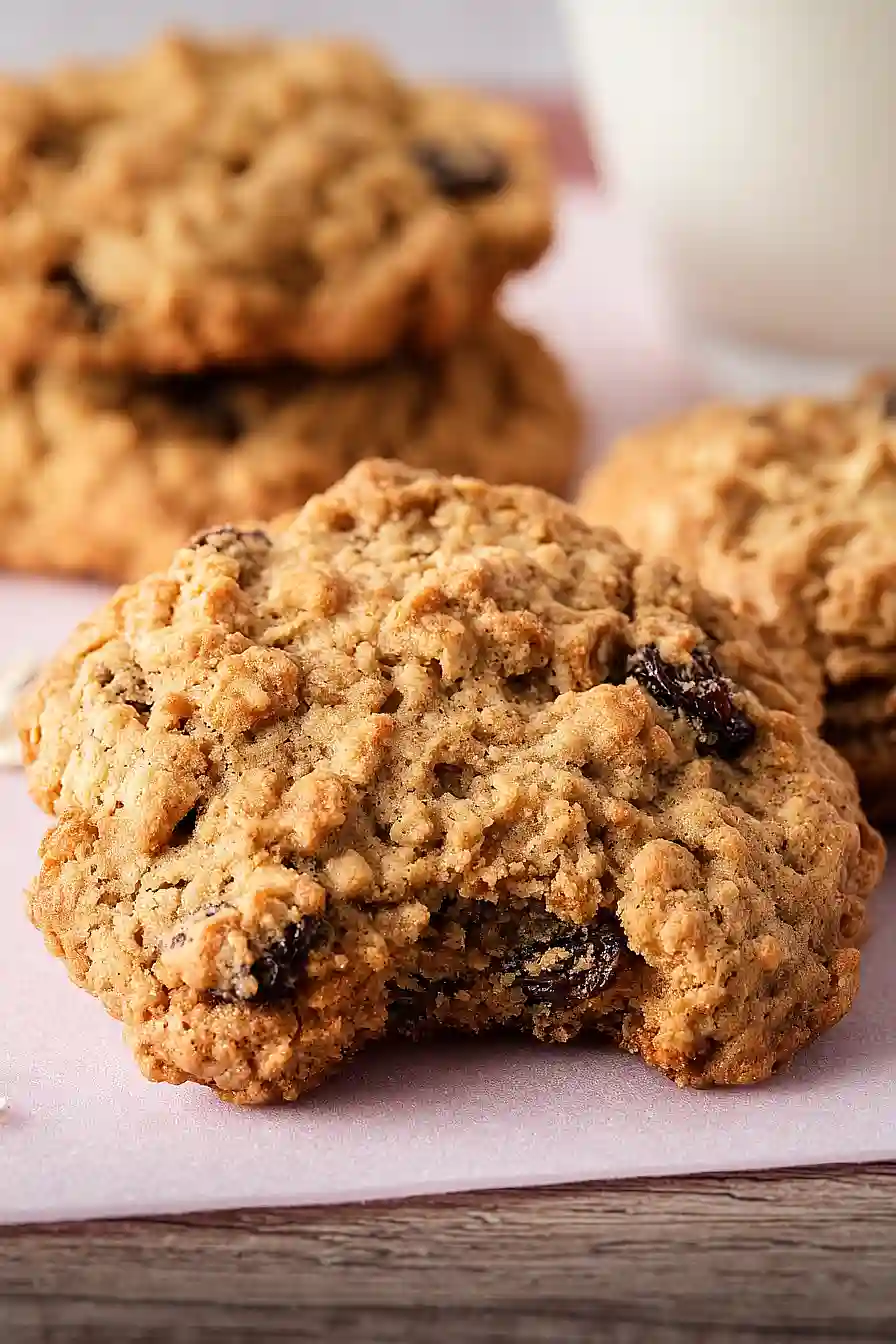
These gluten-free cookies are chewy, sweet, and packed with warm cinnamon flavor. Soft brown sugar and butter create a tender base while old-fashioned oats give you that classic hearty texture.
Plumped raisins add little bursts of sweetness in every bite, and the best part? You’d never know these cookies are gluten-free. They’re just as good as the traditional version, maybe even better.
They’re perfect for anyone avoiding gluten, but honestly, they’re just plain good cookies that everyone will reach for.

Why You’ll Love These Gluten Free Oatmeal Raisin Cookies
- Quick and easy – These cookies come together in under 30 minutes, making them perfect for when you need a sweet treat fast or unexpected guests drop by.
- Gluten-free friendly – Using a simple gluten-free flour blend means everyone can enjoy these cookies, whether they have dietary restrictions or not.
- Classic comfort – The warm cinnamon, chewy oats, and sweet raisins deliver that nostalgic oatmeal cookie taste we all grew up loving.
- Simple pantry ingredients – You probably have most of these items in your kitchen already, so no special shopping trip required.
What Kind of Oats Should I Use?
For this recipe, you’ll want to stick with old fashioned rolled oats, which give these cookies their classic chewy texture and hearty bite. Quick oats will make your cookies too dense and mushy, while steel-cut oats won’t soften enough during baking. If you need these cookies to be gluten-free, make sure to buy oats that are specifically labeled “gluten-free” since regular oats can be cross-contaminated with wheat during processing. You can find gluten-free old fashioned oats at most grocery stores these days, and brands like Bob’s Red Mill and Quaker both make reliable versions.
Options for Substitutions
These cookies are pretty forgiving when it comes to swapping ingredients:
- Bob’s Red Mill 1:1 Gluten-Free Flour Blend: This specific flour blend is important for keeping the cookies gluten-free, but you can use other 1:1 gluten-free flour blends like King Arthur Measure for Measure or Cup4Cup. Just make sure it’s a blend designed for baking, not single-grain flours.
- Unsalted butter: You can use salted butter if that’s what you have – just reduce the added salt to a pinch. For a dairy-free version, try vegan butter sticks (not spread), but the texture might be slightly different.
- Raisins: Not a raisin fan? Swap them out for dried cranberries, chopped dates, chocolate chips, or even chopped walnuts. You can also mix and match for variety.
- Old fashioned oats: Make sure to use certified gluten-free oats if you’re strictly avoiding gluten. Quick oats can work in a pinch, but your cookies will be less chewy. Don’t use instant oats – they’ll make the cookies mushy.
- Brown sugar: If you’re out of brown sugar, mix ⅓ cup white sugar with 1 teaspoon molasses. Or just use all white sugar, though the cookies will be slightly less chewy and caramel-flavored.
Watch Out for These Mistakes While Baking
The biggest mistake with gluten-free oatmeal raisin cookies is using regular oats instead of certified gluten-free oats, since standard oats are often cross-contaminated with wheat during processing.
Overmixing the dough after adding the flour can make your cookies tough and dense – mix just until the ingredients are combined, then gently fold in the oats and raisins by hand.
Another common error is baking these cookies too long, which makes them hard and crumbly rather than chewy, so pull them from the oven when the edges are golden but the centers still look slightly underdone (they’ll continue cooking on the baking sheet).
If your cookies spread too much or turn out flat, try chilling the dough for 30 minutes before baking, which helps them hold their shape better in the oven.
What to Serve With Gluten Free Oatmeal Raisin Cookies?
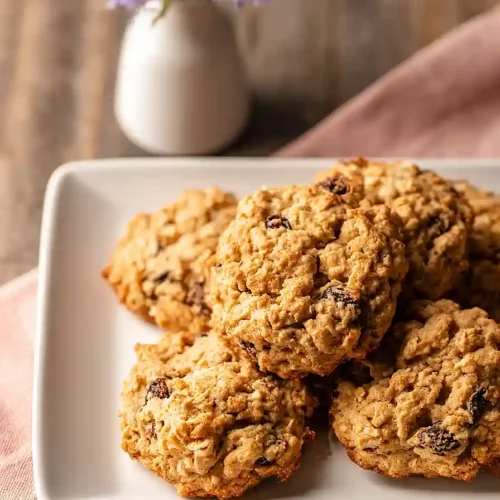
These cookies are perfect alongside a cold glass of milk or a hot cup of coffee for an afternoon snack. I love packing them in lunchboxes with some apple slices and cheese cubes for a balanced treat, or serving them as a simple dessert after dinner with a scoop of vanilla ice cream. They also make a great breakfast on-the-go when paired with a banana and some yogurt, giving you that cozy oatmeal flavor in cookie form.
Storage Instructions
Store: Keep your oatmeal raisin cookies in an airtight container at room temperature for up to 5 days. I like to toss a piece of bread in the container to help keep them soft and chewy. They taste great throughout the week, making them perfect for lunchboxes or afternoon snacks.
Freeze: These cookies freeze really well, either baked or as dough. For baked cookies, layer them between parchment paper in a freezer-safe container for up to 3 months. You can also scoop the dough into balls, freeze them on a baking sheet, then transfer to a freezer bag so you can bake fresh cookies whenever a craving hits.
Enjoy: Frozen baked cookies thaw in about 30 minutes on the counter, or you can warm them in the microwave for 10-15 seconds. If you’re baking from frozen dough, add an extra minute or two to the baking time. Either way, they’ll taste like you just made them!
| Preparation Time | 15-20 minutes |
| Cooking Time | 9-11 minutes |
| Total Time | 24-31 minutes |
| Level of Difficulty | Easy |
Estimated Nutrition
Estimated nutrition for the whole recipe (without optional ingredients):
- Calories: 1550-1700
- Protein: 16-20 g
- Fat: 66-74 g
- Carbohydrates: 235-250 g
Ingredients
For the wet ingredients:
- 1/4 cup white sugar
- 3/4 tsp vanilla extract
- 7 tbsp unsalted butter (softened to room temperature)
- 1/3 cup light brown sugar (packed)
- 1 large egg (room temperature)
For the dry ingredients:
- 1/2 tsp baking soda
- 1/4 tsp salt
- 3/4 cup gluten-free flour blend (I use King Arthur Baking Company)
- 1/2 tsp ground cinnamon (freshly ground for best flavor)
For the mix-ins:
- 1/2 cup raisins (plumped in warm water for 5 minutes, then drained)
- 1.5 cups old-fashioned oats (certified gluten-free)
Step 1: Prepare Your Mise en Place and Preheat
- 1/2 cup raisins
- 3/4 cup gluten-free flour blend
- 1/2 tsp baking soda
- 1/4 tsp salt
- 1/2 tsp ground cinnamon
Start by preheating your oven to 350°F and greasing your baking sheet with a light coating of butter or cooking spray.
While the oven heats, plump your raisins by covering them with warm water and letting them sit for 5 minutes, then drain them thoroughly and set aside.
Measure out all your dry ingredients (gluten-free flour blend, baking soda, cinnamon, and salt) into one bowl so they’re ready to go.
This prep work ensures everything is ready when you need it and prevents any rushed moments during mixing.
Step 2: Cream Butter and Sugars Until Light and Fluffy
- 7 tbsp unsalted butter
- 1/4 cup white sugar
- 1/3 cup light brown sugar
In a large mixing bowl, combine the softened butter, white sugar, and packed brown sugar.
Beat them together for 2-3 minutes until the mixture becomes light, fluffy, and pale in color.
This creaming process is crucial because it incorporates air into the dough, which helps the cookies rise slightly and achieve a better texture.
I like to use an electric mixer on medium speed for this step to ensure even incorporation, but vigorous hand-mixing works too.
Step 3: Add Egg and Vanilla to the Creamed Mixture
- 1 large egg
- 3/4 tsp vanilla extract
Add the room-temperature egg and vanilla extract to your creamed butter and sugar mixture.
Stir or beat until fully incorporated, about 1 minute, until the mixture looks smooth and well combined.
Using room-temperature eggs ensures they blend seamlessly into the butter without causing the mixture to break or separate.
Step 4: Fold in Dry Ingredients Until Just Combined
- dry ingredient mixture from Step 1
Add the dry ingredient mixture from Step 1 to your wet mixture from Step 3.
Using a spatula or wooden spoon, fold gently until you just barely see no white streaks of flour remaining.
Don’t overmix at this stage—overworking gluten-free dough can make cookies tough and dense.
Stop folding as soon as the dry ingredients are incorporated.
Step 5: Fold in Oats and Plumped Raisins
- 1.5 cups old-fashioned oats
- plumped raisins from Step 1
Fold the old-fashioned oats and drained raisins into the dough using the same gentle folding technique.
Mix just until the oats and raisins are evenly distributed throughout the dough.
I find that folding rather than stirring helps maintain a tender cookie texture, especially important with gluten-free baking where we don’t have gluten’s natural elasticity to help the cookies hold together.
Step 6: Portion and Bake the Cookies
- prepared dough from Step 5
Using a cookie scoop or two teaspoons, drop rounded portions of dough onto your prepared baking sheet, spacing them about 2 inches apart to allow for slight spreading.
Bake for 9-11 minutes, until the edges are light golden brown but the centers still look slightly underbaked—they’ll continue to cook as they cool.
The cookies should look just set but still have a touch of softness in the middle.
Step 7: Cool and Transfer to Wire Rack
Remove the baking sheet from the oven and let the cookies rest on the hot sheet for 1-2 minutes—this allows them to firm up slightly so they won’t fall apart when moved.
After resting, carefully transfer the cookies to a wire rack to cool completely.
This short resting period on the baking sheet is the key to getting cookies that hold their shape beautifully.
Mouthwatering Gluten Free Oatmeal Raisin Cookies
Ingredients
For the wet ingredients:
- 1/4 cup white sugar
- 3/4 tsp vanilla extract
- 7 tbsp unsalted butter (softened to room temperature)
- 1/3 cup light brown sugar (packed)
- 1 large egg (room temperature)
For the dry ingredients:
- 1/2 tsp baking soda
- 1/4 tsp salt
- 3/4 cup gluten-free flour blend (I use King Arthur Baking Company)
- 1/2 tsp ground cinnamon (freshly ground for best flavor)
For the mix-ins:
- 1/2 cup raisins (plumped in warm water for 5 minutes, then drained)
- 1.5 cups old-fashioned oats (certified gluten-free)
Instructions
- Start by preheating your oven to 350°F and greasing your baking sheet with a light coating of butter or cooking spray. While the oven heats, plump your raisins by covering them with warm water and letting them sit for 5 minutes, then drain them thoroughly and set aside. Measure out all your dry ingredients (gluten-free flour blend, baking soda, cinnamon, and salt) into one bowl so they're ready to go. This prep work ensures everything is ready when you need it and prevents any rushed moments during mixing.
- In a large mixing bowl, combine the softened butter, white sugar, and packed brown sugar. Beat them together for 2-3 minutes until the mixture becomes light, fluffy, and pale in color. This creaming process is crucial because it incorporates air into the dough, which helps the cookies rise slightly and achieve a better texture. I like to use an electric mixer on medium speed for this step to ensure even incorporation, but vigorous hand-mixing works too.
- Add the room-temperature egg and vanilla extract to your creamed butter and sugar mixture. Stir or beat until fully incorporated, about 1 minute, until the mixture looks smooth and well combined. Using room-temperature eggs ensures they blend seamlessly into the butter without causing the mixture to break or separate.
- Add the dry ingredient mixture from Step 1 to your wet mixture from Step 3. Using a spatula or wooden spoon, fold gently until you just barely see no white streaks of flour remaining. Don't overmix at this stage—overworking gluten-free dough can make cookies tough and dense. Stop folding as soon as the dry ingredients are incorporated.
- Fold the old-fashioned oats and drained raisins into the dough using the same gentle folding technique. Mix just until the oats and raisins are evenly distributed throughout the dough. I find that folding rather than stirring helps maintain a tender cookie texture, especially important with gluten-free baking where we don't have gluten's natural elasticity to help the cookies hold together.
- Using a cookie scoop or two teaspoons, drop rounded portions of dough onto your prepared baking sheet, spacing them about 2 inches apart to allow for slight spreading. Bake for 9-11 minutes, until the edges are light golden brown but the centers still look slightly underbaked—they'll continue to cook as they cool. The cookies should look just set but still have a touch of softness in the middle.
- Remove the baking sheet from the oven and let the cookies rest on the hot sheet for 1-2 minutes—this allows them to firm up slightly so they won't fall apart when moved. After resting, carefully transfer the cookies to a wire rack to cool completely. This short resting period on the baking sheet is the key to getting cookies that hold their shape beautifully.
