If you ask me, pumpkin scones are pure fall comfort in every bite.
These tender, flaky treats bring together warm spices and real pumpkin puree for a cozy breakfast or afternoon snack. The hint of cinnamon and nutmeg pairs perfectly with the mild pumpkin flavor.
They’re made with simple ingredients you probably already have in your pantry. A light glaze on top adds just the right amount of sweetness without being too heavy.
It’s the kind of recipe that makes your kitchen smell like autumn and gives you something special to share with coffee or tea.
Why You’ll Love These Pumpkin Scones
- Perfect fall flavors – The warm spices and pumpkin puree create that cozy autumn taste you crave, making your kitchen smell like a bakery.
- Quick and easy – Ready in under 45 minutes, these scones are perfect for weekend breakfast or when you need a sweet treat without spending all day in the kitchen.
- Tender, flaky texture – Using frozen butter and cold cream gives you those buttery layers that make each bite melt in your mouth.
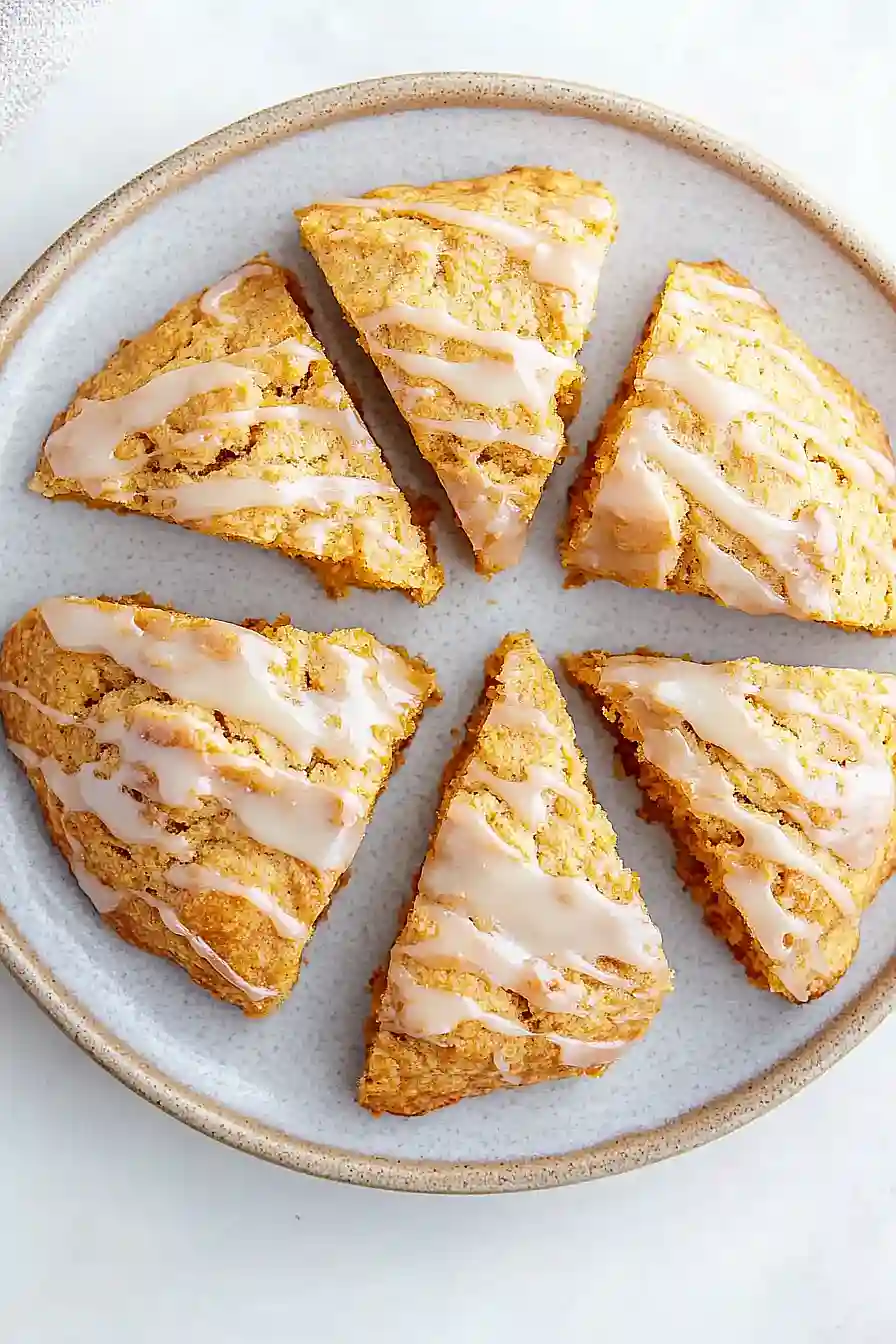
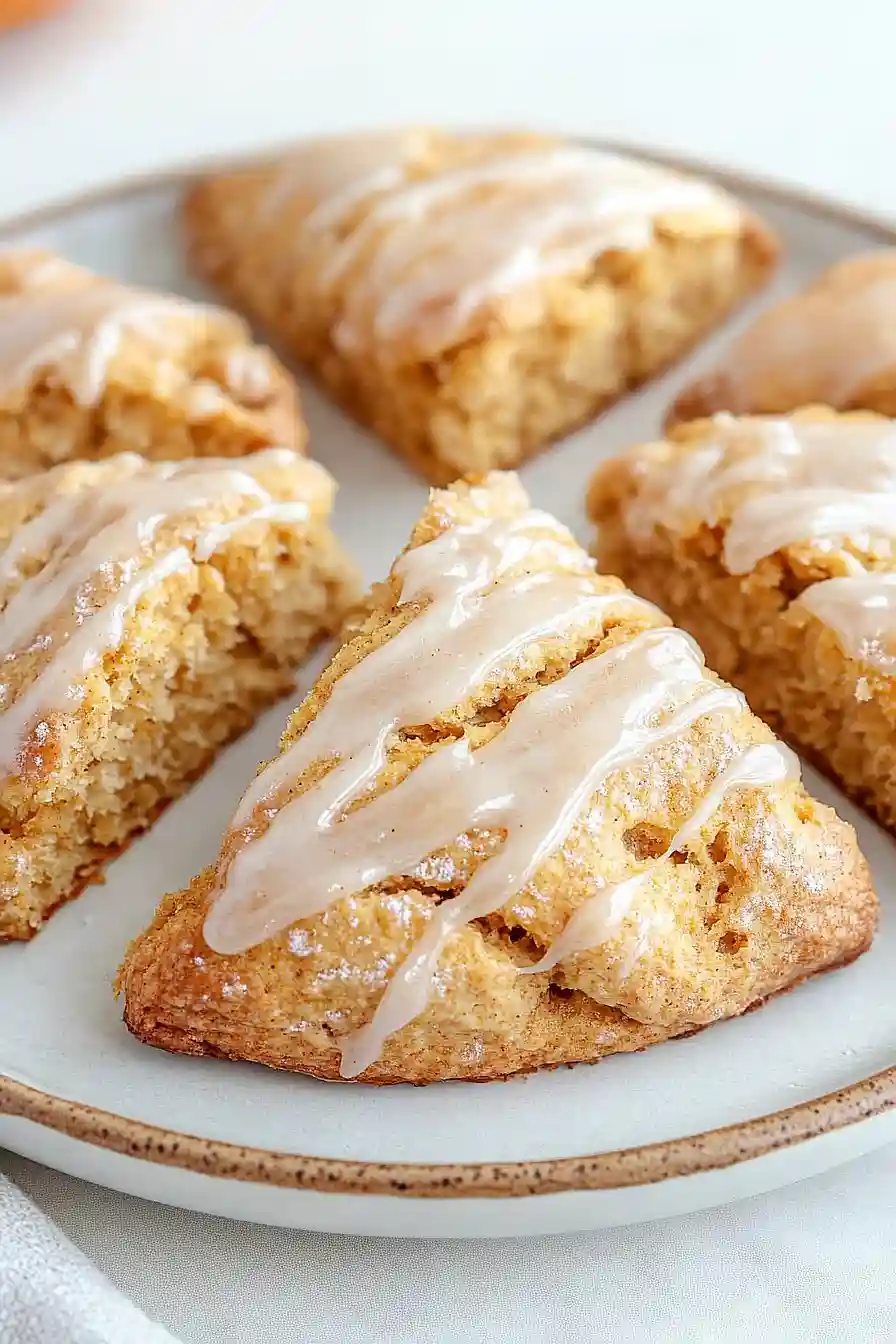
- Sweet maple glaze – The maple syrup glaze on top adds just the right amount of sweetness and makes these scones feel extra special.
- Simple pantry ingredients – Most of these ingredients are things you probably already have at home, with just a can of pumpkin puree being the star addition.
What Kind of Pumpkin Should I Use?
For these scones, you’ll want to stick with canned pumpkin puree rather than trying to make your own from scratch. Canned pumpkin has a consistent texture and moisture level that works perfectly in baking, plus it saves you a ton of time. Make sure you’re grabbing plain pumpkin puree and not pumpkin pie filling, which already has spices and sugar added. The recipe calls for blotting the pumpkin puree, which just means pressing it gently with paper towels to remove excess moisture – this prevents your scones from becoming too wet or dense.
Options for Substitutions
These pumpkin scones are pretty forgiving when it comes to swaps, so here are some options if you’re missing ingredients:
- Pumpkin puree: If you don’t have canned pumpkin, you can use the same amount of sweet potato puree, butternut squash puree, or even mashed banana (though the flavor will be different). Make sure to blot whatever you use to remove excess moisture.
- Pumpkin pie spice: No pumpkin pie spice? Mix together 1/2 teaspoon cinnamon, 1/4 teaspoon nutmeg, 1/4 teaspoon ginger, and a pinch of cloves. You can also just use extra cinnamon if that’s all you have.
- Heavy cream: You can substitute with half-and-half or whole milk, but the scones might be slightly less rich. Buttermilk works too and adds a nice tangy flavor.
- Light brown sugar: White sugar works fine, or you can make your own brown sugar by mixing 1/2 cup white sugar with 1 tablespoon molasses.
- Maple syrup (for glaze): Honey or corn syrup can replace the maple syrup in the glaze, though you’ll lose that maple flavor. You could also skip the glaze entirely and just dust with powdered sugar.
- All-purpose flour: For a heartier texture, you can replace up to 1/2 cup of the all-purpose flour with whole wheat flour, but don’t go beyond that or the scones will be too dense.
Watch Out for These Mistakes While Baking
The biggest mistake when making pumpkin scones is overworking the dough, which leads to tough, dense scones instead of light and flaky ones – mix just until the ingredients come together and don’t knead.
Another common error is using warm butter, so make sure your butter stays frozen until you grate it directly into the flour mixture, as this creates those perfect flaky layers.
Don’t skip blotting your pumpkin puree with paper towels to remove excess moisture, since too much liquid will make your scones spread instead of holding their shape during baking.
For the best texture, handle the dough as little as possible and use a sharp knife or bench scraper to cut your scones rather than twisting, which can seal the edges and prevent proper rising.
What to Serve With Pumpkin Scones?
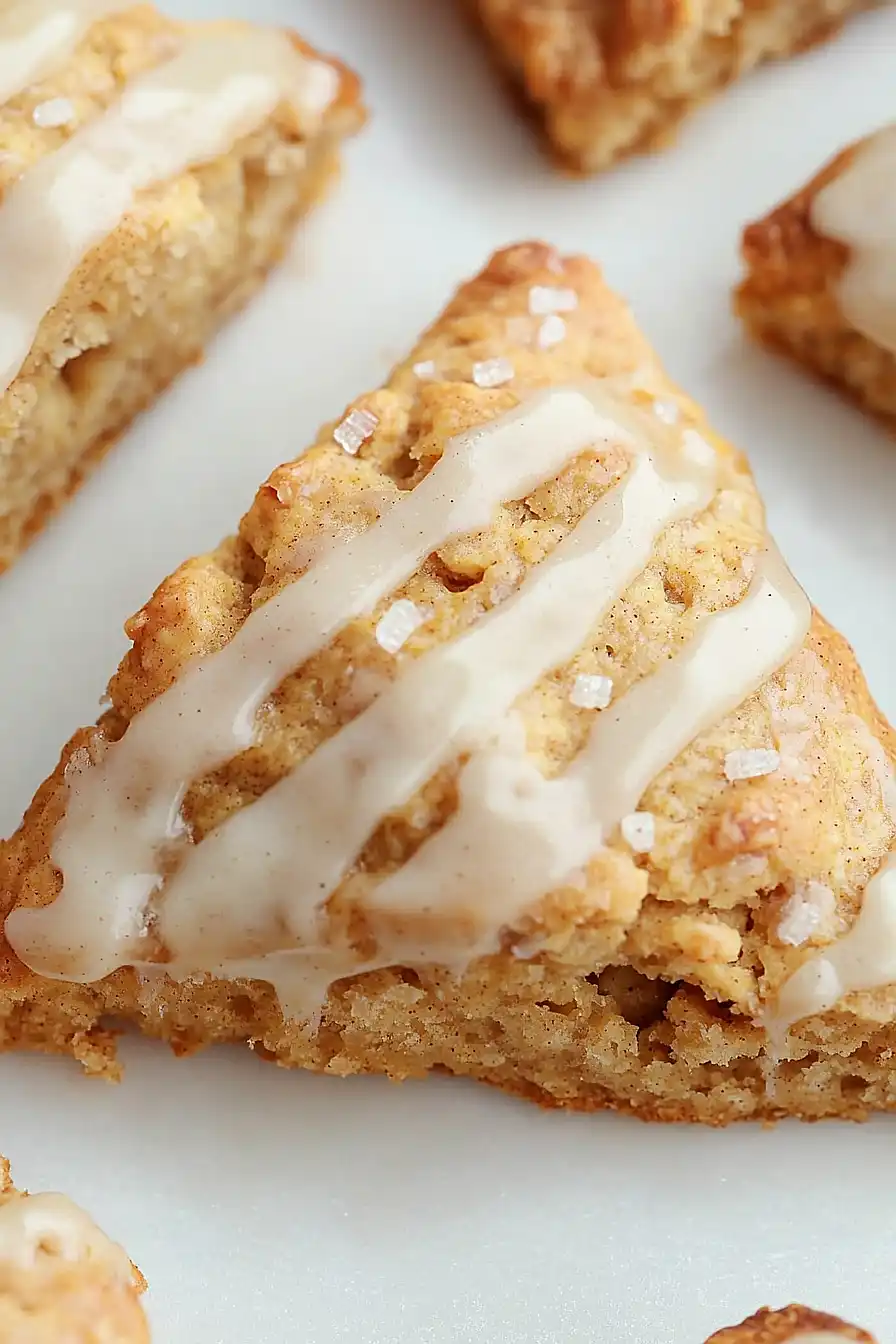
These warm, spiced pumpkin scones are perfect for a cozy fall breakfast or afternoon tea break. I love serving them with a hot cup of coffee or chai tea – the warm spices in both really complement each other nicely. For a more indulgent treat, try them alongside some whipped cream or a dollop of cream cheese, which balances out the sweetness of the maple glaze. They’re also great with a simple pat of butter and a drizzle of honey, or you can keep it classic and enjoy them just as they are with your favorite hot beverage.
Storage Instructions
Keep Fresh: These pumpkin scones taste best within the first day or two, but you can store them in an airtight container at room temperature for up to 3 days. If you’ve added the maple glaze, wait until it’s completely set before storing to avoid a sticky mess.
Freeze: You can freeze baked scones for up to 3 months in a freezer-safe container or bag. I like to freeze them without the glaze and add it fresh when I’m ready to serve. You can also freeze the unbaked scones on a baking sheet, then transfer to a bag once solid – just bake them straight from frozen and add a few extra minutes.
Warm Up: To bring back that fresh-baked taste, warm your scones in a 350°F oven for about 5-8 minutes. If they’re frozen, let them thaw at room temperature first, then warm them up. The maple glaze can be drizzled on while they’re still slightly warm for the best flavor.
| Preparation Time | 15-20 minutes |
| Cooking Time | 20-25 minutes |
| Total Time | 35-45 minutes |
| Level of Difficulty | Medium |
Estimated Nutrition
Estimated nutrition for the whole recipe (without optional ingredients):
- Calories: 1950-2100
- Protein: 22-27 g
- Fat: 75-85 g
- Carbohydrates: 300-325 g
Ingredients
For the scones:
- 2 cups all-purpose flour
- 2 1/2 tsp baking powder
- 1 tsp ground cinnamon
- 1 1/2 tsp pumpkin pie spice
- 1/2 tsp salt
- 8 tbsp unsalted butter, frozen
- 1/3 cup heavy cream, plus 2 tbsp for brushing
- 1 large egg
- 1/2 cup canned pumpkin puree, blotted
- 1/2 cup light brown sugar
- 1 tsp vanilla extract
- Optional: coarse sugar for topping
For the maple glaze:
- 2 tbsp unsalted butter
- 1/3 cup pure maple syrup
- 1 cup sifted confectioners’ sugar
- Pinch salt, to taste
Step 1: Prepare the Oven and Baking Sheet
Preheat your oven to 400°F (204°C) and adjust the baking rack to the middle-low position.
Line one or two large baking sheets with parchment paper or silicone baking mats.
Set the prepared sheets aside.
If making smaller (mini) scones, use two baking sheets to provide more space.
Step 2: Mix the Dry Ingredients and Cut in the Butter
- 2 cups all-purpose flour
- 2 1/2 tsp baking powder
- 1 tsp ground cinnamon
- 1 1/2 tsp pumpkin pie spice
- 1/2 tsp salt
- 8 tbsp unsalted butter, frozen
In a large bowl, whisk together the all-purpose flour, baking powder, ground cinnamon, pumpkin pie spice, and salt.
Next, grate the frozen unsalted butter using a box grater.
Add the grated butter to the flour mixture and combine it using a pastry cutter, fork, or your fingertips until the mixture forms pea-sized crumbs.
I find that starting with frozen butter and grating it makes for the flakiest scones.
Step 3: Combine Wet Ingredients and Form the Dough
- 1/3 cup heavy cream
- 1 large egg
- 1/2 cup canned pumpkin puree, blotted
- 1/2 cup light brown sugar
- 1 tsp vanilla extract
- dry mixture from Step 2
In a small bowl, whisk together 1/3 cup heavy cream, the large egg, blotted canned pumpkin puree, light brown sugar, and vanilla extract.
Drizzle this wet mixture over the dry flour-butter mixture from Step 2 and gently mix just until the dough appears moistened.
Avoid over-mixing for tender scones.
Step 4: Shape and Cut the Dough
- dough from Step 3
With floured hands, bring the dough together as best you can and place it onto a floured work surface.
Gently press it into a neat 8-inch disc for larger scones, or into two 5-inch discs for mini scones.
Use a sharp knife to cut the dough into 8 (or 16, if making mini) equal wedges.
Step 5: Arrange and Brush the Scones
- shaped scones from Step 4
- 2 tbsp heavy cream (for brushing)
- optional: coarse sugar for topping
Place the shaped scones at least 2 inches apart on the prepared baking sheet(s) from Step 1.
Use a pastry brush to brush the scones with the remaining 2 tablespoons heavy cream.
If desired, sprinkle coarse sugar on top for a delightful crunch.
I love adding coarse sugar for extra texture and a bakery-style finish!
Step 6: Bake the Scones
- brushed scones from Step 5
Bake the scones in the preheated oven.
For large scones, bake for 20–25 minutes or until they’re lightly browned.
For mini scones, reduce the time to 18–20 minutes.
Remove the scones from the oven and allow them to cool on the baking sheet for a few minutes while you prepare the maple glaze.
Step 7: Prepare and Drizzle the Maple Glaze
- 2 tbsp unsalted butter
- 1/3 cup pure maple syrup
- 1 cup sifted confectioners’ sugar
- pinch salt, to taste
- baked scones from Step 6
In a small saucepan over low heat, melt the unsalted butter and maple syrup together, whisking occasionally.
Once the butter has melted, remove the pan from the heat and whisk in the sifted confectioners’ sugar.
Taste the glaze and add a pinch of salt if desired.
Drizzle the glaze over the warm scones before serving.
To make the glaze even brighter, I sometimes add a tiny extra splash of maple syrup for a richer flavor.

