I used to think kale chips from the store were worth the price until I made my first batch at home. Turns out, dehydrating kale is one of those things that sounds harder than it actually is. You just need some kale, a few pantry basics, and a little patience while your dehydrator does all the work.
The best part? You can make a huge batch for a fraction of what you’d pay at the grocery store. Plus, you get to control exactly what goes on them. No weird ingredients you can’t pronounce, just real food that tastes good.
I like to keep a jar of these on the counter for when I need something crunchy between meals. They disappear fast around here, so I’ve learned to make double batches. Trust me, once you try homemade kale chips, you won’t want to go back to the store-bought version.

Why You’ll Love These Kale Chips
- Healthy snack alternative – These crispy kale chips give you that satisfying crunch you crave without the guilt of regular potato chips, and they’re packed with nutrients.
- Only three ingredients – You just need kale, olive oil, and salt to make these. No complicated shopping list or fancy ingredients required.
- Quick to make – In under 45 minutes, you can have a batch of crispy chips ready to munch on or pack for lunch.
- Budget-friendly – A single bunch of kale costs less than a bag of chips and makes plenty of servings for snacking throughout the week.
What Kind of Kale Should I Use?
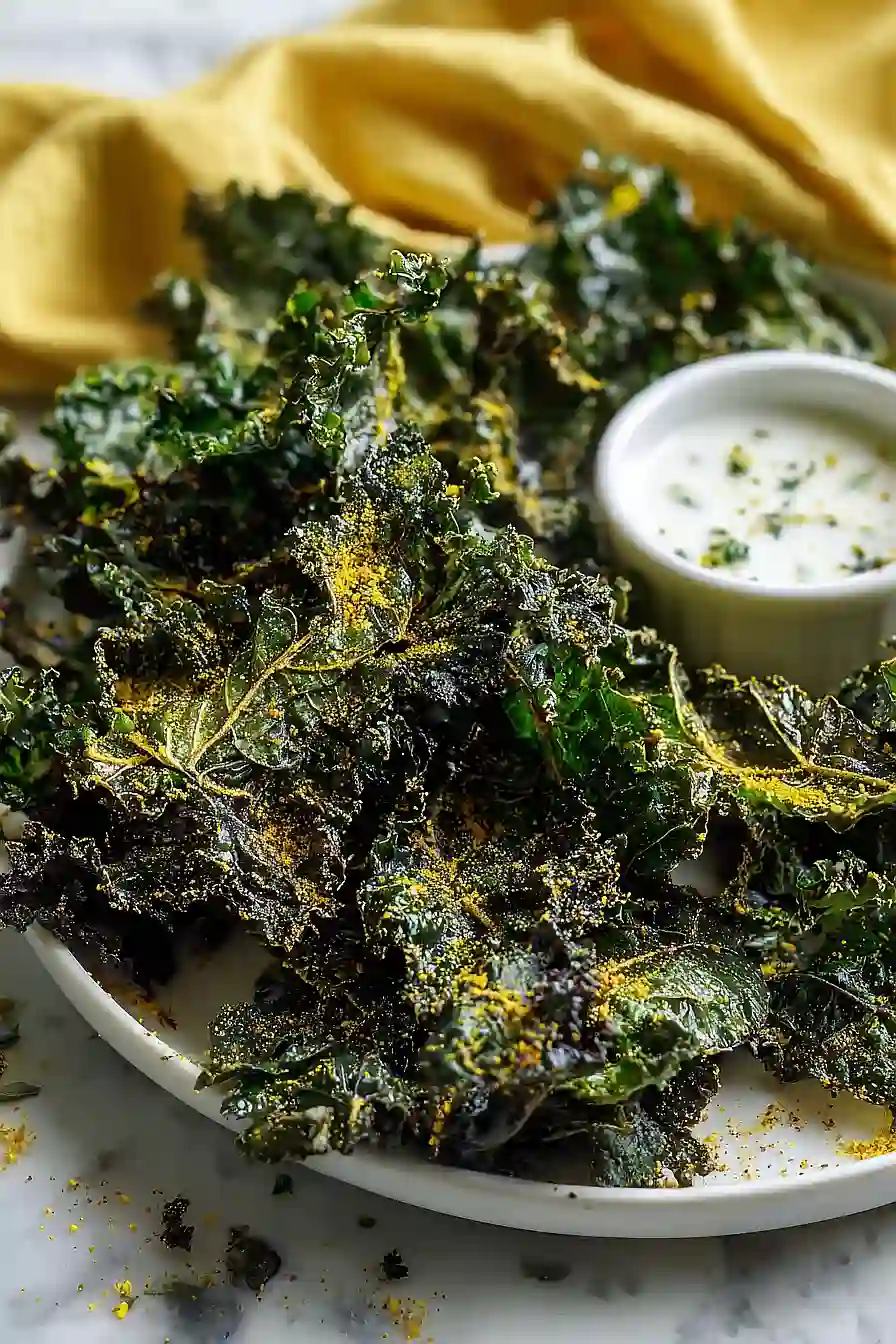
Any variety of kale will work for making chips, but curly kale is probably your best bet since its ruffled edges get extra crispy in the dehydrator. Lacinato kale (also called dinosaur kale) is another great option – it has flatter leaves that crisp up nicely and some people find it a bit less bitter. If you’re buying kale at the store, look for bunches with firm, dark green leaves and avoid any that are wilted or yellowing. One bunch typically yields about 4 to 6 cups of kale chips, depending on how tightly you pack them, so grab an extra bunch if you’re feeding a crowd or want leftovers for snacking throughout the week.
Options for Substitutions
This simple recipe is pretty straightforward, but here are a few ways you can mix things up:
- Kale: While kale is the classic choice for chips, you can try other hearty greens like collard greens or Swiss chard. They’ll crisp up nicely too, though collards might need a few extra minutes in the dehydrator.
- Olive oil: Any neutral oil works here – try avocado oil, grapeseed oil, or even melted coconut oil. Each will give you crispy chips, though coconut oil adds a subtle sweet note.
- Salt: Basic salt is perfect, but feel free to get creative with seasonings. Try garlic powder, onion powder, nutritional yeast for a cheesy flavor, or even a pinch of cayenne if you like some heat. Just add them along with the salt before dehydrating.
Watch Out for These Mistakes While Cooking
The biggest mistake people make with kale chips is not drying the leaves thoroughly after washing – even a little moisture will cause them to steam instead of crisp up, leaving you with chewy, disappointing results.
Overcrowding the tray is another common error that leads to uneven cooking, so make sure your kale pieces are spread out in a single layer with space between them, even if it means working in batches.
Using too much olive oil will also backfire since excess oil makes the chips greasy rather than crispy, so stick to just enough to lightly coat the leaves (about 1 tablespoon per bunch is plenty).
Finally, keep a close eye during the last few minutes of cooking because kale can go from perfectly crispy to burnt in a matter of seconds, and burnt kale tastes bitter and unpleasant.
What to Serve With Kale Chips?
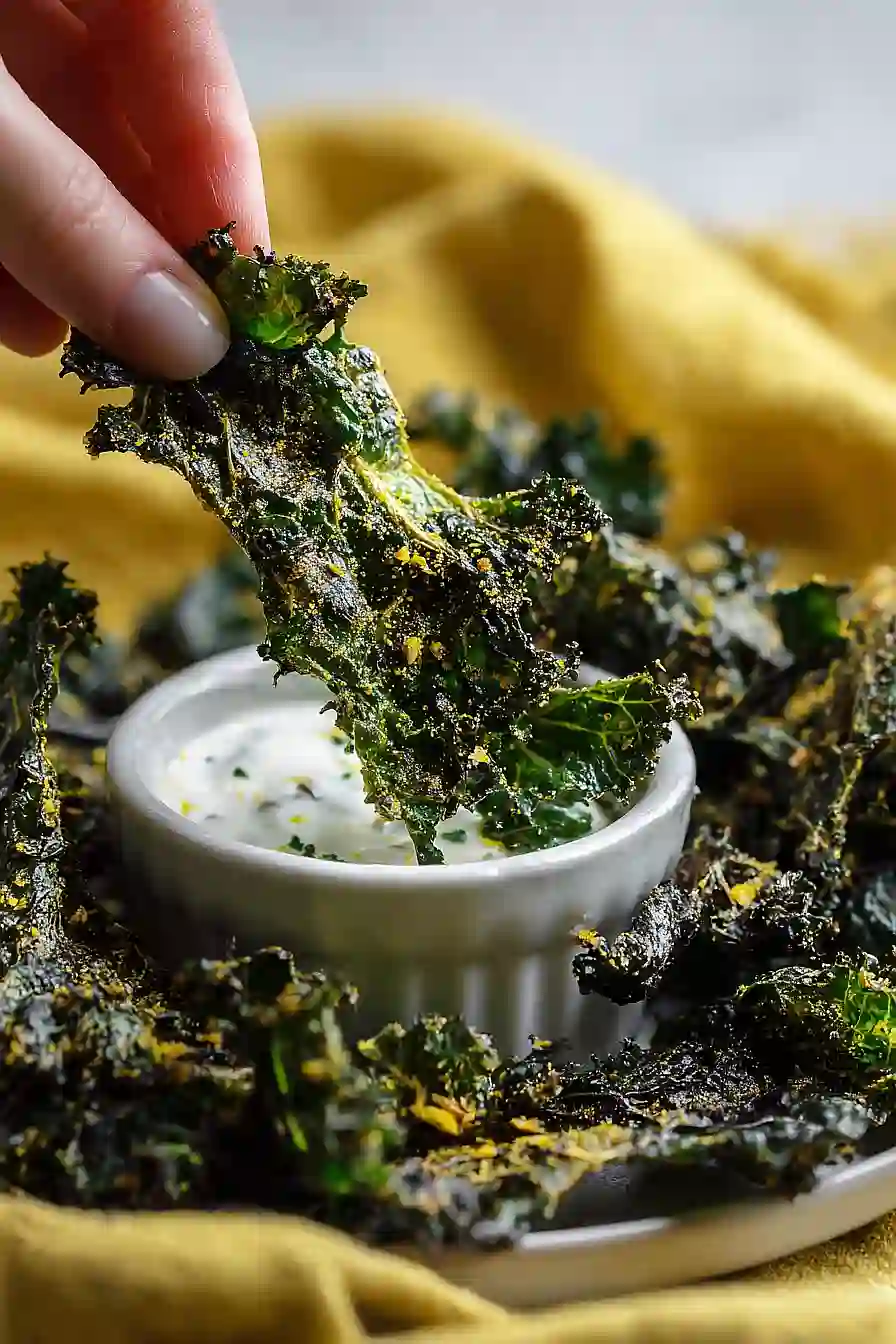
Kale chips make a great snack on their own, but they’re also perfect alongside your favorite sandwich or wrap for a healthier alternative to regular potato chips. I love munching on them with hummus or any creamy dip – the crispy texture pairs really well with something smooth and rich. They’re also a nice addition to a lunch box with some cheese, crackers, and sliced veggies for a balanced snack. If you’re having them at home, try serving them next to a bowl of soup or as a crunchy topping for salads instead of croutons.
Storage Instructions
Store: Keep your kale chips in an airtight container or resealable bag at room temperature for up to a week. The key is making sure they’re completely cool and crispy before storing, otherwise they’ll get soggy. If they do lose their crunch, you can pop them back in the dehydrator or oven for a few minutes to crisp them up again.
Avoid Moisture: These chips are super sensitive to humidity, so don’t refrigerate them or they’ll turn limp and chewy. If you live somewhere humid, you might want to toss a food-safe silica packet in the container to keep them extra crispy.
| Preparation Time | 10-15 minutes |
| Cooking Time | 25-30 minutes |
| Total Time | 35-45 minutes |
| Level of Difficulty | Easy |
| Servings | 2.5 servings |
Estimated Nutrition
Estimated nutrition for the whole recipe (without optional ingredients):
- Calories: 120-150
- Protein: 7-10 g
- Fat: 13-15 g
- Carbohydrates: 8-12 g
Ingredients
- 1 large bunch kale (stems removed and torn into 2-inch pieces for even drying)
- 1.5 tbsp olive oil (I prefer California Olive Ranch for a smooth taste)
- Himalayan pink salt to taste
- 1 tbsp nutritional yeast
- 1/2 tsp garlic powder
Step 1: Prepare and Dry the Kale
- 1 large bunch kale
Wash the kale thoroughly under cold running water to remove any dirt or debris, then pat it completely dry with paper towels or a clean kitchen towel—this is crucial since excess moisture will extend drying time and prevent crispiness.
Remove the tough center stems by holding each leaf and stripping the leafy portion away, then tear the leaves into roughly 2-inch pieces.
I find that uniform piece size ensures even drying throughout, so try to keep them consistent.
Step 2: Season the Kale
- seasoned kale from Step 1
- 1.5 tbsp olive oil
- Himalayan pink salt to taste
- 1 tbsp nutritional yeast
- 1/2 tsp garlic powder
Place the torn kale in a large bowl and drizzle with the olive oil.
Using your hands, massage and toss the kale for about 1-2 minutes until every piece is evenly coated with oil—this step distributes flavor and helps seasonings adhere.
Sprinkle the Himalayan pink salt, nutritional yeast, and garlic powder over the coated kale, then toss again until all pieces are evenly seasoned.
I like to taste a small piece after seasoning to ensure the flavor balance is right before moving to the dehydrator.
Step 3: Arrange and Dehydrate
- seasoned kale from Step 2
Spread the seasoned kale pieces in a single layer on dehydrator trays or a large baking sheet, making sure pieces don’t overlap—overlapping pieces won’t crisp evenly and may stick together.
If using a dehydrator, set it to 125°F and dry for about 2 hours, checking toward the end until the kale is completely crispy and breaks easily when touched.
Alternatively, use a conventional oven set to 225°F for 25-30 minutes, stirring halfway through for more even crisping.
Step 4: Cool and Serve
- dehydrated kale from Step 3
Remove the kale chips from the heat source and let them cool on the tray for 2-3 minutes before transferring to a serving bowl or airtight container.
The chips will continue to crisp up slightly as they cool.
Serve immediately as a snack, or store in an airtight container for up to 3-4 days for a crispy texture.

Keto Dehydrated Kale Chips
Ingredients
- 1 large bunch kale (stems removed and torn into 2-inch pieces for even drying)
- 1.5 tbsp olive oil (I prefer California Olive Ranch for a smooth taste)
- Himalayan pink salt to taste
- 1 tbsp nutritional yeast
- 1/2 tsp garlic powder
Instructions
- Wash the kale thoroughly under cold running water to remove any dirt or debris, then pat it completely dry with paper towels or a clean kitchen towel—this is crucial since excess moisture will extend drying time and prevent crispiness. Remove the tough center stems by holding each leaf and stripping the leafy portion away, then tear the leaves into roughly 2-inch pieces. I find that uniform piece size ensures even drying throughout, so try to keep them consistent.
- Place the torn kale in a large bowl and drizzle with the olive oil. Using your hands, massage and toss the kale for about 1-2 minutes until every piece is evenly coated with oil—this step distributes flavor and helps seasonings adhere. Sprinkle the Himalayan pink salt, nutritional yeast, and garlic powder over the coated kale, then toss again until all pieces are evenly seasoned. I like to taste a small piece after seasoning to ensure the flavor balance is right before moving to the dehydrator.
- Spread the seasoned kale pieces in a single layer on dehydrator trays or a large baking sheet, making sure pieces don't overlap—overlapping pieces won't crisp evenly and may stick together. If using a dehydrator, set it to 125°F and dry for about 2 hours, checking toward the end until the kale is completely crispy and breaks easily when touched. Alternatively, use a conventional oven set to 225°F for 25-30 minutes, stirring halfway through for more even crisping.
- Remove the kale chips from the heat source and let them cool on the tray for 2-3 minutes before transferring to a serving bowl or airtight container. The chips will continue to crisp up slightly as they cool. Serve immediately as a snack, or store in an airtight container for up to 3-4 days for a crispy texture.

