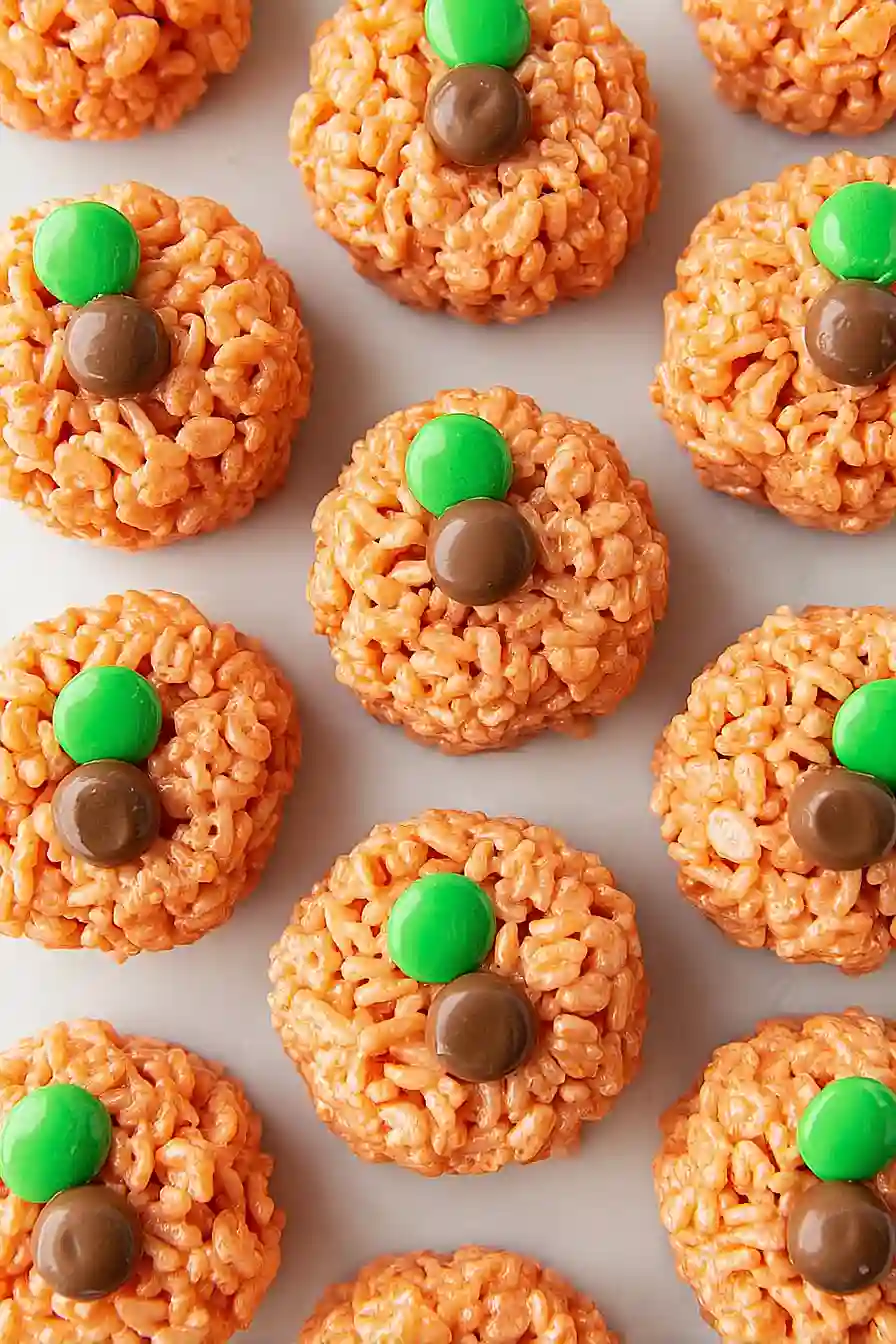
Here is my favorite Rice Krispie Treat Pumpkins recipe, with simple orange food coloring, mini chocolate chips for the faces, and pretzel sticks for the stems that make the cutest Halloween treats.
These pumpkin treats are always a hit at our Halloween parties. I usually make a double batch because the kids (and adults) can’t stop eating them. Nothing says Halloween fun like treats that are both easy to make and adorable, right?
Why You’ll Love These Rice Krispie Treat Pumpkins
- Perfect Halloween treat – These adorable pumpkin-shaped treats are exactly what you need for Halloween parties, trick-or-treaters, or just getting into the spooky spirit at home.
- Quick and easy – Ready in just 20-30 minutes, this recipe is perfect when you need a last-minute Halloween dessert that looks like you spent hours making it.
- Kid-friendly activity – Little ones will love helping you shape the pumpkins and add the candy decorations, making this a fun family project that keeps everyone busy.
- Simple ingredients – You probably already have most of these pantry staples at home, and the specialty items like food coloring and candy are easy to find at any grocery store.
- No baking required – Since these treats don’t need an oven, they’re perfect for when your kitchen is already busy with other Halloween prep or if you’re cooking with kids.
What Kind of Marshmallows Should I Use?
For Rice Krispie treats, you’ll want to stick with large marshmallows rather than mini ones since they melt more evenly and create a smoother mixture. Fresh marshmallows work best – if your bag has been sitting around for a while and the marshmallows feel hard or stale, they won’t melt as nicely and could make your treats tough. Any brand of large marshmallows will work fine, whether you go with the classic white ones or even flavored varieties if you’re feeling adventurous. Just make sure you have enough since running out halfway through can be a real pain when you’re trying to get the right consistency.

Options for Substitutions
This fun Halloween treat is pretty forgiving when it comes to swaps:
- Rice Krispies: Any crispy rice cereal works great here – store brands are just as good as the name brand. You could even try Cocoa Krispies for a chocolate twist on your pumpkins.
- Large marshmallows: Mini marshmallows work too – just use about 5 cups instead. They’ll melt a bit faster, so keep an eye on them.
- Liquid food coloring: Gel food coloring works even better than liquid – you’ll need less and get more intense orange color. Start with just a tiny bit since gel is much stronger.
- Mini Rolos: If you can’t find mini Rolos, try chocolate chips, mini chocolate candies, or even small pieces of chocolate bark. The key is finding something small and brown for the pumpkin stems.
- Green M&M’s: Any small green candy works – green chocolate chips, green gumdrops cut small, or even green sprinkles if you want something simpler.
- Cooking oil: Butter works just as well for greasing your hands, or you can use cooking spray on your hands instead.
Watch Out for These Mistakes While Cooking
The biggest mistake when making Rice Krispie treats is overheating the marshmallows, which can make your treats rock-hard instead of chewy – keep the heat on medium-low and stir constantly once they start melting.
Another common error is not greasing your hands with oil or butter before shaping the pumpkins, which will leave you with sticky fingers and misshapen treats that fall apart.
Don’t add too much food coloring at once since it can make the mixture too wet and affect the texture – start with just a few drops of red and yellow, mix well, then add more until you get that perfect orange color.
Finally, work quickly once you remove the mixture from heat because it hardens fast, and if you’re adding the Rolo stems and M&M leaves, press them in gently while the treats are still warm so they stick properly.
What to Serve With Rice Krispie Treat Pumpkins?
These cute pumpkin treats are perfect on their own, but they’re even better when you create a whole Halloween spread! I love setting them out alongside other fall favorites like caramel apples, candy corn, or chocolate chip cookies shaped like bats and ghosts. For parties, try pairing them with warm apple cider or hot chocolate – the creamy drinks balance out the sweetness of the treats perfectly. You can also arrange them on a platter with other bite-sized Halloween goodies like mini cupcakes or pumpkin-shaped sugar cookies to create a fun dessert table that kids and adults will both enjoy.
Storage Instructions
Keep Fresh: These adorable pumpkin treats stay soft and chewy when stored in an airtight container at room temperature for up to a week. I like to place a sheet of wax paper between layers to keep them from sticking together, especially since they have those cute candy decorations on top.
Freeze: You can absolutely freeze these Halloween goodies for up to 3 months! Wrap each pumpkin individually in plastic wrap or store them in a freezer-safe container with parchment paper between layers. They’re perfect for making ahead before your Halloween party.
Serve: Let frozen treats thaw at room temperature for about 30 minutes before serving. They taste just as good as fresh! If you’re making these for a party, I recommend taking them out about an hour early so they’re perfectly soft and ready to enjoy.
| Preparation Time | 10-15 minutes |
| Cooking Time | 10-15 minutes |
| Total Time | 20-30 minutes |
| Level of Difficulty | Easy |
Estimated Nutrition
Estimated nutrition for the whole recipe (without optional ingredients):
- Calories: 2250-2400
- Protein: 12-16 g
- Fat: 48-56 g
- Carbohydrates: 460-500 g
Ingredients
For the cereal mixture:
- 1/4 cup butter
- 1 bag large marshmallows (about 40 pieces)
- 6 cups crisp rice cereal
- Red and yellow liquid food coloring
- 1/4 cup neutral oil or melted butter, in a bowl (for handling)
For the decorations:
- Mini rolos (one per treat)
- Green m&m’s (one per treat)
Step 1: Melt the Butter and Marshmallows
- 1/4 cup butter
- 1 bag large marshmallows (about 40 pieces)
In a large pot, melt the butter over low heat.
Once melted, add the marshmallows and stir constantly until they are completely melted and fully combined with the butter.
Make sure the mixture is smooth and free of lumps.
Step 2: Tint the Marshmallow Mixture
- red and yellow liquid food coloring
- marshmallow and butter mixture from Step 1
Remove the pot from the heat.
Add several drops of yellow food coloring and mix well.
Then, add red food coloring one drop at a time, mixing after each drop, until you reach your desired pumpkin color.
I find about 4 drops of red and 12 drops of yellow create a lovely pumpkin orange, but adjust as you like.
Make sure the color is evenly blended throughout the mixture.
Step 3: Mix in the Crisp Rice Cereal
- 6 cups crisp rice cereal
- tinted marshmallow mixture from Step 2
Immediately add the rice cereal to the colored marshmallow mixture.
Stir gently with a spatula or large spoon until all the cereal is evenly coated.
Work quickly, as the mixture becomes harder to stir as it cools.
Step 4: Form the Pumpkin Balls
- 1/4 cup neutral oil or melted butter, in a bowl (for handling)
- rice cereal mixture from Step 3
Coat both sides of your hands generously with neutral oil or melted butter to prevent sticking.
While the mixture is still warm, scoop out portions and roll them into small balls, about the size of a golf ball.
Place each ball on parchment paper.
Reapply oil or butter to your hands between rolling each ball, as needed.
I like to be generous with the oil—it’s the secret to easier shaping and less mess!
Step 5: Decorate the Pumpkin Treats
- Mini Rolos (one per treat)
- green M&M’s (one per treat)
- formed rice cereal balls from Step 4
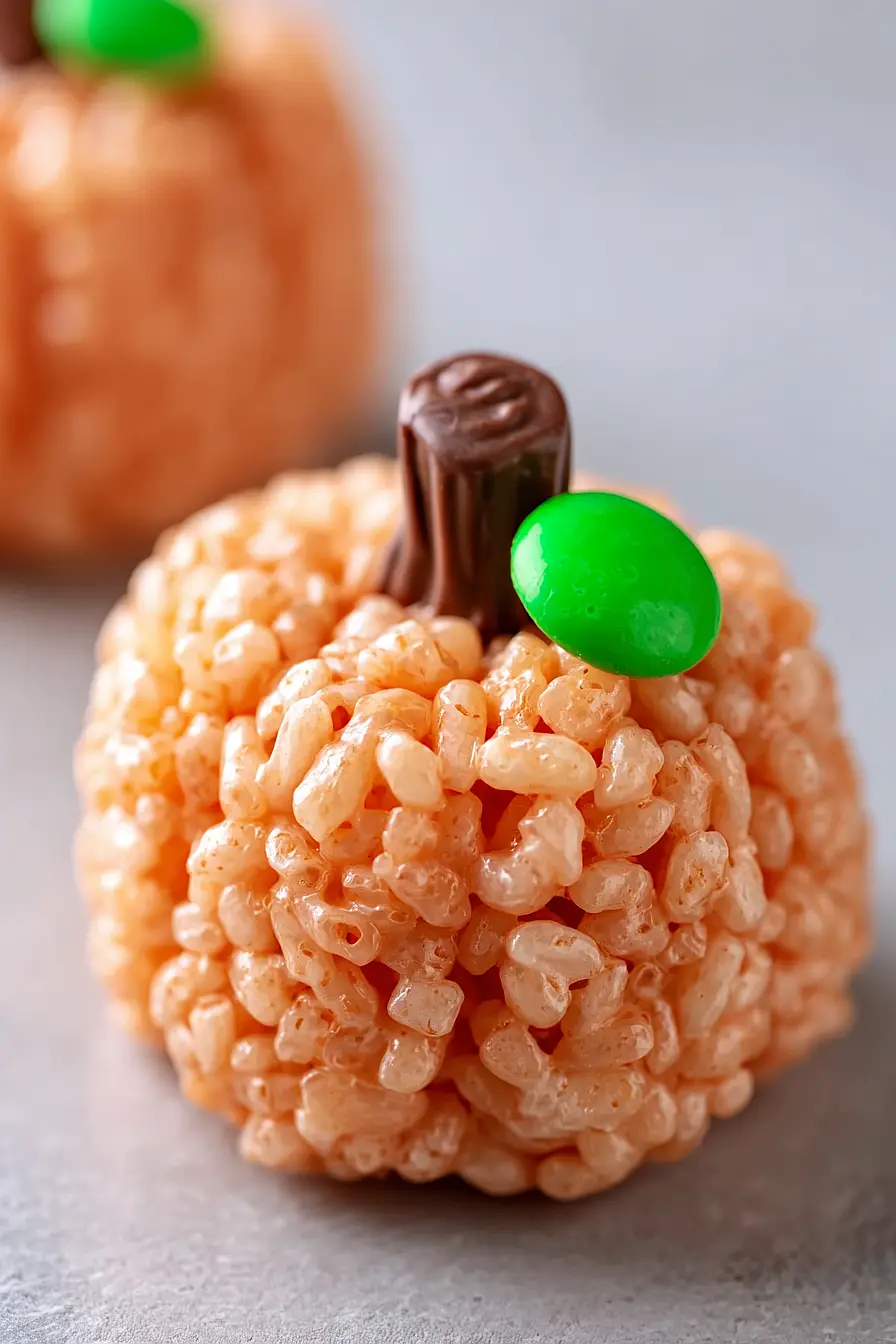
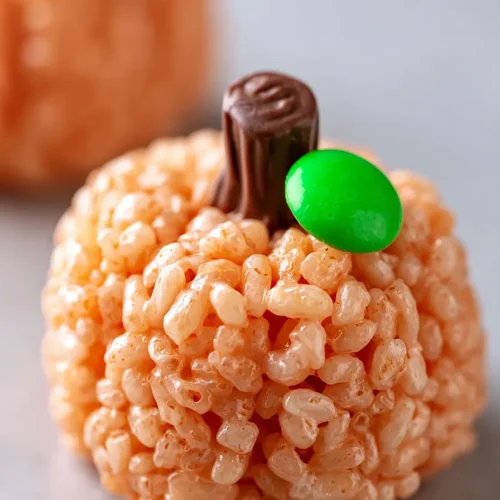
While the rice balls are still warm and pliable, gently press a Mini Rolo into the top of each ball to act as a pumpkin stem.
Place a green M&M next to the Rolo to mimic a leaf.
If the treats cool before you’re finished, use the end of a thick marker or an apple corer to make a small indent in the top for the Rolo.
This step adds a lot of charm to your treats!
Step 6: Cool and Set the Pumpkin Treats
Allow the decorated treats to cool at room temperature until they are firm.
They can then be served or stored in an airtight container.
Irresistible Rice Krispie Treat Pumpkins - Perfect for Halloween
Ingredients
For the cereal mixture:
- 1/4 cup butter
- 1 bag large marshmallows (about 40 pieces)
- 6 cups crisp rice cereal
- red and yellow liquid food coloring
- 1/4 cup neutral oil or melted butter, in a bowl (for handling)
For the decorations:
- Mini Rolos (one per treat)
- green M&M's (one per treat)
Instructions
- In a large pot, melt the butter over low heat. Once melted, add the marshmallows and stir constantly until they are completely melted and fully combined with the butter. Make sure the mixture is smooth and free of lumps.
- Remove the pot from the heat. Add several drops of yellow food coloring and mix well. Then, add red food coloring one drop at a time, mixing after each drop, until you reach your desired pumpkin color. I find about 4 drops of red and 12 drops of yellow create a lovely pumpkin orange, but adjust as you like. Make sure the color is evenly blended throughout the mixture.
- Immediately add the rice cereal to the colored marshmallow mixture. Stir gently with a spatula or large spoon until all the cereal is evenly coated. Work quickly, as the mixture becomes harder to stir as it cools.
- Coat both sides of your hands generously with neutral oil or melted butter to prevent sticking. While the mixture is still warm, scoop out portions and roll them into small balls, about the size of a golf ball. Place each ball on parchment paper. Reapply oil or butter to your hands between rolling each ball, as needed. I like to be generous with the oil—it's the secret to easier shaping and less mess!
- While the rice balls are still warm and pliable, gently press a Mini Rolo into the top of each ball to act as a pumpkin stem. Place a green M&M next to the Rolo to mimic a leaf. If the treats cool before you're finished, use the end of a thick marker or an apple corer to make a small indent in the top for the Rolo. This step adds a lot of charm to your treats!
- Allow the decorated treats to cool at room temperature until they are firm. They can then be served or stored in an airtight container.
