I’ve always been a sucker for no-bake treats. There’s something so satisfying about mixing up a few simple ingredients and having dessert ready without turning on the oven. Plus, when it’s hot outside or I’m already juggling dinner prep, the last thing I want is more heat in the kitchen.
That’s where these peanut butter bars come in. They’re my go-to when I need something sweet but don’t want to spend hours baking. The rice krispies add this perfect crunch that makes every bite interesting. I can whip them up while the kids are doing homework, and by the time we’re ready for dessert, they’ve set up nicely in the fridge.
Want something rich and nutty? These bars have you covered. Craving that satisfying crunch? The rice krispies deliver. Honestly, they disappear so fast in our house that I usually make a double batch and hide half for myself.
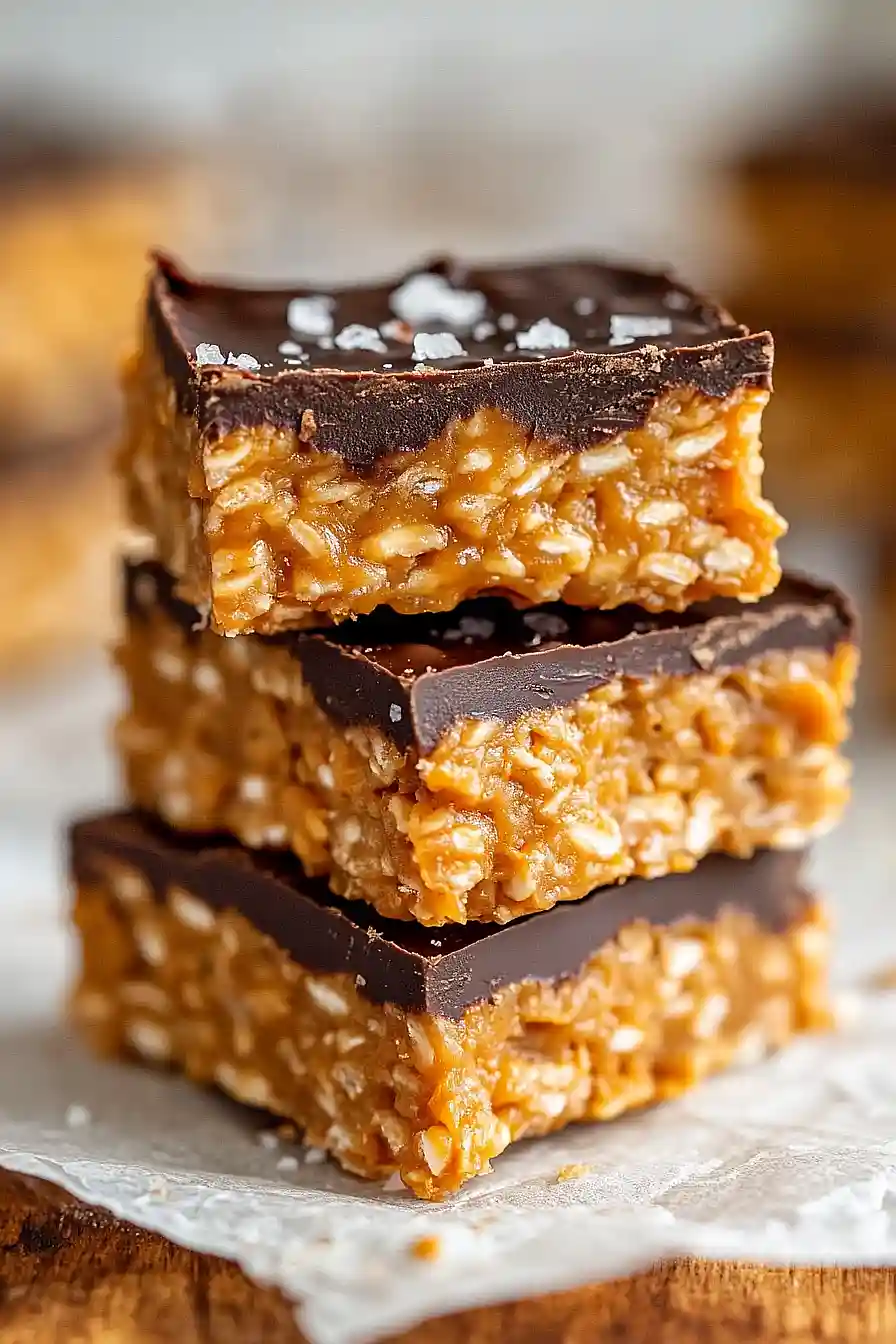
Why You’ll Love These Peanut Butter Bars
- No-bake simplicity – These bars come together without turning on the oven, making them perfect for hot summer days or when you want a quick treat without the fuss.
- Just 6 ingredients – You probably have most of these pantry staples on hand already, so you can whip up a batch whenever a craving hits.
- Kid-friendly favorite – The combination of creamy peanut butter, crunchy rice krispies, and chocolate makes these bars irresistible to both kids and adults.
- Perfect make-ahead treat – These bars actually get better after chilling, so you can make them ahead for parties, lunch boxes, or whenever you need a sweet pick-me-up.
- Naturally gluten-free option – As long as you use certified gluten-free rice cereal, these bars work perfectly for anyone avoiding gluten without sacrificing any flavor.
What Kind of Peanut Butter Should I Use?
For these bars, you’ll want to stick with creamy peanut butter rather than crunchy since you’re already getting texture from the rice krispies. Natural peanut butter works great, but make sure to stir it well first if the oil has separated on top. Regular commercial peanut butter like Jif or Skippy will also work perfectly fine and might actually be easier to work with since it’s already smooth and well-mixed. If you’re using natural peanut butter that tends to be on the runny side, you might want to chill the mixture for a few minutes before pressing it into your pan to help it hold together better.
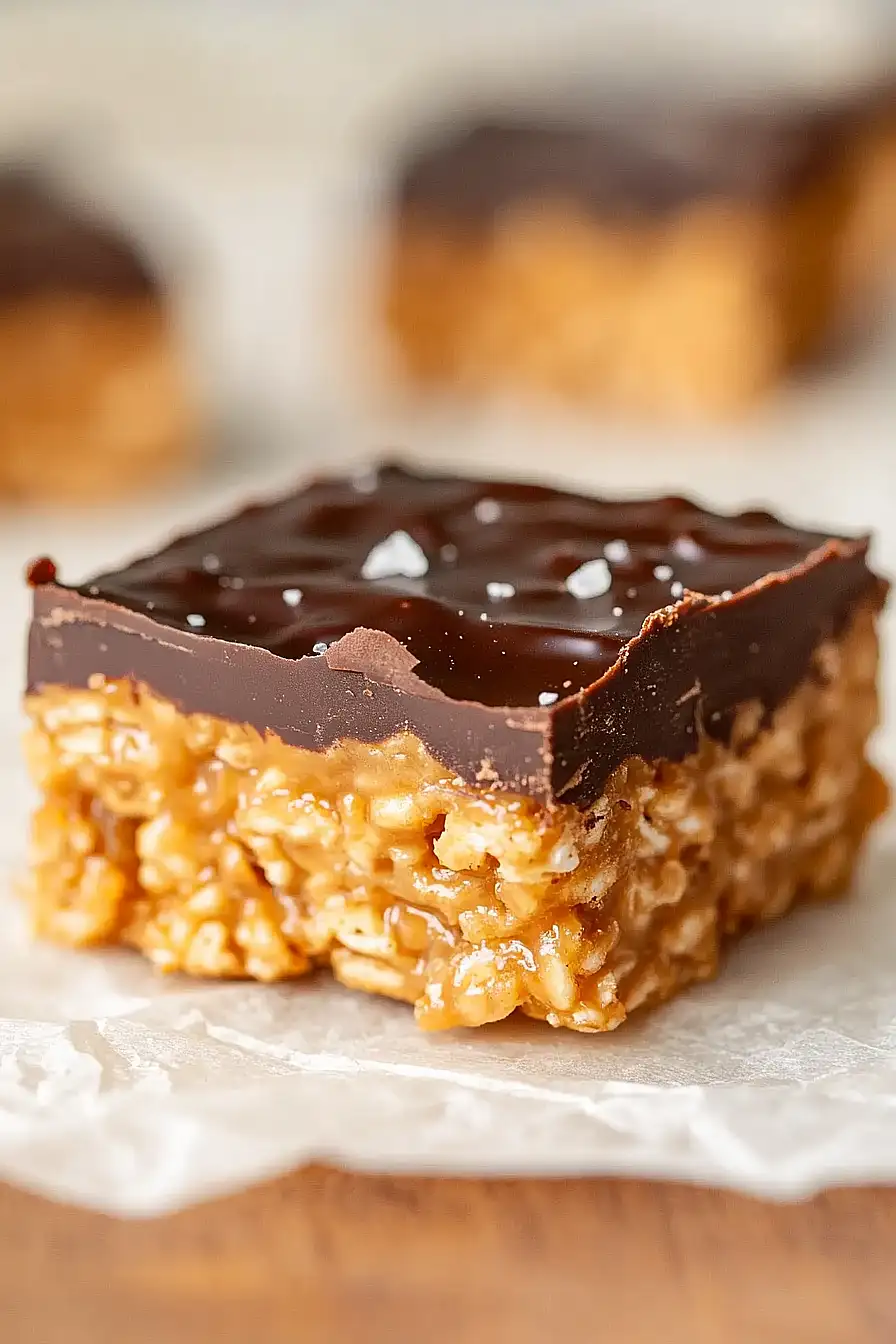
Options for Substitutions
These no-bake bars are pretty forgiving when it comes to swaps:
- Peanut butter: You can use any nut or seed butter here – almond butter, cashew butter, or sunflower seed butter all work great. Just make sure it’s the creamy, stirrable kind rather than the natural separated type for best results.
- Honey: Maple syrup or agave nectar work just as well as honey. You might need to add an extra tablespoon if your mixture seems too dry.
- Rice Krispies cereal: Any puffed rice cereal will do the trick here. You can even try puffed quinoa or crushed cornflakes for a different texture.
- Chocolate chips: Feel free to use any type of chocolate chips – dark, milk, white, or even butterscotch chips. Chopped chocolate bars work too, just keep the pieces small.
- Flaky sea salt: Regular table salt works fine if that’s what you have, just use a light sprinkle. You can also skip the salt topping entirely if you prefer.
Watch Out for These Mistakes While Making
The biggest mistake when making peanut butter Rice Krispie bars is overheating the peanut butter and honey mixture, which can make your bars hard and difficult to cut – keep the heat low and stir constantly until just combined.
Another common error is pressing the mixture too firmly into the pan, which creates dense, tough bars instead of the light, crispy texture you want – gently press just enough to hold everything together.
When melting the chocolate chips for the topping, avoid using high heat or you’ll end up with seized, grainy chocolate – use the microwave in 30-second intervals or a double boiler for smooth results.
Finally, resist the urge to cut into these bars right away; letting them chill in the fridge for at least an hour helps the chocolate set properly and makes clean slicing much easier.

What to Serve With Peanut Butter Bars?
These peanut butter bars are pretty rich and sweet on their own, so they pair really well with a cold glass of milk or a hot cup of coffee to balance out all that chocolatey peanut butter goodness. I love serving them alongside fresh fruit like sliced apples or strawberries – the crisp, tart flavors are a nice contrast to the creamy bars. They’re also great as part of a dessert spread at parties, especially next to some vanilla ice cream if you want to go all out. For a cozy movie night, just grab a few bars and your favorite drink, and you’re all set!
Storage Instructions
Keep Fresh: These peanut butter bars are best stored in an airtight container at room temperature for up to a week. I like to cut them into squares and layer them between pieces of parchment paper so they don’t stick together. They actually taste great right from the container – no need to warm them up!
Refrigerate: If your kitchen gets really warm or you want them to have a firmer texture, pop them in the fridge. They’ll keep for up to 2 weeks and have a nice chewy consistency when cold. Just let them sit out for a few minutes if you prefer them softer.
Freeze: These bars freeze really well for up to 3 months! Wrap individual pieces in plastic wrap or store them in a freezer-safe container with parchment between layers. They’re actually pretty tasty eaten straight from the freezer – kind of like a frozen candy bar.
| Preparation Time | 10-15 minutes |
| Cooking Time | 0-5 minutes |
| Total Time | 130-150 minutes |
| Level of Difficulty | Easy |
Estimated Nutrition
Estimated nutrition for the whole recipe (without optional ingredients):
- Calories: 2350-2550
- Protein: 35-40 g
- Fat: 130-145 g
- Carbohydrates: 280-300 g
Ingredients
- 1 cup plus 1 tbsp creamy peanut butter
- 1/4 cup honey
- 1/4 tsp salt (skip if peanut butter is already salted)
- 2 cups crisped rice cereal (trader joe’s or similar)
- 1 cup chocolate chips
- Flaky sea salt, for garnish
Step 1: Prepare Baking Pan
Line an 8×8-inch baking dish with parchment paper, ensuring that some parchment hangs over the sides for easy removal of the bars later.
Step 2: Combine Peanut Butter Mixture
- 1 cup creamy peanut butter
- 1/4 cup honey
- 1/4 tsp salt (skip if peanut butter is already salted)
In a large mixing bowl, combine 1 cup of creamy peanut butter, 1/4 cup honey, and 1/4 teaspoon salt (omit the salt if your peanut butter is already salted).
Stir until the mixture is smooth and well blended.
Step 3: Mix in Crisped Rice Cereal
- 2 cups crisped rice cereal (Trader Joe’s or similar)
- peanut butter mixture from Step 2
Add the crisped rice cereal to the peanut butter mixture and stir until the cereal is evenly coated and the mixture is fully combined.
Press the mixture firmly and evenly into the prepared pan to form the base.
I like to use the back of a spatula to press down and make a compact layer, which helps the bars hold together better.
Step 4: Make Chocolate Topping
- 1 cup chocolate chips
- 1 tbsp creamy peanut butter
In a microwave-safe bowl or over a double boiler, combine the chocolate chips and remaining 1 tablespoon of peanut butter.
Heat, stirring every 30 seconds if using the microwave, until the chocolate is just melted and the mixture is smooth.
Step 5: Assemble and Chill Bars
- melted chocolate and peanut butter from Step 4
- flaky sea salt, for garnish
Pour the melted chocolate and peanut butter mixture over the rice cereal layer in the pan, spreading it evenly to cover the surface.
Sprinkle with flaky sea salt for a finishing touch.
Refrigerate the bars for at least 2 hours, or until fully set and solid.
For a more intense chocolate flavor, sometimes I sprinkle a little extra flaky sea salt right before serving.
Step 6: Cut and Serve
Once completely firm, lift the bars out of the pan using the parchment paper.
Cut into 16 even squares and enjoy!
Store leftovers in the refrigerator and enjoy shortly after removing, as the bars soften quickly at room temperature.
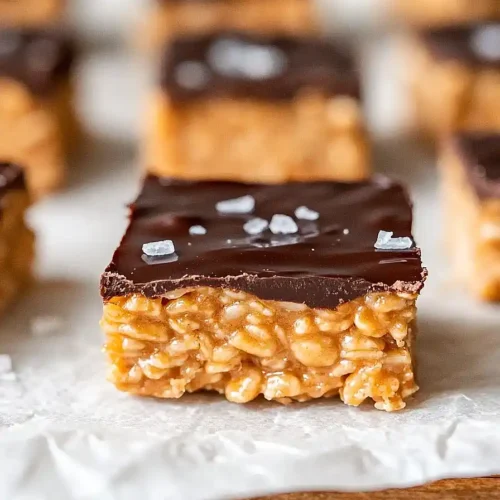
Irresistible Peanut Butter Bars with Rice Krispies
Ingredients
- 1 cup plus 1 tbsp creamy peanut butter
- 1/4 cup honey
- 1/4 tsp salt (skip if peanut butter is already salted)
- 2 cups crisped rice cereal (Trader Joe's or similar)
- 1 cup chocolate chips
- flaky sea salt, for garnish
Instructions
- Line an 8x8-inch baking dish with parchment paper, ensuring that some parchment hangs over the sides for easy removal of the bars later.
- In a large mixing bowl, combine 1 cup of creamy peanut butter, 1/4 cup honey, and 1/4 teaspoon salt (omit the salt if your peanut butter is already salted). Stir until the mixture is smooth and well blended.
- Add the crisped rice cereal to the peanut butter mixture and stir until the cereal is evenly coated and the mixture is fully combined. Press the mixture firmly and evenly into the prepared pan to form the base. I like to use the back of a spatula to press down and make a compact layer, which helps the bars hold together better.
- In a microwave-safe bowl or over a double boiler, combine the chocolate chips and remaining 1 tablespoon of peanut butter. Heat, stirring every 30 seconds if using the microwave, until the chocolate is just melted and the mixture is smooth.
- Pour the melted chocolate and peanut butter mixture over the rice cereal layer in the pan, spreading it evenly to cover the surface. Sprinkle with flaky sea salt for a finishing touch. Refrigerate the bars for at least 2 hours, or until fully set and solid. For a more intense chocolate flavor, sometimes I sprinkle a little extra flaky sea salt right before serving.
- Once completely firm, lift the bars out of the pan using the parchment paper. Cut into 16 even squares and enjoy! Store leftovers in the refrigerator and enjoy shortly after removing, as the bars soften quickly at room temperature.

