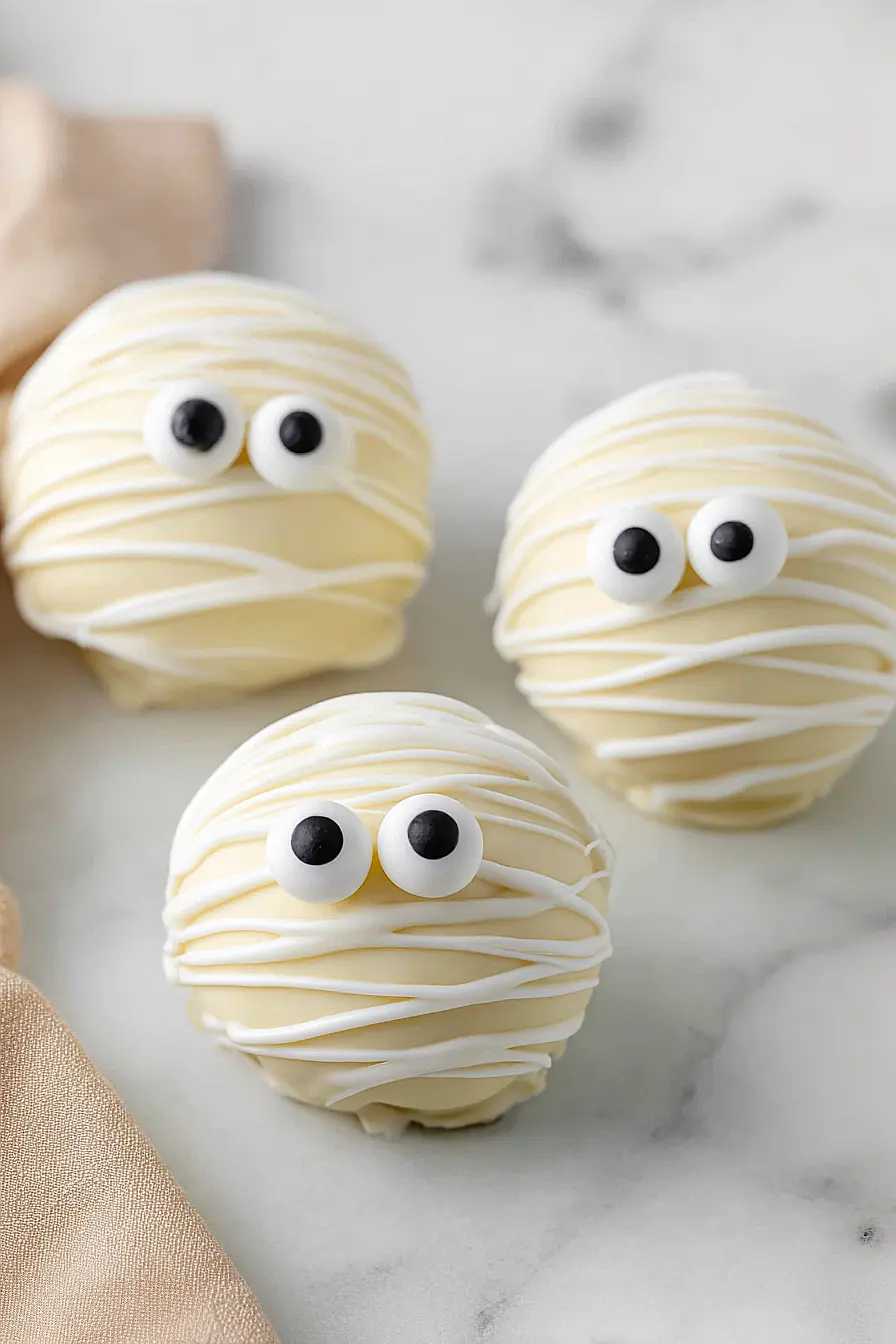
Here are my favorite mummy Oreo balls, with crushed Oreo cookies, cream cheese, and white chocolate coating, decorated with candy eyes to look like little mummies.
These mummy Oreo balls are always a hit at our Halloween parties. I usually make a big batch because the kids (and adults) can’t stop eating them. They’re creepy, cute, and completely addictive!

Why You’ll Love These Mummy Oreo Balls
- Perfect Halloween treat – These spooky mummy oreo balls are exactly what you need to get everyone in the Halloween spirit, and they look so cute on any party table.
- Only 4 ingredients – You probably already have most of these items in your pantry, making this an easy last-minute treat to whip up.
- Quick and easy – Ready in under an hour, these treats come together fast enough for busy weeknight baking or when you need something for a school party.
- Fun activity for kids – The decorating part is so much fun that kids can help add the candy eyes and create their own spooky mummy faces.
- No-bake option – Since you’re just melting and mixing, there’s no need to turn on the oven, making these perfect for hot weather or small kitchens.
What Kind of Oreos Should I Use?
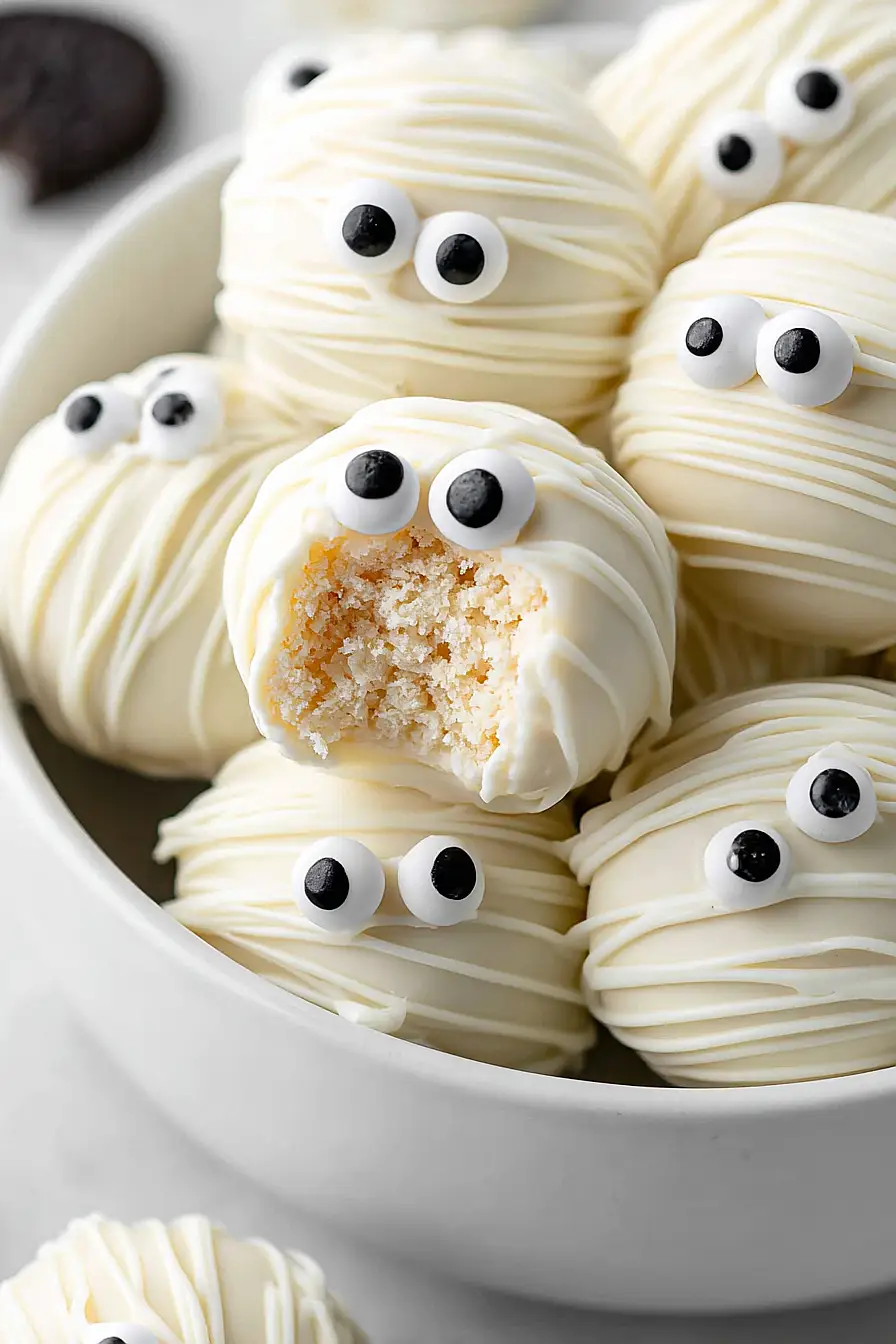
For these mummy treats, Golden Oreos are the way to go since their vanilla flavor pairs perfectly with the cream cheese and creates that classic white mummy look. Regular chocolate Oreos would work in a pinch, but you’ll end up with a darker filling that won’t give you that spooky mummy appearance. Make sure your Oreos are fresh and crispy – stale cookies can make your mixture too soft and harder to roll into balls. If you only have regular Oreos on hand, the taste will still be great, but your mummies might look more like they’ve been digging around in dirt!
Options for Substitutions
These spooky treats are pretty forgiving when it comes to swaps:
- Golden Oreos: Regular chocolate Oreos work just fine if that’s what you have on hand. You could also try vanilla wafers or graham crackers – just crush them up the same way.
- Cream cheese: Make sure your cream cheese is really soft before mixing. If you’re out, you can substitute with mascarpone or even softened butter, though the texture will be slightly different.
- Vanilla candy melts: White chocolate chips work great as a substitute – just melt them with a teaspoon of coconut oil to help with dipping consistency. You could also use white almond bark.
- Candy eyes: Get creative here! You can make eyes with mini chocolate chips, use small dots of melted dark chocolate, or even pipe on eyes with black icing. Some people use mini marshmallows with chocolate chip centers.
Watch Out for These Mistakes While Making
The biggest mistake when making Oreo balls is not letting your cream cheese come to room temperature first, which makes it nearly impossible to mix smoothly with the crushed cookies and results in lumpy, uneven balls.
Another common error is overheating your candy melts – they can seize up and become thick and unusable if you microwave them too long, so heat in 30-second intervals and stir between each one.
Make sure to chill your formed balls for at least 30 minutes before dipping, as warm Oreo balls will fall apart when you try to coat them in melted candy.
Finally, wait until the candy coating is almost set but still slightly tacky before pressing on the candy eyes, otherwise they’ll slide right off once the coating hardens completely.
What to Serve With Mummy Oreo Balls?
These spooky little treats are perfect for Halloween parties and go great with other finger foods and party snacks. I love setting them out alongside chocolate chip cookies, mini cupcakes, or even some savory options like cheese and crackers to balance out all the sweetness. They’re also fun to serve with hot chocolate or apple cider for a cozy fall vibe. Since they’re pretty rich and sweet, having some lighter snacks like popcorn or pretzels nearby gives your guests a nice break between bites of these adorable mummy treats.
Storage Instructions
Keep Fresh: These spooky little treats stay perfect when stored in an airtight container in the fridge for up to a week. I like to place them in a single layer with parchment paper between layers if you’re stacking them. The candy coating keeps them nice and fresh, plus they taste even better when they’re chilled!
Freeze: Mummy oreo balls freeze really well for up to 2 months in a freezer-safe container. Just make sure they’re completely set before freezing, and separate the layers with parchment paper. This makes them perfect for making ahead for Halloween parties or whenever you need a quick dessert.
Serve: Let frozen oreo balls thaw in the fridge for about 30 minutes before serving, or you can enjoy them straight from the freezer if you like them extra firm. They’re actually pretty tasty cold! Just give them a few minutes at room temperature if the candy coating feels too hard.
| Preparation Time | 15-20 minutes |
| Cooking Time | 30 minutes |
| Total Time | 45-50 minutes |
| Level of Difficulty | Easy |
Estimated Nutrition
Estimated nutrition for the whole recipe (without optional ingredients):
- Calories: 2100-2300
- Protein: 14-18 g
- Fat: 110-125 g
- Carbohydrates: 280-310 g
Ingredients
For the truffle centers:
- 20 golden sandwich cookies
- 4 oz cream cheese, at room temperature
For the coating and decoration:
- 10 oz vanilla-flavored candy melts or coating wafers
- 1 package edible candy eyes
Step 1: Prepare the Baking Sheet and Make Cookie Crumbs
- 20 golden sandwich cookies
Line a large baking sheet with parchment paper and set it aside.
Place the golden sandwich cookies in a food processor and pulse them until they become a very fine crumb.
Step 2: Mix Cookie Crumbs with Cream Cheese
- cookie crumbs from Step 1
- 4 oz cream cheese, at room temperature
Transfer the cookie crumbs to a large mixing bowl.
Add the cream cheese and stir the mixture until it’s thoroughly combined and smooth.
Step 3: Shape and Freeze the Truffles
- cookie and cream cheese mixture from Step 2
Using a small cookie scoop, portion the mixture from Step 2 into about 1-inch sized balls.
Roll each ball between your palms to smooth them.
Place the Oreo balls onto the prepared parchment-lined baking sheet.
Freeze the balls for 30 minutes so they set up and become firm.
Step 4: Melt the Candy Coating
- 10 oz vanilla-flavored candy melts or coating wafers
Melt the vanilla-flavored candy melts or coating wafers according to the package directions.
Once melted, pour the chocolate into a small bowl (or glass) to make dipping easier.
I find that using a narrow glass helps coat the truffles evenly.
Step 5: Dip and Decorate the Truffles
- Oreo truffle balls from Step 3
- melted chocolate from Step 4
- 1 package edible candy eyes
Working one truffle at a time, place a chilled Oreo ball from Step 3 on a fork and dip it into the melted chocolate from Step 4, turning to coat it completely.
Tap the fork gently against the side of the bowl to remove excess chocolate.
Place the dipped balls back on the parchment-lined baking sheet.
Pour any remaining melted chocolate into a ziploc bag, snip a small hole in the corner, and drizzle the chocolate over the truffles.
Quickly stick two edible candy eyes onto each truffle before the chocolate sets.
If the chocolate hardens too fast, dot a bit of melted chocolate on the back of the eyes before attaching.
Step 6: Chill the Decorated Truffles
Place the decorated truffles in the fridge for 15-20 minutes to set the chocolate coating completely.
Step 7: Serve and Enjoy
Once the chocolate is firm, serve and enjoy your festive truffles!
I always find these disappear quickly at parties.
Irresistible Mummy Oreo Balls
Ingredients
For the truffle centers:
- 20 golden sandwich cookies
- 4 oz cream cheese, at room temperature
For the coating and decoration:
- 10 oz vanilla-flavored candy melts or coating wafers
- 1 package edible candy eyes
Instructions
- Line a large baking sheet with parchment paper and set it aside. Place the golden sandwich cookies in a food processor and pulse them until they become a very fine crumb.
- Transfer the cookie crumbs to a large mixing bowl. Add the cream cheese and stir the mixture until it’s thoroughly combined and smooth.
- Using a small cookie scoop, portion the mixture from Step 2 into about 1-inch sized balls. Roll each ball between your palms to smooth them. Place the Oreo balls onto the prepared parchment-lined baking sheet. Freeze the balls for 30 minutes so they set up and become firm.
- Melt the vanilla-flavored candy melts or coating wafers according to the package directions. Once melted, pour the chocolate into a small bowl (or glass) to make dipping easier. I find that using a narrow glass helps coat the truffles evenly.
- Working one truffle at a time, place a chilled Oreo ball from Step 3 on a fork and dip it into the melted chocolate from Step 4, turning to coat it completely. Tap the fork gently against the side of the bowl to remove excess chocolate. Place the dipped balls back on the parchment-lined baking sheet. Pour any remaining melted chocolate into a ziploc bag, snip a small hole in the corner, and drizzle the chocolate over the truffles. Quickly stick two edible candy eyes onto each truffle before the chocolate sets. If the chocolate hardens too fast, dot a bit of melted chocolate on the back of the eyes before attaching.
- Place the decorated truffles in the fridge for 15-20 minutes to set the chocolate coating completely.
- Once the chocolate is firm, serve and enjoy your festive truffles! I always find these disappear quickly at parties.
