If you ask me, homemade dinner rolls are one of life’s simple pleasures.
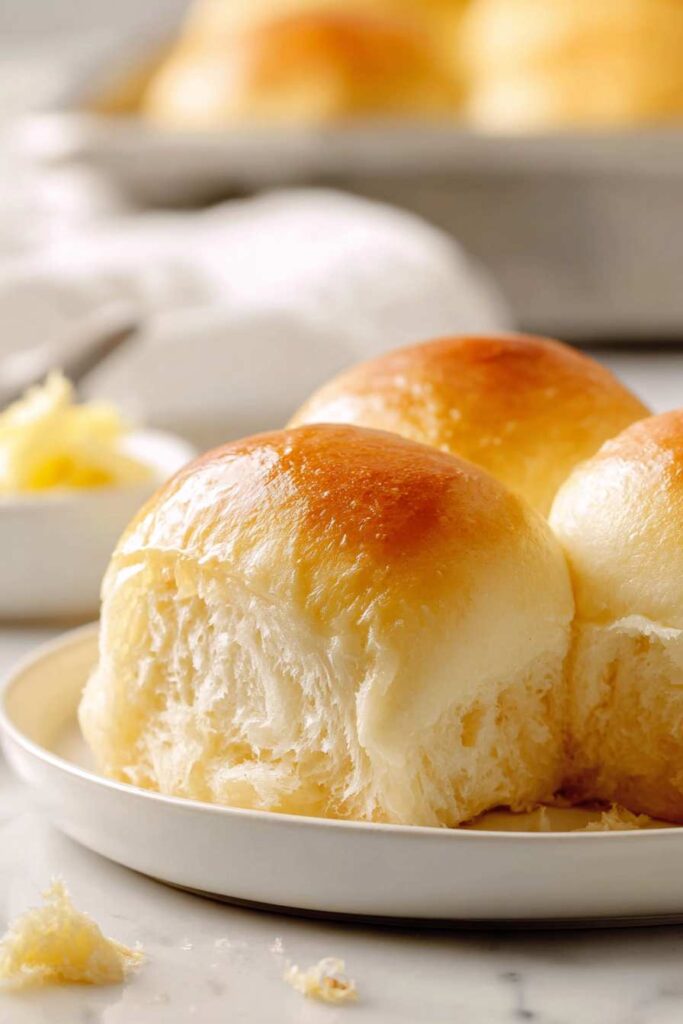
These soft, pillowy rolls make the perfect addition to any family meal. They’re warm and buttery with a golden crust that gives way to a tender, fluffy inside.
The dough comes together easily with basic ingredients you probably have in your pantry. A little kneading and some patience while they rise, and you’ll have fresh rolls that fill your kitchen with the most comforting aroma.
They’re the kind of bread that turns an ordinary dinner into something special, and trust me, your family will be asking for them again and again.
Real Results: From Our Readers
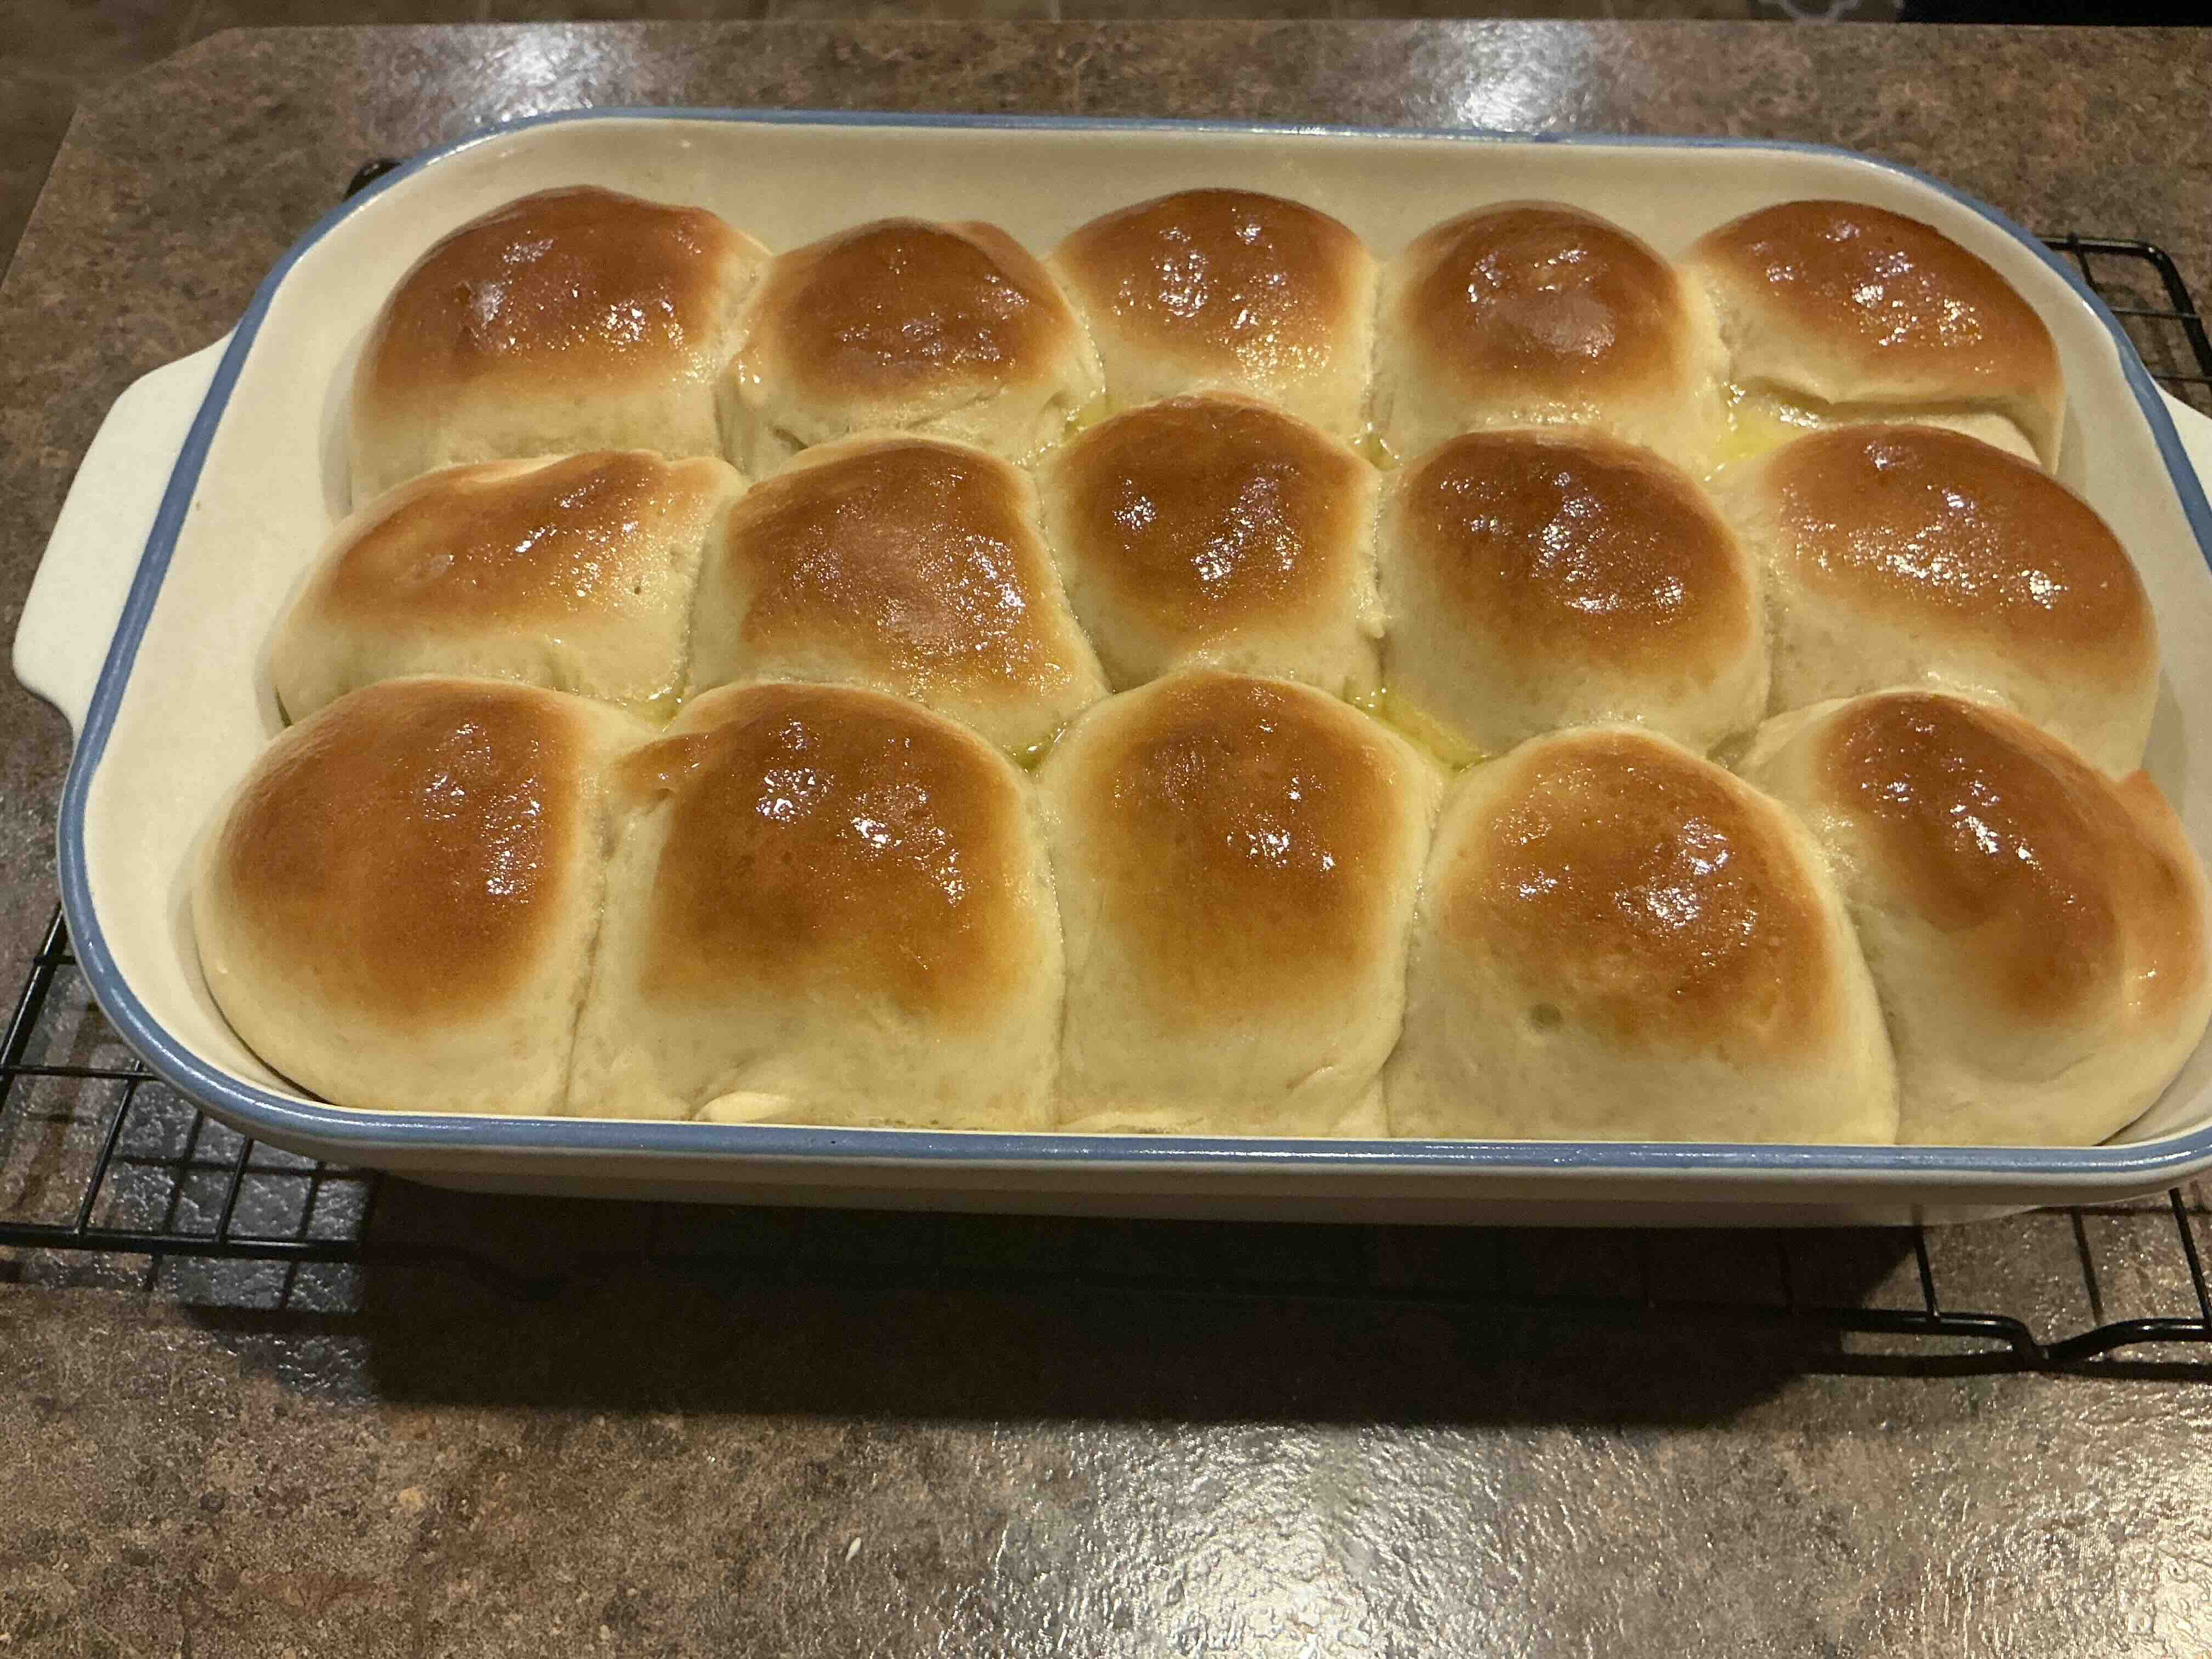
Photo by Diane Haines • February 4, 2026
"Recipe was very easy to follow. Ingredients were readily available. Taste great!"
Why You’ll Love These Dinner Rolls
- Soft, fluffy texture – These rolls come out perfectly tender and light every time, making them the perfect addition to any dinner table.
- Simple ingredients – You probably already have everything you need in your pantry – just basic baking staples like flour, yeast, and honey.
- Quick for homemade bread – Ready in just over an hour, these rolls are much faster than most bread recipes while still giving you that fresh-baked taste.
- Perfect for any meal – Whether it’s a weeknight dinner or holiday feast, these rolls pair beautifully with everything from soup to roast chicken.
- Beginner-friendly – Even if you’re new to bread making, this straightforward recipe is hard to mess up and will boost your confidence in the kitchen.
What Kind of Flour Should I Use?
All-purpose flour is your best bet for these dinner rolls, and it’s what most people already have in their pantry. You can use either bleached or unbleached all-purpose flour – both will give you soft, fluffy rolls. If you’re feeling adventurous, you could substitute up to half of the all-purpose flour with bread flour for a slightly chewier texture, but it’s totally not necessary. The key is to add the flour gradually since you might not need the full 4 cups depending on humidity and how your dough feels. Start with 3 1/2 cups and add more as needed until your dough is smooth and just slightly sticky.
Options for Substitutions
This dinner roll recipe is pretty forgiving when it comes to swaps, but there are a few things to keep in mind:
- Active-dry yeast: This is one ingredient you really don’t want to substitute – it’s what makes your rolls fluffy and light. Make sure it’s fresh and not expired, or your rolls won’t rise properly.
- All-purpose flour: Bread flour works great here and will give you slightly chewier rolls. You can also use half whole wheat flour, but add an extra 2-3 tablespoons of liquid since whole wheat absorbs more moisture.
- Honey: Sugar works just as well – use 2 tablespoons of granulated sugar or brown sugar. Maple syrup is another tasty option, just use the same amount.
- Milk: Any milk works here – whole, 2%, or even non-dairy alternatives like oat or almond milk. For richer rolls, you can use heavy cream instead.
- Butter: You can swap melted butter for vegetable oil or melted coconut oil, but butter gives the best flavor. If using oil, stick with neutral-tasting options.
Watch Out for These Mistakes While Baking
The biggest mistake when making dinner rolls is using water that’s too hot when activating the yeast, which can kill it completely – aim for water that feels like a warm bath, around 105-110°F, and always let the yeast foam up for about 5 minutes to ensure it’s alive and active.
Another common error is adding too much flour too quickly, which leads to dense, heavy rolls instead of light and fluffy ones – start with 3 1/2 cups and add more gradually until the dough is just slightly sticky but manageable.
Don’t rush the rising process by placing the dough in a too-warm spot, as this can cause uneven rising and affect the texture, and make sure to cover your dough with a damp towel to prevent it from forming a crust.
Finally, resist the urge to overbake them – dinner rolls are done when they’re golden brown on top and sound hollow when tapped, usually around 15-18 minutes depending on size.
What to Serve With Dinner Rolls?
These soft, buttery dinner rolls are perfect alongside just about any main dish you can think of! They’re especially great with hearty comfort foods like roast chicken, beef stew, or a big pot of chili where you can use them to soak up all those delicious juices. I love serving them at holiday meals with turkey and gravy, or even with a simple weeknight pasta dinner. Don’t forget to brush them with that extra melted butter while they’re still warm – it makes them absolutely irresistible for dunking into soups or mopping up sauce from your plate.
Storage Instructions
Keep Fresh: Fresh dinner rolls are best stored in an airtight container or wrapped in plastic wrap at room temperature for up to 3 days. I like to brush them with a little melted butter before storing to keep them soft and prevent them from drying out.
Freeze: These rolls freeze really well for up to 3 months! You can freeze them either baked or unbaked – just wrap them tightly in plastic wrap and then in foil. If freezing unbaked rolls, let them thaw and rise before baking as usual.
Warm Up: To bring back that fresh-from-the-oven taste, wrap the rolls in damp paper towels and microwave for 15-20 seconds, or pop them in a 350°F oven for about 5 minutes. A quick brush of melted butter on top makes them taste like you just baked them!
| Preparation Time | 30-45 minutes |
| Cooking Time | 15-20 minutes |
| Total Time | 45-65 minutes |
| Level of Difficulty | Medium |
Estimated Nutrition
Estimated nutrition for the whole recipe (without optional ingredients):
- Calories: 1500-1700
- Protein: 30-36 g
- Fat: 26-32 g
- Carbohydrates: 290-320 g
Ingredients
For the dough:
- 1 cup water
- 2 tbsp butter, melted
- 1/2 cup milk
- 2 tbsp honey
- 1 tbsp active dry yeast
- 3 1/2 to 4 cups all-purpose flour
- 1 tsp fine sea salt
For finishing:
- Extra melted butter, for brushing
Step 1: Prepare Wet Ingredients
- 1 cup water
- 2 tbsp butter, melted
- 1/2 cup milk
- 2 tbsp honey
Grease a 9 x 13-inch baking dish with cooking spray and set it aside.
In a microwave-safe bowl or a saucepan, combine 1 cup water and 2 tablespoons melted butter.
Add 1/2 cup milk and 2 tablespoons honey, stirring to blend.
Microwave the mixture for 1 minute, then stir it.
Keep microwaving in 15-second increments, stirring between each, until the mixture reaches 110°F (it will feel warm but not hot).
If you prefer, you can do this gently on the stovetop over medium-low heat instead of microwaving.
Step 2: Activate the Yeast
- liquid mixture from Step 1
- 1 tbsp active dry yeast
Pour the warm liquid mixture into the bowl of a stand mixer.
Sprinkle 1 tablespoon of active dry yeast evenly over the liquid.
Give it a quick stir with a fork to combine, and let it sit for 5 minutes.
The yeast should become foamy as it activates.
Step 3: Mix and Knead the Dough
- yeast mixture from Step 2
- 3 1/2 to 4 cups all-purpose flour
- 1 tsp fine sea salt
To the activated yeast mixture, add 3 1/2 cups of all-purpose flour (reserve the remaining 1/2 cup for adjustments) and 1 teaspoon fine sea salt.
Use the dough hook on your stand mixer to mix on medium-low speed until mostly combined.
If the dough is sticking to the sides of the bowl, add more flour 1/4 cup at a time, using up to 4 cups total, until the dough just pulls away from the sides and feels only slightly sticky.
Continue mixing on low speed for 4-5 minutes until the dough is smooth.
Shape it into a ball and transfer it to a greased bowl.
I always recommend greasing the bowl well to avoid sticking and make cleanup easier.
Step 4: First Dough Rise
Cover the bowl with a damp towel or paper towel.
Let the dough rise in a warm spot for 15 minutes.
This quick rise gives the rolls a light and fluffy texture.
Step 5: Shape Rolls and Final Rise
- risen dough from Step 4
- greased baking dish from Step 1
Gently punch down the risen dough to release the air.
Divide it into 15 equal pieces and shape each into a ball.
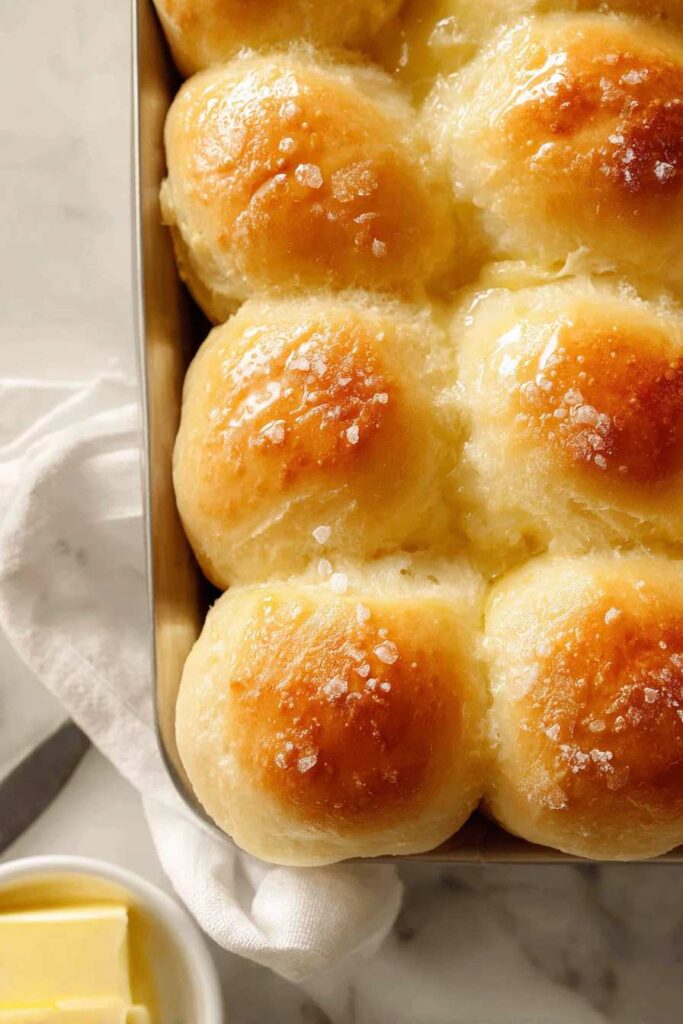
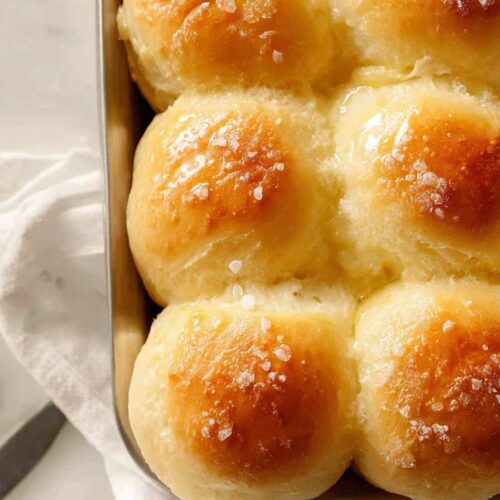
Arrange the dough balls evenly in the greased 9 x 13-inch baking dish from Step 1.
Cover the dish with a damp towel or paper towel and let the rolls rise for another 15-20 minutes until slightly puffy.
For a soft crust, I like to keep the towel moist but not dripping.
Step 6: Bake the Rolls
- risen dough balls from Step 5
Preheat your oven to 400°F.
Remove the towel and bake the rolls for about 15 minutes, or until they are lightly golden on top and fully cooked through.
If you want an extra shiny and soft top, you can tent some foil over the rolls for the last few minutes to avoid over-browning.
Step 7: Finish with Butter and Serve
- extra melted butter, for brushing
Place the baking dish with freshly baked rolls on a wire cooling rack.
Immediately brush the tops generously with extra melted butter.
Serve the rolls warm and enjoy!
I find that brushing with butter right out of the oven makes them beautifully soft and extra flavorful.
Irresistible Dinner Rolls
Ingredients
Dough
- 1 cup water
- 2 tbsp butter, melted
- 1/2 cup milk
- 2 tbsp honey
- 1 tbsp active dry yeast
- 3 1/2 to 4 cups all-purpose flour
- 1 tsp fine sea salt
For finishing
- Extra melted butter, for brushing
Instructions
- Grease a 9 x 13-inch baking dish with cooking spray and set it aside. In a microwave-safe bowl or a saucepan, combine 1 cup water and 2 tablespoons melted butter. Add 1/2 cup milk and 2 tablespoons honey, stirring to blend. Microwave the mixture for 1 minute, then stir it. Keep microwaving in 15-second increments, stirring between each, until the mixture reaches 110°F (it will feel warm but not hot). If you prefer, you can do this gently on the stovetop over medium-low heat instead of microwaving.
- Pour the warm liquid mixture into the bowl of a stand mixer. Sprinkle 1 tablespoon of active dry yeast evenly over the liquid. Give it a quick stir with a fork to combine, and let it sit for 5 minutes. The yeast should become foamy as it activates.
- To the activated yeast mixture, add 3 1/2 cups of all-purpose flour (reserve the remaining 1/2 cup for adjustments) and 1 teaspoon fine sea salt. Use the dough hook on your stand mixer to mix on medium-low speed until mostly combined. If the dough is sticking to the sides of the bowl, add more flour 1/4 cup at a time, using up to 4 cups total, until the dough just pulls away from the sides and feels only slightly sticky. Continue mixing on low speed for 4-5 minutes until the dough is smooth. Shape it into a ball and transfer it to a greased bowl. I always recommend greasing the bowl well to avoid sticking and make cleanup easier.
- Cover the bowl with a damp towel or paper towel. Let the dough rise in a warm spot for 15 minutes. This quick rise gives the rolls a light and fluffy texture.
- Gently punch down the risen dough to release the air. Divide it into 15 equal pieces and shape each into a ball. Arrange the dough balls evenly in the greased 9 x 13-inch baking dish from Step 1. Cover the dish with a damp towel or paper towel and let the rolls rise for another 15-20 minutes until slightly puffy. For a soft crust, I like to keep the towel moist but not dripping.
- Preheat your oven to 400°F. Remove the towel and bake the rolls for about 15 minutes, or until they are lightly golden on top and fully cooked through. If you want an extra shiny and soft top, you can tent some foil over the rolls for the last few minutes to avoid over-browning.
- Place the baking dish with freshly baked rolls on a wire cooling rack. Immediately brush the tops generously with extra melted butter. Serve the rolls warm and enjoy! I find that brushing with butter right out of the oven makes them beautifully soft and extra flavorful.

Can you freeze the dough
When doubling the recipe can you just simply double each ingredient?
Yes 🙂
The easiest roll recipe ever! Ended up making 9 rolls. Delicious will be my go to recipe!
, thank you
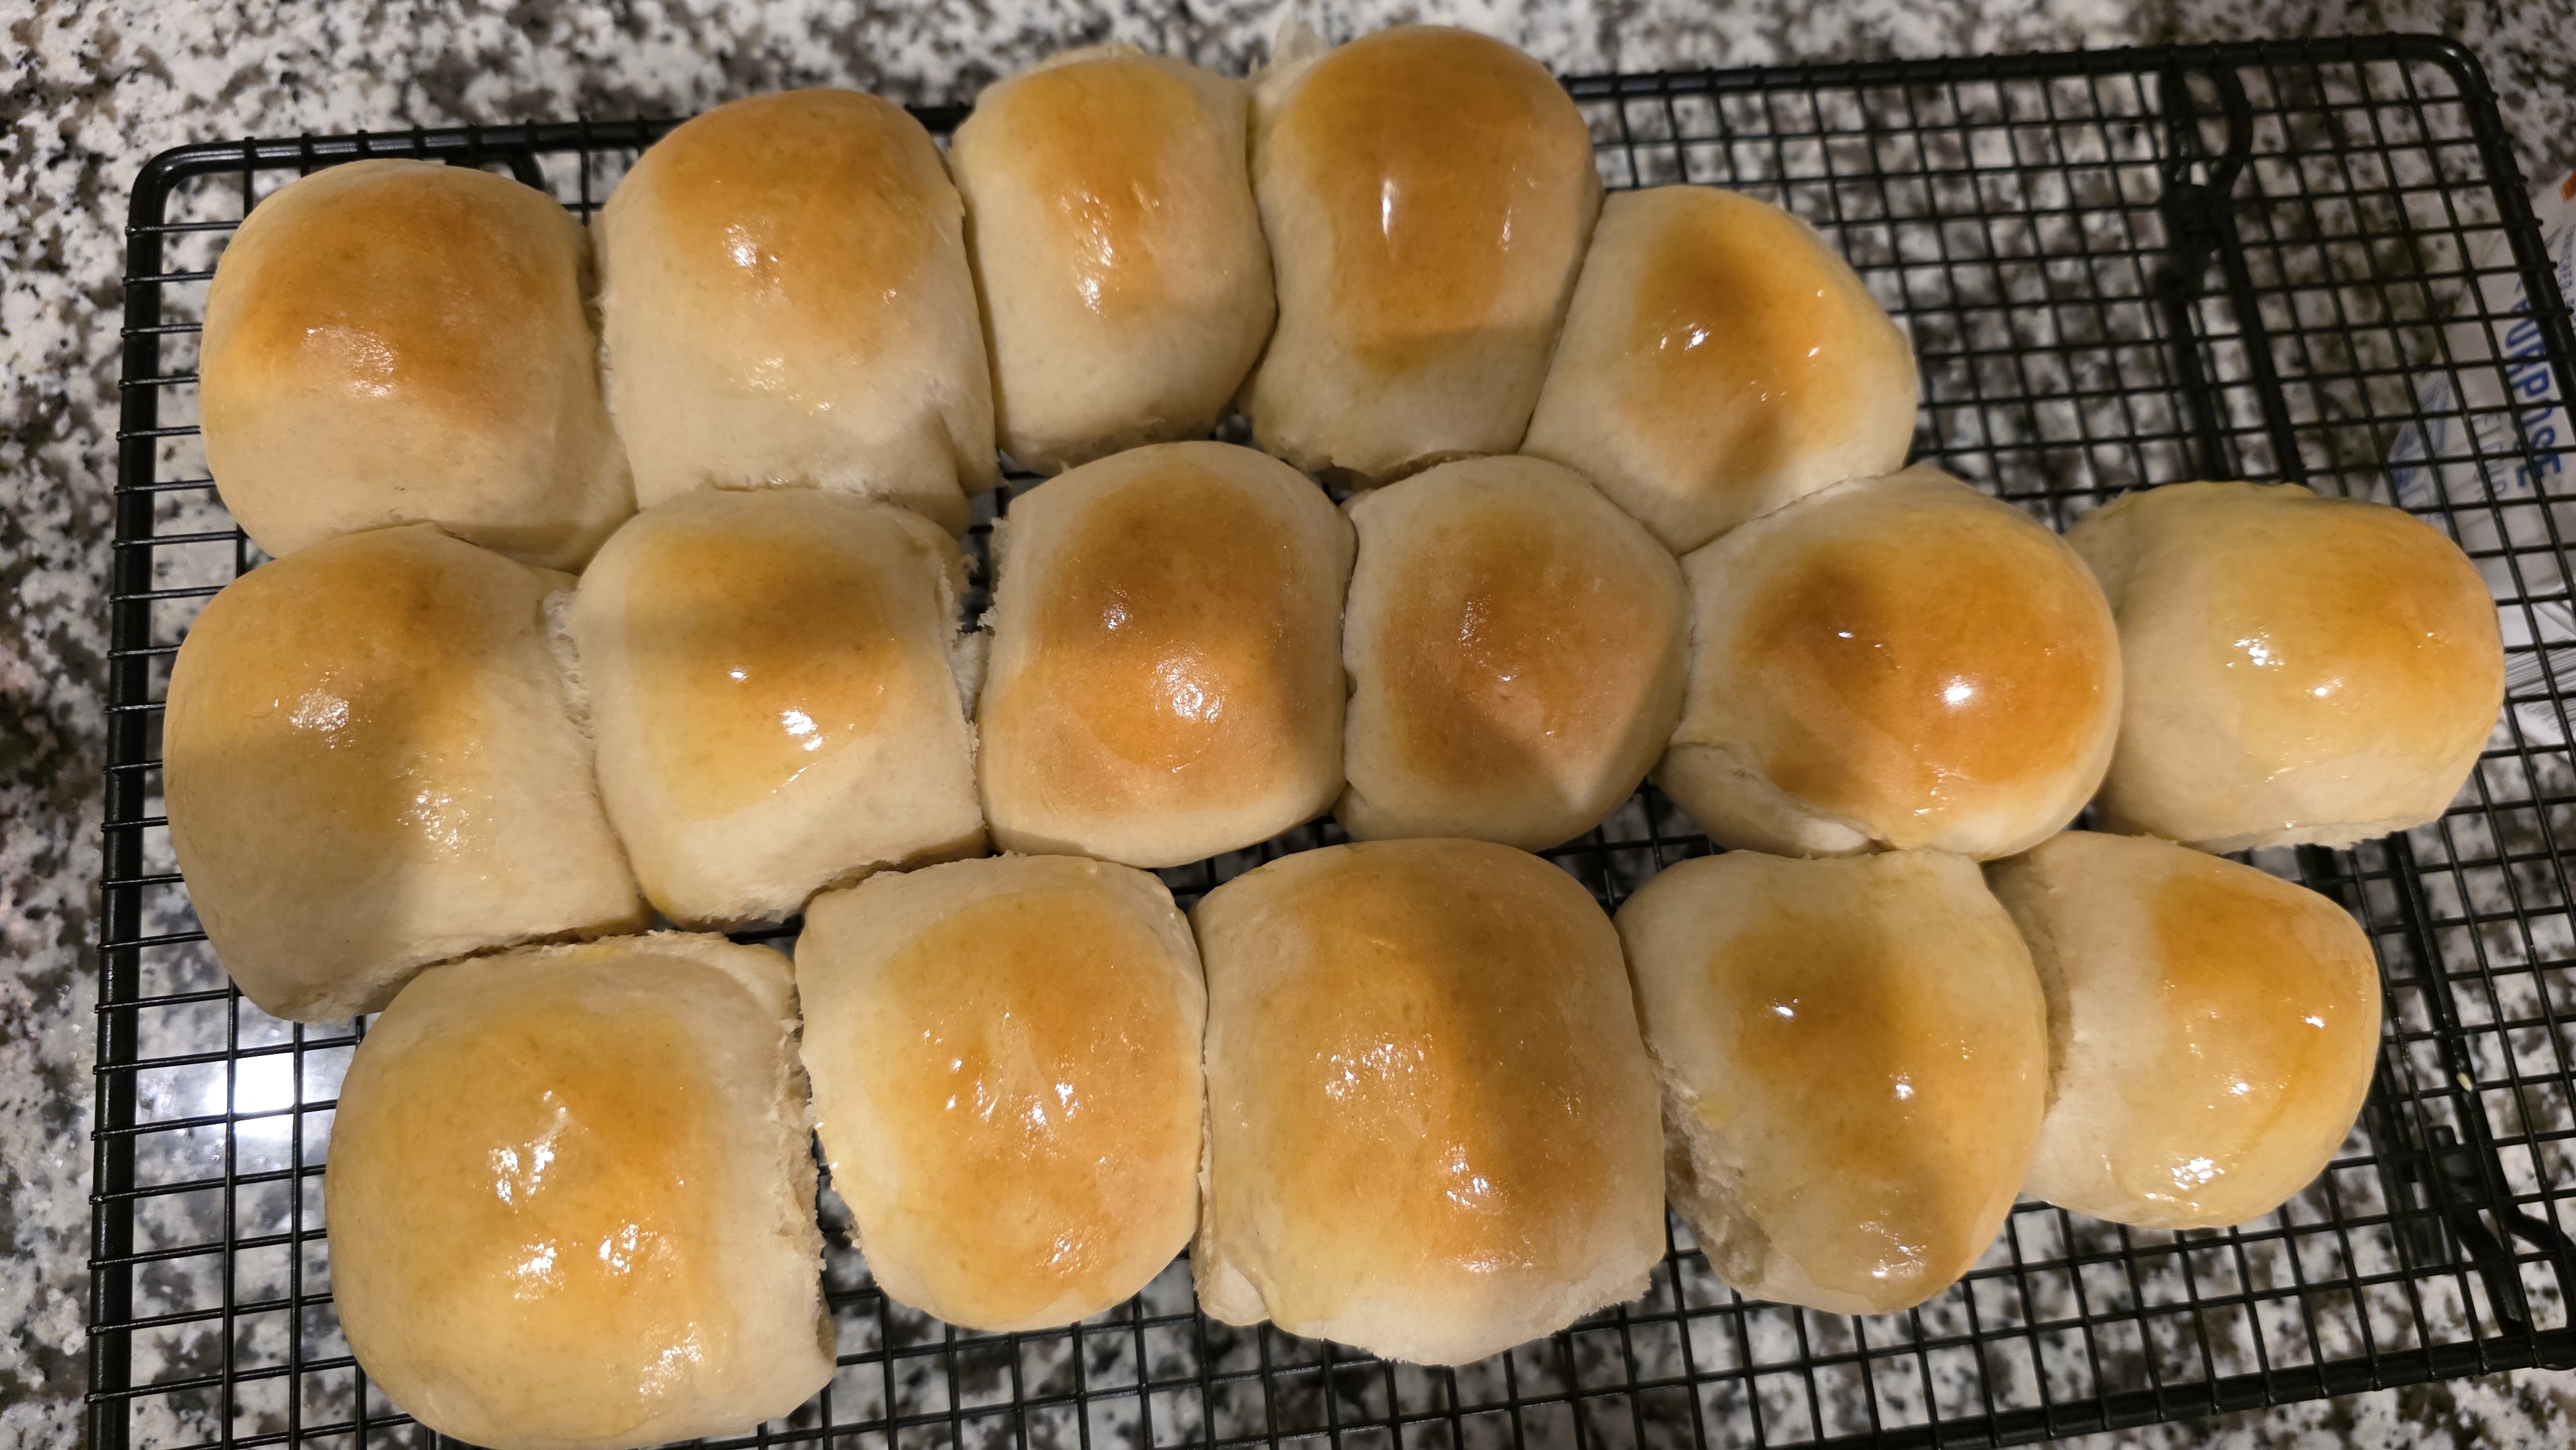
Photo of the cooked recipe
I did the same made 9 rolls ,delicious, soft rolls
Just found this recipe and will make it, but I only have instant dry yeast on hand, since that is what I use in my bread machine. Can instant yeast be substituted for the active fry yeast in this recipe? I live in a rural area about 14 miles from the nearest store. I have added the correct yeast to my list for when I go to shop, some time next week.
I have made bread and rolls from this recipe with very good results. Yummmm
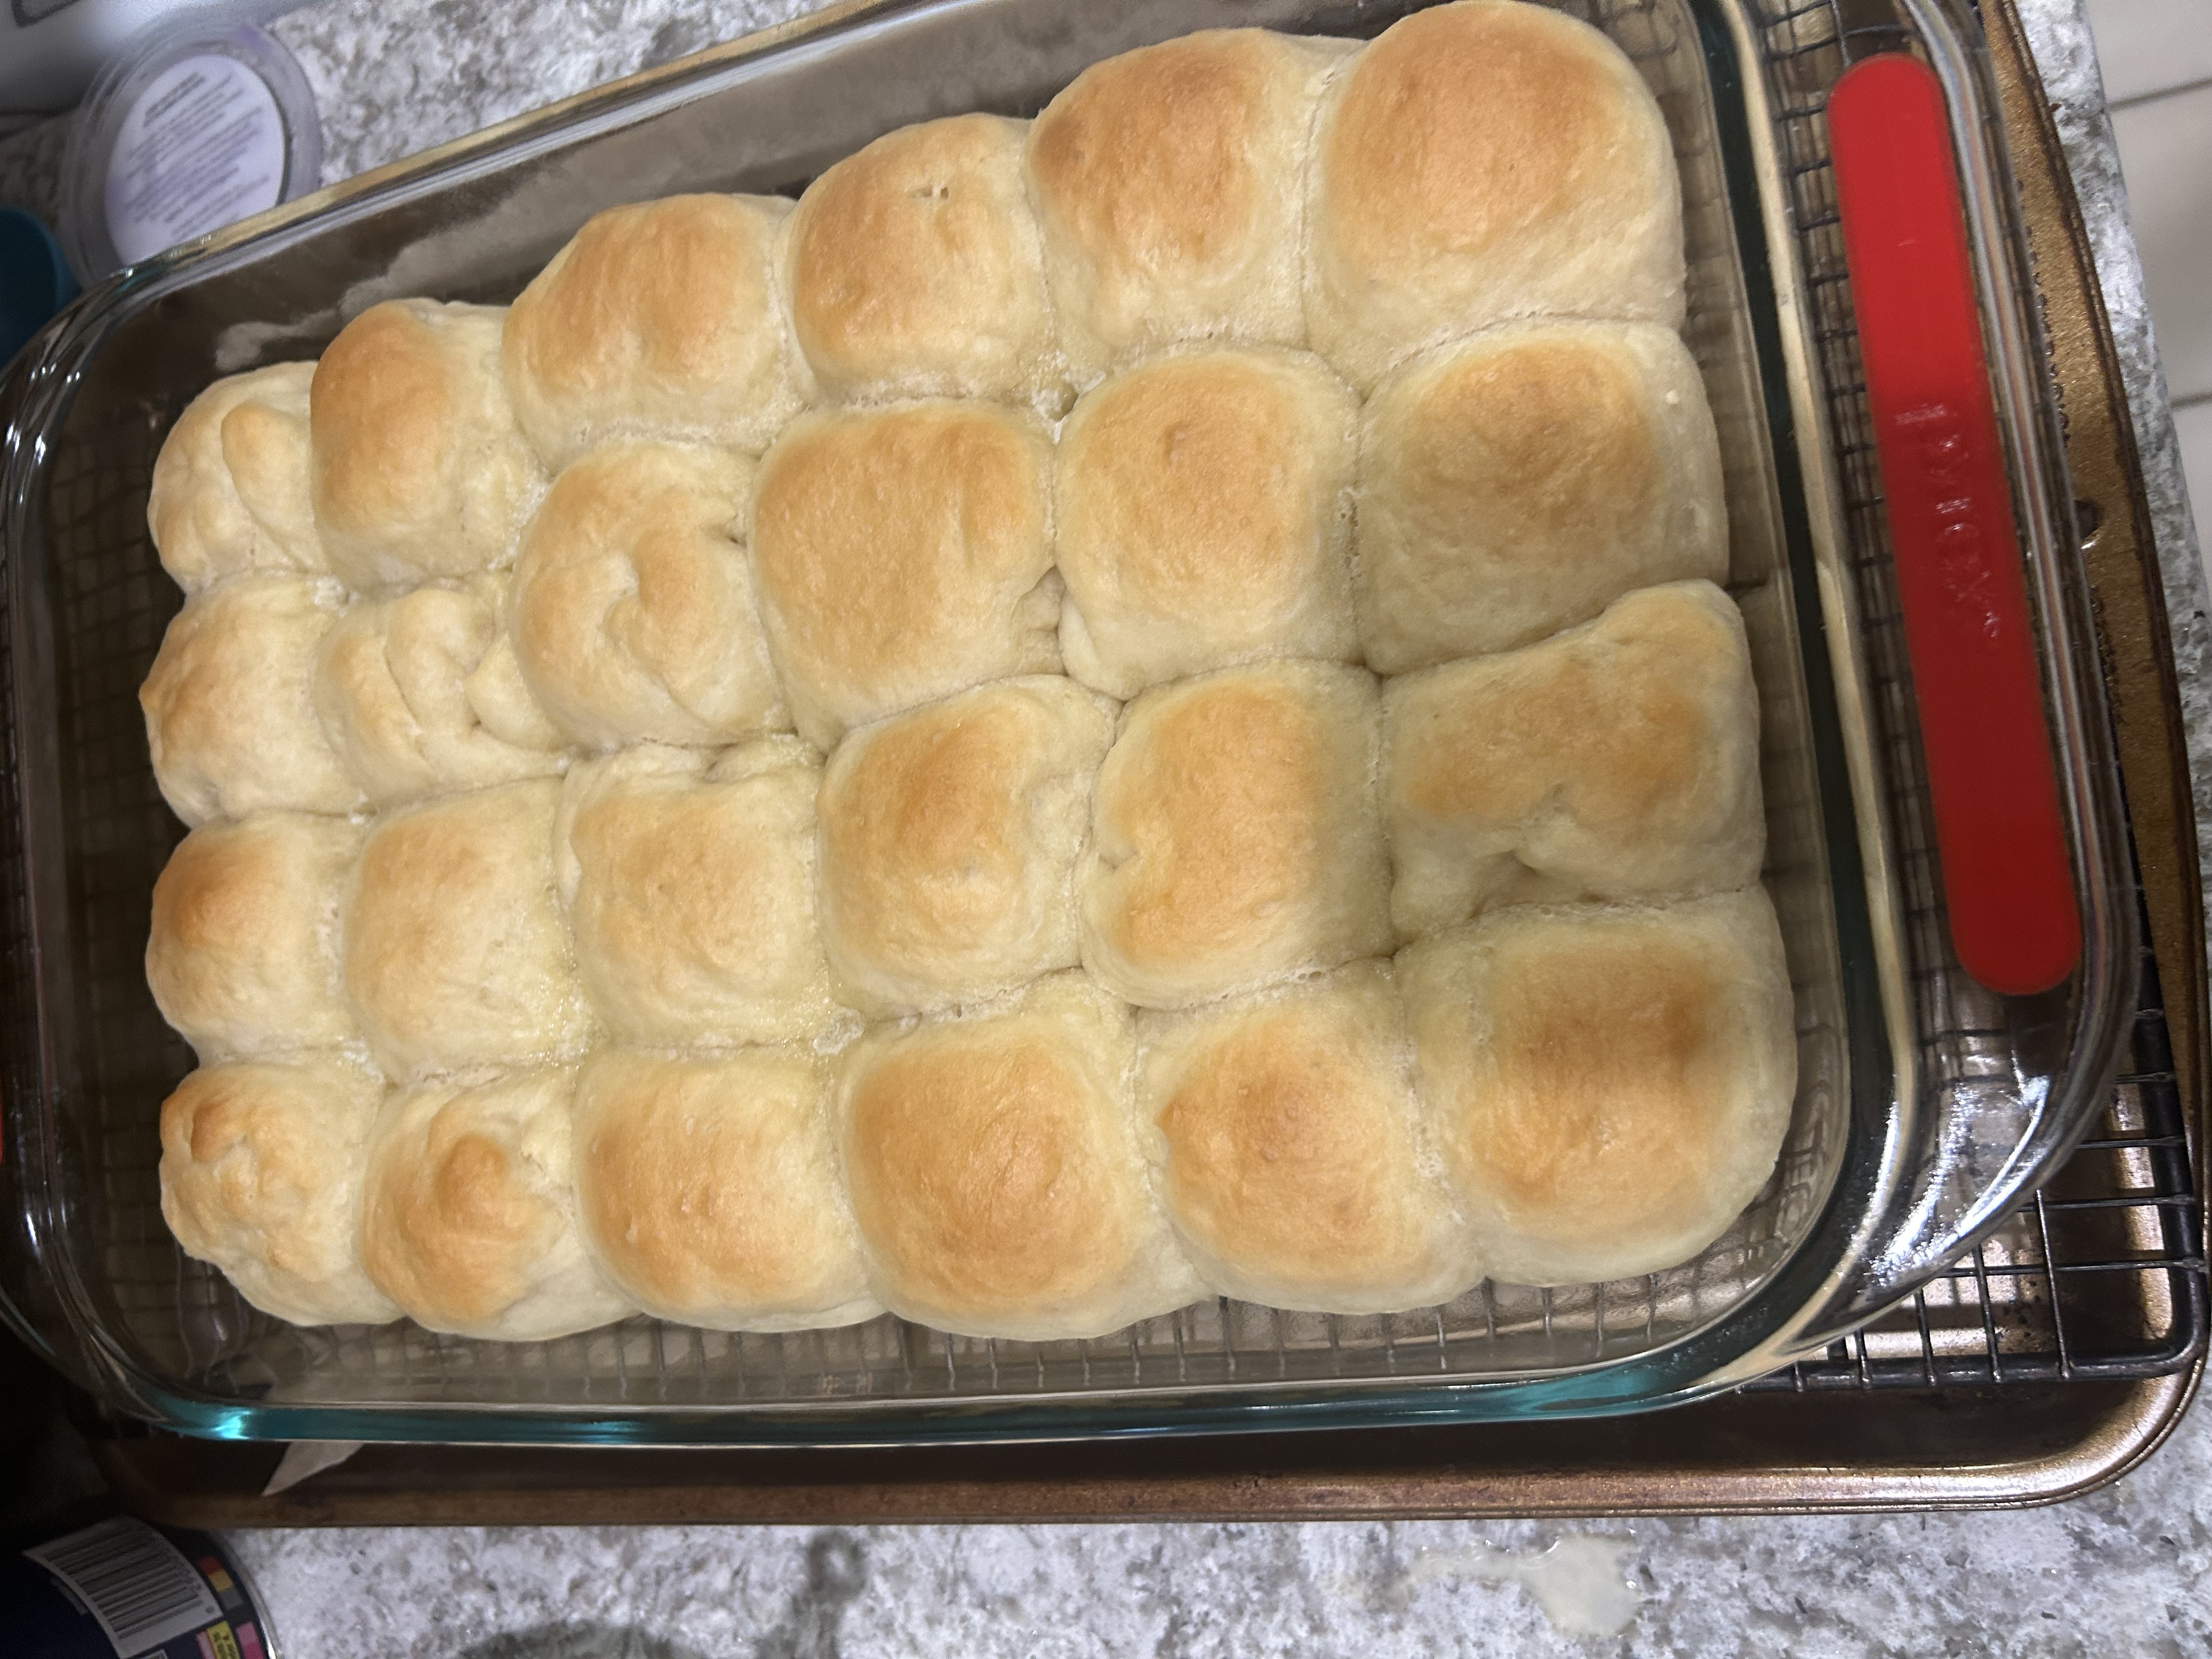
Photo of the cooked recipe
So good! I’m a beginner baker and the recipe was easy to follow and the rolls turned out light and beautiful, definitely a keeper!
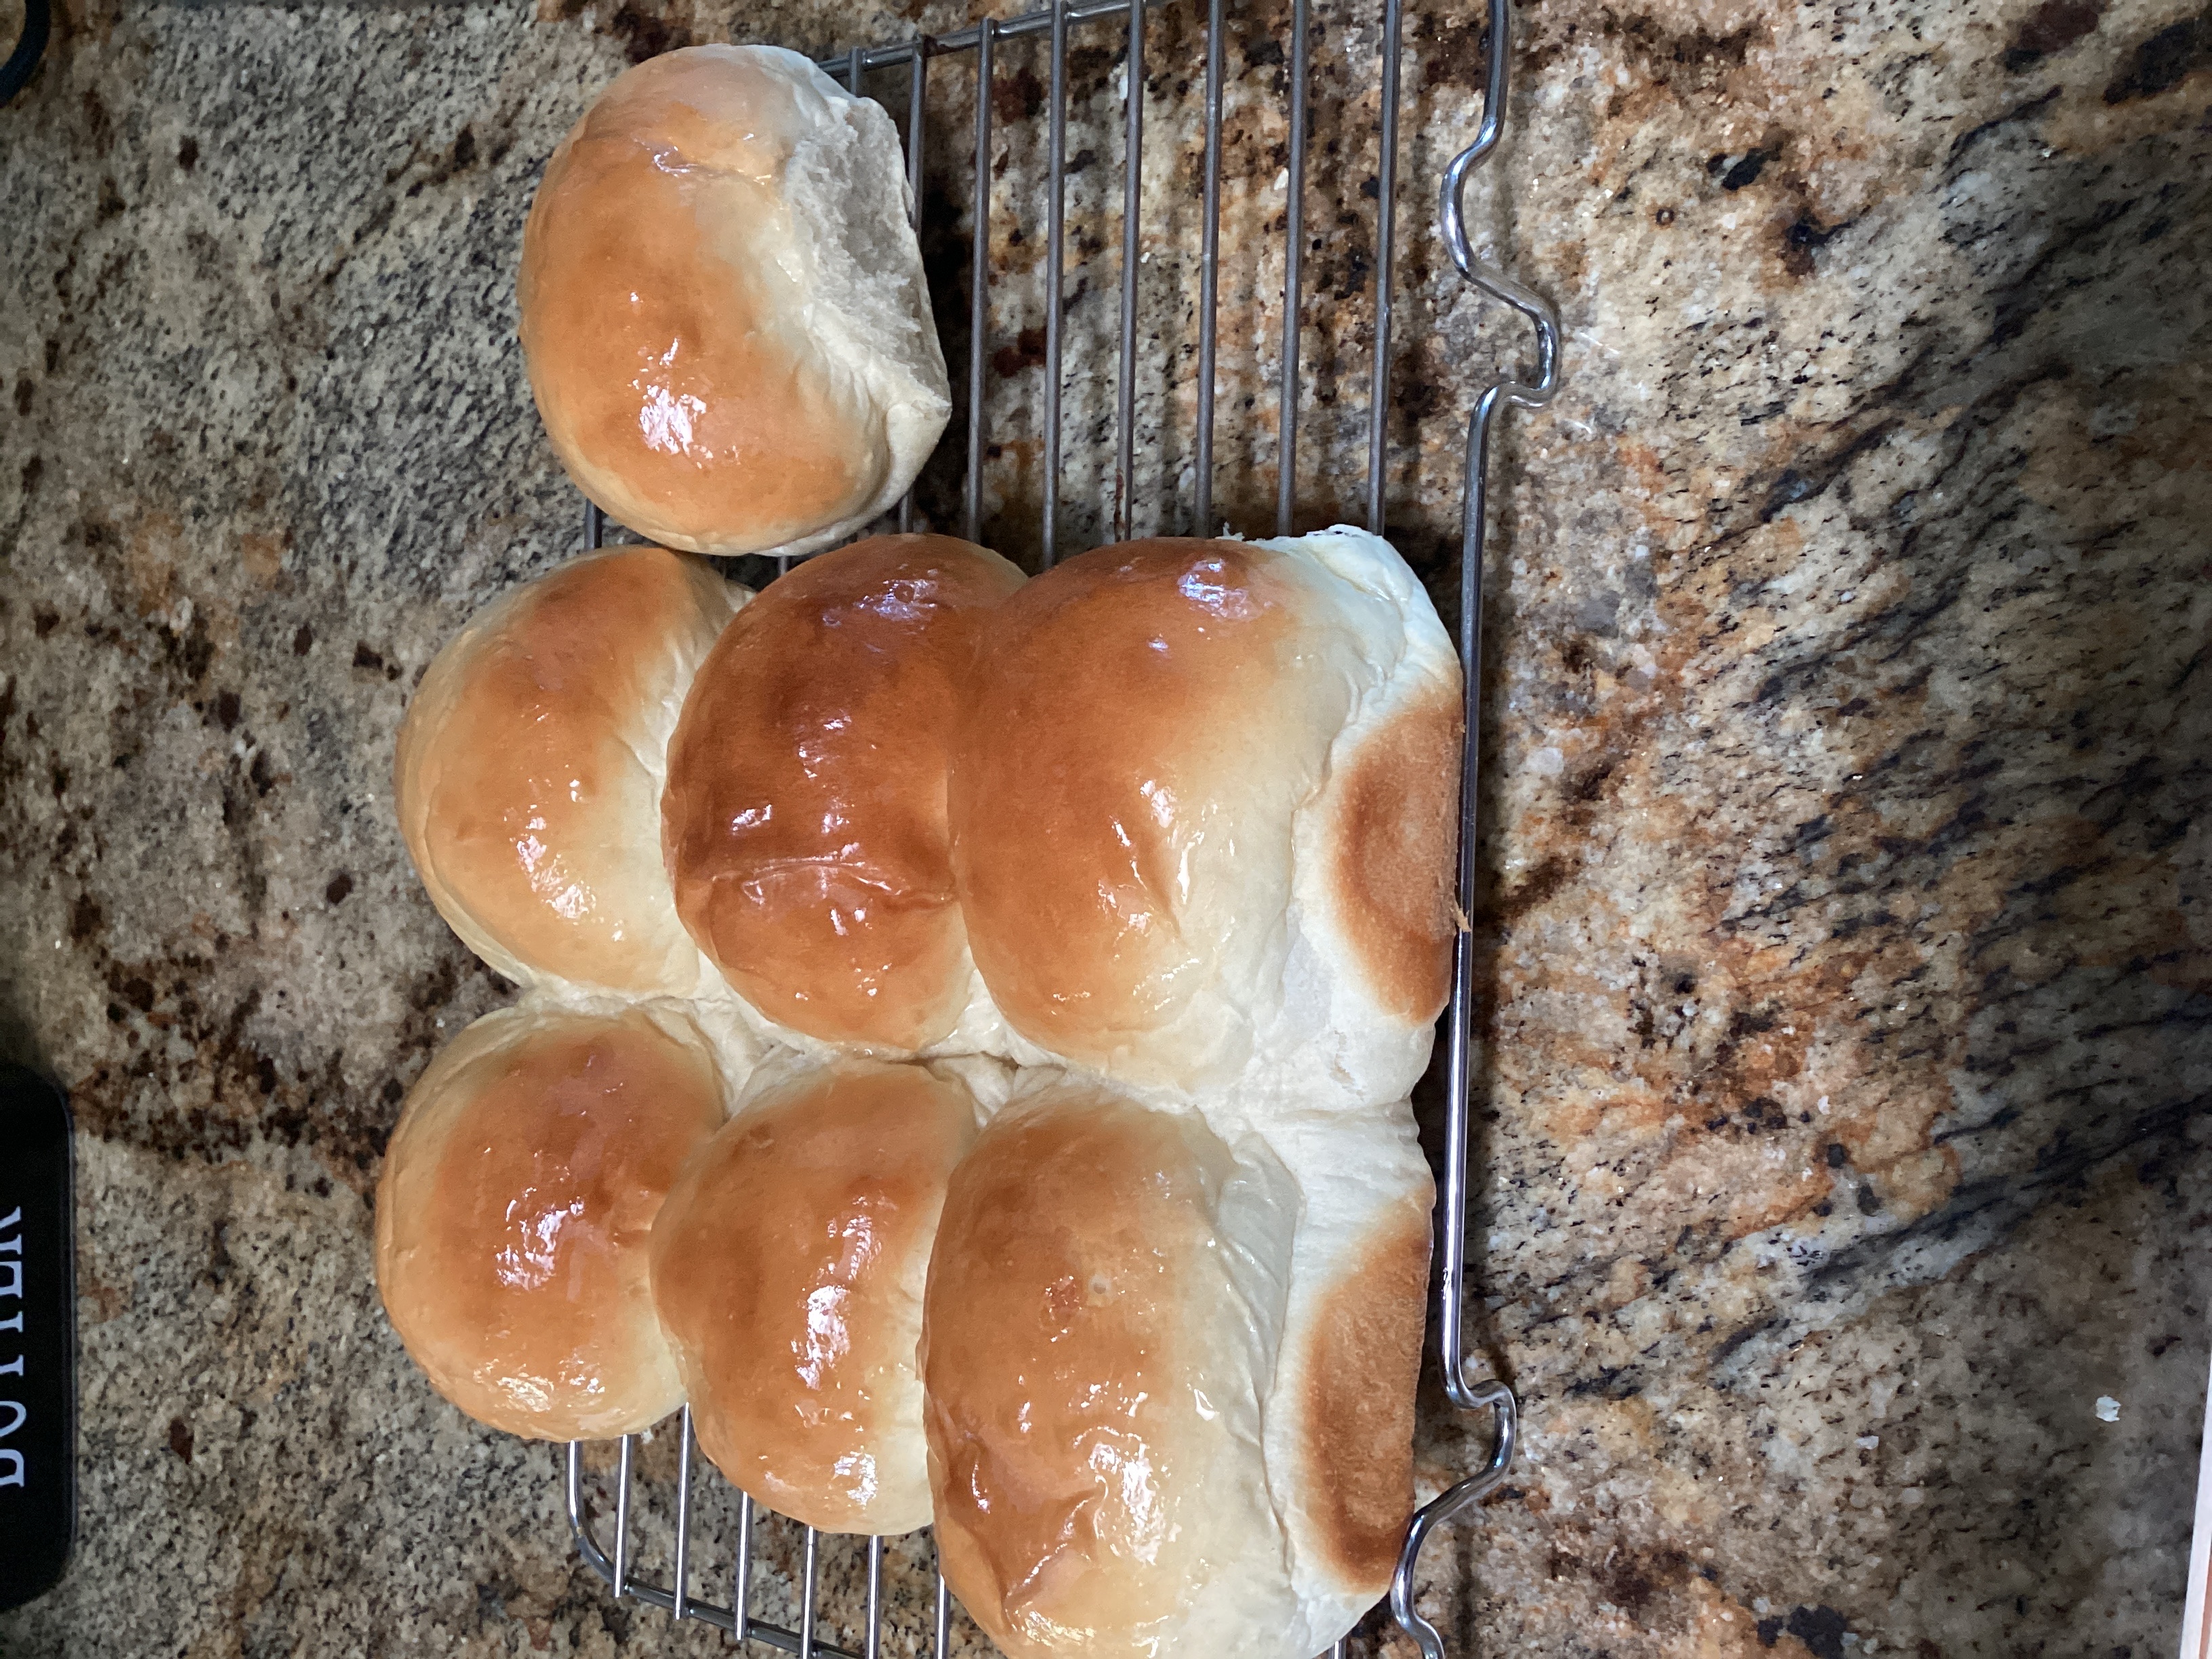
Photo of the cooked recipe
Recipe was very easy to follow. Ingredients were readily available. Taste great!
Photo of the cooked recipe
Best recipe I have found for rolls. Nice flavor and easy to make.
can you keep the rolls covered in the pan for the final raise and then put them in the oven a few hours later?