Looking for a way to treat your pup without breaking the bank? I used to buy those expensive natural dog treats from the pet store until my vet mentioned I could make something similar at home. My first attempts weren’t great – I either burned them to a crisp or made them so chewy they could’ve been rubber toys.
That’s when I discovered sweet potato chews. They’re ridiculously simple to make, and my dog goes crazy for them. The trick is to slice them thin and bake them slowly at a low temperature. Now I keep a batch of these in my kitchen at all times, and my wallet (and my four-legged friend) couldn’t be happier.
Why You’ll Love These Sweet Potato Dog Chews
- One-ingredient recipe – You only need sweet potatoes – that’s it! No need to worry about complicated ingredients or measuring anything out.
- Budget-friendly treat – These homemade dog chews cost a fraction of what you’d pay for store-bought treats, and you can make a big batch at once.
- All-natural and healthy – Sweet potatoes are packed with vitamins and fiber, making these treats a nutritious choice for your furry friend without any artificial preservatives or additives.
- Long-lasting chews – These dehydrated treats keep well and give your dog something to work on for longer than soft treats, making them perfect for keeping your pup occupied.
What Kind of Sweet Potato Should I Use?
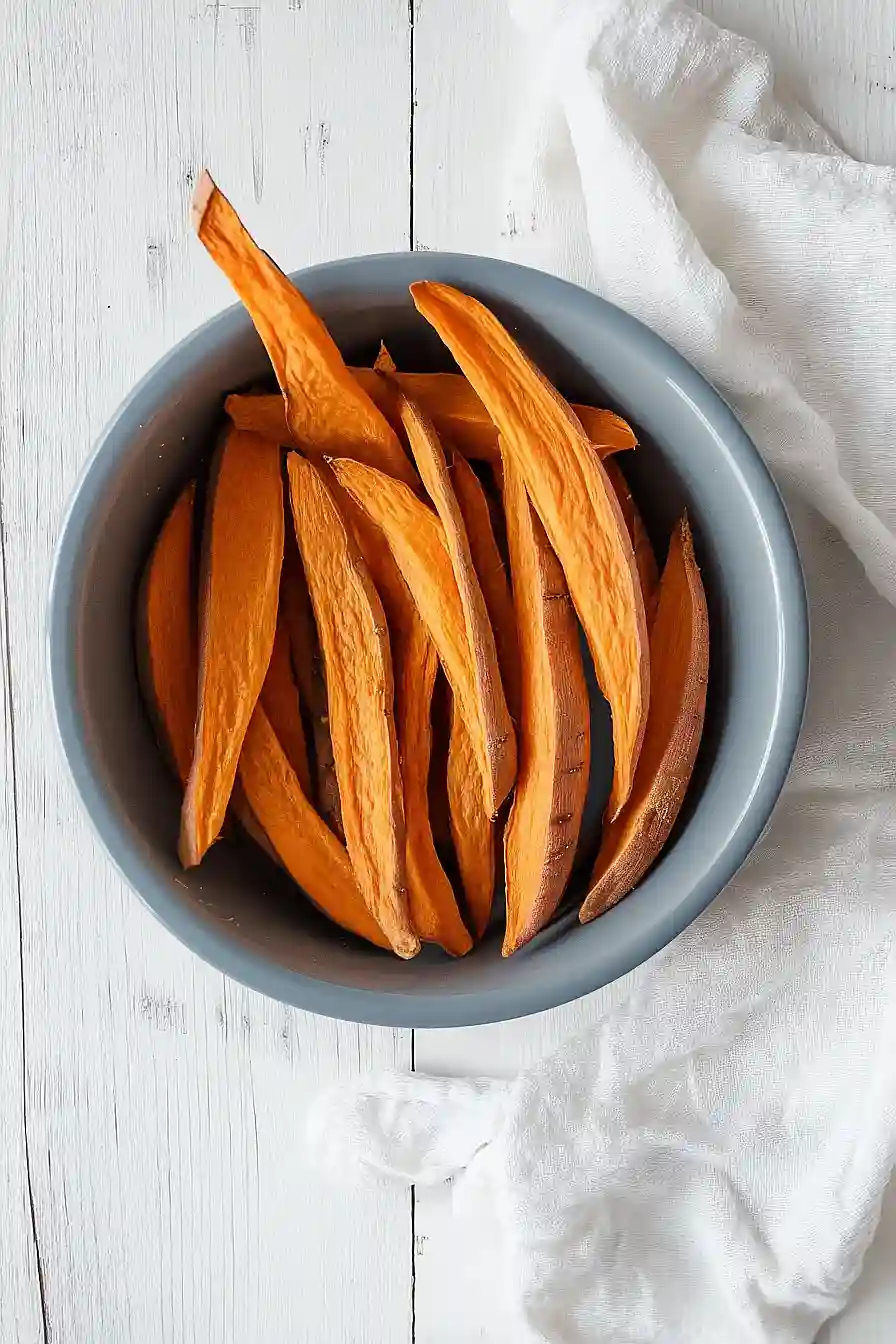
For making dog treats, you can use any variety of sweet potato you find at your local grocery store – whether it’s the common orange-fleshed Beauregard or the slightly drier Jewel variety. Both white and purple sweet potatoes work just as well too. The most important thing is picking a firm sweet potato without any soft spots or blemishes, since these could indicate spoilage. When shopping, look for medium-sized sweet potatoes that are uniform in thickness, as this will help them cook more evenly and make consistent-sized treats for your pup.
Options for Substitutions
When making these healthy dog treats, you’ve got a few options to work with:
- Sweet potato: You can easily swap sweet potatoes with regular white potatoes, though they’re less nutritious for dogs. Carrots are another good option – slice them lengthwise into strips. Butternut squash also works well, just cut it into similar-sized strips. Keep in mind that cooking times might need to be adjusted slightly depending on which vegetable you choose – carrots might need less time, while squash could take a bit longer.
- Additional note: Whatever substitute you choose, make sure it’s dog-safe and avoid any vegetables that are toxic to dogs like onions or garlic. Also, remember that white potatoes should always be cooked before giving them to dogs – never serve them raw.
Watch Out for These Mistakes While Baking
The biggest mistake when making sweet potato chews for your pup is slicing them too thin or too thick – aim for about 1/4 inch thickness to achieve the perfect chewy texture that won’t become too brittle or stay too soft.
Another common error is baking at too high a temperature, which can burn the edges before the center is properly dehydrated – stick to a low temperature around 250°F and be patient with the process, which typically takes 2.5-3 hours.
To prevent uneven cooking, make sure to flip the slices every 30 minutes, and remember to let them cool completely before storing or serving to your dog – they’ll continue to firm up as they cool down, giving you that perfect chewy texture your furry friend will love.

What to Serve With Sweet Potato Dog Chews?
These homemade sweet potato chews make a fantastic healthy treat for your pup, but remember they’re meant to be given as part of a balanced diet. I like to alternate between these chews and other natural treats throughout the day to keep my dog interested and satisfied. Since these are more of a snack or reward, make sure your dog is getting their regular meals of quality dog food. You can store these chews in an airtight container and pull them out during training sessions or as an after-walk reward – your furry friend will definitely thank you!
Storage Instructions
Keep Fresh: These homemade sweet potato dog treats will stay good in an airtight container at room temperature for about 3-5 days. For best results, make sure they’re completely cooled before storing to prevent any moisture buildup that could make them soft or moldy.
Refrigerate: Want them to last longer? Pop these chewy treats in the fridge in an airtight container, and they’ll stay fresh for up to 2 weeks. Your pup probably won’t mind them cold, but you can always let them come to room temperature before serving.
Freeze: These treats are perfect for batch-making! Store them in a freezer-safe container or zip-top bag for up to 3 months. Just take out what you need and let them thaw at room temperature for about 30 minutes before giving them to your furry friend.
| Preparation Time | 10-15 minutes |
| Cooking Time | 180-210 minutes |
| Total Time | 190-225 minutes |
| Level of Difficulty | Easy |
Estimated Nutrition
Estimated nutrition for the whole recipe (without optional ingredients):
- Calories: 100-120
- Protein: 2-4 g
- Fat: 0 g
- Carbohydrates: 24-30 g
Ingredients
- 1 whole sweet potato or yam
Step 1: Preheat the Oven
Start by preheating your oven to 250°F (121°C).
This low temperature will help to slowly bake the sweet potato, enhancing its natural sweetness and achieving the desired texture.
Step 2: Prepare the Sweet Potato
Choose a sweet potato or yam of the very orange type for the best color and flavor.
Rinse it under cool water to wash away any dirt and pat it dry with a towel.
Once clean, cut the sweet potato down the middle lengthwise, then proceed to slice it into long, thin slices, approximately 1/3 of an inch wide.
Step 3: Arrange Slices on a Baking Sheet
Take a cookie sheet and arrange the sweet potato slices in a single layer.
Ensure the slices are not overlapping, giving each slice enough room to cook evenly.
If necessary, use multiple sheets to accommodate all the slices.
Step 4: Bake the Sweet Potato Slices
Place the cookie sheet in the preheated oven and bake for approximately 3 hours at 250°F.
This slow baking process will leave the slices chewy.
If you prefer a crunchier texture, you can extend the baking time slightly.
Check periodically to ensure they reach your desired level of crispness.
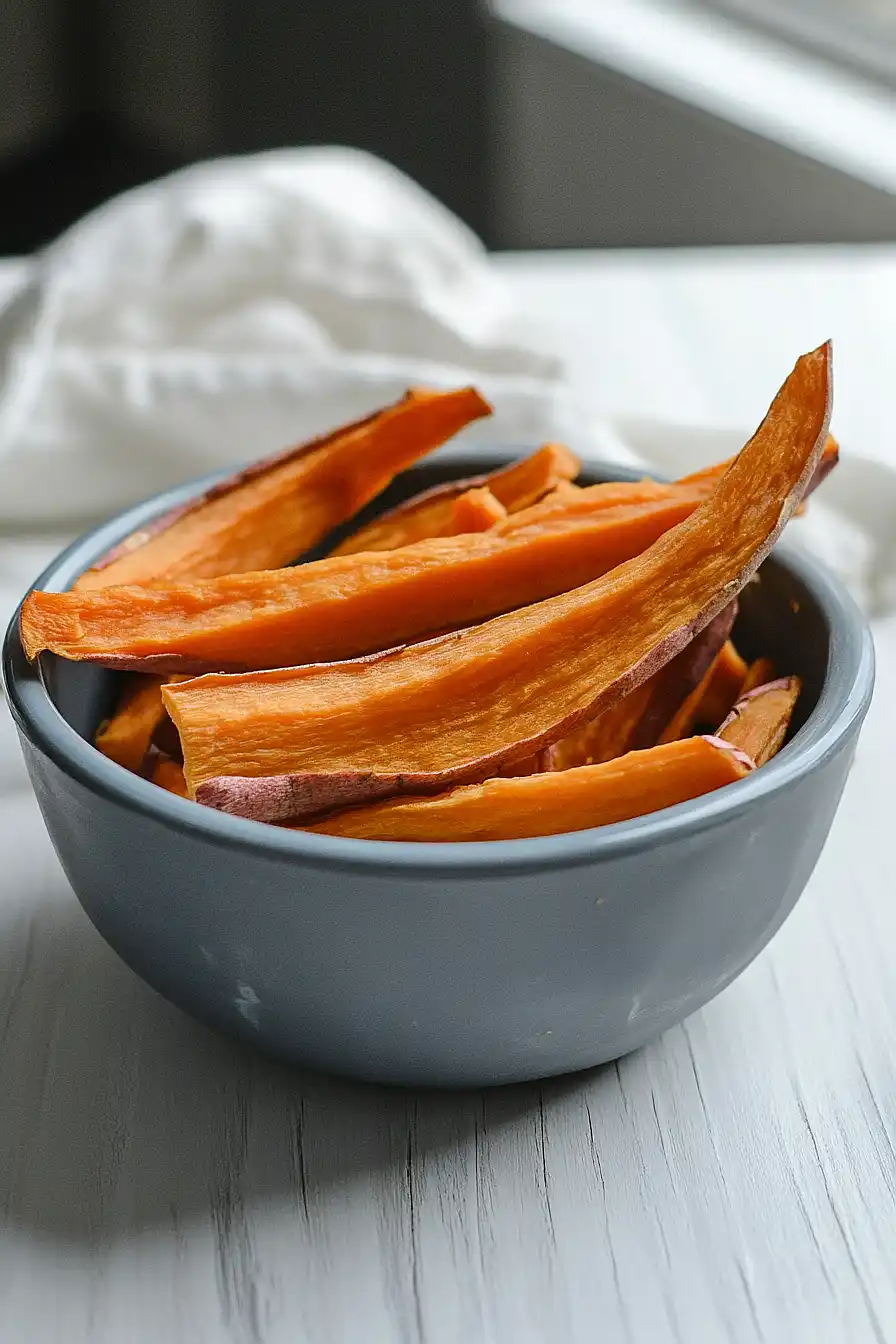
Step 5: Cool and Serve
Once baked, remove the cookie sheet from the oven and let the sweet potato slices cool on a wire rack.
This will help them firm up a bit more.
Serve them as a healthy snack or a side dish.
Enjoy the natural sweetness and delightful texture of these homemade sweet potato treats!
