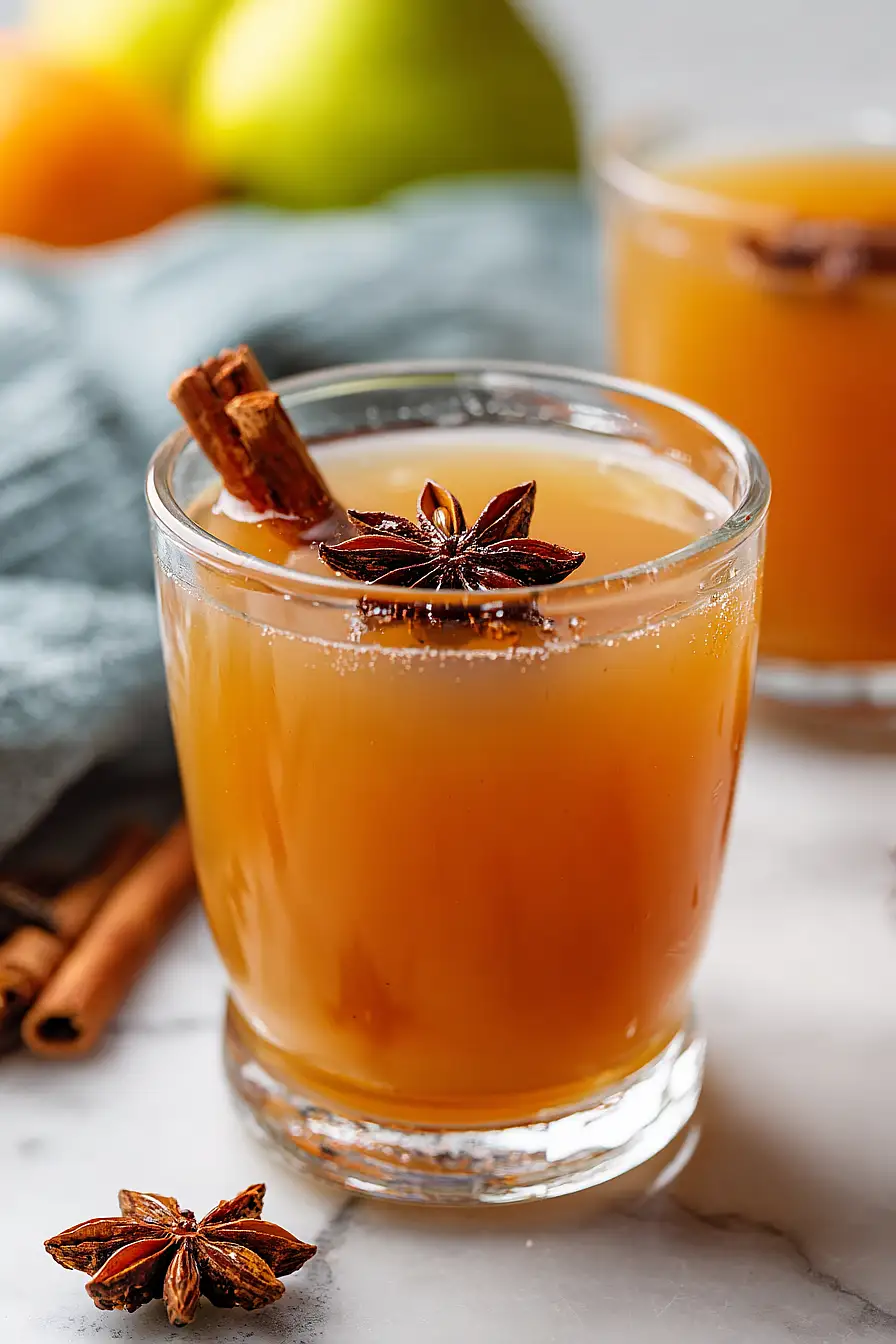
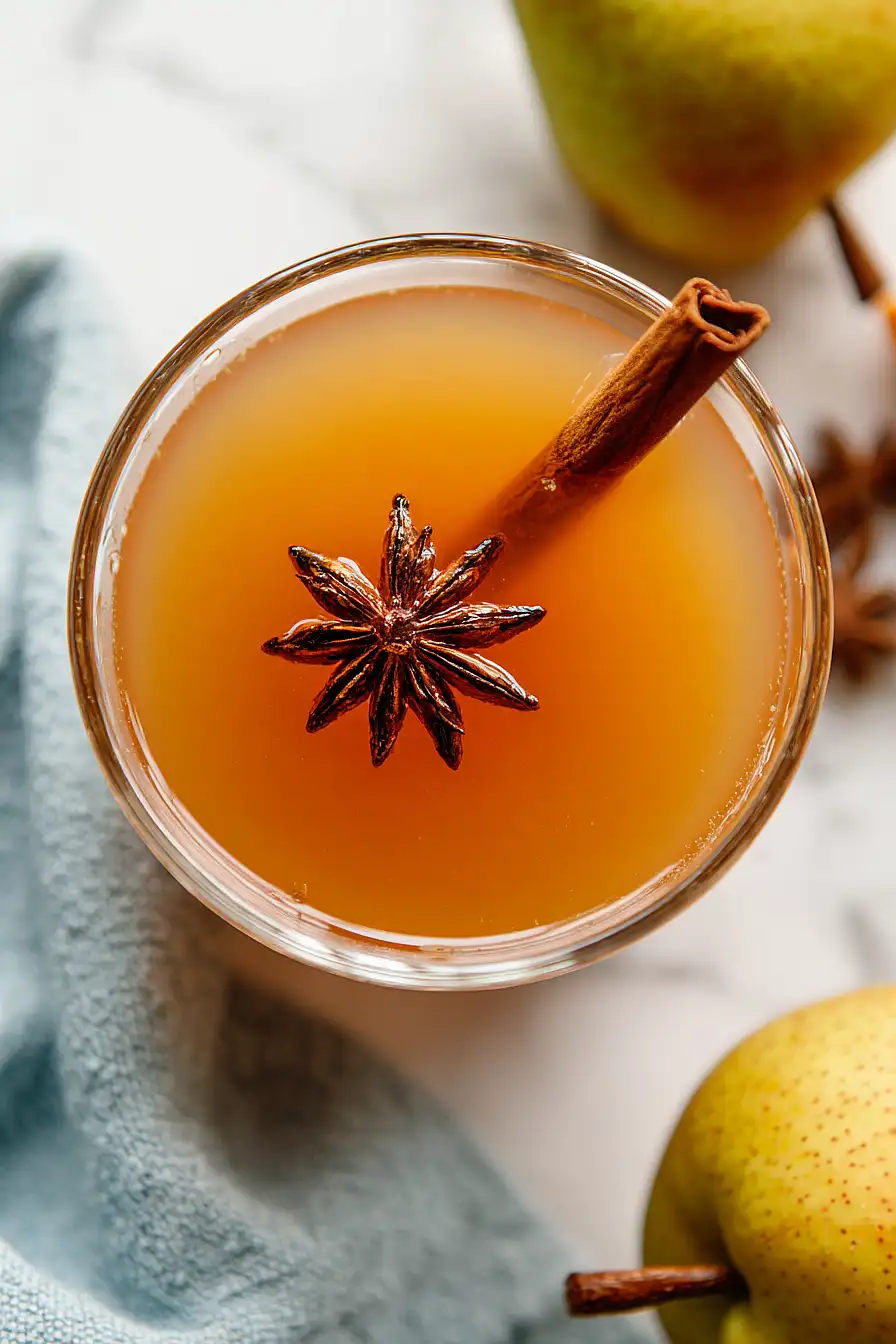
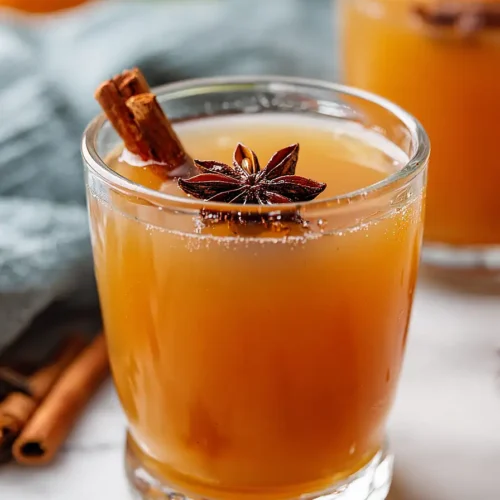
If you ask me, homemade pear cider is one of those drinks that makes your whole house smell amazing.
This warm spiced beverage combines fresh pears with maple syrup, orange, and a mix of cozy spices like cinnamon, star anise, and cardamom. It’s the kind of drink that fills your kitchen with the scent of fall and winter all at once.
The pears simmer gently with whole spices and a touch of sweetness, creating a drink that’s comforting without being too heavy. A hint of nutmeg and those crushed cardamom pods add just enough warmth to make each sip feel special.
It’s perfect for chilly evenings when you want something soothing to wrap your hands around, and it’s easy enough to make on a weeknight.
Why You’ll Love This Pear Cider
- Cozy fall flavors – The warm spices like cinnamon, cardamom, and star anise combined with sweet pears create the perfect drink for chilly days.
- Natural sweetness – Using real pears and just a touch of maple syrup means you’re getting a naturally sweet drink without loads of added sugar.
- Makes your home smell amazing – As this cider simmers, the spices and fruit fill your kitchen with the most inviting aroma that’ll have everyone asking what you’re making.
- Easy to customize – You can adjust the sweetness and spice levels to your liking, and it works with whatever spices you have on hand—whole or ground.
- Perfect for gatherings – This recipe makes enough to serve a crowd, and it’s a nice alternative to the usual apple cider at holiday parties or game day get-togethers.
What Kind of Pears Should I Use?
Any variety of pears will work for this cider, so feel free to use whatever you have on hand or can find at the store. Ripe pears will give you a sweeter, more aromatic cider, while firmer pears will add a slightly tart edge to the flavor. If you’re looking for recommendations, Bartlett and Anjou pears are great all-purpose choices that break down nicely and release plenty of flavor as they simmer. Don’t worry too much about bruises or blemishes since you’ll be straining the cider anyway – this is actually a perfect way to use up pears that are past their prime for eating fresh.
Options for Substitutions
This cozy pear cider is pretty forgiving when it comes to swaps:
- Pears: Any variety of pears works great here – Bartlett, Bosc, Anjou, or even a mix. You can also combine pears with apples for a different flavor profile, using about half of each.
- Maple syrup: Honey, brown sugar, or regular white sugar can replace maple syrup. Start with 3 tablespoons and adjust to your taste. Keep in mind that honey will add its own distinct flavor.
- Cardamom pods: If you only have ground cardamom, use about 5/8 teaspoon instead of the pods. Add it toward the end of cooking to prevent the flavor from becoming bitter.
- Whole cloves: Ground cloves work fine – use about 1/2 teaspoon. Just remember that ground spices are stronger, so you might want to start with a bit less.
- Star anise: No star anise? Try using an extra cinnamon stick or a splash of anise extract (just a few drops). You can also skip it entirely – the cider will still taste great.
- Orange: Lemon slices work as a substitute and add a nice brightness. You could also use tangerine or clementine slices for a sweeter citrus note.
Watch Out for These Mistakes While Cooking
The biggest mistake when making pear cider is boiling it too hard, which can make the spices taste bitter and overpowering – keep it at a gentle simmer to let the flavors blend smoothly.
Don’t skip cutting the pears into quarters, as leaving them whole means they won’t release their juices properly and you’ll end up with weak, watery cider instead of something rich and flavorful.
If you’re using whole spices like cardamom pods and cloves, remember to strain them out before serving, and be careful not to add too much maple syrup at the beginning since you can always sweeten it more at the end but can’t take it back.
For the best flavor, let the cider steep for at least 30 minutes after cooking with the heat off, which gives the spices time to really infuse into the liquid.

What to Serve With Pear Cider?
This warm pear cider is perfect for cozy fall and winter gatherings, so I love serving it alongside seasonal treats like cinnamon rolls, apple fritters, or pumpkin bread. If you’re hosting a brunch, it pairs beautifully with breakfast pastries, scones, or even a simple stack of buttermilk pancakes with butter and syrup. For an afternoon snack situation, try it with shortbread cookies, gingerbread, or a slice of coffee cake – the warm spices in the cider complement these baked goods really nicely. You can also serve it at holiday parties with a cheese board featuring aged cheddar, brie, and some candied nuts for a more savory option.
Storage Instructions
Store: Keep your pear cider in a pitcher or airtight container in the fridge for up to 5 days. The flavors actually get better after a day or two as the spices continue to meld together. I like to strain out the pear pieces and spices before storing to keep things tidy.
Make Ahead: This cider is perfect for making ahead when you’re hosting. Brew it the day before your gathering and let it chill overnight in the fridge. Just reheat it gently on the stove when you’re ready to serve, or enjoy it cold if you prefer.
Serve: Warm it up slowly on the stovetop over low heat, stirring occasionally until it reaches your preferred temperature. You can also microwave individual servings for about 1-2 minutes. Add a fresh orange slice or cinnamon stick when serving to make it look extra nice.
| Preparation Time | 10-15 minutes |
| Cooking Time | 180 minutes |
| Total Time | 190-195 minutes |
| Level of Difficulty | Medium |
Estimated Nutrition
Estimated nutrition for the whole recipe (without optional ingredients):
- Calories: 600-750
- Protein: 4-6 g
- Fat: 1-3 g
- Carbohydrates: 160-200 g
Ingredients
- 1 small orange (halved, with pith intact)
- 1/4 cup maple syrup (pure maple syrup preferred for best flavor)
- 6 pears (ripe but firm, about 2-3 lbs total)
- 1 star anise
- 4 cardamom pods (lightly crushed to release oils)
- 2 cinnamon sticks
- 4 whole cloves
- 1/4 tsp ground nutmeg (freshly grated if possible)
- 8 cups water
Step 1: Prepare Ingredients and Toast Spices
- 1 small orange
- 1 star anise
- 4 cardamom pods
- 2 cinnamon sticks
- 4 whole cloves
Lightly crush the cardamom pods using the side of a knife or a mortar and pestle to crack them open and release their aromatic oils—this greatly enhances their flavor in the final cider.
Halve the orange lengthwise, keeping the pith intact as it will add subtle bitterness and complexity.
Gather all your spices (star anise, crushed cardamom, cinnamon sticks, and whole cloves) in one place for easy addition.
If using a fresh nutmeg, have a fine grater ready for step 3.
Step 2: Build the Cider Base with Pears and Spices
- 8 cups water
- 6 pears
- 1/4 cup maple syrup
- spice mixture from Step 1
Place the water in a large pot and bring to a boil over high heat.
Add the ripe but firm pears (whole or halved, depending on their size), maple syrup, and all the prepared spices: cardamom, cloves, cinnamon sticks, and star anise.
Stir gently to combine and ensure the maple syrup dissolves evenly.
The initial boil will help extract flavors from the spices while the pears begin to soften.
Step 3: Simmer Pears and Extract Core Flavors (First Phase)
- mixture from Step 2
Once the mixture reaches a boil, reduce the heat to medium-low and maintain a gentle simmer for 2 hours.
This long, slow cooking allows the pears to break down naturally while the spices infuse deeply into the liquid, creating the foundation of your cider’s complexity.
Resist the urge to stir frequently—the gentle bubbling will do the work for you.
I prefer not to cover the pot during this phase so some water can reduce and flavors concentrate.
Step 4: Break Down Pears and Add Orange and Nutmeg
- cooked mixture from Step 3
- 1 small orange
- 1/4 tsp ground nutmeg
After 2 hours, use the back of a wooden spoon to gently break apart the softened pears directly in the pot, mashing them to release more of their juice and pulp into the liquid.
Add the halved orange and freshly grated nutmeg, stirring gently to distribute.
The orange adds brightness and a subtle citrus note that balances the earthiness of the spices and sweetness of the pears.
Step 5: Final Infusion and Reduction
- mixture from Step 4
Continue simmering at medium-low heat for another hour, allowing the orange to soften and its oils to meld with the spices and pear juice.
This second phase deepens the flavor profile and allows additional reduction, which concentrates and intensifies the cider’s taste.
The mixture should smell fragrant and slightly reduced.
Step 6: Strain and Extract Maximum Flavor
- cooked mixture from Step 5
Pour the entire contents of the pot through a fine-mesh sieve set over a clean bowl, letting the liquid drain naturally—this takes patience but prevents cloudiness.
Once the liquid has drained, use the back of a spoon to gently press the softened pear pulp, orange pieces, and spices against the sides of the sieve to extract every last bit of flavorful liquid.
Don’t press so hard that you force pulp through the sieve, as this will make your cider cloudy.
Discard the solids.
Step 7: Cool and Serve
Pour the strained cider into a serving pitcher or heat-safe glasses and serve warm, or allow it to cool to room temperature for a refreshing cold cider.
The cider tastes best served within a few hours of making it while the spice flavors are at their peak, though it can be refrigerated and gently reheated.
Homemade Pear Cider
Ingredients
- 1 small orange (halved, with pith intact)
- 1/4 cup maple syrup (pure maple syrup preferred for best flavor)
- 6 pears (ripe but firm, about 2-3 lbs total)
- 1 star anise
- 4 cardamom pods (lightly crushed to release oils)
- 2 cinnamon sticks
- 4 whole cloves
- 1/4 tsp ground nutmeg (freshly grated if possible)
- 8 cups water
Instructions
- Lightly crush the cardamom pods using the side of a knife or a mortar and pestle to crack them open and release their aromatic oils—this greatly enhances their flavor in the final cider. Halve the orange lengthwise, keeping the pith intact as it will add subtle bitterness and complexity. Gather all your spices (star anise, crushed cardamom, cinnamon sticks, and whole cloves) in one place for easy addition. If using a fresh nutmeg, have a fine grater ready for step 3.
- Place the water in a large pot and bring to a boil over high heat. Add the ripe but firm pears (whole or halved, depending on their size), maple syrup, and all the prepared spices: cardamom, cloves, cinnamon sticks, and star anise. Stir gently to combine and ensure the maple syrup dissolves evenly. The initial boil will help extract flavors from the spices while the pears begin to soften.
- Once the mixture reaches a boil, reduce the heat to medium-low and maintain a gentle simmer for 2 hours. This long, slow cooking allows the pears to break down naturally while the spices infuse deeply into the liquid, creating the foundation of your cider's complexity. Resist the urge to stir frequently—the gentle bubbling will do the work for you. I prefer not to cover the pot during this phase so some water can reduce and flavors concentrate.
- After 2 hours, use the back of a wooden spoon to gently break apart the softened pears directly in the pot, mashing them to release more of their juice and pulp into the liquid. Add the halved orange and freshly grated nutmeg, stirring gently to distribute. The orange adds brightness and a subtle citrus note that balances the earthiness of the spices and sweetness of the pears.
- Continue simmering at medium-low heat for another hour, allowing the orange to soften and its oils to meld with the spices and pear juice. This second phase deepens the flavor profile and allows additional reduction, which concentrates and intensifies the cider's taste. The mixture should smell fragrant and slightly reduced.
- Pour the entire contents of the pot through a fine-mesh sieve set over a clean bowl, letting the liquid drain naturally—this takes patience but prevents cloudiness. Once the liquid has drained, use the back of a spoon to gently press the softened pear pulp, orange pieces, and spices against the sides of the sieve to extract every last bit of flavorful liquid. Don't press so hard that you force pulp through the sieve, as this will make your cider cloudy. Discard the solids.
- Pour the strained cider into a serving pitcher or heat-safe glasses and serve warm, or allow it to cool to room temperature for a refreshing cold cider. The cider tastes best served within a few hours of making it while the spice flavors are at their peak, though it can be refrigerated and gently reheated.
