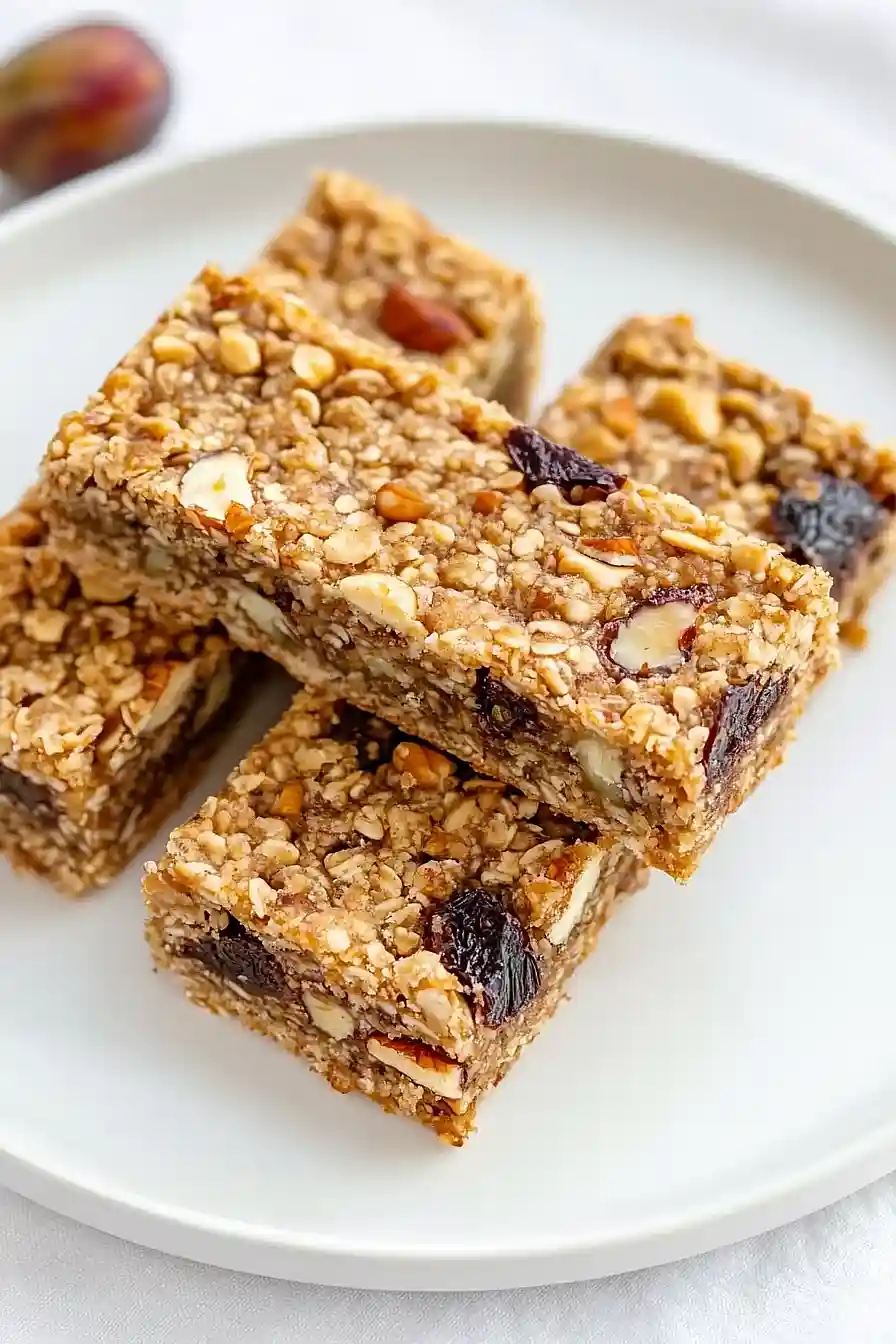
If you ask me, date and fig bars are a nostalgic treat that never gets old.
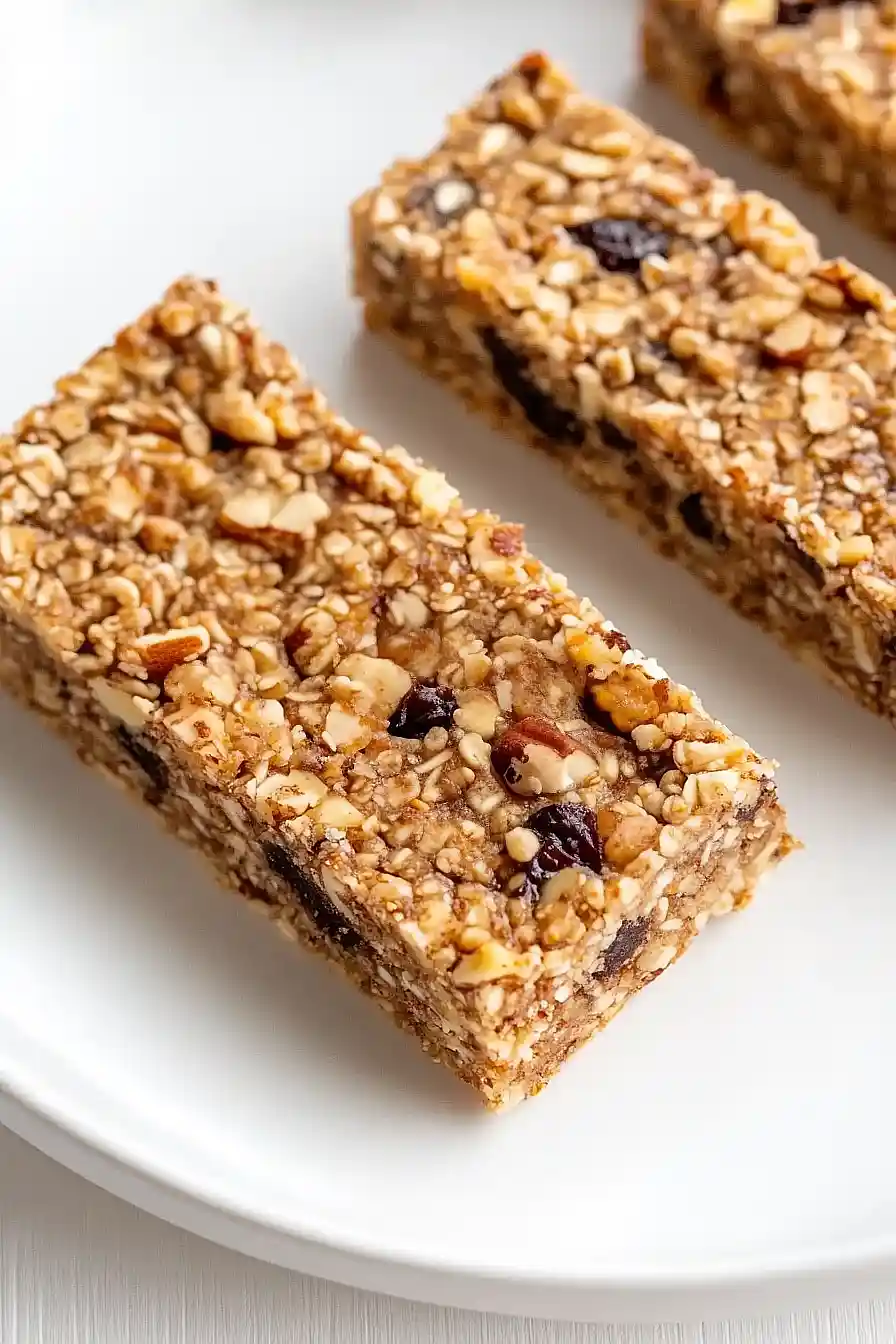
These homemade bars take me back to childhood afternoons, but with a grown-up twist that makes them even better than the store-bought version. Sweet, sticky dates and figs come together in a tender filling that’s wrapped in a buttery, golden crust.
They’re the kind of snack that fits perfectly with your afternoon coffee or tucked into a lunchbox. The natural sweetness from the fruit means you don’t need to add much sugar, and the oat-flecked dough adds just the right amount of texture.
It’s a comforting recipe that works year-round, perfect for both cozy winter days and summer picnics.
Why You’ll Love These Date and Fig Bars
- Naturally sweetened – These bars use honey and fruit for sweetness instead of refined sugar, making them a better choice for a healthier snack or breakfast.
- Meal prep friendly – Make a batch on Sunday and enjoy homemade snack bars all week long – they’re perfect for lunchboxes, afternoon snacks, or breakfast on the go.
- Simple ingredients – With just 9 basic ingredients you might already have in your pantry, these bars are easy to put together without any hard-to-find items.
- Nutrient-rich – Packed with fiber from oats, protein from almonds, and natural energy from dried fruits, these bars are both tasty and nutritious.
What Kind of Dried Figs Should I Use?
When it comes to dried figs for baking, you’ll typically find two main varieties at the store: Black Mission figs and Turkish (or Calimyrna) figs. Mission figs have a darker color and deeper, sweeter flavor, while Turkish figs tend to be lighter in color with a slightly nutty taste. Both types work great in these bars, so pick whichever you prefer or can find more easily. Just make sure your dried figs are still soft and pliable – if they’re too hard, you can soften them by soaking in warm water for about 10 minutes before chopping. For the best results, chop your figs into small, even pieces about the size of raisins so they distribute nicely throughout the bars.
Options for Substitutions
These healthy bars are pretty flexible when it comes to ingredients. Here are some simple swaps you can try:
- Applesauce: You can replace applesauce with mashed banana or pear puree in equal amounts. Each will give a slightly different flavor, but they’ll all help bind the ingredients together.
- Honey: Maple syrup or agave nectar work great as alternatives to honey. Use the same amount, though you might need to bake the bars a few minutes longer as these substitutes are slightly thinner.
- Rolled oats: Quick oats can work in a pinch, but the texture will be denser. Don’t use steel-cut oats as they won’t soften enough.
- Almonds: Any nuts will work here – try walnuts, pecans, or cashews. For nut-free bars, use sunflower or pumpkin seeds instead.
- Dried fruits: Feel free to mix and match the dried fruits based on what you have. Dried cranberries, chopped apricots, or dried cherries all work well. Just keep the total amount of dried fruit the same (1 cup total).
Watch Out for These Mistakes While Baking
The biggest challenge when making date and fig bars is achieving the right texture – too wet and they’ll fall apart, too dry and they’ll be hard as rocks. To get the perfect consistency, make sure to blend your applesauce mixture thoroughly with the honey before adding the dry ingredients, and press the mixture firmly into your baking pan using the back of a spatula or your hands. Another common mistake is underbaking these bars – they need enough time to set properly, so look for slightly golden edges and a firm center that springs back when touched lightly. If you’re finding your bars too crumbly when cutting, try letting them cool completely (at least 1-2 hours) before slicing, and use a sharp knife dipped in hot water between cuts. For the best results, store these bars in an airtight container with parchment paper between layers to prevent sticking and maintain freshness.

What to Serve With Date and Fig Bars?
These sweet and chewy date and fig bars make a perfect snack or light breakfast treat that pairs wonderfully with your favorite hot drinks. A warm cup of coffee or tea brings out the cozy cinnamon notes, while a cold glass of milk helps balance the natural sweetness of the dried fruits. For breakfast, I like serving these bars alongside some Greek yogurt topped with a drizzle of honey – the tanginess of the yogurt works really well with the bars’ sweet and nutty flavors. If you’re packing these for a lunch box or picnic, they go great with fresh fruit like apples or pears to round out your snack.
Storage Instructions
Keep Fresh: These date and fig bars stay fresh when kept in an airtight container at room temperature for up to a week. I like to place a piece of parchment paper between layers to prevent them from sticking together. They make great grab-and-go snacks for busy days!
Refrigerate: Want them to last longer? Pop them in the fridge in a sealed container, and they’ll stay good for up to 2 weeks. The cool temperature helps keep the dried fruits and nuts extra fresh, plus the bars maintain their texture really well.
Freeze: These bars are perfect for batch-making! Wrap them individually in parchment paper, place in a freezer bag, and freeze for up to 3 months. When you’re ready for a snack, just take one out and let it thaw at room temperature for about 30 minutes.
| Preparation Time | 10-15 minutes |
| Cooking Time | 25 minutes |
| Total Time | 1 hour 35 minutes |
| Level of Difficulty | Easy |
Estimated Nutrition
Estimated nutrition for the whole recipe (without optional ingredients):
- Calories: 2000-2200
- Protein: 40-50 g
- Fat: 90-100 g
- Carbohydrates: 300-320 g
Ingredients
- 1 cup plain applesauce (unsweetened)
- 1/3 cup honey, plus an additional 1/4 cup
- 1 tsp cinnamon (ground)
- 3/4 tsp pure vanilla extract
- 2 1/2 cups old-fashioned oats
- 1 cup chopped almonds
- 1/3 cup dried figs, diced
- 1/3 cup chopped dates
- 1/3 cup seedless raisins
Step 1: Prepare the Baking Pan and Preheat Oven
Preheat your oven to 325°F (163°C).
Line an 8×8-inch baking pan with parchment paper, allowing some overhang for easy removal of the bars later.
Step 2: Mix Wet Ingredients and Spices
- 1 cup plain applesauce (unsweetened)
- 1/3 cup honey
- 1 tsp cinnamon (ground)
- 3/4 tsp pure vanilla extract
In a large bowl, whisk together 1/3 cup honey, the plain applesauce, cinnamon, and vanilla extract until fully combined.
This will ensure the spices and flavors are evenly distributed before adding the dry ingredients.
Step 3: Combine with Oats and Dried Fruits
- 2 1/2 cups old-fashioned oats
- 1 cup chopped almonds
- 1/3 cup dried figs, diced
- 1/3 cup chopped dates
- 1/3 cup seedless raisins
Stir the old-fashioned oats into the bowl with the wet mixture, making sure all of the oats are evenly moistened.
Once thoroughly mixed, fold in the chopped almonds, diced dried figs, chopped dates, and raisins.
The mixture should be well combined and sticky.
I like to press the mixture together in the bowl with a spatula to help it all stick before transferring.
Step 4: Press Mixture into Pan and Sweeten Top
- mixture from Step 3
- 1/4 cup honey
Transfer the granola mixture into the prepared baking pan.
Press the mixture firmly and evenly into the pan, making sure it reaches all corners and is tightly packed—a flat-bottomed glass or spatula works well for this.
Drizzle an additional 1/4 cup honey evenly over the top to help the bars hold together and add a touch of shine and sweetness.
Step 5: Bake, Cool, and Cut the Bars
Bake the granola mixture in the preheated oven for 25 minutes, or until the edges are lightly golden.
Remove from the oven and immediately transfer the pan to the freezer to cool until fully firm, at least 1 hour.
Once set, lift out using the parchment overhang, then slice into bars.
Store in an airtight container for up to 1 week.
For even neater edges, I let the bars cool completely in the pan before slicing.
