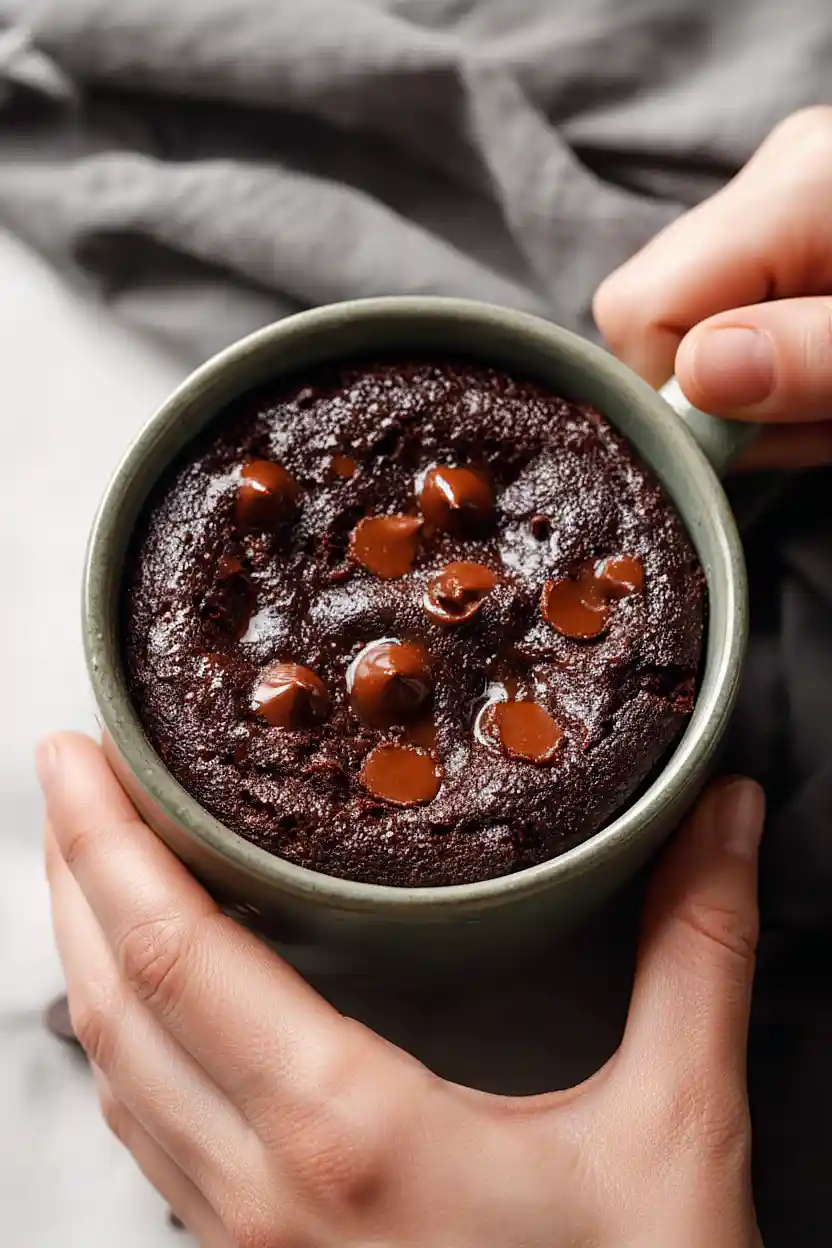
If you ask me, brownies in a mug are one of the best late-night inventions.
This single-serve dessert comes together in minutes and satisfies that chocolate craving without heating up your whole kitchen. Rich cocoa powder and melted chocolate chips create a fudgy texture that’s somewhere between a brownie and a lava cake.
It’s mixed right in the mug with simple pantry ingredients and cooked in the microwave. A scoop of cold vanilla ice cream and a drizzle of chocolate or caramel sauce make it feel special.
It’s the kind of treat you can whip up after the kids go to bed, perfect for when you need something sweet without all the cleanup.

Why You’ll Love This Brownie in a Mug
- Ready in minutes – This brownie takes just 10-15 minutes from start to finish, perfect for when that chocolate craving hits and you need something sweet right now.
- Single serving – No need to bake a whole pan of brownies when you just want one portion. This mug brownie gives you exactly what you need without leftovers tempting you all week.
- Simple pantry ingredients – You probably already have everything you need in your kitchen – no special trips to the grocery store required.
- No mixer or oven needed – Just mix everything in a mug and pop it in the microwave. It’s the easiest way to satisfy your chocolate fix with minimal cleanup.
What Kind of Cocoa Should I Use?
For this mug brownie, you can use either natural cocoa powder or Dutch-processed cocoa powder, and both will give you a delicious result. Natural cocoa has a lighter, more acidic flavor that tastes a bit fruitier, while Dutch-processed cocoa is darker and has a smoother, more mellow chocolate taste. If you’re looking for that classic fudgy brownie flavor, Dutch-processed is a great choice, but honestly, whatever cocoa powder you have in your pantry will work just fine. Just make sure your cocoa powder is fresh and hasn’t been sitting in the back of your cabinet for years, as old cocoa can lose its flavor and give you a less chocolatey brownie.
Options for Substitutions
This quick mug brownie is pretty forgiving when it comes to swaps:
- All-purpose flour: You can use whole wheat flour for a slightly nuttier taste, or try almond flour if you want a gluten-free option. With almond flour, you might need to add an extra tablespoon of milk since it absorbs more liquid.
- Brown sugar: White sugar works just fine here, though you’ll lose that hint of molasses flavor. Coconut sugar is another good swap that keeps things interesting.
- Milk: Any milk you have works – dairy, almond, oat, soy, whatever’s in your fridge. They all do the job.
- Oil: Melted butter, coconut oil, or even applesauce can replace the oil. If using applesauce, your brownie will be a bit more cake-like and less fudgy.
- Chocolate chips: Chopped chocolate bars, white chocolate chips, or peanut butter chips all work great. You can also skip them entirely if you want a simpler cocoa brownie.
- Cocoa powder: This is the one ingredient you really shouldn’t substitute – it’s what makes this a chocolate brownie. Dutch-processed or natural cocoa both work fine though.
Watch Out for These Mistakes While Cooking
The biggest mistake people make with mug brownies is overcooking them, which turns a fudgy treat into a rubbery disappointment – start with just 60 seconds and remember that the brownie will continue cooking even after you remove it from the microwave.
Another common error is not mixing the dry ingredients thoroughly before adding the wet ones, which can leave you with pockets of flour or cocoa powder that ruin the texture.
To get the best results, make sure you’re using a microwave-safe mug that’s large enough (at least 12 ounces) to prevent overflow, and don’t skip the cooling time since the brownie needs those few minutes to set properly and develop the right consistency.
If your brownie looks slightly underdone in the center after the initial minute, that’s actually perfect – it will firm up as it cools and give you that ideal gooey texture.

What to Serve With Brownie in a Mug?
A mug brownie is already pretty indulgent on its own, but adding a scoop of vanilla ice cream on top while it’s still warm takes it to another level. The ice cream melts into the warm brownie and creates this amazing sauce that’s hard to beat. If you don’t have ice cream, a dollop of whipped cream or even a drizzle of caramel sauce works great too. For a fun touch, you can sprinkle some sea salt flakes on top or add fresh berries like raspberries or strawberries to cut through the richness.
Storage Instructions
Best Fresh: This brownie is really meant to be enjoyed right away while it’s still warm and gooey. If you happen to have leftovers, you can cover the mug with plastic wrap and keep it in the fridge for a day or two, but it won’t be quite as good as when it’s fresh.
Reheat: Pop your leftover mug brownie back in the microwave for about 15-20 seconds to warm it up again. It’ll soften right back up and taste almost as good as when you first made it!
| Preparation Time | 5-10 minutes |
| Cooking Time | 1-5 minutes |
| Total Time | 10-15 minutes |
| Level of Difficulty | Easy |
| Servings | 1 mug |
Estimated Nutrition
Estimated nutrition for the whole recipe (without optional ingredients):
- Calories: 400-460
- Protein: 4-6 g
- Fat: 21-25 g
- Carbohydrates: 52-60 g
Ingredients
For the brownie:
- 3.5 tbsp flour (I always use King Arthur all-purpose flour)
- 2.5 tbsp cocoa powder (sifted to remove lumps before mixing)
- 3.5 tbsp brown sugar
- 1/8 tsp salt
- 1/4 tsp baking powder
- 4 tbsp milk
- 2 tbsp oil (neutral oil like Wesson prevents an aftertaste)
- 3/4 tsp vanilla
- 2.5 tbsp chocolate chips (semi-sweet adds a nice richness)
For serving (optional):
- vanilla ice cream (I prefer Haagen-Dazs for the temperature contrast)
- whipped cream
- chocolate sauce
- caramel sauce
Step 1: Combine Dry Ingredients
- 3.5 tbsp flour
- 2.5 tbsp cocoa powder
- 3.5 tbsp brown sugar
- 1/8 tsp salt
- 1/4 tsp baking powder
In a microwave-safe mug, whisk together the flour, sifted cocoa powder, brown sugar, salt, and baking powder.
Make sure there are no lumps in the cocoa powder before mixing—I always sift mine to ensure a smooth, lump-free brownie texture.
Stir these dry ingredients together until well combined and evenly distributed throughout the mug.
Step 2: Mix in Wet Ingredients
- 4 tbsp milk
- 2 tbsp oil
- 3/4 tsp vanilla
- dry ingredient mixture from Step 1
Add the milk, neutral oil, and vanilla to the mug with the dry ingredient mixture.
Stir vigorously until you have a smooth, uniform batter with no dry pockets or streaks.
The batter should be thick but pourable—this creates the ideal fudgy brownie texture when microwaved.
Step 3: Add Chocolate Chips and Microwave
- 2.5 tbsp chocolate chips
- batter from Step 2
Fold the chocolate chips into the batter from Step 2, reserving a few to sprinkle on top for visual appeal and extra chocolate bursts.
Microwave the mug on high for 60 seconds—the brownie will rise slightly and the center should look set but still have a slight jiggle.
If it still looks raw in the center after 60 seconds, continue microwaving in 5-second intervals until just barely set.
I find that semi-sweet chips add a nice richness without being too intense.
Step 4: Cool and Serve with Toppings
- vanilla ice cream
- whipped cream
- chocolate sauce
- caramel sauce
Let the brownie cool in the mug for 3-4 minutes—this allows it to set slightly while the interior remains warm and fudgy.
Top with a scoop of vanilla ice cream, a dollop of whipped cream, and drizzles of chocolate and caramel sauce.
The temperature contrast between the warm brownie and cold ice cream is what makes this dessert truly special, so serve immediately.
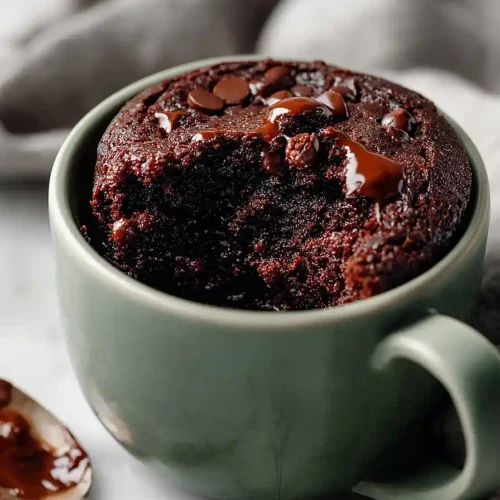
Homemade Brownie in a Mug
Ingredients
For the brownie::
- 3.5 tbsp flour (I always use King Arthur all-purpose flour)
- 2.5 tbsp cocoa powder (sifted to remove lumps before mixing)
- 3.5 tbsp brown sugar
- 1/8 tsp salt
- 1/4 tsp baking powder
- 4 tbsp milk
- 2 tbsp oil (neutral oil like Wesson prevents an aftertaste)
- 3/4 tsp vanilla
- 2.5 tbsp chocolate chips (semi-sweet adds a nice richness)
For serving (optional):
- vanilla ice cream (I prefer Haagen-Dazs for the temperature contrast)
- whipped cream
- chocolate sauce
- caramel sauce
Instructions
- In a microwave-safe mug, whisk together the flour, sifted cocoa powder, brown sugar, salt, and baking powder. Make sure there are no lumps in the cocoa powder before mixing—I always sift mine to ensure a smooth, lump-free brownie texture. Stir these dry ingredients together until well combined and evenly distributed throughout the mug.
- Add the milk, neutral oil, and vanilla to the mug with the dry ingredient mixture. Stir vigorously until you have a smooth, uniform batter with no dry pockets or streaks. The batter should be thick but pourable—this creates the ideal fudgy brownie texture when microwaved.
- Fold the chocolate chips into the batter from Step 2, reserving a few to sprinkle on top for visual appeal and extra chocolate bursts. Microwave the mug on high for 60 seconds—the brownie will rise slightly and the center should look set but still have a slight jiggle. If it still looks raw in the center after 60 seconds, continue microwaving in 5-second intervals until just barely set. I find that semi-sweet chips add a nice richness without being too intense.
- Let the brownie cool in the mug for 3-4 minutes—this allows it to set slightly while the interior remains warm and fudgy. Top with a scoop of vanilla ice cream, a dollop of whipped cream, and drizzles of chocolate and caramel sauce. The temperature contrast between the warm brownie and cold ice cream is what makes this dessert truly special, so serve immediately.
