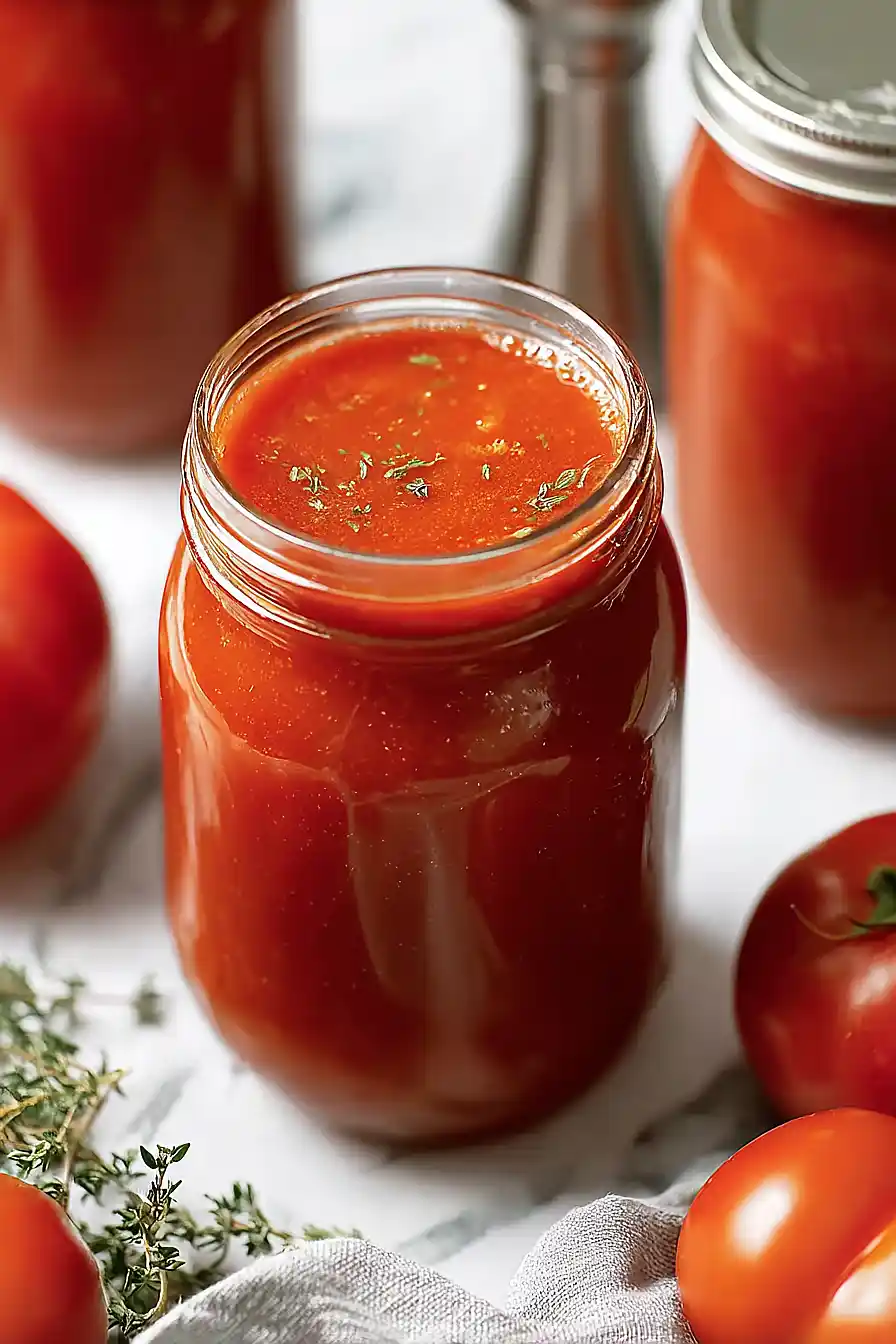
Here is my favorite tomato soup canning recipe, with fresh Roma tomatoes, garlic, onions, basil, and just the right amount of lemon juice to keep everything safely preserved in jars for months.
This canned tomato soup is what I reach for all winter long when I want something warm and comforting. I always make several batches at the end of summer so we have plenty to get us through the cold months. Nothing beats opening a jar of homemade soup when you don’t feel like cooking, right?

Why You’ll Love This Tomato Soup
- Preserves summer flavors – Canning this tomato soup lets you capture the taste of fresh tomatoes at their peak, so you can enjoy homemade soup all year long.
- Simple, wholesome ingredients – Made with just tomatoes, onion, garlic, and basil, you know exactly what’s going into your soup without any weird additives or preservatives you can’t pronounce.
- Cost-effective – When tomatoes are in season and cheap, you can make multiple jars of soup for way less than buying them at the store.
- Great for meal prep – Having jars of homemade tomato soup ready to go in your pantry makes weeknight dinners so much easier when you need a quick meal.
- Perfect for gifting – These jars make thoughtful homemade gifts for friends and family who will appreciate the time and care you put into making them.
What Kind of Tomatoes Should I Use?
For canning tomato soup, you’ll want to use ripe, in-season tomatoes for the best flavor. Roma or plum tomatoes are a popular choice because they’re meatier and have fewer seeds, which gives you a thicker, richer soup. That said, any variety of fresh tomatoes will work – heirloom, beefsteak, or even a mix of whatever’s growing in your garden. Just make sure they’re fully ripe and free of any bruises or soft spots, as you want the sweetest, most flavorful tomatoes possible. If you’re buying from the store or farmer’s market, give them a gentle squeeze – they should feel firm but have a little give to them.
Options for Substitutions
While canning requires some precision for safety, there’s still room for a few tweaks:
- Tomatoes: Any variety works, but Roma or San Marzano tomatoes are ideal since they’re meatier and less watery. You can mix varieties too – just stick to the total weight.
- Fresh basil: If you don’t have fresh basil, you can use 2 tablespoons of dried basil instead. Add it during cooking for the best flavor.
- Yellow onion: White or red onions work fine here. Red onions will add a slightly sweeter taste to your soup.
- Sugar: You can reduce or omit the sugar if your tomatoes are naturally sweet, or swap it with honey for a different flavor profile.
- Bottled lemon juice or citric acid: This is one ingredient you absolutely cannot skip or substitute. The acidity is essential for safe canning and prevents harmful bacteria growth. Always use bottled lemon juice (not fresh) or citric acid in the exact amounts specified by safe canning guidelines.
Watch Out for These Mistakes While Canning
The biggest mistake when canning tomato soup is skipping the lemon juice or citric acid, which is absolutely necessary to safely acidify the tomatoes and prevent dangerous bacteria growth – never skip this step, even if your tomatoes taste acidic.
Another common error is not leaving proper headspace in your jars (aim for 1/2 inch), as too much or too little can prevent a proper seal and lead to spoilage.
Make sure your jars are actually sealed after cooling by pressing the center of each lid – if it pops up and down, it didn’t seal and needs to be refrigerated and used within a few days.
To get the smoothest texture, strain your tomatoes twice if needed, and remember that you should never add the cream or milk before canning – only add dairy when you’re ready to heat and serve, as canning dairy products isn’t safe with water bath methods.
What to Serve With Tomato Soup?
A grilled cheese sandwich is the obvious choice here, and honestly, it never gets old. I like using a good sourdough or country white bread with sharp cheddar, gruyere, or even a mix of both for the best dipping experience. If you want something on the side, a simple arugula salad with a lemony vinaigrette cuts through the richness of the soup nicely. You could also serve it with some crusty bread and butter, or even alongside a BLT for a full-on tomato celebration.
Storage Instructions
Store: Once your jars have cooled completely and you’ve checked that all the lids have sealed properly, store them in a cool, dark place like a pantry or basement. Properly canned tomato soup will keep for up to 12-18 months, though it tastes best within the first year.
Check Seals: Before storing, press down on the center of each lid to make sure it doesn’t pop back up. If any jars didn’t seal, just pop those in the fridge and use them within a week. Always check your jars before opening too – if the lid is bulging or you see any mold, toss it out to be safe.
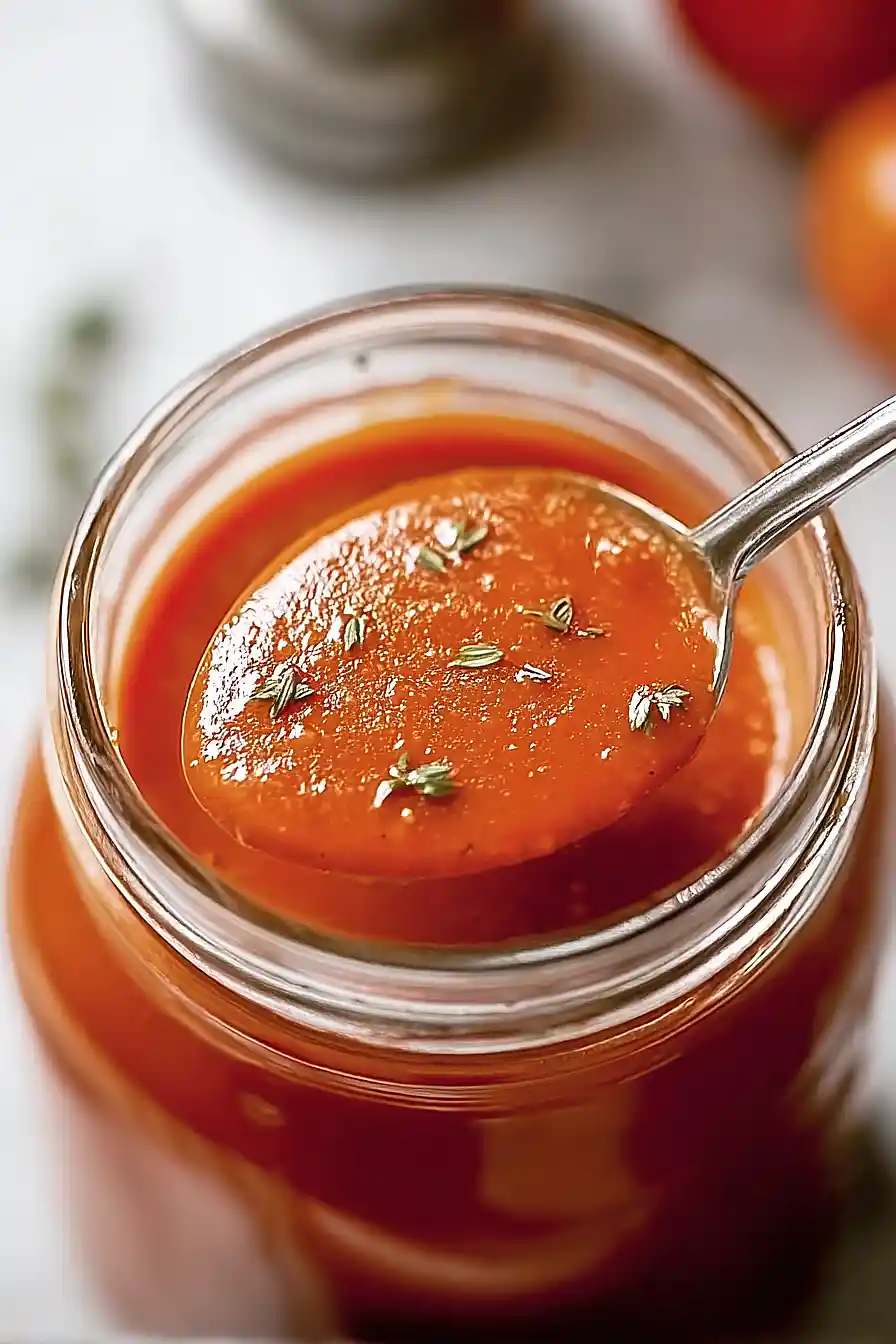
Serve: When you’re ready to enjoy your soup, just open a jar and heat it up on the stove over medium heat, stirring occasionally. You can thin it out with a bit of broth or cream if you like, and adjust the seasoning to taste since flavors can mellow during canning.
| Preparation Time | 30-45 minutes |
| Cooking Time | 100-120 minutes |
| Total Time | 130-165 minutes |
| Level of Difficulty | Medium |
| Servings | 3 quarts of soup |
Estimated Nutrition
Estimated nutrition for the whole recipe (without optional ingredients):
- Calories: 400-500
- Protein: 12-16 g
- Fat: 2-4 g
- Carbohydrates: 90-110 g
Ingredients
- 1 tbsp sugar
- 1.5 tsp salt
- bottled lemon juice (1/4 cup per quart jar for preservation)
- 6 garlic cloves (freshly minced)
- 1 large yellow onion (diced into 1/2-inch pieces)
- 1 tsp black pepper (freshly ground preferred)
- 1/2 cup basil leaves (fresh, roughly chopped)
- 7 lb tomatoes (Roma or San Marzano preferred for canning)
Step 1: Prepare Mise en Place and Cook Tomatoes
- 7 lb tomatoes
- 6 garlic cloves
- 1 large yellow onion
- 1/2 cup basil leaves
Start by quartering your 7 pounds of Roma or San Marzano tomatoes directly into a large pot—I prefer to work over the pot to capture any juices.
Place the pot on medium-low heat and stir frequently as the tomatoes break down and release their liquid, which should take about 30-40 minutes.
Add a splash of water only if the tomatoes seem to be sticking or if they’re releasing very little liquid.
While the tomatoes cook, peel and mince your 6 garlic cloves, dice your onion into 1/2-inch pieces, and roughly chop your fresh basil leaves.
This prep work ensures everything is ready when you need it.
Step 2: Puree Vegetables and Strain Tomatoes
- cooked tomatoes from Step 1
- prepared onion, garlic, and basil from Step 1
Once the cooked tomatoes are completely soft, pour them through a fine-mesh strainer into a clean large pot, pressing gently to extract all the juice while leaving behind the skins and seeds—discard the solids.
While draining, combine your prepared diced onion, minced garlic, and chopped basil in a food processor and blend until you achieve a fine, paste-like consistency.
This puree will incorporate smoothly into the tomato juice and create a more refined texture.
Step 3: Build and Reduce the Soup
- strained tomato juice from Step 2
- vegetable puree from Step 2
- 1 tbsp sugar
- 1.5 tsp salt
- 1 tsp black pepper
Pour the strained tomato juice into your large pot and add the vegetable puree from Step 2, along with the sugar, salt, and black pepper.
Stir well to combine all ingredients evenly.
Bring the mixture to a simmer over medium heat and let it reduce by about 25% (this should take 20-30 minutes and will concentrate the flavors significantly).
I like to let the soup simmer gently rather than boil aggressively—this preserves the fresh tomato flavor better than a rolling boil.
Step 4: Blend and Jar the Hot Soup
- reduced soup from Step 3
- bottled lemon juice
If you prefer a completely smooth soup, use an immersion blender or carefully transfer the soup in batches to a regular blender and puree until your desired consistency is reached (this step is optional—many prefer a slightly rustic texture).
Working quickly while the soup is still hot, ladle it into clean, sterilized jars, leaving about 1/2 inch of headspace.
Add the bottled lemon juice for preservation: 1 tablespoon per pint jar or 1/4 cup (2 tablespoons) per quart jar.
The acid is essential for safe canning, so don’t skip or reduce this step.
Step 5: Prepare and Process Jars in Water Bath Canner
Wipe the rims of each jar thoroughly with a clean, damp cloth to remove any drips or debris, then place the lids and screw bands on firmly (but not overly tight).
Fill your water bath canner with enough water to cover the jars by at least 2 inches and bring it to a rolling boil.
Carefully lower your filled jars into the hot water and cover the canner.
Once the water returns to a boil, process pint jars for 40 minutes or quart jars for 45 minutes, adjusting time if you’re at high altitude.
Step 6: Cool and Store the Canned Soup
Once processing time is complete, carefully remove the canner from heat and let it sit undisturbed for 5 minutes before removing the jars.
Place the hot jars on a clean towel or cooling rack and let them cool to room temperature undisturbed for 12-24 hours—during this time you’ll hear the satisfying ‘pop’ as the lids seal.
Check that the centers of the lids are concave (slightly indented), which indicates a proper seal.
Any jars that didn’t seal should be refrigerated and used within a few weeks.
Step 7: Prepare for Serving
When you’re ready to enjoy your canned soup, heat it gently in a pot over medium heat.
For each pint of soup, stir in about 1/2 cup of cream, half-and-half, or milk to create a creamy tomato bisque, adjusting the amount to your preference.
Season with additional salt and pepper if needed and serve hot.
I find that starting with less cream and adding more to taste lets each person customize their bowl perfectly.

Garlic Canning Tomato Soup
Ingredients
- 1 tbsp sugar
- 1.5 tsp salt
- bottled lemon juice (1/4 cup per quart jar for preservation)
- 6 garlic cloves (freshly minced)
- 1 large yellow onion (diced into 1/2-inch pieces)
- 1 tsp black pepper (freshly ground preferred)
- 1/2 cup basil leaves (fresh, roughly chopped)
- 7 lb tomatoes (Roma or San Marzano preferred for canning)
Instructions
- Start by quartering your 7 pounds of Roma or San Marzano tomatoes directly into a large pot—I prefer to work over the pot to capture any juices. Place the pot on medium-low heat and stir frequently as the tomatoes break down and release their liquid, which should take about 30-40 minutes. Add a splash of water only if the tomatoes seem to be sticking or if they're releasing very little liquid. While the tomatoes cook, peel and mince your 6 garlic cloves, dice your onion into 1/2-inch pieces, and roughly chop your fresh basil leaves. This prep work ensures everything is ready when you need it.
- Once the cooked tomatoes are completely soft, pour them through a fine-mesh strainer into a clean large pot, pressing gently to extract all the juice while leaving behind the skins and seeds—discard the solids. While draining, combine your prepared diced onion, minced garlic, and chopped basil in a food processor and blend until you achieve a fine, paste-like consistency. This puree will incorporate smoothly into the tomato juice and create a more refined texture.
- Pour the strained tomato juice into your large pot and add the vegetable puree from Step 2, along with the sugar, salt, and black pepper. Stir well to combine all ingredients evenly. Bring the mixture to a simmer over medium heat and let it reduce by about 25% (this should take 20-30 minutes and will concentrate the flavors significantly). I like to let the soup simmer gently rather than boil aggressively—this preserves the fresh tomato flavor better than a rolling boil.
- If you prefer a completely smooth soup, use an immersion blender or carefully transfer the soup in batches to a regular blender and puree until your desired consistency is reached (this step is optional—many prefer a slightly rustic texture). Working quickly while the soup is still hot, ladle it into clean, sterilized jars, leaving about 1/2 inch of headspace. Add the bottled lemon juice for preservation: 1 tablespoon per pint jar or 1/4 cup (2 tablespoons) per quart jar. The acid is essential for safe canning, so don't skip or reduce this step.
- Wipe the rims of each jar thoroughly with a clean, damp cloth to remove any drips or debris, then place the lids and screw bands on firmly (but not overly tight). Fill your water bath canner with enough water to cover the jars by at least 2 inches and bring it to a rolling boil. Carefully lower your filled jars into the hot water and cover the canner. Once the water returns to a boil, process pint jars for 40 minutes or quart jars for 45 minutes, adjusting time if you're at high altitude.
- Once processing time is complete, carefully remove the canner from heat and let it sit undisturbed for 5 minutes before removing the jars. Place the hot jars on a clean towel or cooling rack and let them cool to room temperature undisturbed for 12-24 hours—during this time you'll hear the satisfying 'pop' as the lids seal. Check that the centers of the lids are concave (slightly indented), which indicates a proper seal. Any jars that didn't seal should be refrigerated and used within a few weeks.
- When you're ready to enjoy your canned soup, heat it gently in a pot over medium heat. For each pint of soup, stir in about 1/2 cup of cream, half-and-half, or milk to create a creamy tomato bisque, adjusting the amount to your preference. Season with additional salt and pepper if needed and serve hot. I find that starting with less cream and adding more to taste lets each person customize their bowl perfectly.
