You know what’s funny? Every summer, my garden gives me more zucchini than I know what to do with. Sure, I could make another batch of grilled vegetables or toss them in a stir-fry, but there’s only so many times you can serve zucchini as a side dish before the family starts giving you those looks.
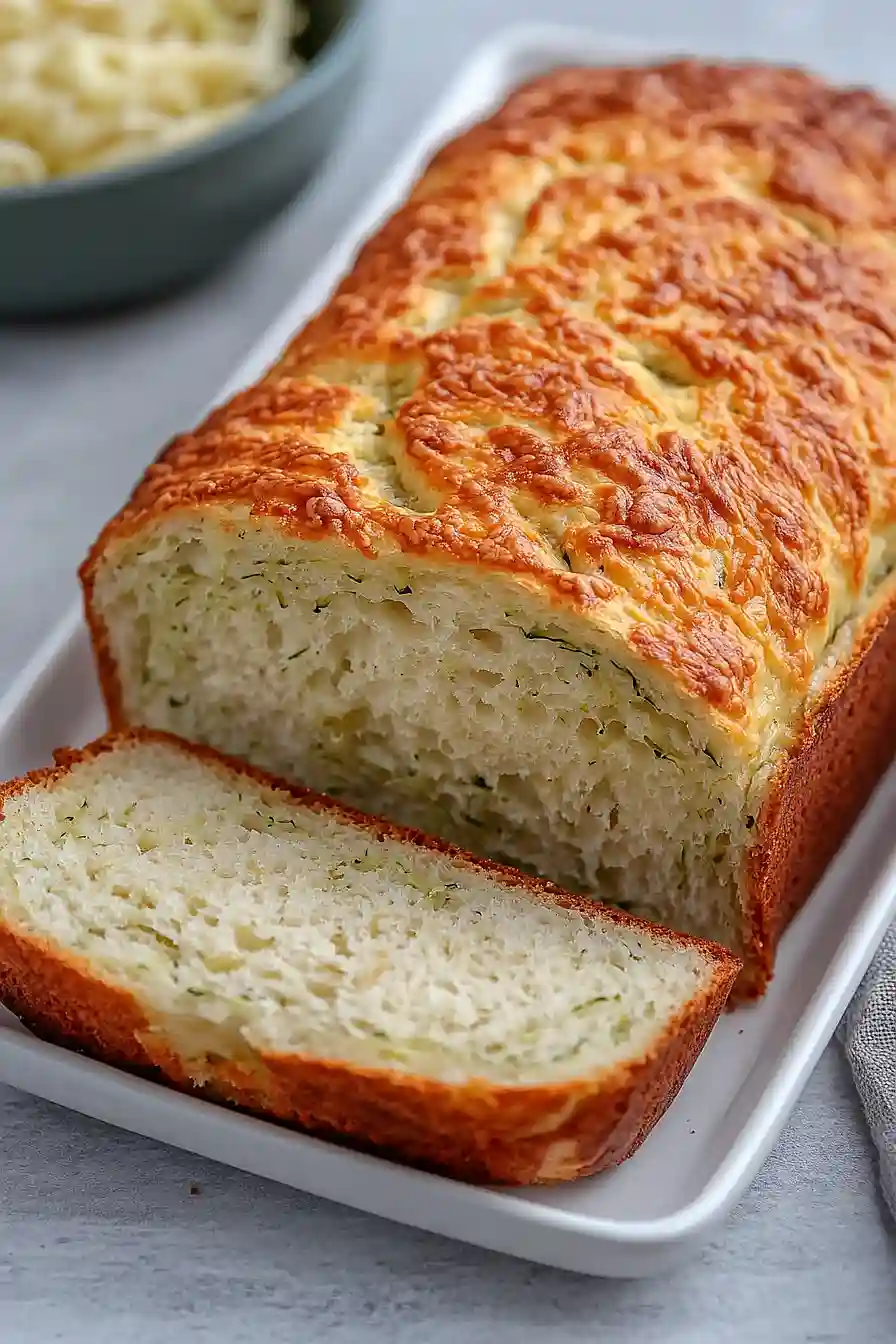
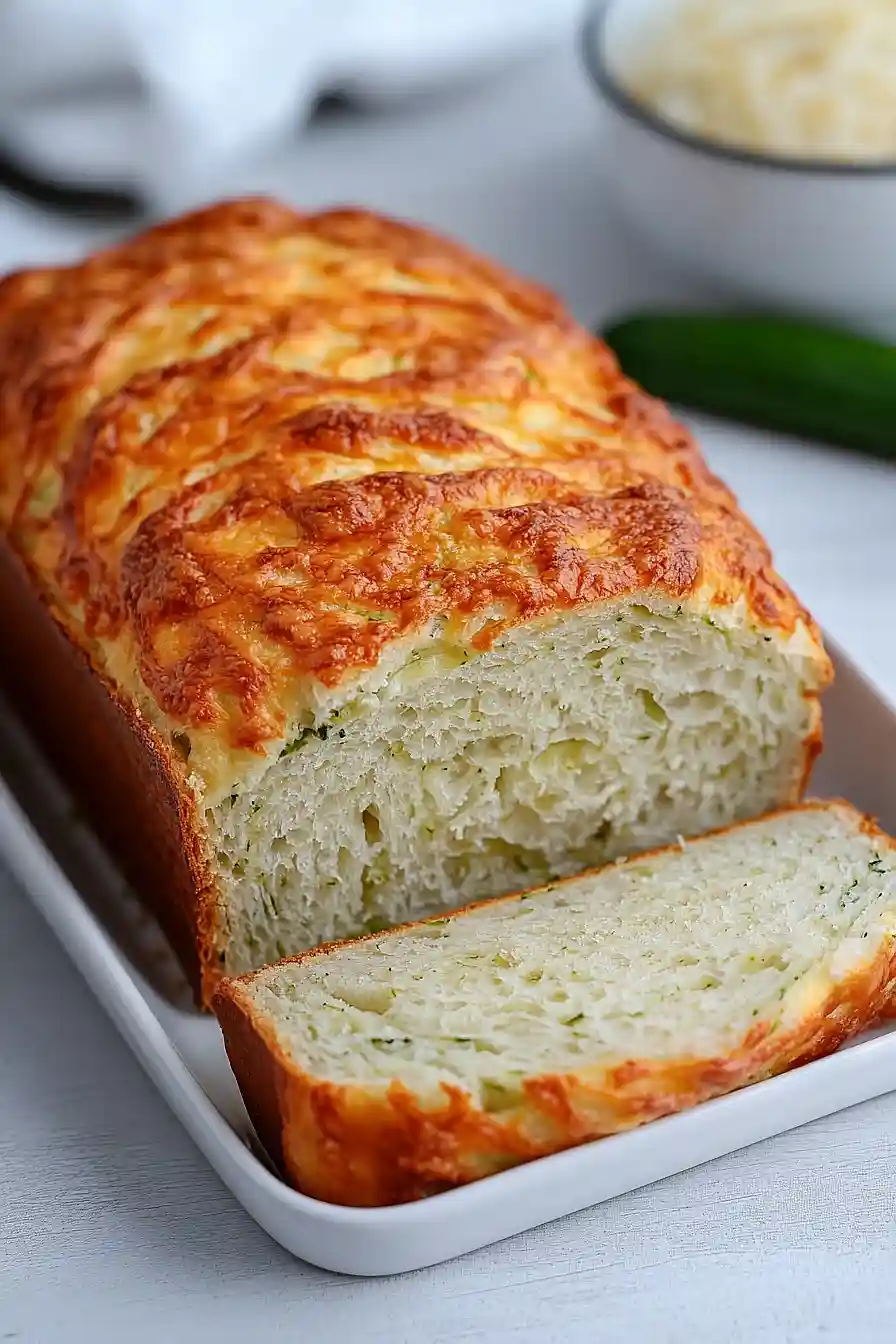
That’s why I started experimenting with zucchini bread recipes. Most people go straight for the sweet version with cinnamon and nuts, but this savory yeast bread has become my go-to way to use up those extra garden veggies. It’s perfect with soup, makes great sandwich bread, and nobody ever guesses there’s a vegetable hiding in there.
The best part? This recipe helps me tackle two problems at once – using up my garden surplus and putting fresh bread on the table. And let me tell you, there’s nothing better than watching your family dig into a warm slice, knowing they’re getting an extra serving of vegetables without even realizing it.

Why You’ll Love This Zucchini Bread
- Sneaky vegetables – This bread is a clever way to add extra vegetables into your diet – the zucchini blends perfectly into the dough while adding moisture and nutrients.
- Double cheese flavor – With both parmesan and cheddar cheese, this bread has a rich, savory taste that makes it perfect for sandwiches or as a side with soup.
- Versatile recipe – You can shape it into a traditional loaf or make hamburger buns – perfect for both everyday sandwiches and special burger nights.
- Soft and fluffy texture – Thanks to the high-protein bread flour and moisture from the zucchini, this bread turns out perfectly soft and chewy every time.
What Kind of Zucchini Should I Use?
Medium-sized zucchini are your best bet for this bread recipe since they tend to have the perfect balance of flesh and moisture. Smaller zucchini work well too, but try to avoid the really large ones as they can be too seedy and watery. When you’re shopping, look for firm zucchini with smooth, dark green skin – any soft spots or blemishes might mean the vegetable is past its prime. Before shredding, there’s no need to peel your zucchini, but do give it a good wash and trim off both ends. If your shredded zucchini seems extra watery, you can gently squeeze it in a clean kitchen towel to remove some excess moisture, though you’ll want to save that liquid for the recipe.
Options for Substitutions
Here are some helpful substitution tips for this zucchini bread recipe:
- Bread flour: This is pretty important for the structure, but if you must substitute, use all-purpose flour plus 1 tablespoon of vital wheat gluten. Without the extra gluten, your bread might not rise as well.
- Zucchini: You can swap the zucchini with yellow summer squash – just make sure to squeeze out the excess moisture the same way. The color will be different but the texture will be similar.
- Instant yeast: If you only have active dry yeast, use 6 grams instead of 5, and dissolve it in warm water first before adding to the mix.
- Cheeses: Feel free to play around with different cheese combinations. Pecorino Romano works instead of parmesan, and monterey jack or gouda can replace the cheddar. Just stick to similar melting properties.
- Oil: Any neutral vegetable oil works here, or even melted butter if you prefer. If using butter, add an extra teaspoon to match the moisture content.
- Egg wash: If you’re out of eggs, brush the top with milk alone, or mix milk with a bit of honey for a nice golden crust.
Watch Out for These Mistakes While Baking
The biggest challenge when making zucchini bread with yeast is dealing with excess moisture – be sure to squeeze out your shredded zucchini thoroughly before adding it to the dough, as too much water can make your bread dense and gummy. A common mistake is rushing the proofing process – this bread needs proper time to rise (about 1-1.5 hours for the first rise and 45 minutes for the second) in a warm, draft-free spot to develop its structure and flavor. When kneading the dough, resist the urge to add too much extra flour even if it feels sticky at first – the moisture from the zucchini will gradually incorporate as you knead, and too much flour will result in a tough loaf. For the best cheese flavor distribution, layer half of your cheeses in the middle of the dough when shaping, then sprinkle the remaining on top before the final rise, which prevents all the cheese from sinking to the bottom during baking.
What to Serve With Zucchini Bread?
This savory zucchini bread makes a wonderful companion to soups and stews – especially tomato-based ones where you can soak up all that tasty broth! Since it’s loaded with cheese and vegetables, it also works great as a side for simple protein dishes like grilled chicken or a light fish fillet. For breakfast or brunch, try toasting a slice and spreading it with butter or cream cheese, maybe even adding a fried egg on top. You can also turn it into a quick lunch by making sandwiches with sliced turkey or ham and some fresh lettuce.
Storage Instructions
Keep Fresh: This cheesy zucchini bread stays fresh at room temperature for up to 2 days when wrapped well in plastic wrap or stored in an airtight container. For longer storage, pop it in the fridge where it’ll keep for up to 5 days. The cheese and zucchini make this bread extra moist, so proper storage is key!
Freeze: Want to save some for later? Let the bread cool completely, then slice it up and freeze in a freezer-safe bag with parchment paper between slices. It’ll stay good for up to 3 months. This way, you can grab just what you need when you’re craving a slice!
Warm Up: To bring back that fresh-baked taste, pop a slice in the toaster or warm it in the oven at 350°F for a few minutes. If frozen, thaw the slices overnight in the fridge first. The cheese gets all melty again – it’s so good!
| Preparation Time | 30-45 minutes |
| Cooking Time | 25-30 minutes for loaf; 15 minutes for hamburger buns |
| Total Time | 70-90 minutes for loaf; 60-75 minutes for hamburger buns |
| Level of Difficulty | Medium |
Estimated Nutrition
Estimated nutrition for the whole recipe (without optional ingredients):
- Calories: 800-900
- Protein: 35-40 g
- Fat: 30-35 g
- Carbohydrates: 100-110 g
Ingredients
- 350 grams bread flour (high protein content)
- 20 grams sugar
- 200 grams shredded zucchini
- 5 grams instant yeast
- 15 grams oil
- 4 grams salt
- 70 grams zucchini juice (add more if required)
- 1 egg, beaten
- 1/2 teaspoon milk
- 1 tablespoon grated parmesan cheese (add extra if desired)
- 1/2 cup shredded cheddar cheese
Step 1: Prepare the Zucchini
Wash the zucchini well, pat it dry, and leave the skin on (unless you prefer to remove it).
Cut the zucchini in half and scrape out the seeds, which tend to be watery.
Grate the zucchini into fine pieces to avoid a “stringy” texture in the dough.
Squeeze out as much liquid from the grated zucchini as possible and set the liquid aside to control the dough’s hydration later on.
Step 2: Mix and Knead the Dough
Combine all your dough ingredients, including the grated zucchini, in the mixing bowl of a stand mixer.
Use the dough hook to stir the mixture roughly, preventing the dry ingredients from scattering when the machine is turned on.
Start mixing at speed 2 for about 1 minute, then increase to speed 2 and continue kneading for 7-10 minutes until the dough is smooth, elastic, and slightly sticky.
Aim for a windowpane stage, where gently stretching the dough doesn’t cause it to tear easily.
If the dough feels dry or stiff, gradually add more zucchini juice until it feels hydrated and soft.
Step 3: First Proofing
Place the dough in a lightly oiled bowl, ideally a round, 1 quart-size container, to easily monitor its volume growth.
Gently press the dough to flatten and fill the container.
Mark the side of the container with masking tape to indicate where the dough should double in volume.
Allow the dough to proof at around 79-82°F (26-28°C) which could take about 30-45 minutes, or longer depending on the ambient temperature.
Step 4: Shape the Dough
Once the dough has doubled in size, transfer it to a work surface and deflate by pressing and folding a few times.
For a loaf: divide the dough into three equal portions.
Round each into a ball and let them rest, covered, for 5 minutes.
Flatten each dough with your palm, roll into a rectangle, fold the sides to the center, and roll up like a Swiss roll, not too tight, not too loose.
Place the shaped dough into a greased 8 1/2 x 4 1/2 loaf pan side by side and slightly flatten with your palm.
For hamburger buns: Divide the dough into six equal portions and shape them into balls by pulling and tucking.
Rest them covered for 5 minutes, then further shape them by flattening and pulling the edges to the center before placing seam-side down on a parchment-lined baking sheet.
Step 5: Second Proofing
For the loaf: Cover and let the dough proof until it fills 80-90% of the pan, which could take 45 minutes to 1 hour or longer at 82°F (28°C).
The dough is ready when a gentle poke bounces back slowly, leaving an indentation.
For buns: Let them proof until puffy, about 50% larger, similar to the loaf’s timing and temperature.
The buns are ready for baking by the same indentation test.
Step 6: Baking the Bread
Preheat your oven to 350°F (180°C) about 10 minutes before the proofing finishes.
Adjust the temperature for a convection oven by reducing by 20°F (15°C).
Brush the prepared dough with an egg wash (egg whisked with milk) and optionally sprinkle with parmesan cheese.
Bake the loaf on the middle rack for 25-30 minutes or until golden brown, ensuring an internal temperature of 190°F (88°C).
Rotate the pan halfway and tent with foil if the top browns too quickly.
Hamburger buns take about 15 minutes and should reach the same internal temperature.
Step 7: Cooling and Optional Finish
Immediately after removing the bread from the oven, drop the pan gently on the counter to release steam, and transfer the bread to a cooling rack.
For hamburger buns, simply move them to the rack.
For a softer, shinier crust, optionally brush with melted butter while warm.
Allow the bread to cool completely before serving.
