When you’re craving something sweet for breakfast but don’t want the usual pancakes or waffles, it can be tricky to find a recipe that hits the spot. Between getting the kids ready for school and tackling the morning rush, there’s rarely time to make anything fancy – and let’s be honest, a bowl of cereal just doesn’t cut it some days.
That’s where these strawberry rolls come in: they’re sweet but not over-the-top, can be prepped the night before, and best of all, they’re a guaranteed way to get everyone to the breakfast table with smiles on their faces.

Why You’ll Love These Strawberry Rolls
- Fresh fruit twist – These rolls combine fresh strawberries and jam for a fruity spin on classic cinnamon rolls that’s perfect for spring and summer mornings.
- Make-ahead friendly – You can prep these rolls the night before and let them do their final rise in the fridge overnight, making your morning routine easier.
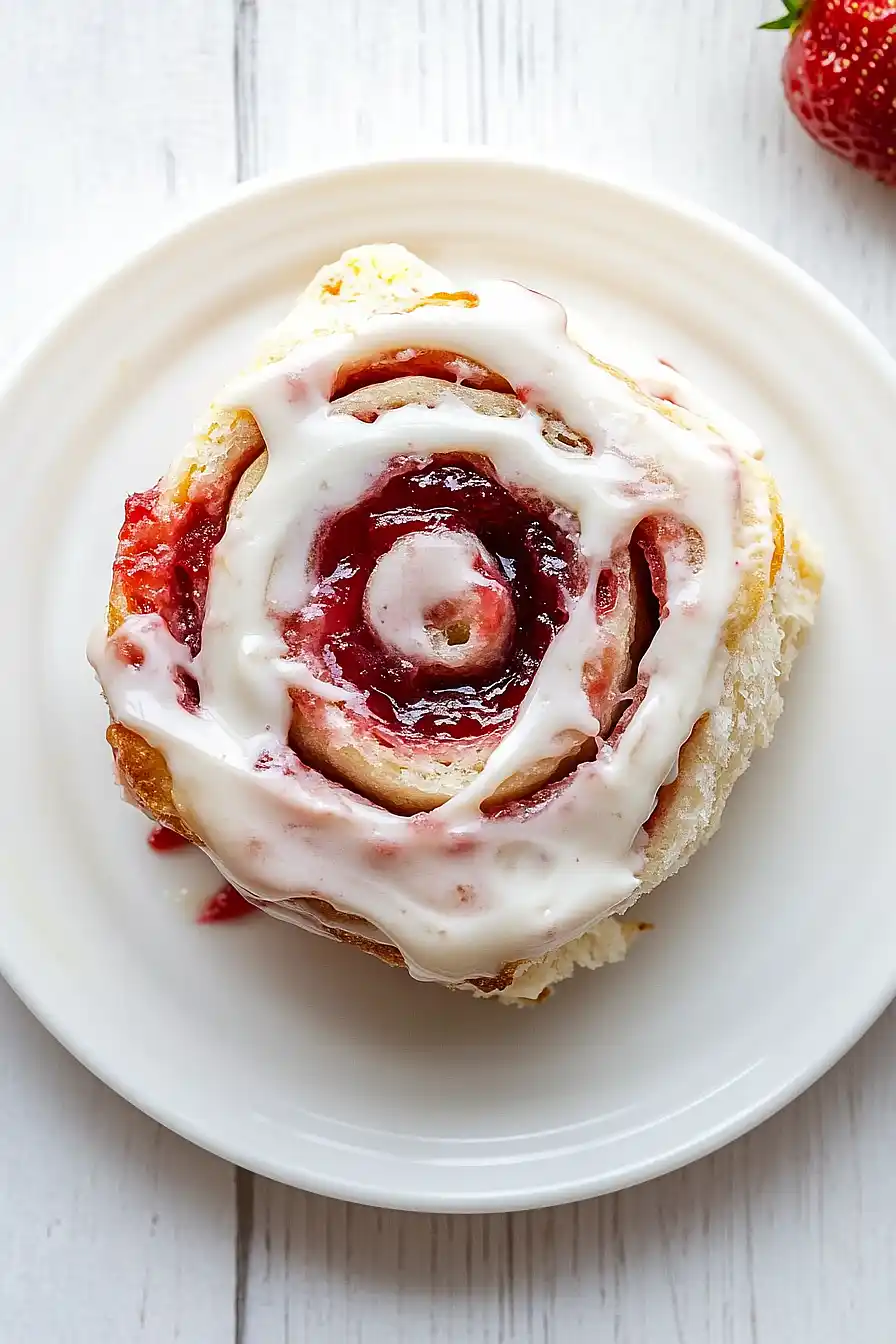
- Cream cheese glaze – The tangy cream cheese glaze perfectly balances the sweet strawberry filling, creating that perfect balance of flavors in every bite.
- Basic pantry ingredients – Besides fresh strawberries, these rolls use simple ingredients you likely already have in your kitchen, making them an easy weekend baking project.
- Homemade satisfaction – There’s nothing quite like the smell of freshly baked rolls wafting through your house, and these are sure to impress family and friends.
What Kind of Strawberries Should I Use?
Fresh strawberries are the way to go for these rolls, and you’ll want to look for berries that are bright red and fully ripe, but still firm. Skip any berries that are mushy, have white or green patches, or show signs of mold. Since you’ll be chopping them up, don’t worry too much about size – both small and large strawberries will work just fine. If fresh strawberries aren’t in season, you can actually skip the fresh berries altogether and just use the strawberry jam called for in the recipe, since it provides plenty of strawberry flavor on its own. When prepping your berries, make sure to pat them dry after washing to prevent adding extra moisture to your dough.
Options for Substitutions
Here are some helpful substitutions you can try with these strawberry rolls, though keep in mind some ingredients are essential for the best results:
- Whole milk: You can use 2% milk or plant-based alternatives like almond or oat milk. If using plant-based milk, add 1 tablespoon of melted butter to make up for the lost fat content.
- Active dry yeast: Instant yeast works too – use the same amount but skip the proofing step and add it directly to your dry ingredients.
- All-purpose flour: Bread flour can work here and will give you a chewier texture. Don’t substitute with whole wheat flour alone as it will make the rolls too dense – if you want to use some, replace no more than 1/4 of the all-purpose flour.
- Fresh strawberries: If fresh strawberries aren’t in season, you can use frozen ones – just thaw and drain them well first. You could also use other berries like raspberries or a mix of berries.
- Cream cheese: For the frosting, mascarpone cheese makes a good substitute, or you could use Greek yogurt cream cheese for a lighter option.
- Strawberry jam: Any berry jam works here – raspberry, mixed berry, or even peach preserves can be tasty alternatives.
Watch Out for These Mistakes While Baking
The temperature of your milk is crucial when making strawberry rolls – too hot will kill the yeast, while too cold won’t activate it properly, so use a thermometer to ensure it’s between 105-110°F for perfect dough activation. When working with fresh strawberries, a common mistake is not patting them dry thoroughly, which can make your filling too wet and prevent the rolls from baking properly – use paper towels to remove excess moisture before chopping. The third key mistake happens during the rolling process: rolling the dough too tightly can cause the filling to squeeze out and create gaps in your baked rolls, so maintain a gentle but firm pressure as you roll. For the best texture, avoid rushing the rise times – give your dough the full recommended time to double in size, both after kneading and after shaping the rolls, as this develops the perfect fluffy texture that makes these rolls so special.

What to Serve With Strawberry Rolls?
These sweet and fruity strawberry rolls are perfect for breakfast or brunch, and they pair wonderfully with a hot cup of coffee or tea. For a complete morning spread, serve them alongside some crispy bacon or breakfast sausage to balance out the sweetness. I like to add some fresh fruit on the side – maybe some mixed berries or sliced peaches – which complements the strawberry filling nicely. If you’re hosting brunch, consider adding a protein-rich dish like scrambled eggs or a breakfast casserole to make it a filling meal.
Storage Instructions
Keep Fresh: These strawberry rolls are best enjoyed the day they’re made, but you can keep them in an airtight container at room temperature for up to 2 days. If you add the cream cheese frosting, make sure to store them in the fridge, where they’ll stay good for up to 4 days.
Freeze: Want to save some for later? You can freeze these rolls without the frosting for up to 2 months. Just wrap them individually in plastic wrap and place them in a freezer bag. When you’re ready to enjoy them, thaw overnight in the fridge and warm them up slightly before adding fresh frosting.
Make Ahead: You can prep these rolls the night before! After shaping them, cover the pan tightly with plastic wrap and let them do their second rise in the fridge overnight. In the morning, let them sit at room temperature for about 30 minutes before baking. This is perfect for fresh, warm rolls without the early morning prep work!
| Preparation Time | 30-40 minutes |
| Cooking Time | 25-30 minutes |
| Total Time | 105-130 minutes |
| Level of Difficulty | Medium |
Estimated Nutrition
Estimated nutrition for the whole recipe (without optional ingredients):
- Calories: 1800-2000
- Protein: 30-40 g
- Fat: 70-80 g
- Carbohydrates: 260-280 g
Ingredients
For the dough:
- 1/2 cup warmed whole milk (105°f to 110°f)
- 1 tsp active dry yeast
- 1/3 cup granulated sugar
- 2 cups all-purpose flour
- 1/4 cup unsalted butter
- 1/4 tsp salt
- 1 large egg
For the filling:
- 3/4 cup diced fresh strawberries
- 1/2 cup strawberry preserves
- 1 tsp granulated sugar
For the icing:
- 2 oz cream cheese, softened
- 1 tbsp unsalted butter, softened
- 1/2 cup confectioners’ sugar
- 3 tbsp whole milk
- 1/4 tsp vanilla extract
Step 1: Activate the Yeast
- 1/2 cup warmed whole milk (105°F to 110°F)
- 1 tsp active dry yeast
- 1 tsp granulated sugar (from the 1/3 cup granulated sugar)
In a small bowl, combine the warmed whole milk (105°F to 110°F) with 1 teaspoon of the granulated sugar and the active dry yeast.
Stir to dissolve and let the mixture sit for 5 to 10 minutes, or until it becomes foamy and bubbly.
Step 2: Prepare the Dough Base
- remaining granulated sugar (from the 1/3 cup minus 1 tsp used in Step 1)
- 2 cups all-purpose flour
- 1/4 cup unsalted butter
- 1/4 tsp salt
- 1 large egg
In the bowl of a stand mixer, add the remaining granulated sugar, all-purpose flour, unsalted butter, salt, and egg.
Using the paddle attachment, mix on medium-low speed until the mixture forms coarse crumbs.
This forms the base of your enriched dough.
Step 3: Mix, Knead, and First Rise
- dough base mixture from Step 2
- activated yeast mixture from Step 1
Switch to the dough hook attachment.
Add the activated yeast mixture from Step 1 to the crumb mixture in the stand mixer bowl.
Beat on medium-low for about 8 minutes, until a smooth, sticky dough forms.
If the dough is too sticky, add additional flour 1 tablespoon at a time.
Lightly oil a large bowl, transfer the dough into it, and turn to coat.
Cover and let rise in a warm area until doubled in size, about 1 hour.
Step 4: Shape, Fill, and Cut the Rolls
- risen dough from Step 3
Turn the risen dough out onto a lightly floured surface.
Gently press the dough into a square to release some air.
Roll into a 12×16-inch rectangle.
(If you want to add filling, now is the time!
I like to be creative and use seasonal jams or fresh fruit as filling.)
Step 5: Arrange Rolls and Second Rise
- lightly buttered 10-inch pie dish (use a small amount of the 1/4 cup unsalted butter)
Lightly butter a 10-inch pie dish or coat it with baking spray.
Spread your chosen filling over the rolled-out dough, leaving a 1/2-inch border on one short side.
Starting from the opposite short side, roll up the dough into a log and pinch the seam closed.
Slice off 1/2-inch from each end and discard.
Cut the log into 8 equal rolls using a serrated knife or unflavored dental floss.
Place the rolls, cut side down, in the prepared pie dish.
Loosely cover and let rise in a warm spot again until doubled, about 45 minutes to 1 hour.
Step 6: Bake the Rolls
Preheat your oven to 350°F while the rolls rise.
Uncover the dish and bake the rolls for 25 to 30 minutes, or until golden brown on top.
Let cool slightly before icing.
I always check the center roll to see if it’s done—if it’s golden and springs back when pressed, you’re good to go!
