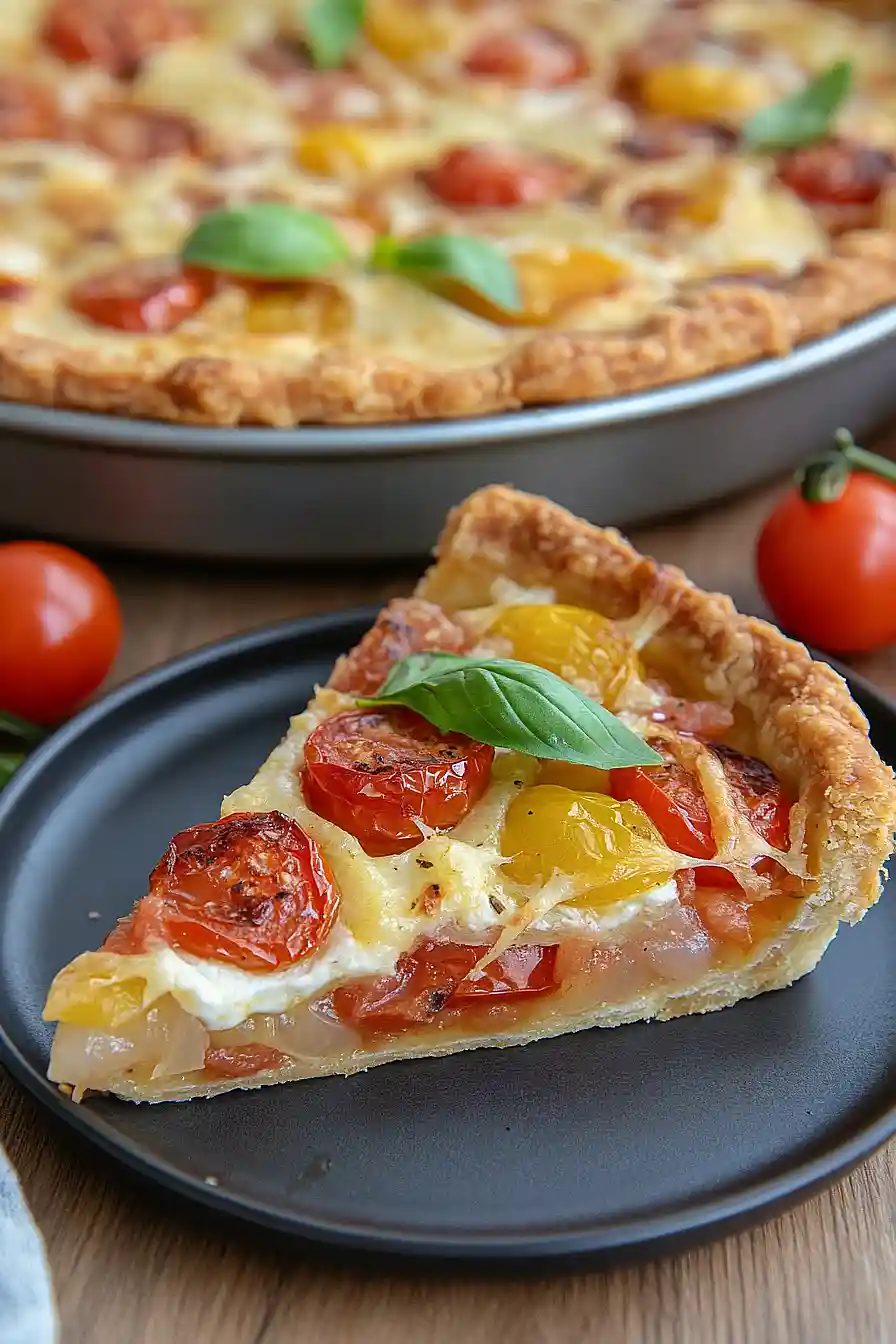
Growing up, I thought tomato pie was just something fancy people made in magazines. My mom stuck to basic salads when tomatoes were involved. The first time I attempted a tomato pie, it turned into a soggy mess that even my kids wouldn’t touch.
But here’s the thing about cherry tomatoes – they’re actually perfect for pie making. Unlike their bigger cousins, these little guys don’t release as much water when baked. After some trial and error in my kitchen, I’ve figured out a few simple tricks that make this cherry tomato pie turn out right every single time.

Why You’ll Love This Tomato Pie
- Perfect summer dish – This pie makes the most of juicy, sweet cherry tomatoes when they’re at their peak – it’s like summer sunshine on a plate!
- Time-saving shortcuts – Using a ready-made pie crust cuts down on prep time while still giving you that homemade taste everyone loves.
- Make-ahead friendly – You can prep all the ingredients in advance and assemble just before baking, making it perfect for busy weeknights or weekend gatherings.
- Simple ingredients – With just a handful of fresh ingredients like cherry tomatoes, cheese, and herbs, this recipe proves that sometimes less is more.
- Great for entertaining – This pie looks impressive when served, but it’s actually super easy to put together – perfect for when you want to wow your guests without stress.
What Kind of Cherry Tomatoes Should I Use?
Regular red cherry tomatoes are the classic choice for this pie, but don’t be afraid to mix things up with different varieties. Sweet grape tomatoes work just as well, and you could even throw in some yellow pear tomatoes or colorful heirloom cherry varieties to make the pie more interesting. The most important thing is making sure your tomatoes are ripe but firm – you don’t want them too soft or they’ll release too much liquid into your pie. When shopping, give the tomatoes a gentle squeeze – they should yield slightly but not be mushy, and look for ones with bright color and no blemishes or cracks. If your tomatoes are on the larger side, quarter them instead of halving them so they cook evenly.
Options for Substitutions
This tomato pie is pretty flexible and you can make several swaps based on what you have in your kitchen:
- Pie crust: While store-bought is super convenient, you can definitely use your favorite homemade pie crust recipe. In a pinch, you could even use puff pastry, though the texture will be different.
- Fontina cheese: Don’t worry if you can’t find Fontina – Gruyere, mozzarella, or a mix of provolone and mild cheddar work great too. Just make sure to use a good melting cheese.
- Mayonnaise: You can swap the mayo with Greek yogurt or sour cream, though the filling might be slightly less rich. A mix of half mayo and half Greek yogurt is also nice.
- Cherry tomatoes: While cherry tomatoes are perfect here, you can use regular tomatoes cut into chunks. Just make sure to remove some seeds and drain well to avoid a soggy pie.
- Chives: Out of chives? Try green onions (scallions) or finely chopped red onion instead.
- Fresh basil: Fresh basil adds great flavor, but you could use fresh oregano or thyme. If using dried herbs instead, use just 1 tablespoon as they’re more concentrated.
Watch Out for These Mistakes While Baking
The biggest challenge when making tomato pie is preventing a soggy bottom crust – to avoid this, pre-bake your crust for 10-12 minutes and let your halved tomatoes drain on paper towels for at least 30 minutes before assembling the pie. Another common mistake is rushing to slice the pie right after it comes out of the oven – letting it cool for 15-20 minutes allows the filling to set properly and makes for cleaner, more beautiful slices. To make your pie even better, try patting the tomatoes dry one final time just before adding them to the pie, and consider sprinkling a thin layer of cheese directly on the pre-baked crust before adding other ingredients – this creates a barrier that helps keep the crust crisp. For the freshest flavor, save some of your basil to sprinkle on top just before serving, as baked basil can lose its bright taste.
What to Serve With Cherry Tomato Pie?
This savory pie makes a fantastic summer lunch or dinner, and it pairs beautifully with simple sides that won’t overshadow its fresh flavors. A crisp arugula salad dressed with just olive oil and lemon juice makes the perfect light companion to the rich, cheesy pie. For a more substantial meal, add some grilled chicken or a piece of seared fish on the side – the fresh basil flavors in the pie complement these proteins really well. Since this dish already has plenty of cheese and buttery crust, I like to balance it out with something green like steamed asparagus or roasted Brussels sprouts tossed with a little garlic.
Storage Instructions
Keep Fresh: This cherry tomato pie is best enjoyed within 2-3 days. Place any leftovers in an airtight container and keep them in the fridge. The crust might soften a bit from the moisture of the tomatoes, but it’s still really good!
Make Ahead: You can prep some components ahead of time to make assembly quicker. Pre-bake the crust and mix the cheese-mayo filling up to a day before. Just keep the filling covered in the fridge, and wait to add the tomatoes until you’re ready to bake the final pie.
Warm Up: When you’re ready to enjoy leftover pie, let it sit at room temperature for about 15 minutes, then pop it in a 350°F oven for 10-15 minutes until warmed through. You can also microwave individual slices for about 30 seconds, though the crust won’t be as crispy.
| Preparation Time | 15-20 minutes |
| Cooking Time | 45 minutes |
| Total Time | 60-65 minutes |
| Level of Difficulty | Medium |
Estimated Nutrition
Estimated nutrition for the whole recipe (without optional ingredients):
- Calories: 1200-1400
- Protein: 25-30 g
- Fat: 90-100 g
- Carbohydrates: 80-90 g
Ingredients
- 1 ready-to-use pie crust (refrigerated or, if frozen, thaw for 20 minutes)
- 1 1/2 cups shredded fontina cheese (or your preferred mix, with the option to add 1/2 cup more)
- 1/3 cup chopped fresh chives
- 1/2 cup mayonnaise
- 2 pints cherry tomatoes (cut in half, or quartered if larger)
- 1/2 teaspoon kosher salt
- 1/4 teaspoon black pepper
- 1/4 cup fresh basil leaves (washed and thinly sliced into ribbons)
Step 1: Prepare the Pie Crust
Start by preheating your oven to 375 degrees Fahrenheit.
Take your refrigerated pie crust and place it into a pie pan, pressing it gently into the corners.
If you desire, crimp the edges for a decorative touch.
There’s no need to pre-bake the crust, so it’s ready for the filling.
Step 2: Make and Spread the Cheese Filling
In a small bowl, combine the cheese, mayonnaise, chives, and pepper.
Mix well until smooth and uniformly combined.
Spread this cheese mixture evenly over the prepared pie crust, ensuring that it covers the bottom completely.
Step 3: Add Toppings and Season
Top the cheese-filled crust with cherry tomatoes, dispersing them evenly over the surface.
Sprinkle a bit of salt and pepper over the tomatoes to enhance their flavor.
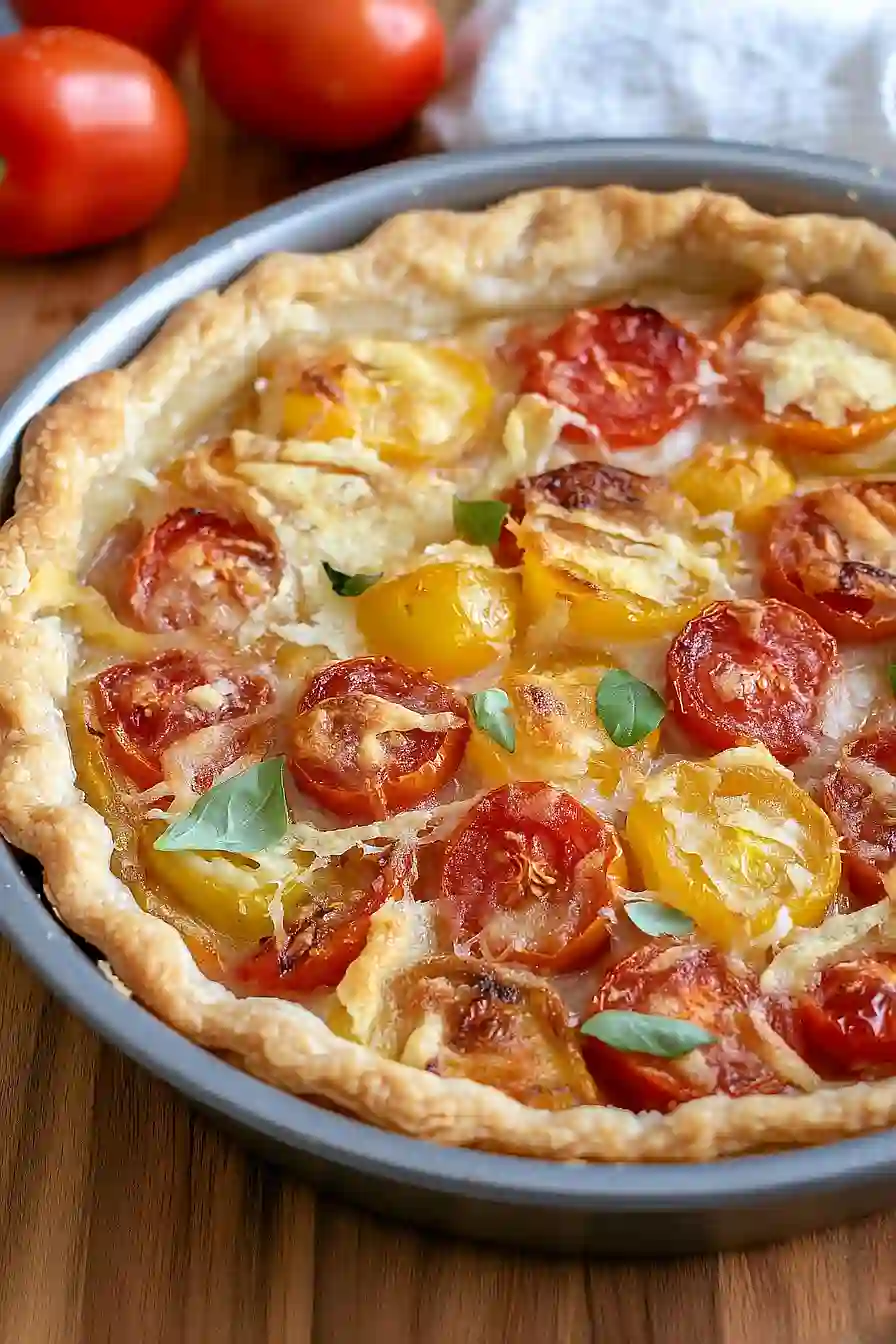
Step 4: Bake the Pie
Place the pie in the preheated oven and bake for 45 minutes, or until the crust edges turn a lovely golden brown and the cheese begins to bubble up around the tomatoes.
This will create a beautifully textured and flavorful topping.
Step 5: Cool the Pie
Once baked, carefully remove the pie from the oven and place it on a wire cooling rack.
Allow it to cool for one hour, which helps the filling set and makes slicing easier.
Step 6: Garnish with Basil
To chiffonade basil, stack the leaves, roll them into a tight cylinder, and slice into thin ribbons using a sharp knife.
Sprinkle these basil ribbons over the pie just before serving, adding a fresh, aromatic finish.

Delicious! A great way to use our bumper crop of cherry tomatoes. I did bake the crust for 8 minutes before putting the toppings on and used half yogurt and half mayonnaise. Definitely going to be in the regular rotation. Thank you!