Growing up, my kids always wanted to make both cookies and brownies whenever we baked together. It usually meant twice the mess and double the dishes to wash. One December afternoon, while watching “How the Grinch Stole Christmas” for the hundredth time, my daughter asked if we could make green treats like the Grinch.
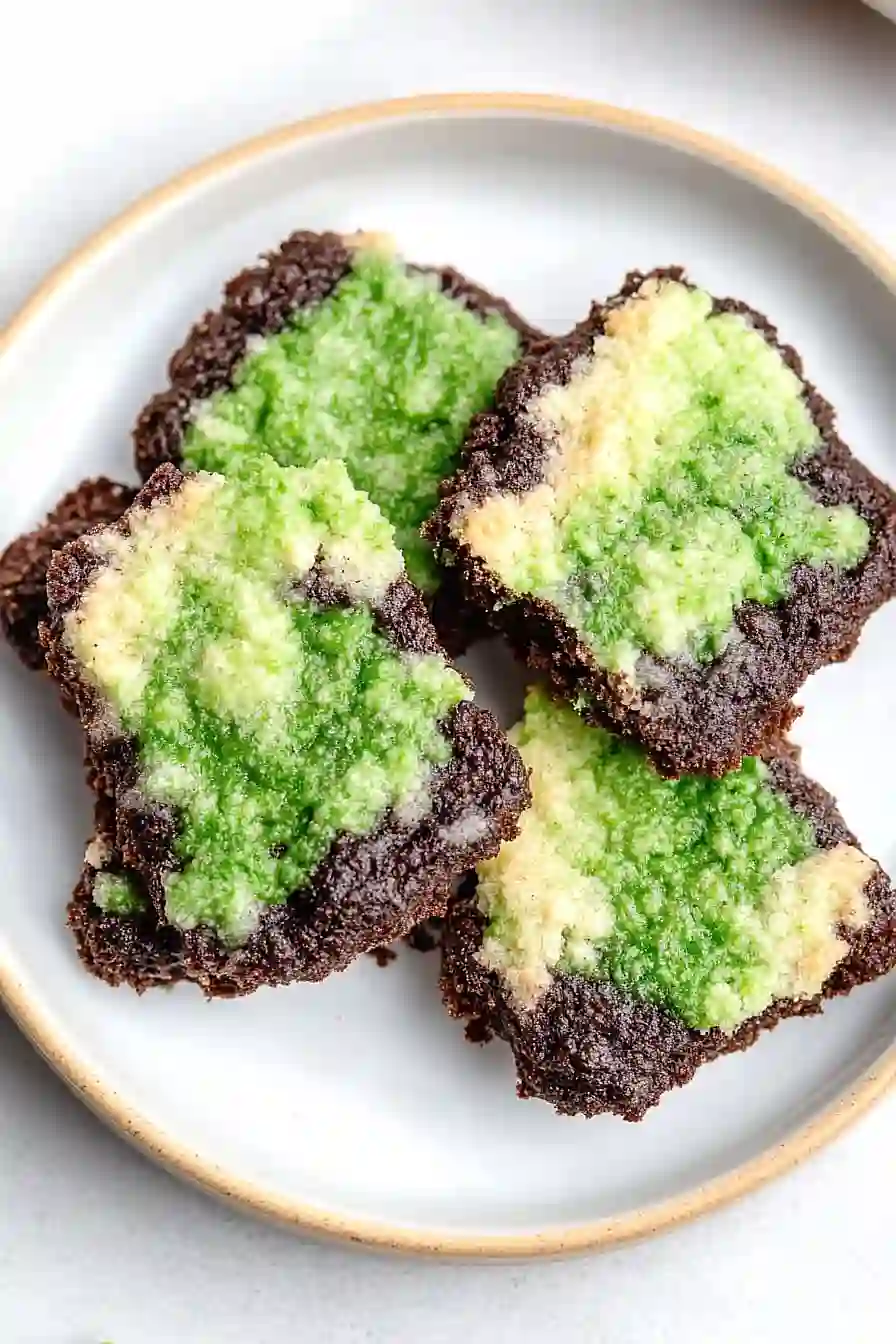
That’s when I discovered brookies – the perfect mix of brownies and cookies in one treat. And with a little food coloring magic, these Grinch brookies became our new holiday tradition. They’re easier than making separate batches, and the green color makes my kids giggle every time we make them.

Why You’ll Love These Brookies
- Two treats in one – Get the best of both worlds with a perfect mix of fudgy brownies and soft cookies combined into one fun dessert.
- Holiday-themed fun – The festive green color makes these brookies perfect for Christmas parties or Grinch-themed celebrations that kids and adults will love.
- Basic pantry ingredients – You probably have most of these ingredients in your kitchen already – just grab some green food coloring and you’re ready to bake.
- Make-ahead friendly – These brookies stay fresh for several days when stored properly, making them perfect for holiday cookie exchanges or advance party prep.
What Kind of Flour Should I Use?
For these brookies, standard all-purpose flour is your best bet – it’s the workhorse of baking and will give you just the right texture. While you might be tempted to swap in cake flour for a softer texture or bread flour for more chew, stick with all-purpose flour since this recipe was specifically developed with it in mind. If you’re measuring by volume rather than weight, remember to use the spoon-and-level method: spoon the flour into your measuring cup and level it off with a straight edge, rather than scooping directly from the flour bag. This prevents you from using too much flour, which could make your brookies dry or dense.
Options for Substitutions
Need to make some swaps? Here are some helpful substitutions for this fun brookie recipe:
- Standard flour: All-purpose flour works perfectly here, or you can use cake flour for a lighter texture. For a gluten-free version, try a 1:1 gluten-free flour blend – just make sure it contains xanthan gum.
- Unsweetened cocoa: Both Dutch-process or natural cocoa powder work well. If using Dutch-process, reduce the baking soda by 1/8 teaspoon in the chocolate portion.
- Butter: You can swap butter with margarine in equal amounts, or use coconut oil (same amount) for a different flavor. Just note that the texture might be slightly different.
- Green food coloring: Any green food coloring works – gel, liquid, or natural alternatives like matcha powder (start with 1-2 teaspoons). The color won’t be as bright with matcha, but it’ll add a nice tea flavor.
- Vanilla essence: Vanilla extract can be used instead of essence, or try almond extract for a different flavor (use half the amount as it’s stronger).
- Eggs: For each egg, you can use 1/4 cup of unsweetened applesauce or a flax egg (1 tablespoon ground flax mixed with 3 tablespoons water) for a vegan option.
Watch Out for These Mistakes While Baking
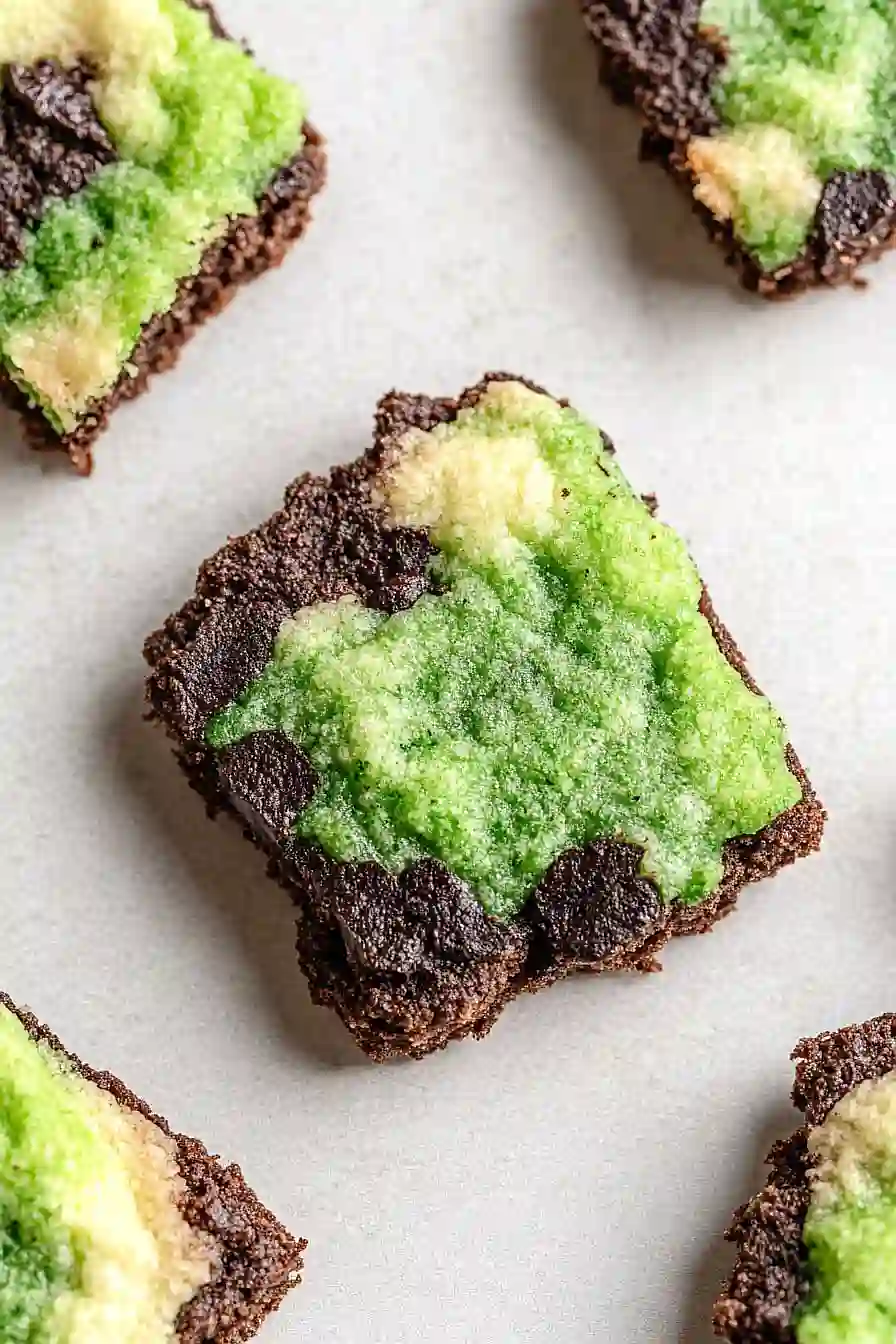
The biggest challenge when making brookies is achieving the right texture for both the brownie and cookie layers – overmixing either batter can lead to tough, dense results, so mix just until the ingredients are combined. When adding the green food coloring to the cookie dough, start with a few drops and gradually add more until you reach your desired shade, as too much liquid food coloring can affect the texture of your cookies. Another common mistake is not properly layering the two batters – for the best marbled effect, dollop alternating spoonfuls of each batter into your pan rather than trying to spread them in distinct layers. To ensure even baking, check your brookies a few minutes before the recommended baking time since oven temperatures can vary, and remember that they’ll continue to set as they cool – they should be slightly underbaked when you take them out, with the edges just starting to pull away from the pan.
What to Serve With Grinch Brookies?
These fun holiday brookies (that’s brownies + cookies!) pair perfectly with a cold glass of milk – regular or plant-based both work great! Since they’re on the sweet side, I like to serve them as part of a holiday dessert spread with some less sweet options like fresh fruit or vanilla ice cream to balance things out. For a festive touch during the Christmas season, serve them alongside hot chocolate topped with whipped cream and a candy cane – the combo of chocolate and mint flavors is just right. A scoop of mint chocolate chip ice cream on the side would also be really nice if you’re going all-in on the Grinch theme!
Storage Instructions
Keep Fresh: These fun Grinch brookies stay fresh when kept in an airtight container at room temperature for up to 5 days. Place a piece of bread in the container with them – it’s an old baker’s trick that helps keep them soft and chewy! Just make sure they’re completely cool before storing.
Freeze: These treats are perfect for making ahead during the holiday season! Layer them between sheets of parchment paper in a freezer-safe container and they’ll keep for up to 3 months. You can even freeze the dough balls separately to bake fresh brookies whenever you want.
Thaw: When you’re ready to enjoy your frozen brookies, just let them thaw at room temperature for about an hour. If you’re working with frozen dough balls, you can bake them straight from frozen – just add an extra minute or two to the baking time.
| Preparation Time | 15-20 minutes |
| Cooking Time | 25-30 minutes |
| Total Time | 40-50 minutes |
| Level of Difficulty | Medium |
Estimated Nutrition
Estimated nutrition for the whole recipe (without optional ingredients):
- Calories: 2400-2600
- Protein: 30-35 g
- Fat: 120-130 g
- Carbohydrates: 300-320 g
Ingredients
- 1 cup standard flour
- 1 cup white sugar
- 1/2 cup unsweetened cocoa
- 1/2 teaspoon salt
- 1/2 teaspoon baking soda
- 2 large eggs
- 1/2 cup butter, melted
- 1 teaspoon vanilla essence
- 1/2 cup butter, softened
- 1 cup white sugar
- 1 1/2 cups standard flour
- 1/2 teaspoon salt
- 1/2 teaspoon baking soda
- 1 large egg
- 1 teaspoon vanilla essence
- Green food color
Step 1: Preheat the Oven
Start by preheating your oven to 350°F (175°C) to prepare it for baking the layered brownies.
Step 2: Prepare the Brownie Batter
In a large bowl, whisk together the dry ingredients: flour, sugar, cocoa powder, salt, and baking soda.
Once combined, add in the wet ingredients: eggs, melted butter, and vanilla extract.
Mix everything together until the batter is smooth and well combined.
Step 3: Prepare the Green Cookie Dough
In another medium-sized bowl, whisk together the dry ingredients: flour, salt, and baking soda.
In a separate large bowl, cream together the butter and sugar until the mixture is light and fluffy.
Add in the egg and vanilla extract, and mix until smooth.
Then, gradually add in the dry ingredient mixture.
Mix until the dough is fully combined.
Finally, add the green food coloring and mix thoroughly until the dough is uniformly green.
Step 4: Assemble and Bake
Pour the brownie batter into a greased 8-inch square baking dish, spreading it out evenly.
Take the green cookie dough and evenly distribute it over the top of the brownie batter.
Place the baking dish in the preheated oven and bake for 25-30 minutes, or until a toothpick inserted in the center comes out with a few moist crumbs.
Step 5: Cool and Serve
Once baked, remove the dish from the oven and allow the brownies to cool in the pan for a few minutes.
Then, cut into squares and serve.
Enjoy the delightful combination of rich brownie and colorful cookie dough layers!
