Let’s face it – finding time to put together a good breakfast on busy mornings can feel nearly impossible. Between getting the kids ready for school, answering early work emails, and trying to get yourself out the door on time, who has the energy to think about assembling a healthy breakfast?
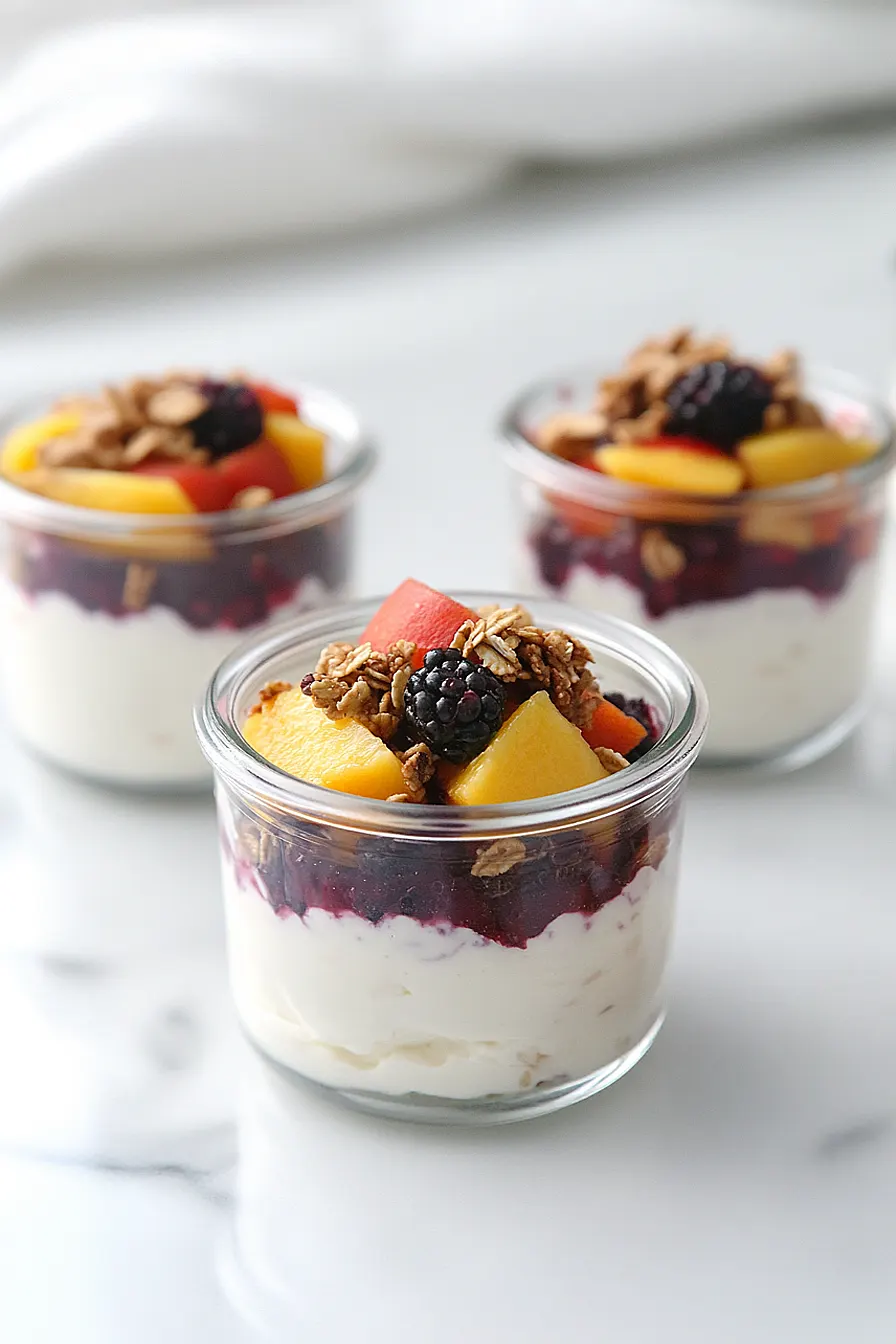
That’s where these make ahead yogurt parfaits come to the rescue. They’re quick to prep the night before, packed with protein and fresh fruit, and so convenient to grab from the fridge as you rush out the door. Plus, they’re super easy to customize based on whatever fruits and toppings your family enjoys most.
Why You’ll Love These Yogurt Parfaits
- Make-ahead convenience – These parfaits are perfect for busy mornings – just grab and go! Make a batch on Sunday, and you’ll have breakfast ready for the whole week.
- Quick assembly – You only need 10-15 minutes to put together multiple breakfasts. It’s faster than hitting the drive-through in the morning!
- Customizable options – Use any yogurt flavor and fruit combination you like. It’s easy to make everyone in the family happy with their own favorite mix.
- Healthy breakfast – These parfaits pack protein from yogurt, fiber from fruit, and healthy fats from granola – everything you need for a balanced breakfast.
- Budget-friendly – Making your own parfaits costs way less than buying them at coffee shops or cafes, and you get to control the portion sizes too.
What Kind of Yogurt Should I Use?
Regular, Greek, or Icelandic-style yogurt all work great in parfaits, though they’ll give you different textures and protein content. Greek yogurt creates a thicker, more filling parfait that holds up well over several days, while regular yogurt gives you a lighter, more traditional parfait texture. If you’re going with vanilla flavor as your base, look for one that’s not too sweet so you can control the overall sweetness of your parfait. For the best results, stick with whole milk or 2% yogurt rather than fat-free versions – they tend to stay creamier and won’t get watery in your jar over time. Just remember that whatever type you choose, make sure it’s fresh when you start assembling your parfaits.

Options for Substitutions
These parfaits are super adaptable and you can easily switch things up based on what you have:
- Vanilla yogurt: Feel free to use any yogurt type – Greek yogurt adds extra protein, or go for dairy-free options like coconut, almond, or soy yogurt. Plain yogurt works too – just add a drizzle of honey or maple syrup if you want it sweeter.
- Frozen fruit: Fresh fruit works just as well as frozen. Mix and match berries, peaches, mangoes, or any fruit you enjoy. Just keep in mind that fresh fruit might release more liquid over time.
- Granola: No granola? Try crushed graham crackers, broken cookie pieces, chopped nuts, or even crushed cereal. For a low-carb option, use a mix of chopped nuts and seeds instead.
- Storage containers: While mason jars are great, any airtight container will do the job. Just make sure it’s big enough to create nice layers and seal well to keep everything fresh.
Watch Out for These Mistakes While Making
The biggest challenge with make-ahead parfaits is preventing soggy granola, which happens when it sits in contact with yogurt or fruit juices for too long – always layer your granola on top or add it just before eating to maintain that satisfying crunch.
When using frozen fruit, avoid thawing it completely before assembling, as this can lead to excess liquid that will make your parfaits watery; instead, layer the fruit while it’s still partially frozen so it thaws gradually in the fridge.
A common mistake is filling the jars too full – leave about an inch of space at the top to prevent the ingredients from squishing together when you close the lid, and remember to tighten those lids well to keep your parfaits fresh for up to 5 days.
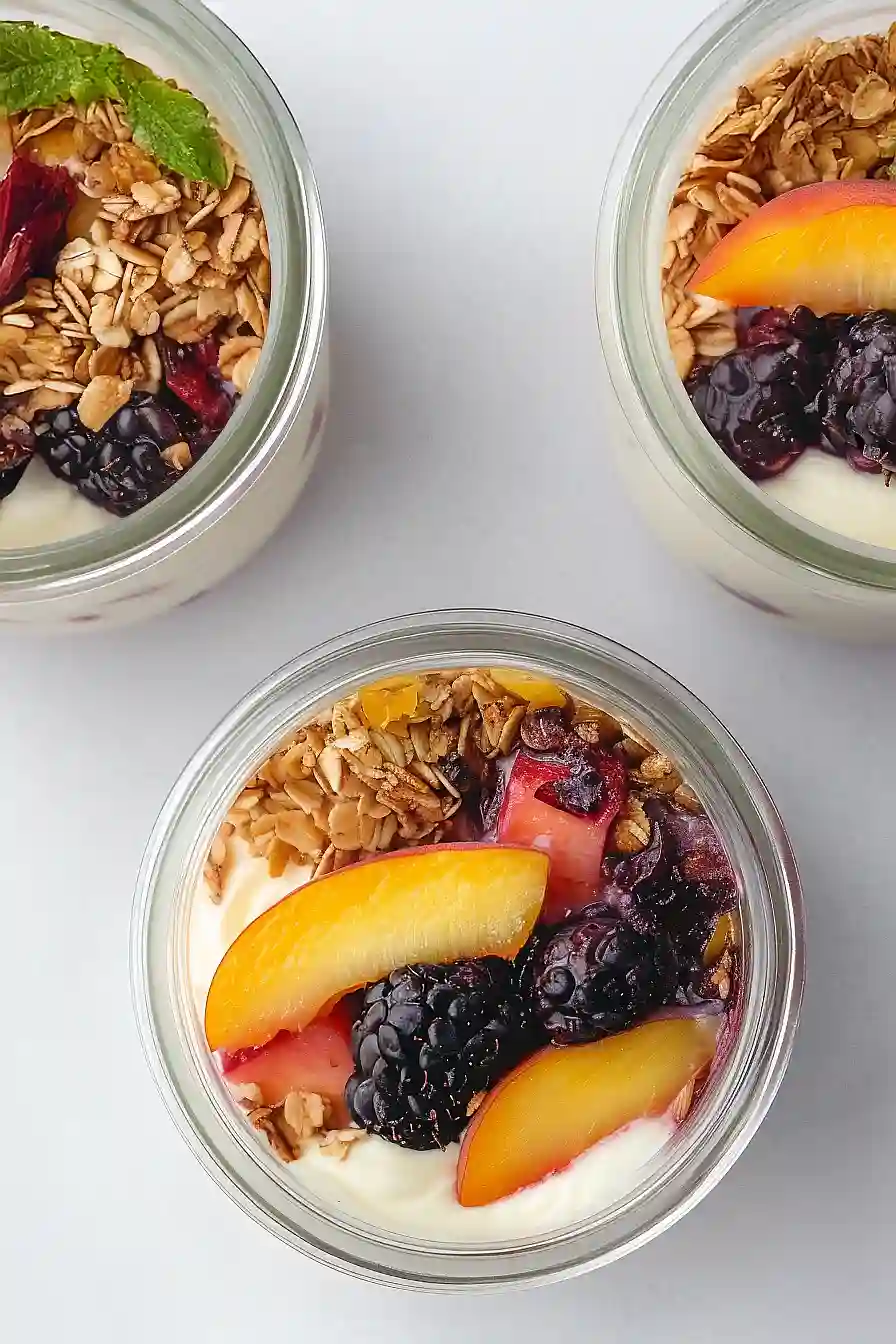
For the best texture and flavor combination, try layering your ingredients in this order: yogurt first, then frozen fruit, and granola on top just before serving.
What to Serve With Yogurt Parfaits?
Since yogurt parfaits are already a complete breakfast or snack on their own, you can keep the accompaniments simple and complementary. A warm cup of coffee or tea makes the perfect morning companion to these creamy, fruity parfaits. If you’re serving these for breakfast, you might want to add a savory element like a hard-boiled egg or a slice of whole grain toast with avocado. For brunch gatherings, I love setting up a little parfait bar alongside these make-ahead versions, letting guests add extra toppings like honey, chia seeds, or different types of fresh fruit – it’s always a hit!
Storage Instructions
Prep Ahead: These parfaits are perfect for meal prep! Layer your ingredients in mason jars, keeping the granola separate until serving time. You can prep these up to 3 days in advance – they’re great for grab-and-go breakfasts or quick snacks throughout the week.
Keep Fresh: Store your assembled parfaits (without granola) in the refrigerator for up to 3 days. The frozen fruit will slowly thaw and release its natural juices, making the yogurt even more flavorful. Keep your granola in a separate container at room temperature to maintain its crunch.
Serve: When you’re ready to eat, just grab a parfait from the fridge and top it with a handful of crunchy granola. Give it a quick stir to mix all those yummy layers together, and you’re good to go! If you used frozen fruit, the parfait might be extra cold – perfect for hot mornings.
| Preparation Time | 10-15 minutes |
| Cooking Time | 0-0 minutes |
| Total Time | 10-15 minutes |
| Level of Difficulty | Easy |
Estimated Nutrition
Estimated nutrition for the whole recipe (without optional ingredients):
- Calories: 1800-2000
- Protein: 40-50 g
- Fat: 60-70 g
- Carbohydrates: 290-320 g
Ingredients
- 32 ounces vanilla yogurt (or any flavor you like)
- Frozen fruit (pick your favorite)
- 2 cups granola with crunch (see linked recipes in the previous post)
- 8 jars with lids (8-ounce size or bigger)
Step 1: Layer the Yogurt
Start by taking a clean jar and layer 1/2 cup of your favorite yogurt at the bottom.
Use a spoon to spread it evenly across the base.
Step 2: Add the Frozen Fruit
On top of the yogurt, add a single layer of your desired frozen fruit.
Make sure the fruit covers the yogurt evenly to create a nice separation layer.
Step 3: Add Granola and Seal
Sprinkle 1/4 cup of granola over the layer of frozen fruit.
Once added, secure the lid tightly on the jar.
If you want the granola to maintain its crunch, store it separately and only add it when you’re ready to serve.
Step 4: Store and Enjoy Later
Store the prepared jar in your refrigerator for up to 2 to 3 days.
This makes for a simple and convenient breakfast or snack option.
Just grab and go when needed!
