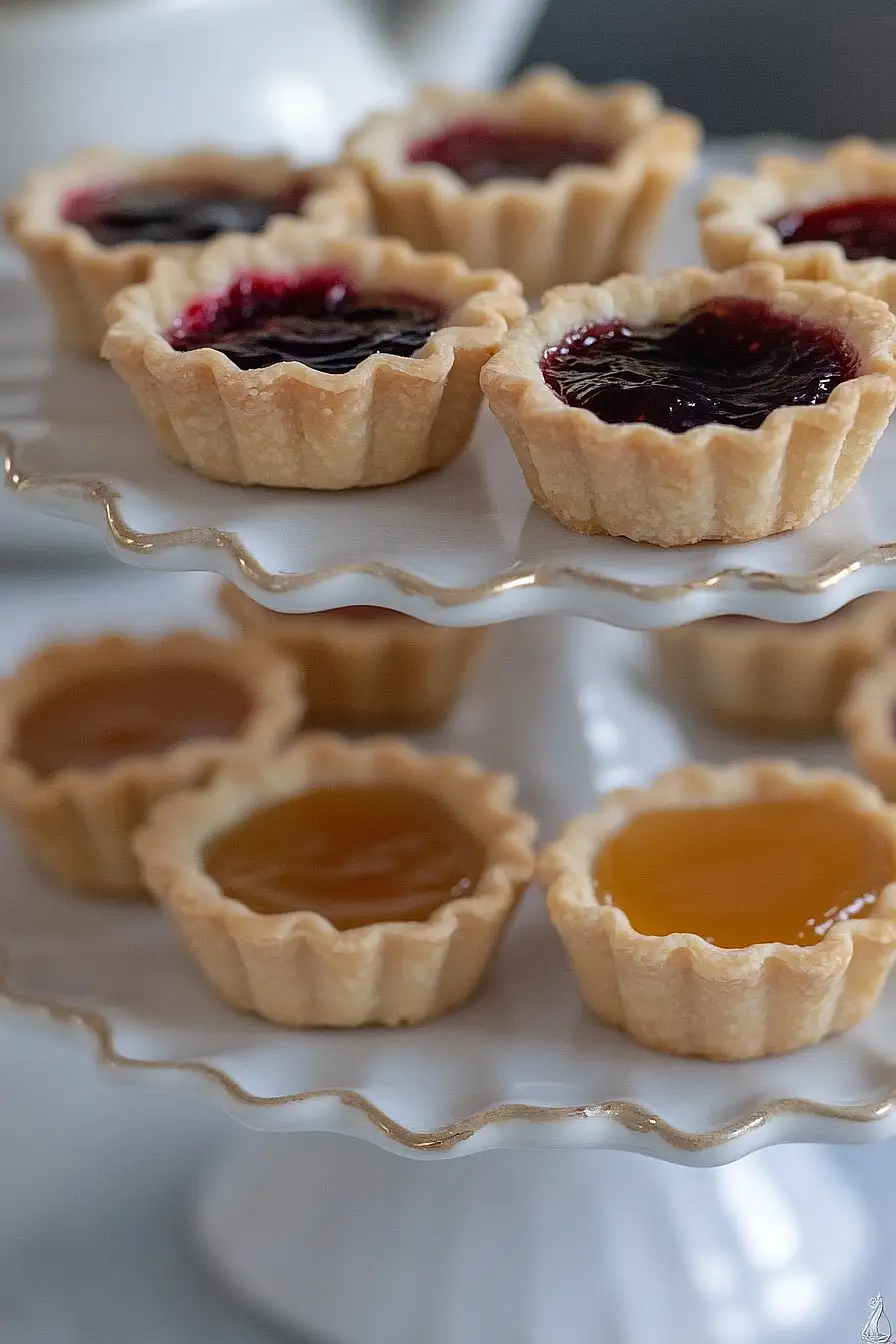
I was in my thirties before I realized homemade fruit tarts didn’t have to be complicated. Growing up, my mom always bought them from the bakery. When I tried making one, it came out with a hard crust and runny filling.
That’s because my approach was wrong—I was rushing the process and using store-bought jam that was too thin. A proper fruit jam tart needs time and the right consistency of filling. These days, it’s one of the easiest desserts I make, and honestly, it tastes way better than the ones from my childhood memories.
Why You’ll Love This Fruit Jam Tart
- Quick and easy – With just 2 ingredients and 30-40 minutes, you can have a beautiful dessert ready to serve – perfect for last-minute entertaining!
- Customizable filling – You can use any jam flavor you love or have on hand – raspberry, strawberry, apricot, or mix different flavors for a unique creation.
- Budget-friendly dessert – Using simple pantry staples like pie crust and jam, this tart proves that delicious desserts don’t need expensive ingredients.
- Minimal ingredients – Just two ingredients are all you need to make this sweet treat – it doesn’t get simpler than that!
What Kind of Jam Should I Use?
While this recipe calls for raspberry jam, you’ve got lots of tasty options to play with here. Any berry-based jam works beautifully – think strawberry, blackberry, or blueberry – and each brings its own unique sweetness to the tart. If you’re buying jam for this recipe, look for one that’s thick and spreadable rather than too runny, as this will help prevent any messy leaks during baking. For the best results, stick with pure fruit jams rather than jellies or preserves with large chunks, since these spread more evenly and give you that perfect, smooth tart filling.
Options for Substitutions
This simple tart is super adaptable and here’s how you can switch things up:
- Pie crust: While homemade pie crust is great, you can definitely use store-bought crust to save time. You could also swap in a graham cracker crust, or even try a shortbread crust for something different.
- Raspberry jam: The beauty of this recipe is that any jam works wonderfully! Try strawberry, blackberry, apricot, or mixed berry jam. Just make sure to use thick, good quality preserves rather than thin jelly, as it will help prevent the filling from becoming too runny. You can even use lemon curd or thick fruit butter for a different spin.
Watch Out for These Mistakes While Baking
The biggest challenge when making a fruit jam tart is preventing a soggy bottom crust – pre-baking (blind baking) your crust for about 15 minutes with pie weights is essential for achieving that perfect crispy base.
Another common mistake is spreading too much jam on the crust, which can bubble over during baking and create a sticky mess – stick to a thin, even layer of about 1/3 cup jam for a 9-inch tart.
The temperature of your crust matters more than you might think – working with cold dough helps maintain those lovely flaky layers, so if your crust starts feeling warm while you’re working with it, pop it back in the fridge for 15 minutes.
For the best results, let your tart cool completely before slicing, as hot jam can be runny and make your perfectly crisp crust turn soggy.

What to Serve With Fruit Jam Tart?
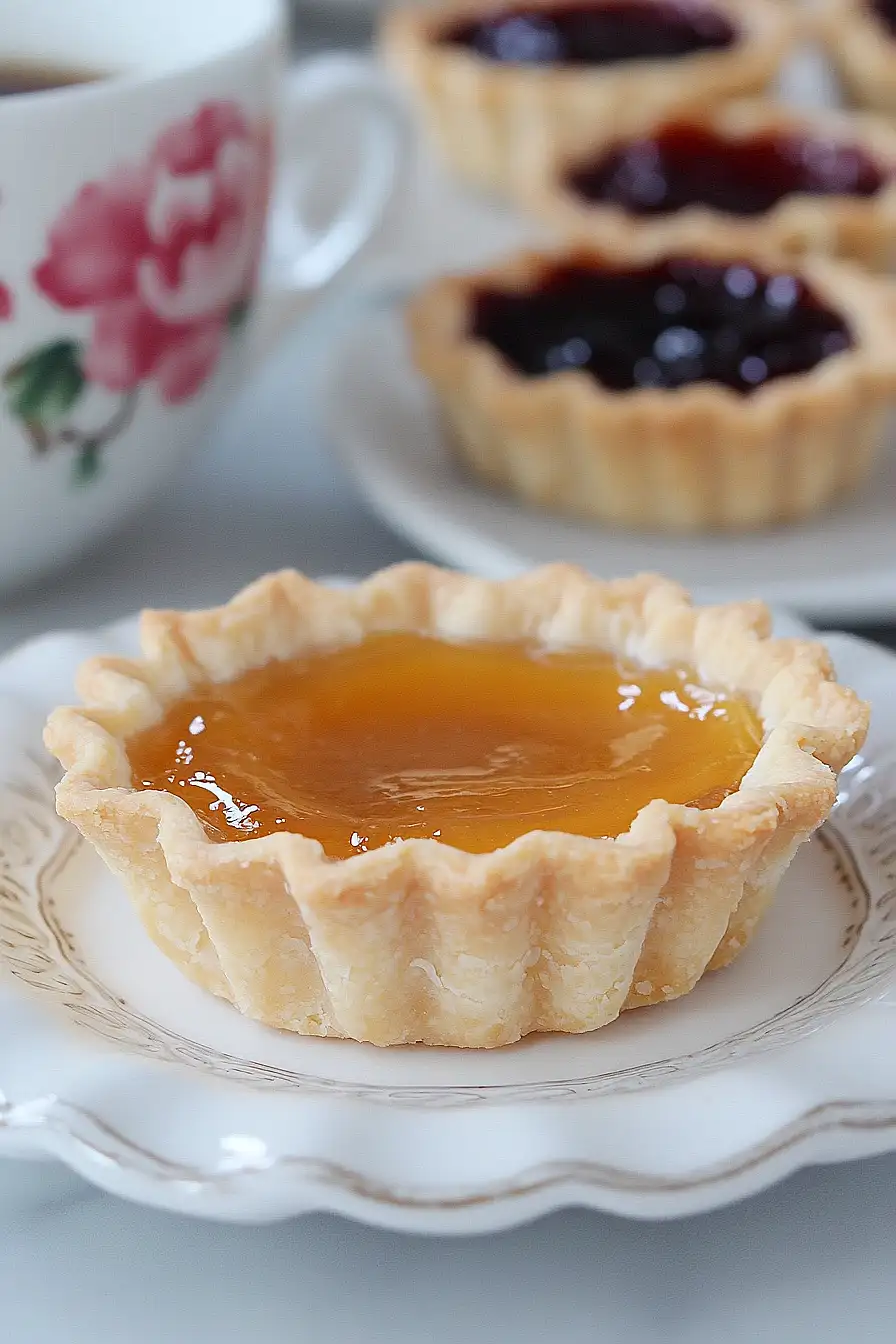
This sweet and simple tart pairs wonderfully with a dollop of fresh whipped cream or a scoop of vanilla ice cream on the side. For breakfast or brunch, serve it alongside your morning coffee or tea – I especially love it with a creamy cappuccino or Earl Grey. If you’re hosting afternoon tea, this tart fits right in with some fresh berries on the side and a variety of other small treats. You can also dress it up for dessert by adding a light dusting of powdered sugar just before serving.
Storage Instructions
Counter Storage: Your fruit jam tart can hang out on the counter for about 2 days when kept in an airtight container. Just make sure to place some wax paper between layers if you’re stacking slices to prevent them from sticking together.
Refrigerate: For longer storage, pop your tart in the fridge in a covered container. It’ll stay fresh for up to 5 days, though the crust might soften a bit over time. This is actually my preferred way to keep it fresh!
Make Ahead: Want to prep this ahead? You can make the tart a day before your event – it actually gives the jam time to settle nicely into the crust. Just keep it in the fridge and bring it to room temperature about 30 minutes before serving for the best texture and flavor.
| Preparation Time | 15-20 minutes |
| Cooking Time | 15-17 minutes |
| Total Time | 30-40 minutes |
| Level of Difficulty | Easy |
Estimated Nutrition
Estimated nutrition for the whole recipe (without optional ingredients):
- Calories: 300-350
- Protein: 2-4 g
- Fat: 15-20 g
- Carbohydrates: 45-55 g
Ingredients
- 1 single pre-made or homemade pie crust
- 1/3 cup raspberry jam (or other jam of choice)
Step 1: Prepare the Equipment and Preheat Oven
Preheat your oven to 350°F (175°C).
If you are using mini tart tins, grease and flour them lightly to ensure the tarts are easily removed after baking.
Step 2: Roll Out and Cut the Pie Crust
- 1 single pre-made or homemade pie crust
On a lightly floured surface, roll the chilled pie crust to about 1/4″ thick.
Use fluted or round biscuit cutters to cut circles as close together as possible.
Gather the scraps, re-roll, and continue cutting until all the dough has been used.
Step 3: Shape the Tart Shells
- pie crust rounds from Step 2
Press the dough circles (from Step 2) gently into the mini muffin tins or small pie tins, forming small tart shells.
Step 4: Fill the Tarts with Jam
- 1/3 cup raspberry jam (or other jam of choice)
Fill each tart shell with 1 to 1 1/2 teaspoons of raspberry jam, filling the shells about halfway to two-thirds full.
Be careful not to overfill, as the jam will bubble up during baking.
Step 5: Bake the Tarts
- filled tart shells from Step 4
Bake the filled tarts in the preheated oven for 15-17 minutes, or until they are light golden brown.
Keep an eye on them to prevent the jam from bubbling over.
I like to rotate the pan halfway through for even baking.
Step 6: Cool and Store
Allow the tarts to cool in the tin for 5 minutes.
Carefully remove them to a wire rack and let them cool completely.
Store in an airtight container once cooled.
These tarts can be frozen for up to one month.
