Finding the perfect treat that feels special but won’t weigh you down can be tricky, especially when you’re craving something sweet but don’t want all the heaviness that comes with regular cake. And if you’re trying to serve a crowd or just want individual portions that look neat and tidy, things get even more complicated.
Thankfully, these angel food cupcakes solve all those problems: they’re light and airy yet satisfying, surprisingly easy to make at home, and perfectly portioned so everyone gets their own little cloud of sweetness.
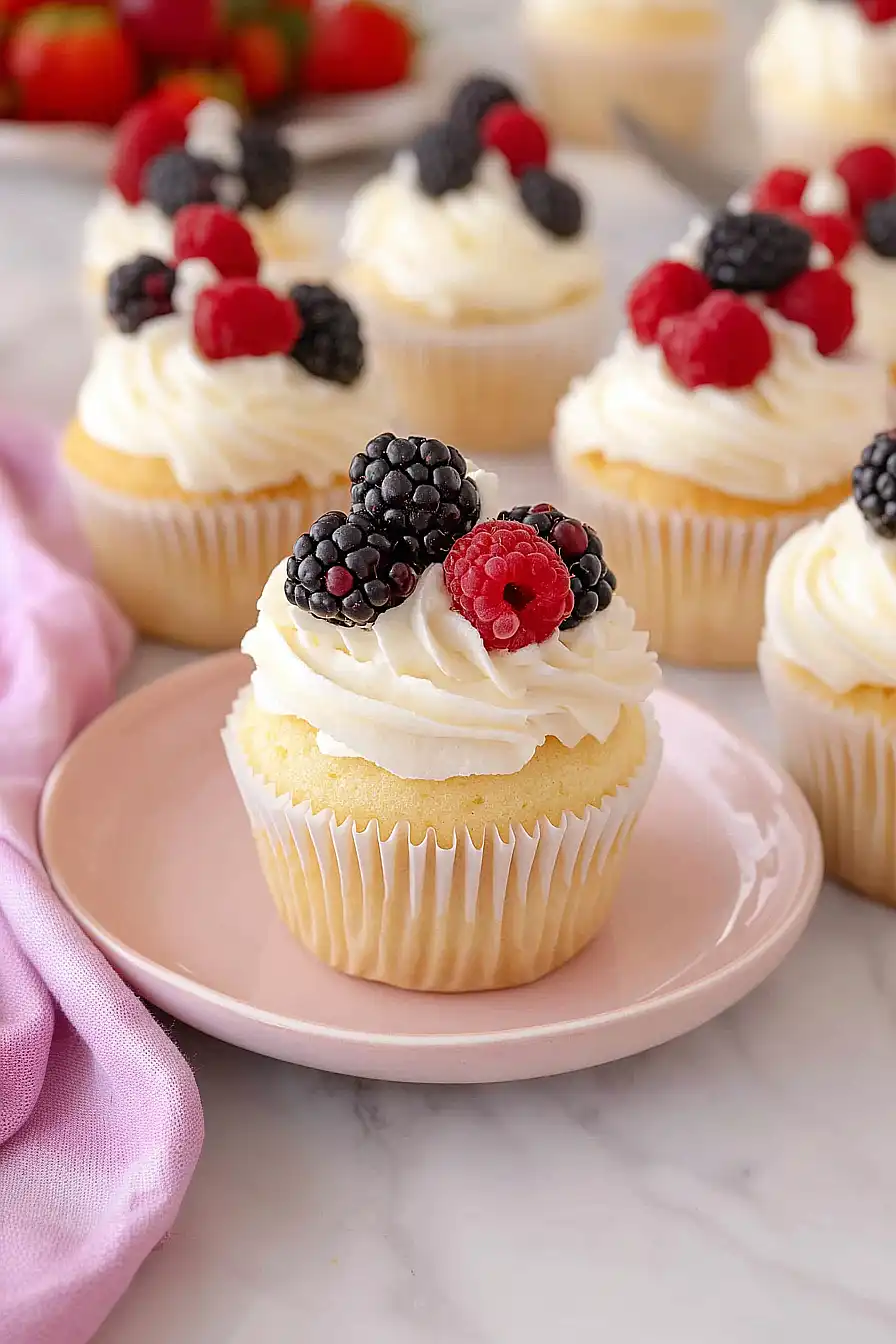
Why You’ll Love These Angel Food Cupcakes
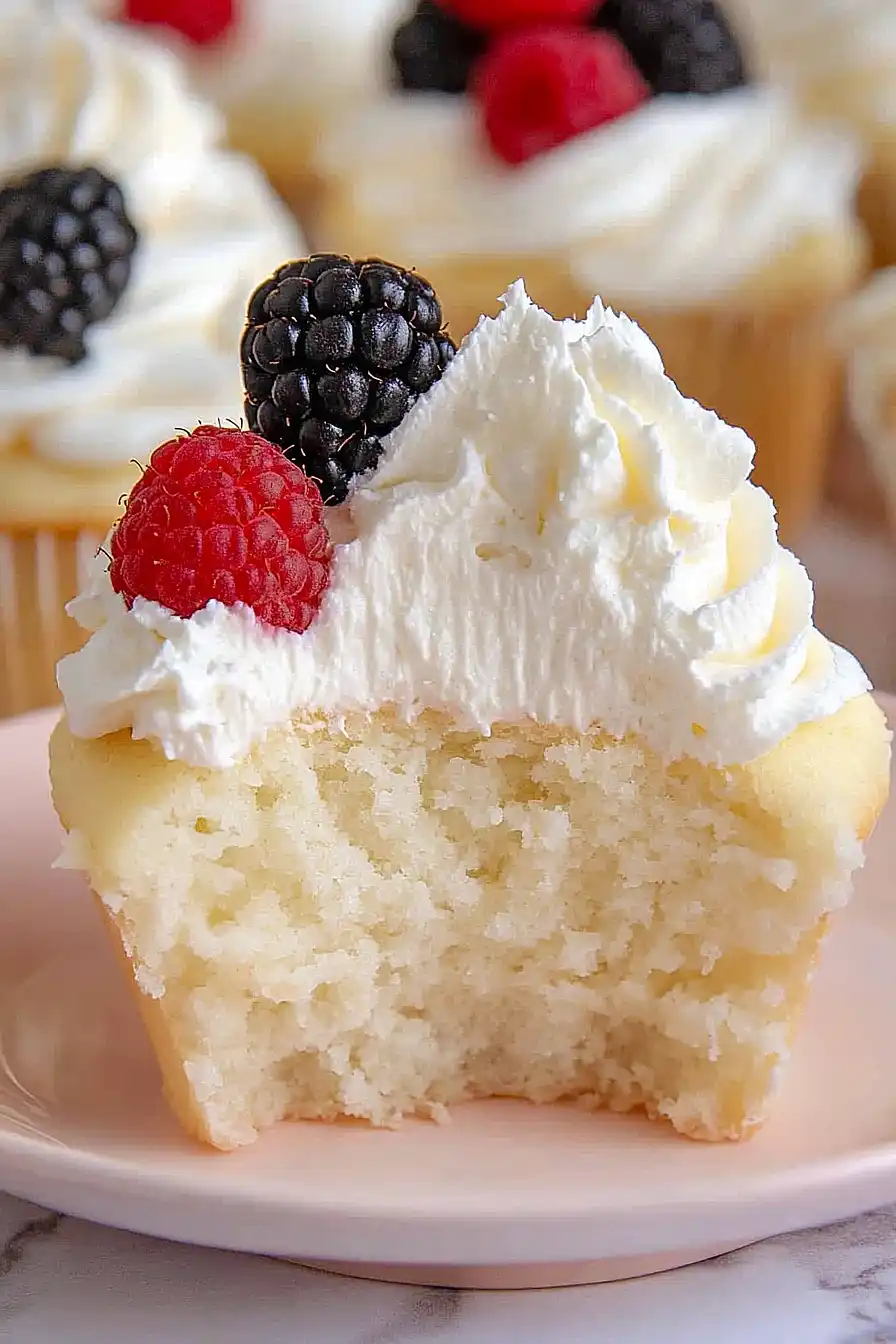
- Light and airy texture – These cupcakes are incredibly fluffy and cloud-like, making them feel like a guilt-free treat that melts in your mouth.
- Quick baking time – Ready in under an hour, these are perfect when you need a sweet treat without spending all day in the kitchen.
- Simple ingredients – You probably have most of these pantry staples on hand already, so no special shopping trip required.
- Lower in calories – Made without butter or oil, these cupcakes are naturally lighter than traditional cupcakes while still being satisfying and sweet.
- Perfect portion size – Individual cupcakes make it easy to control portions and are great for parties, potlucks, or when you just want a single serving dessert.
What Kind of Egg Whites Should I Use?
For angel food cupcakes, fresh egg whites at room temperature will give you the best results. You can separate your own eggs or use carton egg whites – both work fine, though fresh eggs tend to whip up a bit better. Make sure your egg whites are completely free of any yolk traces, as even a tiny bit of fat will prevent them from whipping properly. If you only have cold eggs, you can quickly bring the whites to room temperature by placing the bowl in a larger bowl of warm water for a few minutes. This helps them whip up faster and achieve those perfect, fluffy peaks that make angel food cupcakes so light and airy.
Options for Substitutions
Angel food cupcakes can be a bit tricky, but here are some swaps that work well:
- Cake flour: Don’t have cake flour? You can make your own by taking ½ cup all-purpose flour, removing 1 tablespoon, and adding 1 tablespoon cornstarch. Sift it together a few times to get that fine texture.
- Cream of tartar: This is pretty important for stabilizing the egg whites, but if you’re out, try 1½ teaspoons of lemon juice or white vinegar instead. Your cupcakes might not rise quite as high, but they’ll still taste great.
- Heavy whipping cream: You can use whipping cream with 30% fat content instead of heavy cream, though it won’t whip up quite as thick. Avoid using half-and-half or milk as they won’t whip properly.
- Vanilla extract: Feel free to switch up the flavoring – try almond extract (use half the amount), lemon extract, or even orange zest for a citrus twist.
- Egg whites: This is one ingredient you really can’t substitute – the egg whites are what make angel food cupcakes so light and airy. Make sure they’re at room temperature for the best results.
Watch Out for These Mistakes While Baking
The biggest mistake when making angel food cupcakes is getting even a tiny bit of egg yolk in your whites, which will prevent them from whipping up properly – make sure your bowl and beaters are completely clean and grease-free too.
Another common error is overbeating the egg whites past stiff peaks, which can make them grainy and cause your cupcakes to collapse, so stop mixing as soon as you see firm peaks that hold their shape.
When folding in the flour mixture, resist the urge to stir vigorously since this deflates all that air you just whipped in – instead, use a gentle folding motion and don’t worry if you see a few streaks of flour.
Finally, avoid opening the oven door during baking since the temperature drop can cause these delicate cupcakes to sink, and let them cool completely upside down if possible to maintain their light, airy texture.
What to Serve With Angel Food Cupcakes?
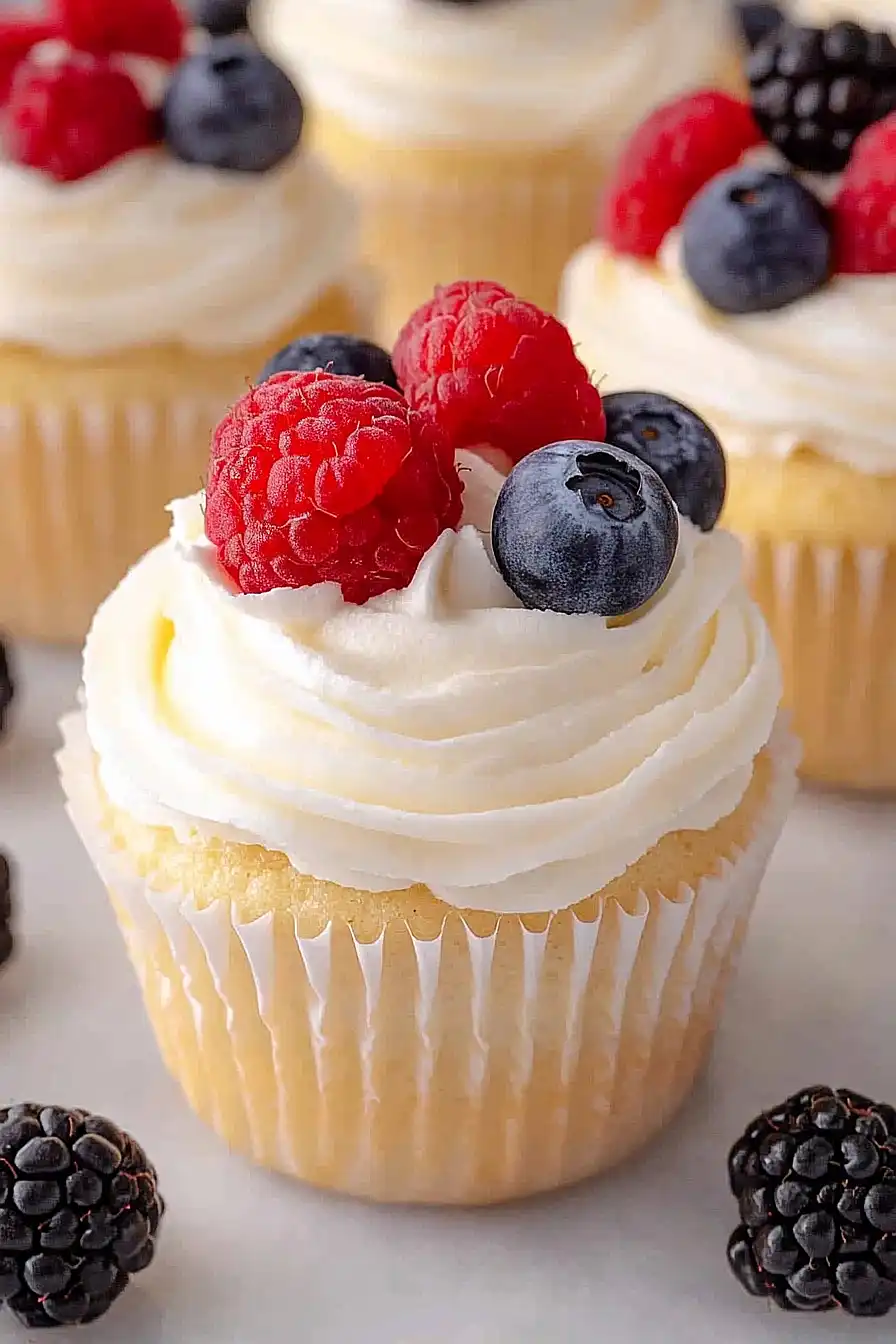
These light and airy cupcakes are perfect on their own, but they really shine when paired with fresh berries like strawberries, blueberries, or raspberries. The tartness of the fruit balances out the sweetness beautifully and adds a pop of color to your dessert table. You can also serve them alongside a scoop of vanilla ice cream or a dollop of lemon curd for something extra special. For a simple summer treat, try slicing up some peaches or serving them with a berry compote that guests can spoon over the top.
Storage Instructions
Keep Fresh: These angel food cupcakes are best enjoyed within 2-3 days when stored in an airtight container at room temperature. If you’ve already added the whipped cream topping, pop them in the fridge and they’ll stay good for about 2 days. The cake itself stays surprisingly moist thanks to all those egg whites!
Make Ahead: You can definitely bake these cupcakes a day ahead and store them unfrosted at room temperature. Just wait to whip up that cream topping until you’re ready to serve. This actually works out great because the cupcakes settle into the perfect texture overnight.
Freeze: The unfrosted cupcakes freeze really well for up to 3 months when wrapped individually in plastic wrap and stored in a freezer bag. Let them thaw at room temperature for about an hour before adding your whipped cream topping. I wouldn’t recommend freezing them with the cream already on top though.
| Preparation Time | 15-20 minutes |
| Cooking Time | 25-30 minutes |
| Total Time | 40-50 minutes |
| Level of Difficulty | Medium |
Estimated Nutrition
Estimated nutrition for the whole recipe (without optional ingredients):
- Calories: 1200-1350
- Protein: 10-15 g
- Fat: 90-100 g
- Carbohydrates: 90-100 g
Ingredients
For the cupcakes:
- 3/4 cup granulated sugar (150g)
- 1/2 cup cake flour (60g)
- 1/4 tsp salt
- 6 large egg whites, room temperature
- 1 tbsp warm water
- 3/4 tsp cream of tartar
- 1/2 tsp vanilla extract
For the whipped cream topping:
- 1 cup heavy cream (240ml)
- 2 tbsp confectioners’ sugar
- 1/2 tsp vanilla extract
Step 1: Prepare Ingredients and Preheat Oven
Preheat your oven to 325°F (163°C).
Line two 12-cup muffin tins with a total of 16 cupcake liners to get ready for the batter.
Mise en place your ingredients to streamline the process—having everything organized makes baking much more enjoyable.
Step 2: Process and Sift Dry Ingredients
- 3/4 cup granulated sugar (150g)
- 1/2 cup cake flour (60g)
- 1/4 tsp salt
In a food processor, add the granulated sugar and process until it becomes very fine and almost powdery, about 1 minute.
Measure out 1/2 cup of this fine sugar and set it aside for later use.
In a sifter set over a large bowl, combine the remaining fine sugar (about 1/4 cup), the cake flour, and salt.
Sift these ingredients together, then whisk until they are well blended.
Step 3: Prepare and Whip Egg Whites
- 6 large egg whites, room temperature
- 1 tbsp warm water
- 3/4 tsp cream of tartar
- 1/2 cup processed fine sugar from Step 2
In a large mixing bowl or the bowl of a stand mixer, combine the room temperature egg whites, warm water, and cream of tartar.
Beat on medium-low speed until the mixture is frothy, which takes about 1 minute.
Increase the speed to medium and gradually add the reserved 1/2 cup of fine sugar, one tablespoon at a time.
Continue beating until stiff peaks form, about 4 minutes in total.
It’s not necessary to reach glossy peaks—just stiff ones.
Step 4: Fold in Flour Mixture and Divide Batter
- flour mixture from Step 2
- egg white mixture from Step 3
Gently sift a quarter of the flour mixture from Step 2 into the beaten egg whites from Step 3.
Fold the mixture delicately until just combined to avoid deflating the egg whites.
Repeat this process with the remaining flour mixture, adding it in three more batches and folding each time until just incorporated.
Divide the batter evenly among the 16 cupcake liners, filling each to the top—about 1/3 cup or 25g per liner.
Use a spoon or spatula to lightly even the tops.
I like to be gentle here; it helps the cupcakes rise beautifully.
Step 5: Bake and Cool the Cupcakes
Place the muffin tins in the preheated oven and bake for 25 to 30 minutes, or until the cupcake tops are golden brown and firm when lightly pressed in the center.
Allow the cupcakes to cool completely in the pan before topping.
Letting them cool in the pan helps preserve their delicate texture.
Step 6: Make the Whipped Cream Topping
- 1 cup heavy cream (240ml)
- 2 tbsp confectioners’ sugar
- 1/2 tsp vanilla extract
In a large mixing bowl, beat the heavy cream, confectioners’ sugar, and vanilla extract together on medium-high speed until stiff peaks form, about 3 minutes.
The whipped cream should be thick and able to hold its shape, perfect for piping or dolloping onto each cupcake.
For a more luxurious flavor, I sometimes add a tiny pinch of extra vanilla.
Step 7: Decorate the Cupcakes
- cooled cupcakes from Step 5
- whipped cream from Step 6
Once the cupcakes are completely cooled, pipe or dollop the whipped cream topping from Step 6 onto each cupcake.
If desired, garnish with fresh berries or your favorite toppings.
Serve and enjoy these light and fluffy treats!

