Finding a quick, protein-packed lunch that actually tastes good can feel like an impossible task. Between work deadlines, errands, and trying to eat something healthier than fast food, it’s tough to come up with meals that are both nutritious and satisfying, especially when you’re short on time.
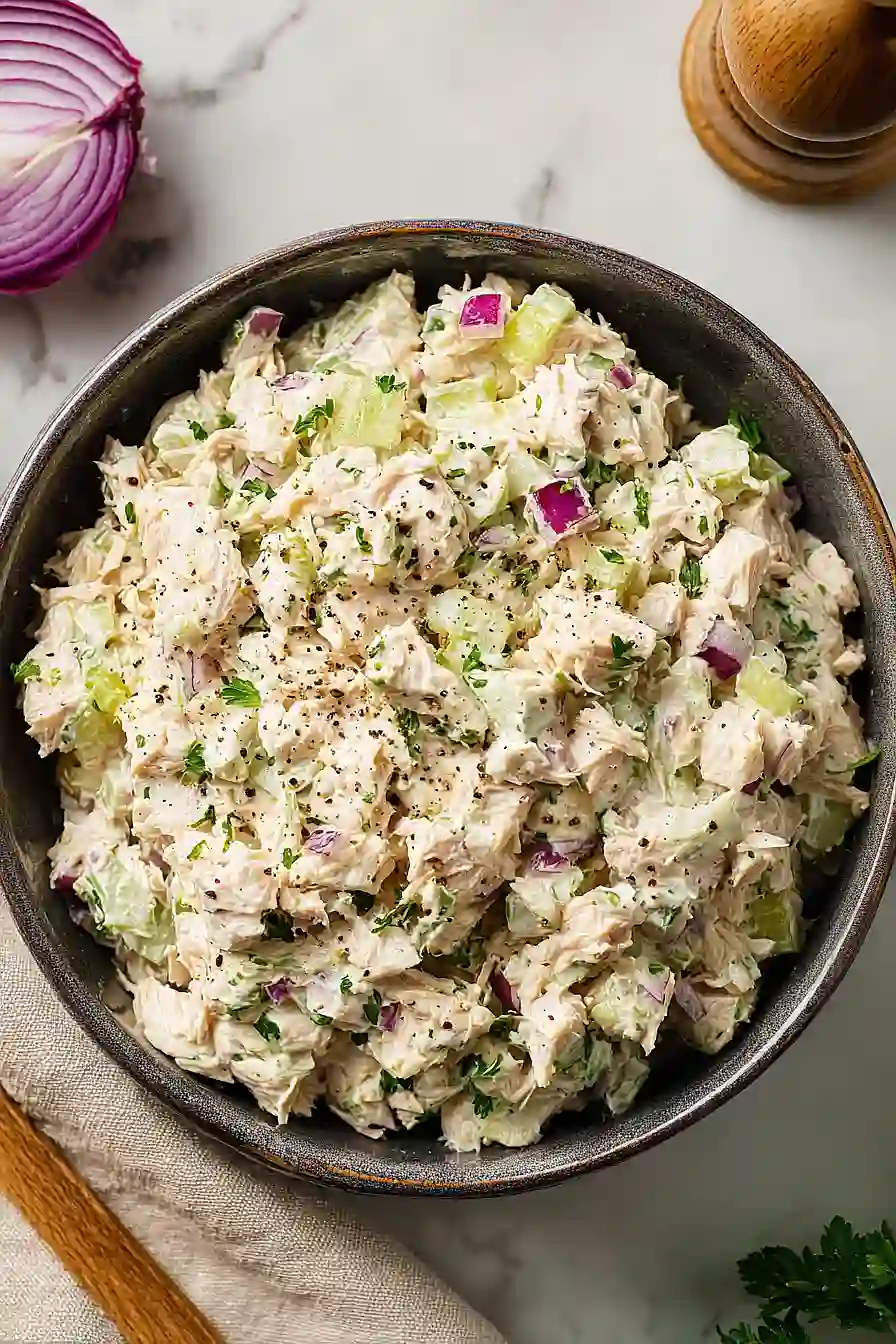
That’s where this tuna salad comes in handy: it’s loaded with protein, comes together in less than 10 minutes, and tastes way better than anything you’d get from a store. Plus, you can eat it on crackers, in a sandwich, or straight from the bowl—whatever works for your day.
Why You’ll Love This Tuna Salad
- Ready in minutes – This tuna salad comes together in just 5-10 minutes, making it perfect for quick lunches or last-minute meal prep.
- High-protein, lighter option – Using Greek yogurt alongside mayo cuts down on calories while keeping it creamy, and the tuna packs in plenty of protein to keep you satisfied.
- Simple pantry ingredients – You probably already have most of these ingredients on hand, so it’s an easy go-to when you need something fast.
- Fresh and flavorful – The combination of crunchy celery, tangy pickles, and fresh lemon juice gives this classic recipe a bright, refreshing taste that beats store-bought versions any day.
What Kind of Tuna Should I Use?
For tuna salad, you’ll want to grab canned tuna packed in water rather than oil, since it gives you better control over the creaminess of your final dish. Albacore tuna (often labeled as “white tuna”) is a great choice because it has a milder flavor and firmer texture that holds up well when mixed with the other ingredients. That said, chunk light tuna works perfectly fine too and is usually more budget-friendly – it just has a slightly stronger fishy taste that some people actually prefer. Make sure to drain your tuna really well before mixing, otherwise you’ll end up with a watery salad that won’t hold together on your sandwich or crackers.
Options for Substitutions
This tuna salad is easy to customize based on what you have in your kitchen:
- Albacore tuna in water: Any canned tuna works here – chunk light, skipjack, or even oil-packed tuna. If using oil-packed, drain it well and you might want to reduce the mayo slightly since it’ll be richer.
- Greek yogurt: You can use all mayo instead of the yogurt mix if you prefer a creamier, more traditional tuna salad. Just use 1/3 cup total mayo. Sour cream also works as a substitute for the Greek yogurt.
- Celery: If you’re out of celery, try diced cucumber or bell pepper for that satisfying crunch. Chopped apple can add a nice sweet crispness too.
- Red onion: Regular yellow or white onion works fine, or use green onions for a milder flavor. If you find raw onion too strong, soak the chopped pieces in cold water for 5 minutes before adding.
- Dill pickles: Sweet pickles or bread and butter pickles can replace dill pickles if that’s what you have. Just know it’ll make your salad a bit sweeter.
- Fresh parsley: Dried parsley works in a pinch (use 1 teaspoon), or try fresh dill or chives for a different herb flavor.
Watch Out for These Mistakes While Cooking
The biggest mistake people make with tuna salad is not draining the canned tuna well enough, which leads to a watery, runny mixture – press the tuna firmly with a fork or paper towel to remove excess liquid before mixing.
Over-mixing is another common error that turns your tuna into mush, so gently fold the ingredients together just until combined, leaving some texture to the tuna chunks.
If you’re making tuna salad ahead of time, wait to add the celery and onion until just before serving, as they can release water and make everything soggy after sitting for a few hours.
For the best flavor, let your tuna salad chill in the fridge for at least 30 minutes before serving, which gives the flavors time to blend together properly.
What to Serve With Tuna Salad?
The easiest way to enjoy tuna salad is between two slices of your favorite bread – I’m partial to toasted sourdough or a soft whole wheat. If you’re skipping the bread, try spooning it over a bed of mixed greens with some cherry tomatoes and cucumber for a light lunch. Tuna salad also tastes great stuffed into a halved avocado, piled onto crackers, or even wrapped up in a tortilla with some lettuce and tomato. For a more filling meal, serve it alongside a cup of soup (tomato or chicken noodle work great) and some potato chips or pretzels for crunch.
Storage Instructions
Store: Keep your tuna salad in an airtight container in the fridge for up to 3 days. It’s actually one of those things that tastes even better the next day after all the flavors have had time to hang out together. I like to make mine on Sunday and have it ready for quick lunches during the week.
Serve: Give it a good stir before serving since the ingredients can settle a bit in the fridge. You can enjoy it cold straight from the container, which is how I usually eat it, or let it sit out for about 10 minutes if you prefer it less chilled.
| Preparation Time | 5-10 minutes |
| Cooking Time | 0 minutes |
| Total Time | 5-10 minutes |
| Level of Difficulty | Easy |
| Servings | 4 servings |
Estimated Nutrition
Estimated nutrition for the whole recipe (without optional ingredients):
- Calories: 350-400
- Protein: 45-50 g
- Fat: 12-15 g
- Carbohydrates: 6-8 g
Ingredients
- 10 oz tuna (drained)
- 3 tbsp Greek yogurt
- 2 tbsp mayonnaise
- 1/4 cup celery, finely diced
- 3 tbsp red onion, minced
- 2 tbsp dill pickles, diced
- 1 tbsp fresh parsley, chopped
- 1 1/2 tsp Dijon mustard
- 1 1/2 tsp fresh lemon juice
- 1/4 tsp garlic powder
- 1/8 tsp celery seed
- 1/4 tsp sea salt, or to taste
- 1/4 tsp freshly cracked black pepper
Step 1: Prepare the Vegetables and Aromatics
- 1/4 cup celery, finely diced
- 3 tbsp red onion, minced
- 2 tbsp dill pickles, diced
- 1 tbsp fresh parsley, chopped
Finely dice the celery, mince the red onion, and dice the dill pickles into small, uniform pieces.
Chop the fresh parsley.
This mise en place ensures all components are ready to incorporate and helps the flavors distribute evenly throughout the salad.
Set the prepped vegetables aside on a cutting board or in small bowls.
Step 2: Create the Creamy Base
- 3 tbsp Greek yogurt
- 2 tbsp mayonnaise
- 1 1/2 tsp Dijon mustard
- 1 1/2 tsp fresh lemon juice
In a medium bowl, whisk together the Greek yogurt, mayonnaise, Dijon mustard, and fresh lemon juice until smooth and well combined.
This creates an emulsified dressing that will coat the tuna evenly.
I prefer to make the dressing first so the mustard and lemon juice can slightly mellow and blend together before the tuna is added.
Step 3: Combine Tuna with Seasonings and Dressing
- 10 oz tuna
- creamy dressing mixture from Step 2
- 1/4 tsp garlic powder
- 1/8 tsp celery seed
- 1/4 tsp sea salt, or to taste
- 1/4 tsp freshly cracked black pepper
Add the drained tuna to the bowl with the creamy dressing from Step 2, breaking it apart gently with a fork as you fold it in.
Add the garlic powder, celery seed, sea salt, and freshly cracked black pepper, stirring gently to combine.
The tuna should be broken into bite-sized pieces but not overmixed—keep some texture intact.
Step 4: Fold in Vegetables and Finish
- prepared vegetables from Step 1
Gently fold the prepped vegetables from Step 1 into the tuna mixture until evenly distributed.
Taste and adjust seasonings as needed—I like to add an extra pinch of sea salt and cracked pepper if the salad feels a bit mild.
The salad is now ready to serve immediately or can be refrigerated for up to 2 days.
Step 5: Serve
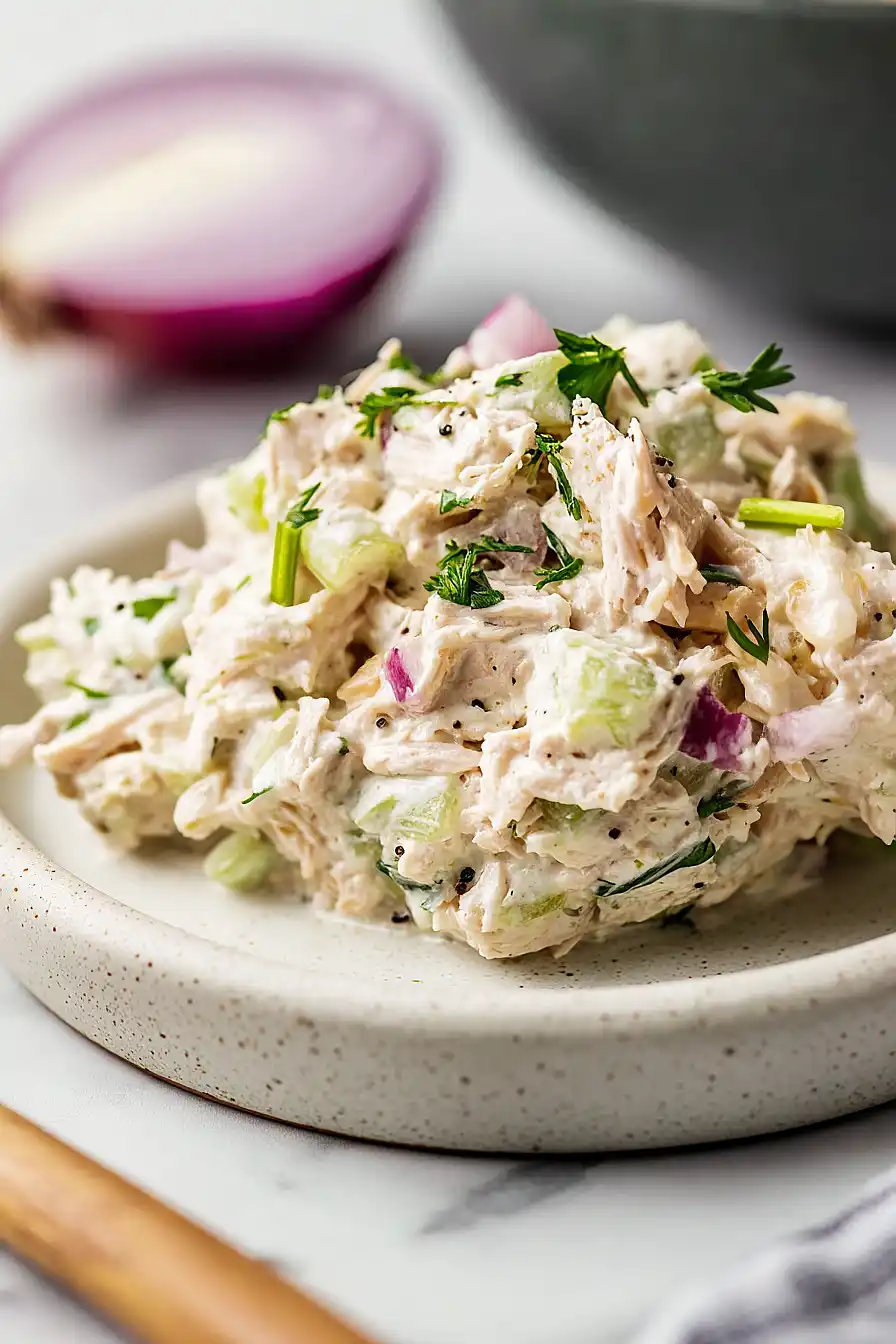
Serve the tuna salad on crusty bread, crackers, or over fresh greens for a lighter option.
The creamy, tangy mixture is versatile and works well in sandwiches, as a lettuce wrap, or on a bed of mixed vegetables.
Creamy Tuna Salad
Ingredients
- 10 oz tuna (drained)
- 3 tbsp Greek yogurt
- 2 tbsp mayonnaise
- 1/4 cup celery, finely diced
- 3 tbsp red onion, minced
- 2 tbsp dill pickles, diced
- 1 tbsp fresh parsley, chopped
- 1 1/2 tsp Dijon mustard
- 1 1/2 tsp fresh lemon juice
- 1/4 tsp garlic powder
- 1/8 tsp celery seed
- 1/4 tsp sea salt, or to taste
- 1/4 tsp freshly cracked black pepper
Instructions
- Finely dice the celery, mince the red onion, and dice the dill pickles into small, uniform pieces. Chop the fresh parsley. This mise en place ensures all components are ready to incorporate and helps the flavors distribute evenly throughout the salad. Set the prepped vegetables aside on a cutting board or in small bowls.
- In a medium bowl, whisk together the Greek yogurt, mayonnaise, Dijon mustard, and fresh lemon juice until smooth and well combined. This creates an emulsified dressing that will coat the tuna evenly. I prefer to make the dressing first so the mustard and lemon juice can slightly mellow and blend together before the tuna is added.
- Add the drained tuna to the bowl with the creamy dressing from Step 2, breaking it apart gently with a fork as you fold it in. Add the garlic powder, celery seed, sea salt, and freshly cracked black pepper, stirring gently to combine. The tuna should be broken into bite-sized pieces but not overmixed—keep some texture intact.
- Gently fold the prepped vegetables from Step 1 into the tuna mixture until evenly distributed. Taste and adjust seasonings as needed—I like to add an extra pinch of sea salt and cracked pepper if the salad feels a bit mild. The salad is now ready to serve immediately or can be refrigerated for up to 2 days.
- Serve the tuna salad on crusty bread, crackers, or over fresh greens for a lighter option. The creamy, tangy mixture is versatile and works well in sandwiches, as a lettuce wrap, or on a bed of mixed vegetables.
