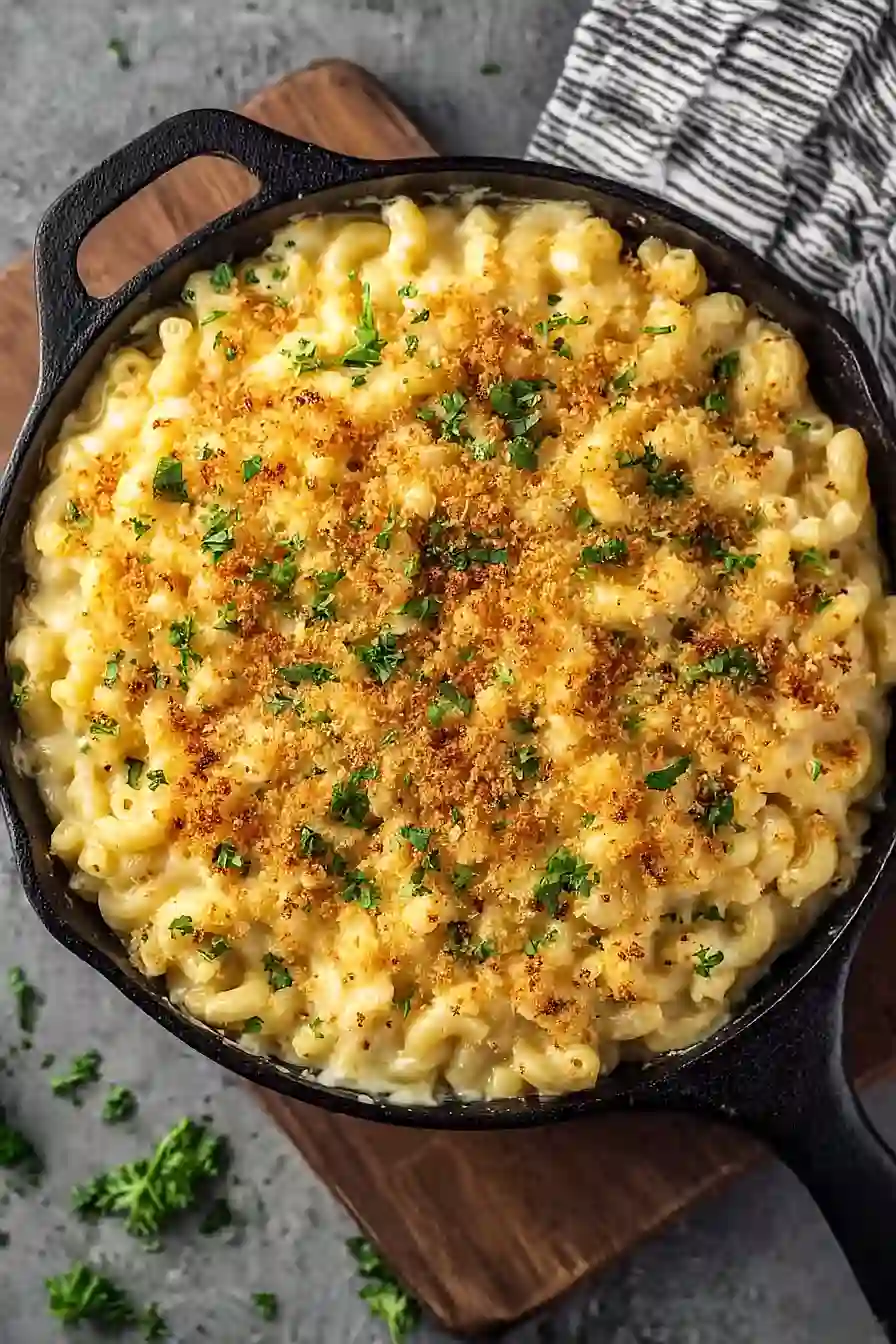
I’ll be honest—I avoided making mac and cheese from scratch for years because I thought it was too complicated. All that whisking flour into butter, trying not to get lumps in my sauce, worrying about it turning out grainy. It felt like too much work for a weeknight dinner when my kids were asking what’s for dinner every five minutes.
Then I discovered you don’t actually need flour to make creamy, melty mac and cheese. No roux required. Just cheese, milk, and a few simple ingredients that come together in one dish. It bakes up smooth and creamy every single time, and I don’t have to stand at the stove stirring constantly.
This recipe has become my go-to when I need comfort food fast. It’s perfect for busy weeknights, potlucks, or whenever you’re craving that cheesy goodness without the fuss. Plus, cleanup is so much easier.
Why You’ll Love This Baked Mac and Cheese
- No flour needed – This recipe skips the traditional roux, making it easier and faster to prepare while still delivering that creamy, cheesy texture you crave.
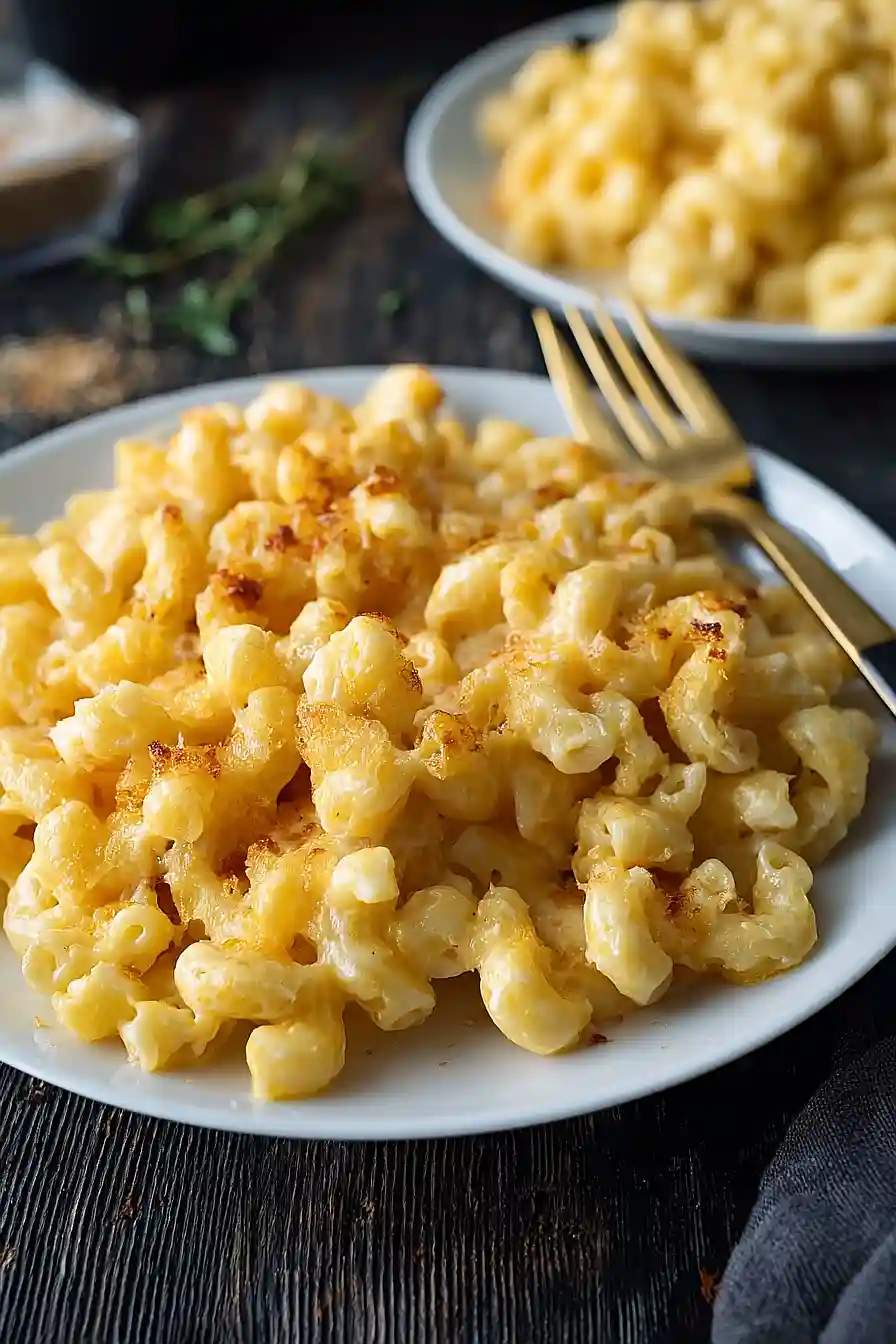
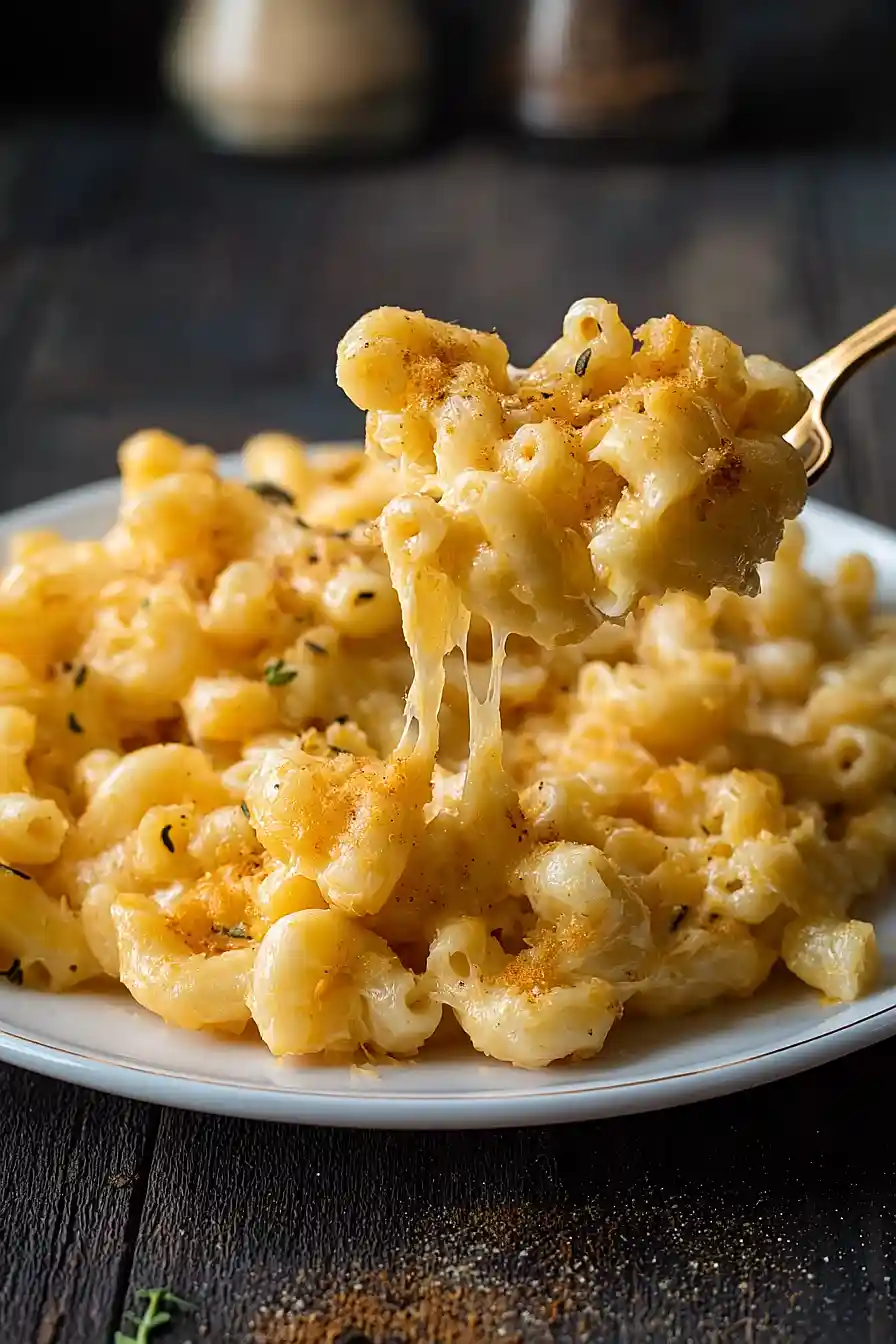
- Extra creamy and cheesy – With cream cheese and three types of cheese, every bite is rich and indulgent without being complicated.
- Quick weeknight dinner – Ready in under 45 minutes, this baked mac and cheese is perfect for busy nights when you want comfort food without spending hours in the kitchen.
- Kid-approved comfort food – The combination of mild mozzarella, sharp cheddar, and nutty gruyere makes this a hit with both kids and adults alike.
What Kind of Cheese Should I Use?
This recipe calls for a mix of sharp cheddar, mozzarella, and gruyere, which creates a great balance of flavor and meltiness. Sharp cheddar brings that classic mac and cheese taste we all love, while mozzarella adds stretch and creaminess. Gruyere gives it a slightly nutty, sophisticated flavor, but if you can’t find it or it’s too pricey, you can swap it out for more cheddar or even try gouda. When it comes to buying cheese, I always recommend shredding it yourself from a block rather than using pre-shredded – the pre-shredded stuff has anti-caking agents that can make your sauce a bit grainy instead of smooth and creamy.
Options for Substitutions
This mac and cheese is pretty forgiving when it comes to swaps, so feel free to work with what you have:
- Elbow macaroni: Any short pasta shape works great here – try shells, cavatappi, penne, or even rotini. They all hold the cheese sauce nicely.
- Cream cheese: You can swap this with an equal amount of sour cream or Greek yogurt for a similar creamy texture. Add it at the same point in the recipe.
- Gruyere cheese: This is the pricier cheese in the mix, so if you want to save some money, use more sharp cheddar or try Swiss cheese instead for that nutty flavor.
- Mozzarella cheese: Monterey Jack or Colby cheese make good substitutes and melt just as smoothly. You could even use a Mexican cheese blend if that’s what you have on hand.
- Milk: Whole milk works best, but you can use 2% if needed. For a richer sauce, substitute half of the milk with heavy cream or half-and-half.
- Butter: While butter adds great flavor, you can use the same amount of olive oil or vegetable oil if necessary, though the taste will be slightly different.
Watch Out for These Mistakes While Baking
The biggest mistake people make with baked mac and cheese is overcooking the pasta before it goes in the oven – cook your elbow macaroni just until al dente (about 2 minutes less than the package directions) since it will continue cooking while baking and absorbing the cheese sauce.
Another common error is not reserving some pasta water before draining, which can help thin out your sauce if it becomes too thick when mixing everything together.
To avoid a dry, clumpy casserole, make sure your cream cheese is fully softened and mix it thoroughly with the butter and milk until completely smooth before adding the shredded cheeses – any lumps will stay lumpy.
Finally, resist the urge to bake it too long or at too high a temperature; once the edges are bubbly and the top is golden (usually 25-30 minutes at 350°F), it’s done, and baking longer will just dry it out.
What to Serve With Baked Mac and Cheese?
Baked mac and cheese is pretty rich and filling on its own, so I like to balance it out with something fresh and light on the side. A simple green salad with a tangy vinaigrette cuts through all that cheesy goodness perfectly, or you could go with some roasted broccoli or green beans for a veggie option. If you’re feeding a crowd or want to make it more of a complete meal, grilled chicken, pulled pork, or BBQ ribs pair really well with mac and cheese. For a casual dinner, I’ll sometimes serve it alongside coleslaw and cornbread to round out the plate.
Storage Instructions
Store: Leftover mac and cheese keeps really well in the fridge for up to 4 days in an airtight container. It’s one of those dishes that actually tastes great the next day, so I often make a big batch on Sunday for easy weeknight dinners.
Freeze: You can freeze this mac and cheese for up to 3 months. I like to portion it out into individual servings in freezer-safe containers, which makes it super easy to grab one for lunch. Just know that the texture might be slightly creamier after freezing, but it’s still delicious.
Reheat: To reheat, add a splash of milk to help bring back that creamy texture, then warm it in the oven at 350°F covered with foil until heated through. You can also microwave individual portions, just stir in a bit of milk and heat in 30-second intervals, stirring between each one.
| Preparation Time | 10-15 minutes |
| Cooking Time | 20-30 minutes |
| Total Time | 30-45 minutes |
| Level of Difficulty | Easy |
Estimated Nutrition
Estimated nutrition for the whole recipe (without optional ingredients):
- Calories: 4300-4800
- Protein: 150-180 g
- Fat: 260-300 g
- Carbohydrates: 330-370 g
Ingredients
- 1 tsp paprika
- black pepper to taste (freshly ground preferred)
- 1 tsp garlic powder
- 1 cup shredded gruyere cheese (for best flavor)
- 1 tsp onion powder
- 1/2 cup unsalted butter (room temperature)
- 2 cups milk (warm)
- 1 lb elbow macaroni
- 8 oz cream cheese (room temperature)
- salt to taste
- 2 cups shredded mozzarella cheese
- 2 cups shredded sharp cheddar cheese (I prefer Cabot)
Step 1: Prepare the Oven and Baking Dish
- 1/2 cup unsalted butter (room temperature)
Preheat your oven to 350°F.
Grease a 9 x 13-inch baking dish with some of the unsalted butter, making sure to coat the bottom and sides well to prevent sticking.
Step 2: Cook the Elbow Macaroni
- 1 lb elbow macaroni
- salt to taste
Bring a large pot of salted water to a boil.
Add the elbow macaroni and cook until al dente, following the package instructions.
Drain the macaroni and set it aside.
I always taste a piece to make sure it’s perfectly cooked before draining.
Step 3: Make the Creamy Cheese Sauce
- 1/2 cup unsalted butter (room temperature)
- 8 oz cream cheese (room temperature)
In the same large pot over medium heat, add the remaining unsalted butter and cream cheese.
Stir continuously until both have melted and combined smoothly, about 1-2 minutes.
This creates a rich, velvety base for your sauce.
Step 4: Season and Thicken the Sauce
- 1 tsp paprika
- 1 tsp garlic powder
- 1 tsp onion powder
- black pepper to taste (freshly ground preferred)
- 2 cups milk (warm)
Add the paprika, garlic powder, onion powder, black pepper, and the warm milk to the pot.
Stir well to combine all the seasonings into the creamy base.
Increase the heat to medium-high and bring the mixture to a light simmer, stirring frequently until it starts to thicken.
Be careful not to let it boil.
Step 5: Stir in Cheeses and Combine with Pasta
- 2 cups shredded sharp cheddar cheese (I prefer Cabot)
- 2 cups shredded mozzarella cheese
- 1 cup shredded gruyere cheese (for best flavor)
- cooked elbow macaroni from Step 2
Remove the pot from the heat.
Add the shredded sharp cheddar cheese, shredded mozzarella cheese, and shredded Gruyere cheese.
Stir gently until all the cheese is melted and the sauce is smooth.
Add the cooked macaroni from Step 2 and mix thoroughly so the pasta is evenly coated in the cheesy sauce.
I love how adding Gruyere gives this mac and cheese a nutty depth of flavor.
Step 6: Bake the Mac and Cheese
Transfer the cheesy pasta mixture to the greased baking dish from Step 1.
Spread it out evenly.
Bake in the preheated oven for 20 minutes, or until the top is golden brown and bubbly.
Allow it to cool slightly before serving for the best texture and flavor.

Creamy Baked Mac and Cheese No Flour
Ingredients
- 1 tsp paprika
- black pepper to taste (freshly ground preferred)
- 1 tsp garlic powder
- 1 cup shredded gruyere cheese (for best flavor)
- 1 tsp onion powder
- 1/2 cup unsalted butter (room temperature)
- 2 cups milk (warm)
- 1 lb elbow macaroni
- 8 oz cream cheese (room temperature)
- salt to taste
- 2 cups shredded mozzarella cheese
- 2 cups shredded sharp cheddar cheese (I prefer Cabot)
Instructions
- Preheat your oven to 350°F. Grease a 9 x 13-inch baking dish with some of the unsalted butter, making sure to coat the bottom and sides well to prevent sticking.
- Bring a large pot of salted water to a boil. Add the elbow macaroni and cook until al dente, following the package instructions. Drain the macaroni and set it aside. I always taste a piece to make sure it’s perfectly cooked before draining.
- In the same large pot over medium heat, add the remaining unsalted butter and cream cheese. Stir continuously until both have melted and combined smoothly, about 1-2 minutes. This creates a rich, velvety base for your sauce.
- Add the paprika, garlic powder, onion powder, black pepper, and the warm milk to the pot. Stir well to combine all the seasonings into the creamy base. Increase the heat to medium-high and bring the mixture to a light simmer, stirring frequently until it starts to thicken. Be careful not to let it boil.
- Remove the pot from the heat. Add the shredded sharp cheddar cheese, shredded mozzarella cheese, and shredded Gruyere cheese. Stir gently until all the cheese is melted and the sauce is smooth. Add the cooked macaroni from Step 2 and mix thoroughly so the pasta is evenly coated in the cheesy sauce. I love how adding Gruyere gives this mac and cheese a nutty depth of flavor.
- Transfer the cheesy pasta mixture to the greased baking dish from Step 1. Spread it out evenly. Bake in the preheated oven for 20 minutes, or until the top is golden brown and bubbly. Allow it to cool slightly before serving for the best texture and flavor.
