I never thought much about scones until I moved to Portland and started hitting up all the local coffee shops. They were always these huge, dense things that needed a gallon of coffee to wash down. Then I discovered mini scones at this little bakery downtown, and it changed everything.
The smaller size means you get more crust-to-center ratio, which is where all the flavor lives. Plus, when you make them with pumpkin, they stay moist without being heavy. My kids actually ask for these now instead of muffins, which says something since they usually turn their noses up at anything remotely healthy-sounding.
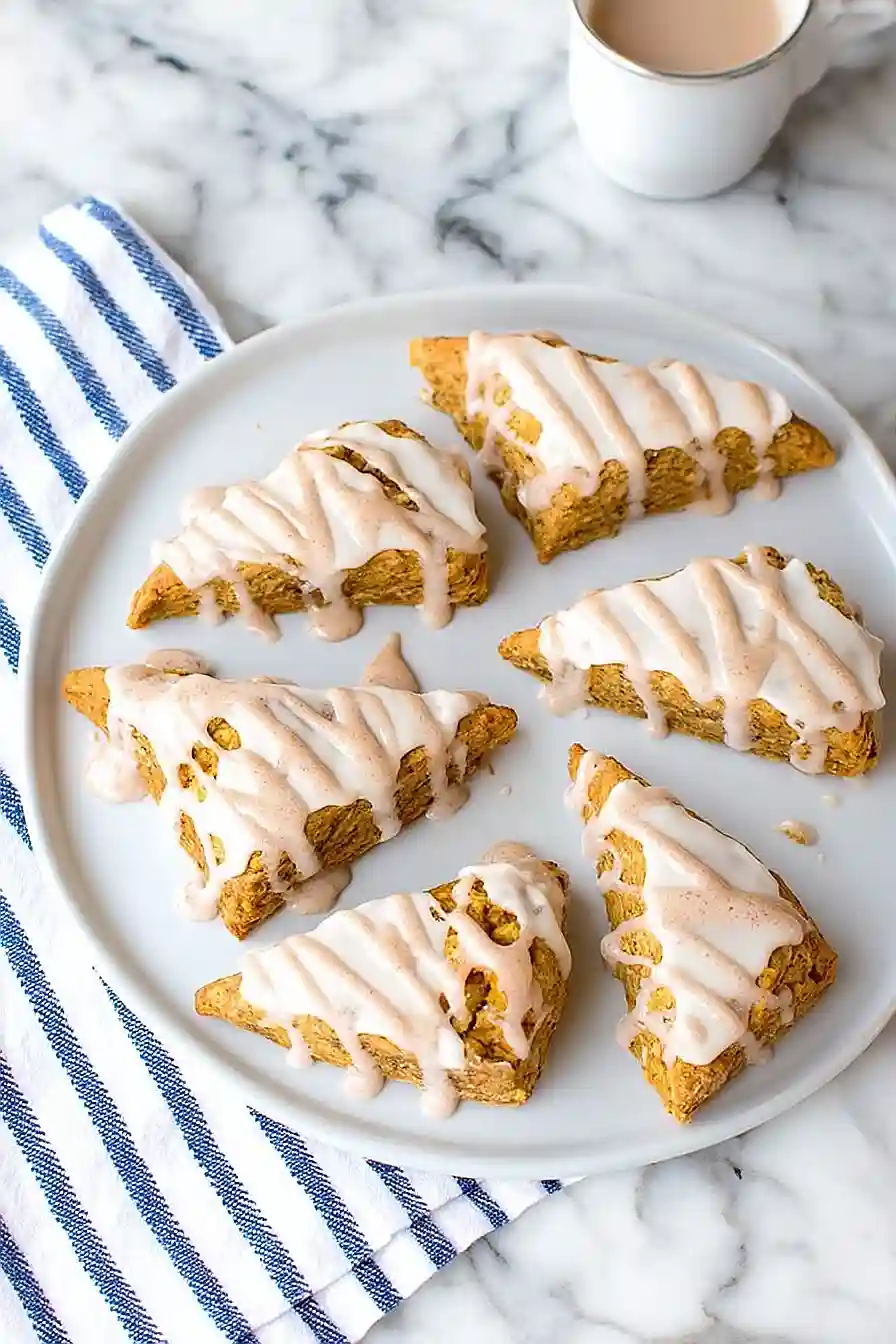
Why You’ll Love These Mini Pumpkin Scones
- Perfect fall flavors – The pumpkin puree and warm pumpkin spice blend create that cozy autumn taste you crave all season long.
- Quick and easy – Ready in under an hour, these scones are perfect for weekend breakfast or when you need a sweet treat without spending all day in the kitchen.
- Mini size portions – The smaller size makes them perfect for portion control and great for sharing at gatherings or packing in lunch boxes.
- Simple pantry ingredients – Most of these ingredients are probably already in your kitchen, making this an easy recipe to whip up anytime.
- Sweet glaze finish – The confectioners’ sugar glaze adds just the right amount of sweetness and makes these scones look bakery-worthy.
What Kind of Pumpkin Puree Should I Use?
For these mini scones, you’ll want to use plain pumpkin puree, not pumpkin pie filling – there’s a big difference! Pumpkin pie filling already has spices and sugar added, which will throw off the balance of your recipe. Look for cans labeled “100% pure pumpkin” or “pumpkin puree” in the baking aisle. Libby’s is probably the most common brand you’ll find, but any pure pumpkin puree will work perfectly. Make sure to give it a good stir before measuring, as sometimes the puree can separate a bit in the can.
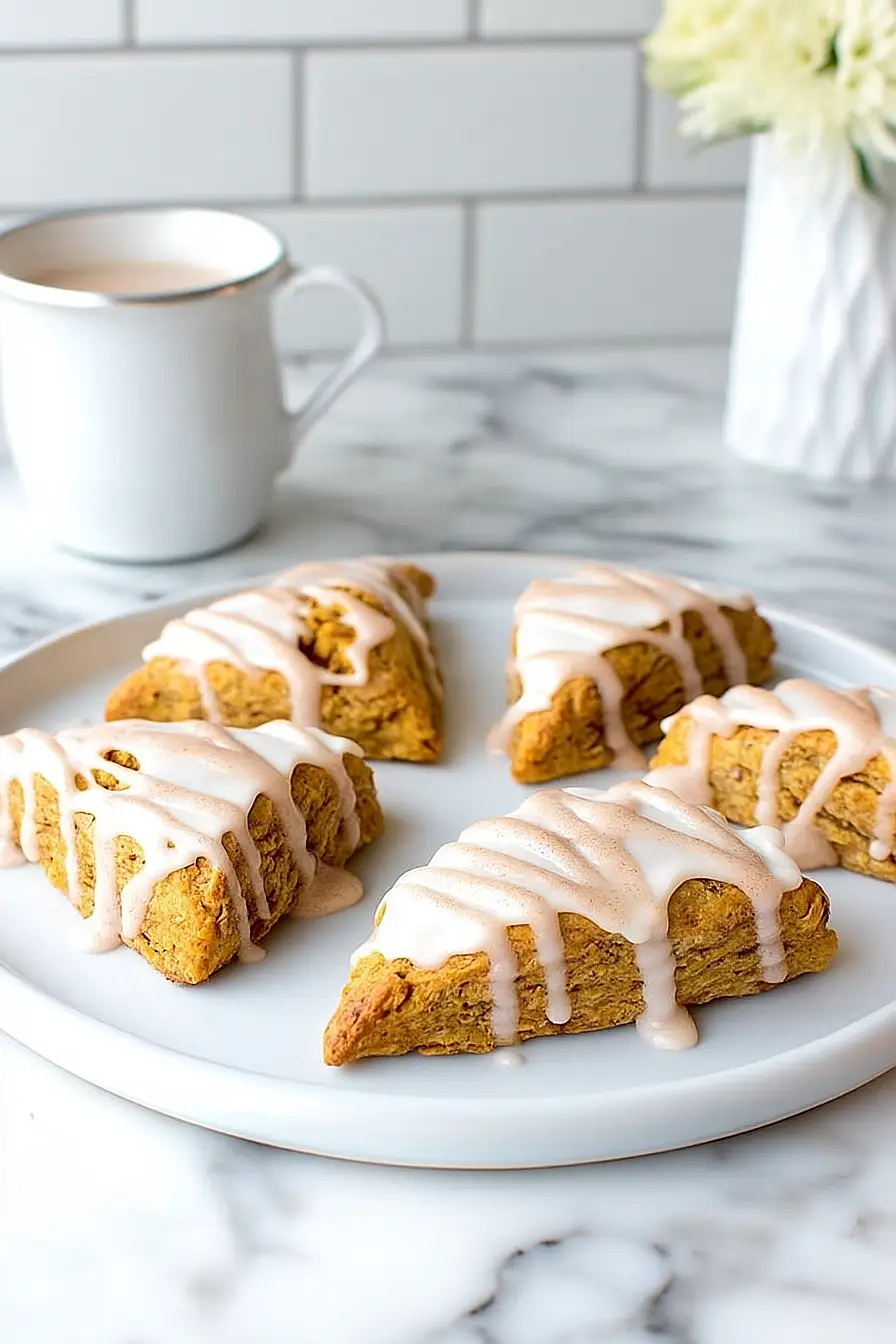
Options for Substitutions
These little scones are pretty forgiving when it comes to swaps, so here’s what you can do if you’re missing something:
- Pumpkin spice blend: Don’t have pumpkin spice? Make your own by mixing 1 teaspoon cinnamon, 1/2 teaspoon ginger, 1/4 teaspoon nutmeg, and 1/8 teaspoon cloves. You can also just use cinnamon if that’s all you have.
- Pumpkin puree: Sweet potato puree works great as a substitute, or you can try mashed banana for a different flavor twist. Just make sure whatever you use has a similar thick consistency.
- Half-and-half cream: Regular milk, heavy cream, or even buttermilk will work fine. If using buttermilk, add a pinch more baking soda to help with the rise.
- Brown sugar: White sugar works in a pinch, though you’ll lose some of that molasses flavor. You can also use coconut sugar or maple sugar for a different taste.
- Unsalted butter: Salted butter is fine – just reduce the salt in the recipe to 1/4 teaspoon. Cold coconut oil can work too, but keep it chilled and cut into small pieces like you would butter.
- All-purpose flour: This is one ingredient I’d stick with for the best texture. Whole wheat flour can make the scones dense, though you could try replacing up to 1/2 cup if you want to experiment.
Watch Out for These Mistakes While Baking
The biggest mistake when making mini pumpkin scones is overworking the dough, which leads to tough, dense scones instead of the light, flaky texture you want – mix just until the ingredients come together and stop there.
Cold butter is your best friend here, so make sure those cubes are straight from the fridge and work quickly to prevent them from melting, as this creates the pockets of steam that give scones their signature texture.
Don’t skip patting the dough gently rather than rolling it out with a rolling pin, and when cutting your mini scones, press straight down without twisting the cutter to help them rise properly.
Finally, resist the urge to open the oven door during the first 12-15 minutes of baking, as the temperature drop can cause your scones to fall flat instead of achieving that perfect golden rise.

What to Serve With Mini Pumpkin Scones?
These little pumpkin scones are perfect for fall mornings with a hot cup of coffee or spiced chai tea that complements all those warm pumpkin spice flavors. I love serving them alongside some whipped butter or cream cheese for extra richness, especially when the scones are still slightly warm from the oven. They also make a great addition to a brunch spread with fresh fruit like sliced apples or pears, which play nicely with the pumpkin and spice notes. For a cozy afternoon treat, try pairing them with hot apple cider or even a pumpkin spice latte for the full autumn experience.
Storage Instructions
Keep Fresh: These mini pumpkin scones taste best when stored in an airtight container at room temperature for up to 3 days. I like to place a paper towel in the bottom of the container to absorb any extra moisture from the pumpkin. If you’ve already glazed them, they’ll still keep well but might get a little sticky.
Freeze: You can freeze these scones for up to 3 months, either baked or unbaked! For baked scones, let them cool completely and freeze without the glaze in a freezer bag. If you want to freeze the unbaked dough, shape them and freeze on a baking sheet, then transfer to a bag once solid.
Warm Up: To bring back that fresh-baked taste, warm the scones in a 300°F oven for about 5-7 minutes. If they’re frozen, you can bake them straight from the freezer – just add a few extra minutes to the original baking time. Add the glaze after they’ve warmed up for the best results.
| Preparation Time | 20-30 minutes |
| Cooking Time | 10-12 minutes |
| Total Time | 30-50 minutes |
| Level of Difficulty | Medium |
Estimated Nutrition
Estimated nutrition for the whole recipe (without optional ingredients):
- Calories: 1700-1850
- Protein: 20-25 g
- Fat: 48-56 g
- Carbohydrates: 320-350 g
Ingredients
For the scone dough:
- 2 cups all-purpose flour
- 1/2 cup unsalted butter, cubed (1 stick)
- 1/3 cup packed brown sugar
- 3 tsp pumpkin pie spice
- 1/2 tsp baking soda
- 1/2 tsp salt
- 1/2 cup pumpkin puree
- 3 tbsp fat-free half-and-half
- 1 large egg
- 2 tsp vanilla extract
For the plain icing:
- 1 cup confectioners’ sugar
- 2 tbsp fat-free half-and-half
For the spiced glaze:
- 1/2 cup confectioners’ sugar
- 1 tsp pumpkin pie spice
- 1 tbsp fat-free half-and-half
Step 1: Prepare Baking Sheet and Preheat Oven
Preheat your oven to 400°F (200°C).
Line a baking sheet with parchment paper and set it aside to have it ready for your scones later.
Having your pan ready before you make the dough helps everything move smoothly!
Step 2: Mix Dry Ingredients and Cut in Butter
- 2 cups all-purpose flour
- 1/3 cup packed brown sugar
- 3 tsp pumpkin pie spice
- 1/2 tsp baking soda
- 1/2 tsp salt
- 1/2 cup unsalted butter, cubed (1 stick)
In a medium bowl, whisk together the all-purpose flour, packed brown sugar, pumpkin pie spice, baking soda, and salt.
Then, using a pastry cutter or your hands, work the cold, cubed butter into the mixture.
Continue until the mixture is crumbly and the butter pieces are about the size of small peas.
Step 3: Combine Wet and Dry Mixtures to Form Dough
- 1/2 cup pumpkin puree
- 3 tbsp fat-free half-and-half
- 1 large egg
- 2 tsp vanilla extract
In another bowl, whisk together the pumpkin puree, 3 tablespoons of fat-free half-and-half, egg, and vanilla extract until evenly blended.
Pour this pumpkin mixture over the flour-butter mixture and stir with a rubber spatula until a soft dough forms.
Knead dough gently in the bowl for about 1 minute until smooth.
If the dough feels sticky, you can add a little extra flour to your hands as you knead.
Step 4: Roll, Shape, and Cut the Dough
Generously flour your work surface and roll out the dough to form an 8 x 10-inch rectangle about ¾-inch thick.
Cut the rectangle in half horizontally, then each half again horizontally, creating 4 equal rectangles.
Repeat in the other direction, vertically.
You will have 16 2-inch squares.
Cut each square diagonally to create mini triangle-shaped scones.
Step 5: Bake the Scones
Arrange the triangle-shaped scones onto the prepared baking sheet from Step 1.
Bake for 10-12 minutes, or until a tester inserted in the center comes out clean.
Let the scones cool on the baking sheet for 10 minutes before glazing.
I find letting them cool slightly helps the glaze set better.
Step 6: Prepare and Drizzle Plain Glaze
- 1 cup confectioners’ sugar
- 2 tbsp fat-free half-and-half
In a small bowl, combine 1 cup confectioners’ sugar with 2 tablespoons fat-free half-and-half.
Stir until the mixture is smooth.
Drizzle the resulting glaze over the slightly cooled scones from Step 5.
Allow the glaze to set for at least 10 minutes until it hardens before proceeding.
Step 7: Make and Drizzle Spiced Glaze
- 1/2 cup confectioners’ sugar
- 1 tsp pumpkin pie spice
- 1 tbsp fat-free half-and-half
In a separate bowl, whisk together 1/2 cup confectioners’ sugar, 1 teaspoon pumpkin pie spice, and 1 tablespoon fat-free half-and-half until smooth.
Drizzle the spiced glaze in a zig-zag pattern on top of the set plain glaze on each scone.
Let the glaze set for at least 5 minutes before serving.
For a festive look, I like to pipe the spiced glaze using a small plastic bag with the corner snipped off.
Classic Mini Pumpkin Scones
Ingredients
For the scone dough:
- 2 cups all-purpose flour
- 1/2 cup unsalted butter, cubed (1 stick)
- 1/3 cup packed brown sugar
- 3 tsp pumpkin pie spice
- 1/2 tsp baking soda
- 1/2 tsp salt
- 1/2 cup pumpkin puree
- 3 tbsp fat-free half-and-half
- 1 large egg
- 2 tsp vanilla extract
For the plain icing:
- 1 cup confectioners' sugar
- 2 tbsp fat-free half-and-half
For the spiced glaze:
- 1/2 cup confectioners' sugar
- 1 tsp pumpkin pie spice
- 1 tbsp fat-free half-and-half
Instructions
- Preheat your oven to 400°F (200°C). Line a baking sheet with parchment paper and set it aside to have it ready for your scones later. Having your pan ready before you make the dough helps everything move smoothly!
- In a medium bowl, whisk together the all-purpose flour, packed brown sugar, pumpkin pie spice, baking soda, and salt. Then, using a pastry cutter or your hands, work the cold, cubed butter into the mixture. Continue until the mixture is crumbly and the butter pieces are about the size of small peas.
- In another bowl, whisk together the pumpkin puree, 3 tablespoons of fat-free half-and-half, egg, and vanilla extract until evenly blended. Pour this pumpkin mixture over the flour-butter mixture and stir with a rubber spatula until a soft dough forms. Knead dough gently in the bowl for about 1 minute until smooth. If the dough feels sticky, you can add a little extra flour to your hands as you knead.
- Generously flour your work surface and roll out the dough to form an 8 x 10-inch rectangle about ¾-inch thick. Cut the rectangle in half horizontally, then each half again horizontally, creating 4 equal rectangles. Repeat in the other direction, vertically. You will have 16 2-inch squares. Cut each square diagonally to create mini triangle-shaped scones.
- Arrange the triangle-shaped scones onto the prepared baking sheet from Step 1. Bake for 10-12 minutes, or until a tester inserted in the center comes out clean. Let the scones cool on the baking sheet for 10 minutes before glazing. I find letting them cool slightly helps the glaze set better.
- In a small bowl, combine 1 cup confectioners' sugar with 2 tablespoons fat-free half-and-half. Stir until the mixture is smooth. Drizzle the resulting glaze over the slightly cooled scones from Step 5. Allow the glaze to set for at least 10 minutes until it hardens before proceeding.
- In a separate bowl, whisk together 1/2 cup confectioners' sugar, 1 teaspoon pumpkin pie spice, and 1 tablespoon fat-free half-and-half until smooth. Drizzle the spiced glaze in a zig-zag pattern on top of the set plain glaze on each scone. Let the glaze set for at least 5 minutes before serving. For a festive look, I like to pipe the spiced glaze using a small plastic bag with the corner snipped off.

