I’ve been making regular pies for years, but let me tell you, slab pies changed everything for me. They’re basically a pie that’s baked in a sheet pan instead of a pie dish. More crust, more filling, and way easier to serve at a party or potluck.
The best part? You get more of those crispy, golden edges that everyone fights over. And when you’re feeding a crowd, you can actually cut proper squares instead of trying to slice perfect wedges that fall apart. I started making apple slab pie for family gatherings because my regular pie just wasn’t cutting it anymore. Eight slices don’t go far when you’ve got a dozen people at the table.
Apple slab pie tastes just like classic apple pie, but it’s less fussy to serve and way more practical. Plus, that higher crust-to-filling ratio means every bite has the perfect balance. Trust me, once you try it, you’ll be making slab pies all the time.
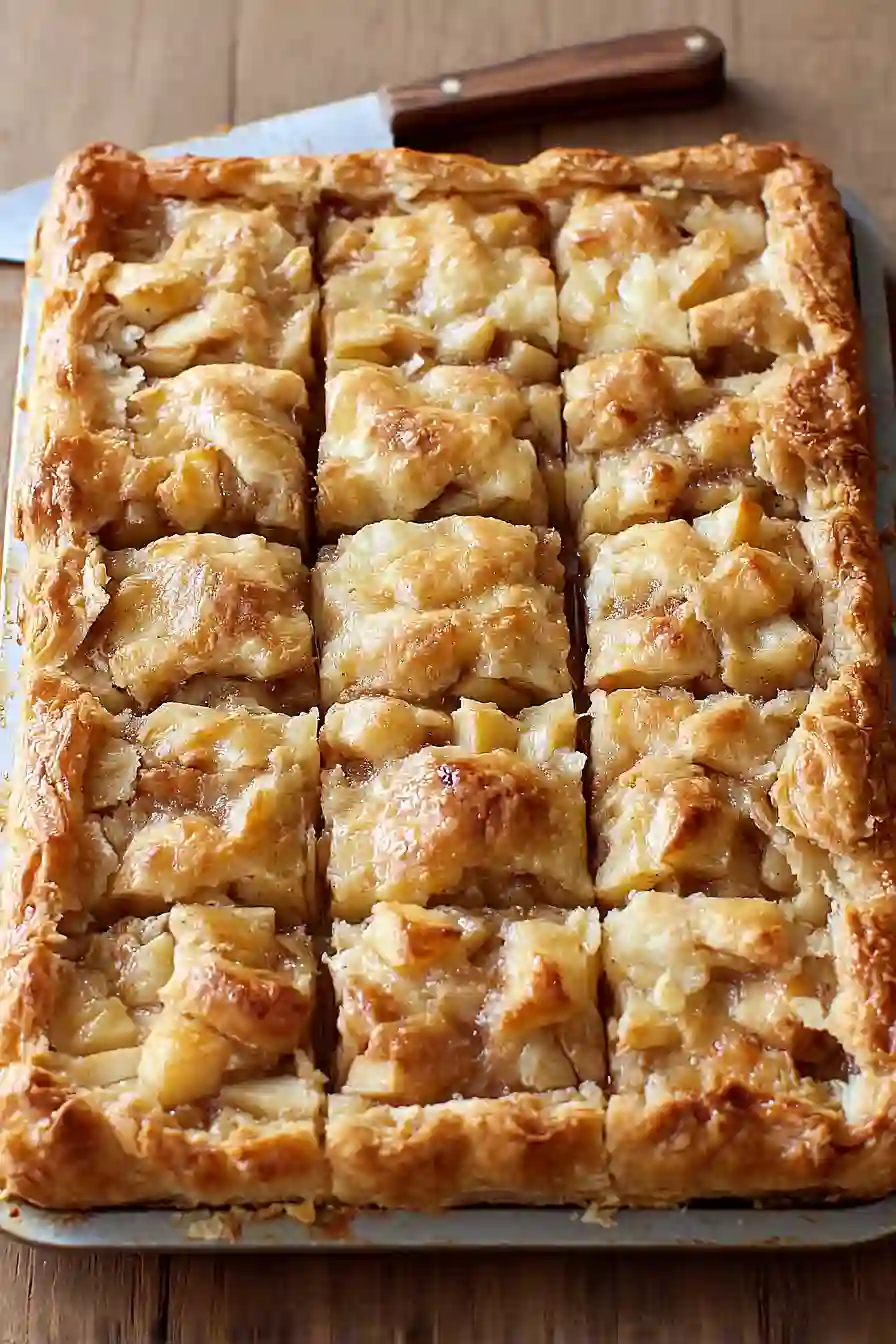
Why You’ll Love This Apple Slab Pie
- Perfect for feeding a crowd – This slab pie serves way more people than a traditional round pie, making it ideal for potlucks, family gatherings, or holiday dinners without having to bake multiple pies.
- Easy to slice and serve – The rectangular shape means you can cut neat, uniform squares that are much simpler to serve than wedges from a round pie.
- Classic apple pie flavor – You get all the warm spices and tender apples you love in traditional apple pie, just in a more convenient format.
- Make-ahead friendly – You can prepare this pie in advance and serve it at room temperature, which takes the stress out of holiday meal planning.
- More crust-to-filling ratio – If you’re a crust lover, this slab pie gives you that perfect balance of flaky pastry with every bite of sweet apple filling.
What Kind of Apples Should I Use?
The best apples for slab pie are ones that hold their shape when baked and offer a good balance of sweet and tart flavors. Granny Smith apples are a classic choice because they stay firm and provide that nice tangy bite, but you can also use Honeycrisp, Braeburn, or a mix of different varieties for more complex flavor. I actually think using a combination of two or three apple types gives you the best results – try pairing something tart like Granny Smith with something sweeter like Fuji or Gala. Whatever you choose, just avoid apples that get too mushy when cooked, like Red Delicious or McIntosh, since they’ll turn your filling into applesauce.
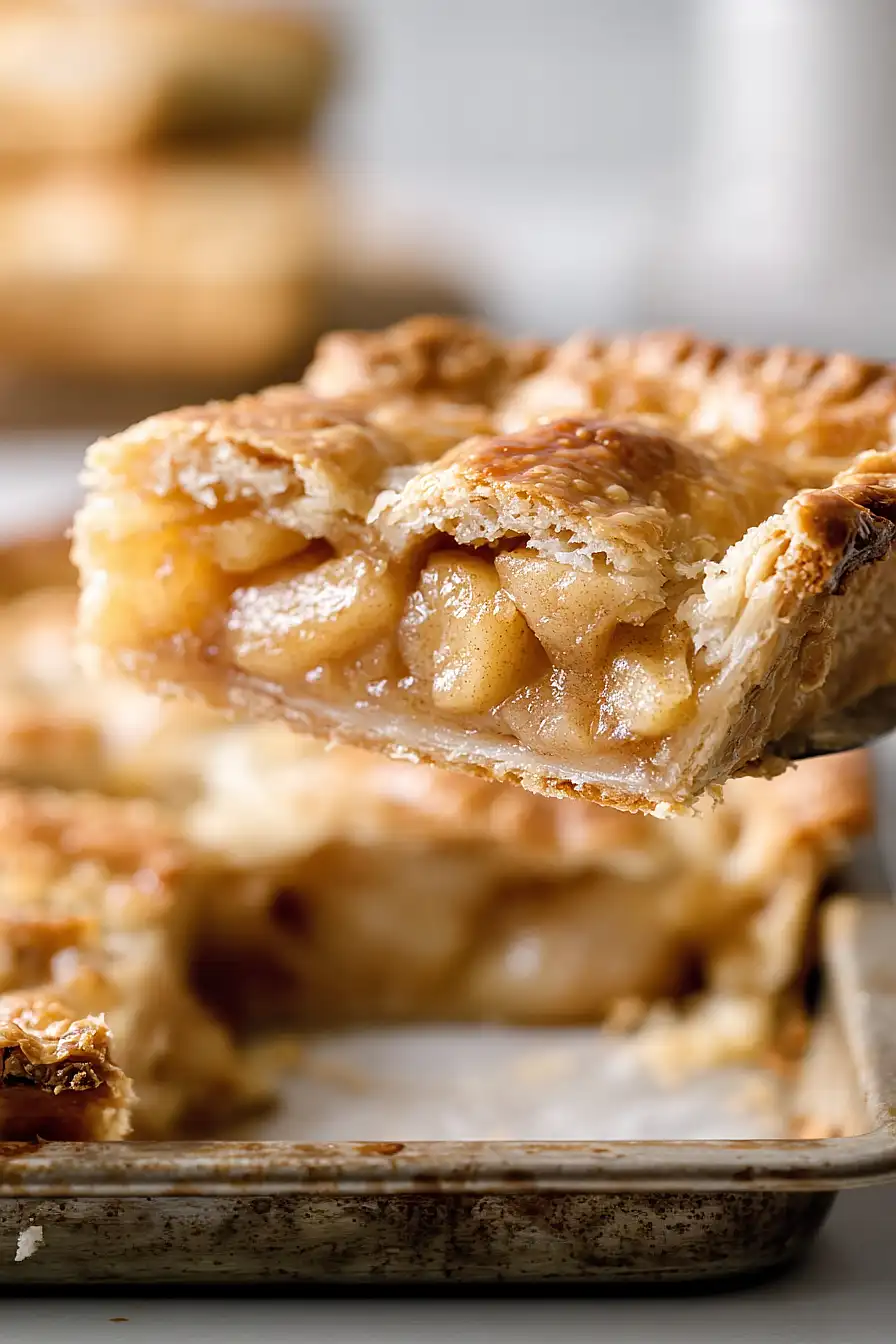
Options for Substitutions
This apple slab pie is pretty forgiving when it comes to swaps:
- Apples: Mix and match your favorite baking apples like Granny Smith, Honeycrisp, Braeburn, or Jonagold. Using a combination of tart and sweet apples actually gives you better flavor. Just avoid super soft varieties like Red Delicious that turn mushy when baked.
- Butter: You can use salted butter if that’s what you have – just reduce the added salt in the crust to ¾ teaspoon. The butter needs to stay cold though, so don’t skip that step.
- Cornstarch: If you’re out of cornstarch, use 4 tablespoons of all-purpose flour or 2 tablespoons of tapioca starch instead. Both will thicken the filling, though tapioca gives you a clearer finish.
- Spices: Don’t have all the spices? You can use 2 teaspoons of apple pie spice or pumpkin pie spice in place of the cinnamon, nutmeg, and allspice combo.
- Heavy cream or egg wash: Either works for brushing the top crust. In a pinch, you can use milk or even melted butter – you just want something to help the sugar stick and give it a golden finish.
- All-purpose flour: For the crust, stick with all-purpose flour. Other flours will change the texture and might not give you that flaky result you’re looking for.
Watch Out for These Mistakes While Baking
The biggest error when making slab pie is using warm butter in your crust, which leads to a tough, greasy pastry instead of a flaky one – keep those butter cubes in the freezer until the last minute and work quickly so your hands don’t melt them.
Many bakers also make the mistake of under-baking slab pies because they look done on top while the bottom crust stays pale and soggy, so slide a spatula underneath to check that the bottom is golden brown before pulling it from the oven.
Don’t skip tossing your apples with lemon juice even if your recipe seems to have enough acid, as this prevents browning and keeps your filling looking fresh, and make sure to let the pie cool for at least an hour before slicing – cutting into it too soon will cause all that delicious filling to run out and make a mess of your serving.
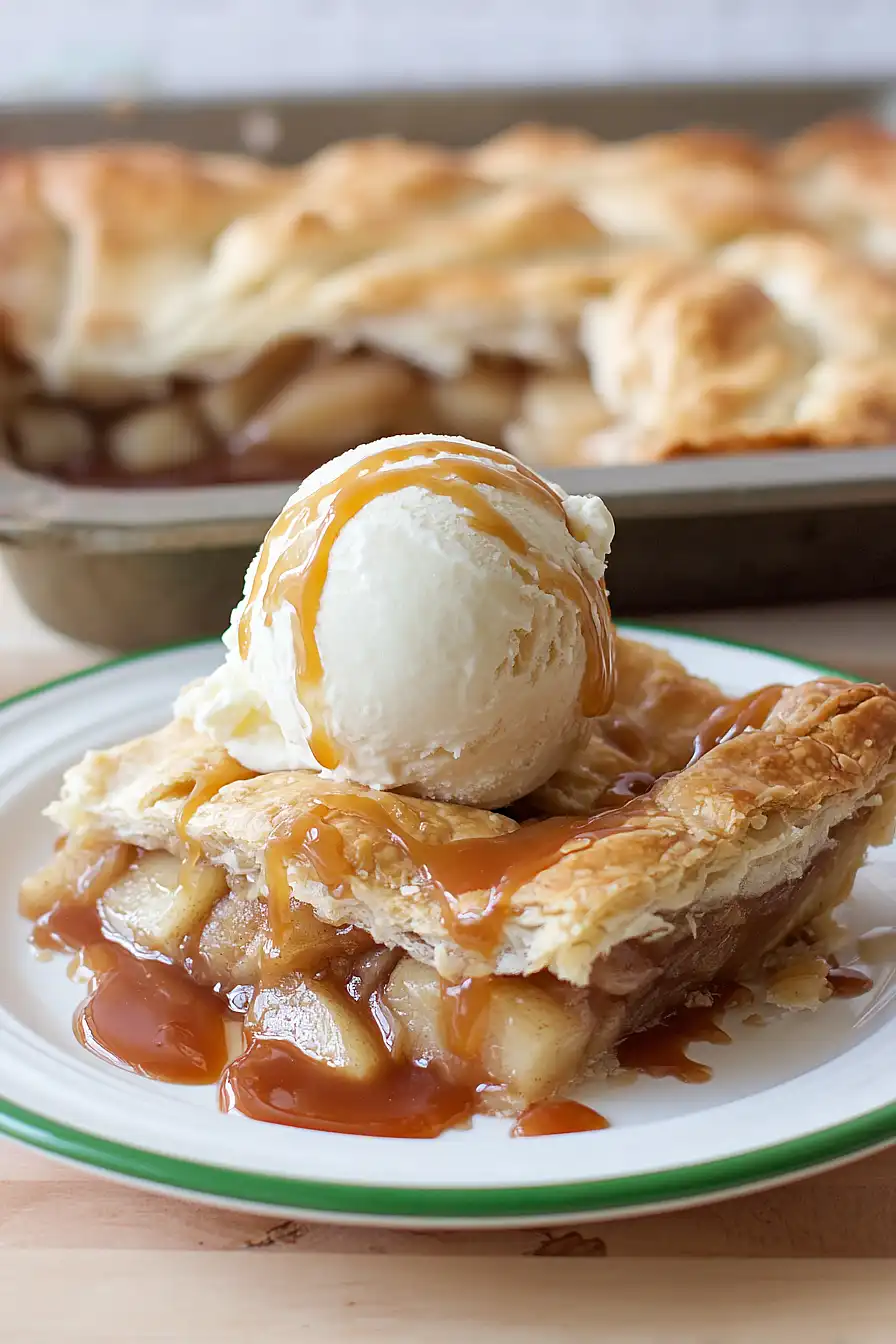
What to Serve With Apple Slab Pie?
Apple slab pie is perfect for feeding a crowd, and it really shines when you serve it with a big scoop of vanilla ice cream that melts right into the warm apples and flaky crust. If you want to get a little fancy, try it with some fresh whipped cream or a drizzle of salted caramel sauce on top. This pie is great for potlucks and family gatherings because you can cut it into squares and serve it right from the pan – no need for fancy plating. It’s also delicious the next morning with your coffee for breakfast, either cold from the fridge or warmed up for about 20 seconds in the microwave.
Storage Instructions
Store: Once your apple slab pie has cooled completely, cover it tightly with foil or plastic wrap and keep it at room temperature for up to 2 days. If you want it to last longer, pop it in the fridge where it’ll stay fresh for up to 5 days. I actually think it tastes amazing cold straight from the fridge!
Freeze: This pie freezes really well, which makes it perfect for making ahead. Wrap individual slices or the whole pie tightly in plastic wrap, then cover with foil. It’ll keep in the freezer for up to 3 months, so you can have homemade pie whenever a craving hits.
Serve: To enjoy your pie again, let frozen slices thaw in the fridge overnight or at room temperature for a couple hours. If you want it warm, heat slices in a 350°F oven for about 10-15 minutes until warmed through. The crust gets nice and crispy again this way!
| Preparation Time | 45-120 minutes |
| Cooking Time | 40-45 minutes |
| Total Time | 85-165 minutes |
| Level of Difficulty | Medium |
Estimated Nutrition
Estimated nutrition for the whole recipe (without optional ingredients):
- Calories: 3950-4200
- Protein: 32-38 g
- Fat: 195-215 g
- Carbohydrates: 570-610 g
Ingredients
For the crust:
- 3 3/4 cups all-purpose flour
- 1 1/2 tbsp granulated sugar
- 1 1/2 tsp table salt
- 12 oz unsalted butter, diced and very cold
- 3/4 cup ice water
For the apple filling:
- 3 1/2 to 4 lb apples, peeled and cut into 1/2-inch pieces (about 10 cups)
- Lemon juice, for tossing the apples
- 2/3 to 3/4 cup sugar (adjust to preference and apple sweetness)
- 3 tbsp cornstarch
- 1 rounded tsp ground cinnamon
- 1/4 tsp ground nutmeg
- 1/4 tsp ground allspice
- 1/8 tsp table salt
For the topping:
- 2 tbsp heavy cream or 1 egg mixed with 1 tbsp water, for brushing
Step 1: Prepare the Pie Crust Dough
- 3 3/4 cups all-purpose flour
- 1 1/2 tbsp granulated sugar
- 1 1/2 tsp table salt
- 12 oz unsalted butter, diced and very cold
- 3/4 cup ice water
In a large bowl, whisk together the all-purpose flour, granulated sugar, and table salt.
Add the diced, very cold unsalted butter to the bowl and toss it with the flour mixture to coat.
Using your fingers (or a pastry blender or two knives), work the butter into the flour until the mixture is crumbly and the butter pieces are just larger than pea-sized.
Pour in 1/2 cup of ice water and use a rubber spatula to mix until the dough starts to come together.
If the dough is too dry, add more water, 1 tablespoon at a time, up to 1/4 cup extra, just until the dough comes together.
Bring the dough together with your hands, forming a soft, slightly loose ball.
Divide the dough into two pieces, one a bit larger for the bottom crust.
Wrap each piece tightly in plastic wrap and shape them into 1-inch thick rectangles.
Refrigerate the dough for at least 2 hours to chill thoroughly before using.
I prefer using my fingers to rub the butter in, as it gives me the best control over the texture.
Step 2: Make the Apple Filling
- 3 1/2 to 4 lb apples, peeled and cut into 1/2-inch pieces (about 10 cups)
- lemon juice, for tossing the apples
- 2/3 to 3/4 cup sugar (adjust to preference and apple sweetness)
- 3 tbsp cornstarch
- 1 rounded tsp ground cinnamon
- 1/4 tsp ground nutmeg
- 1/4 tsp ground allspice
- 1/8 tsp table salt
In a very large bowl, toss the peeled and chopped apples with lemon juice to prevent browning and add a subtle brightness.
In a separate medium bowl, mix together the sugar, cornstarch, ground cinnamon, ground nutmeg, ground allspice, and table salt.
Sprinkle this sugar-spice mixture over the apples and toss well until all the apple pieces are thoroughly coated.
Set the prepared apple filling aside while you roll out the dough.
I like to taste my apples before mixing in the sugar and adjust the amount based on their sweetness.
Step 3: Assemble the Slab Pie
- pie dough from Step 1
- apple filling from Step 2
Preheat your oven to 375°F.
Line the bottom of a 10×15×1-inch baking sheet (or similar-sized jelly roll pan) with parchment paper.
On a well-floured surface, roll out the larger piece of chilled dough (from Step 1) into an 18×13-inch rectangle.
Transfer this dough to the lined pan, draping the edges over the sides and gently pressing it into the corners.
Place the pan in the fridge or freezer while you roll out the second, smaller piece of dough into a 16×11-inch rectangle.
Remove the pan from the fridge/freezer and evenly spread the prepared apple filling (from Step 2), including any juices, over the bottom crust.
Lay the second rolled dough over the apples, and trim both the top and bottom crusts so they hang about 3/4-inch beyond the edge of the pan.
Press the edges together to seal tightly with your fingers.
Step 4: Finish and Bake the Pie
- 2 tbsp heavy cream OR 1 egg mixed with 1 tbsp water
Brush the top crust of the assembled slab pie with either the heavy cream or egg wash to encourage a golden, glossy finish.
Using a sharp knife, cut several 1-inch slits in the top crust to allow steam to escape during baking.
Set the jelly roll pan on a larger baking sheet to catch any possible spillage.
Bake in the preheated oven for 40 to 45 minutes, or until the top crust is a deep golden brown and the apple filling is bubbling through the slits.
For a more rustic look, I like to sprinkle a little extra sugar over the top right before baking.
Step 5: Cool and Serve
Once baked, transfer the pan to a wire rack and let the pie cool for at least 45 minutes before cutting and serving.
This resting period allows the filling to set, making for neater slices and better flavor.
I always recommend exercising patience here—it really makes the difference between a runny and a picture-perfect pie.
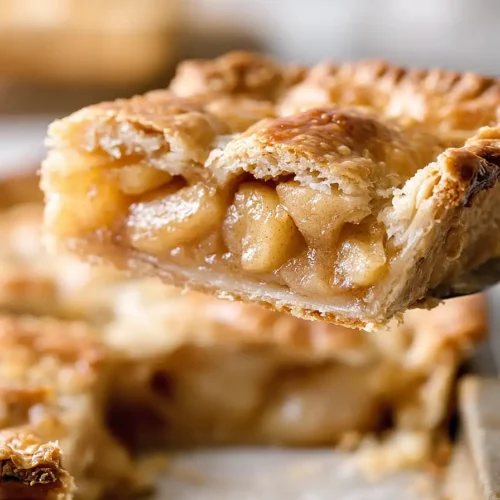
Cinnamon Apple Slab Pie
Ingredients
For the crust:
- 3 3/4 cups all-purpose flour
- 1 1/2 tbsp granulated sugar
- 1 1/2 tsp table salt
- 12 oz unsalted butter, diced and very cold
- 3/4 cup ice water
For the apple filling:
- 3 1/2 to 4 lb apples, peeled and cut into 1/2-inch pieces (about 10 cups)
- lemon juice, for tossing the apples
- 2/3 to 3/4 cup sugar (adjust to preference and apple sweetness)
- 3 tbsp cornstarch
- 1 rounded tsp ground cinnamon
- 1/4 tsp ground nutmeg
- 1/4 tsp ground allspice
- 1/8 tsp table salt
For the topping:
- 2 tbsp heavy cream OR 1 egg mixed with 1 tbsp water, for brushing
Instructions
- In a large bowl, whisk together the all-purpose flour, granulated sugar, and table salt. Add the diced, very cold unsalted butter to the bowl and toss it with the flour mixture to coat. Using your fingers (or a pastry blender or two knives), work the butter into the flour until the mixture is crumbly and the butter pieces are just larger than pea-sized. Pour in 1/2 cup of ice water and use a rubber spatula to mix until the dough starts to come together. If the dough is too dry, add more water, 1 tablespoon at a time, up to 1/4 cup extra, just until the dough comes together. Bring the dough together with your hands, forming a soft, slightly loose ball. Divide the dough into two pieces, one a bit larger for the bottom crust. Wrap each piece tightly in plastic wrap and shape them into 1-inch thick rectangles. Refrigerate the dough for at least 2 hours to chill thoroughly before using. I prefer using my fingers to rub the butter in, as it gives me the best control over the texture.
- In a very large bowl, toss the peeled and chopped apples with lemon juice to prevent browning and add a subtle brightness. In a separate medium bowl, mix together the sugar, cornstarch, ground cinnamon, ground nutmeg, ground allspice, and table salt. Sprinkle this sugar-spice mixture over the apples and toss well until all the apple pieces are thoroughly coated. Set the prepared apple filling aside while you roll out the dough. I like to taste my apples before mixing in the sugar and adjust the amount based on their sweetness.
- Preheat your oven to 375°F. Line the bottom of a 10×15×1-inch baking sheet (or similar-sized jelly roll pan) with parchment paper. On a well-floured surface, roll out the larger piece of chilled dough (from Step 1) into an 18×13-inch rectangle. Transfer this dough to the lined pan, draping the edges over the sides and gently pressing it into the corners. Place the pan in the fridge or freezer while you roll out the second, smaller piece of dough into a 16×11-inch rectangle. Remove the pan from the fridge/freezer and evenly spread the prepared apple filling (from Step 2), including any juices, over the bottom crust. Lay the second rolled dough over the apples, and trim both the top and bottom crusts so they hang about 3/4-inch beyond the edge of the pan. Press the edges together to seal tightly with your fingers.
- Brush the top crust of the assembled slab pie with either the heavy cream or egg wash to encourage a golden, glossy finish. Using a sharp knife, cut several 1-inch slits in the top crust to allow steam to escape during baking. Set the jelly roll pan on a larger baking sheet to catch any possible spillage. Bake in the preheated oven for 40 to 45 minutes, or until the top crust is a deep golden brown and the apple filling is bubbling through the slits. For a more rustic look, I like to sprinkle a little extra sugar over the top right before baking.
- Once baked, transfer the pan to a wire rack and let the pie cool for at least 45 minutes before cutting and serving. This resting period allows the filling to set, making for neater slices and better flavor. I always recommend exercising patience here—it really makes the difference between a runny and a picture-perfect pie.

