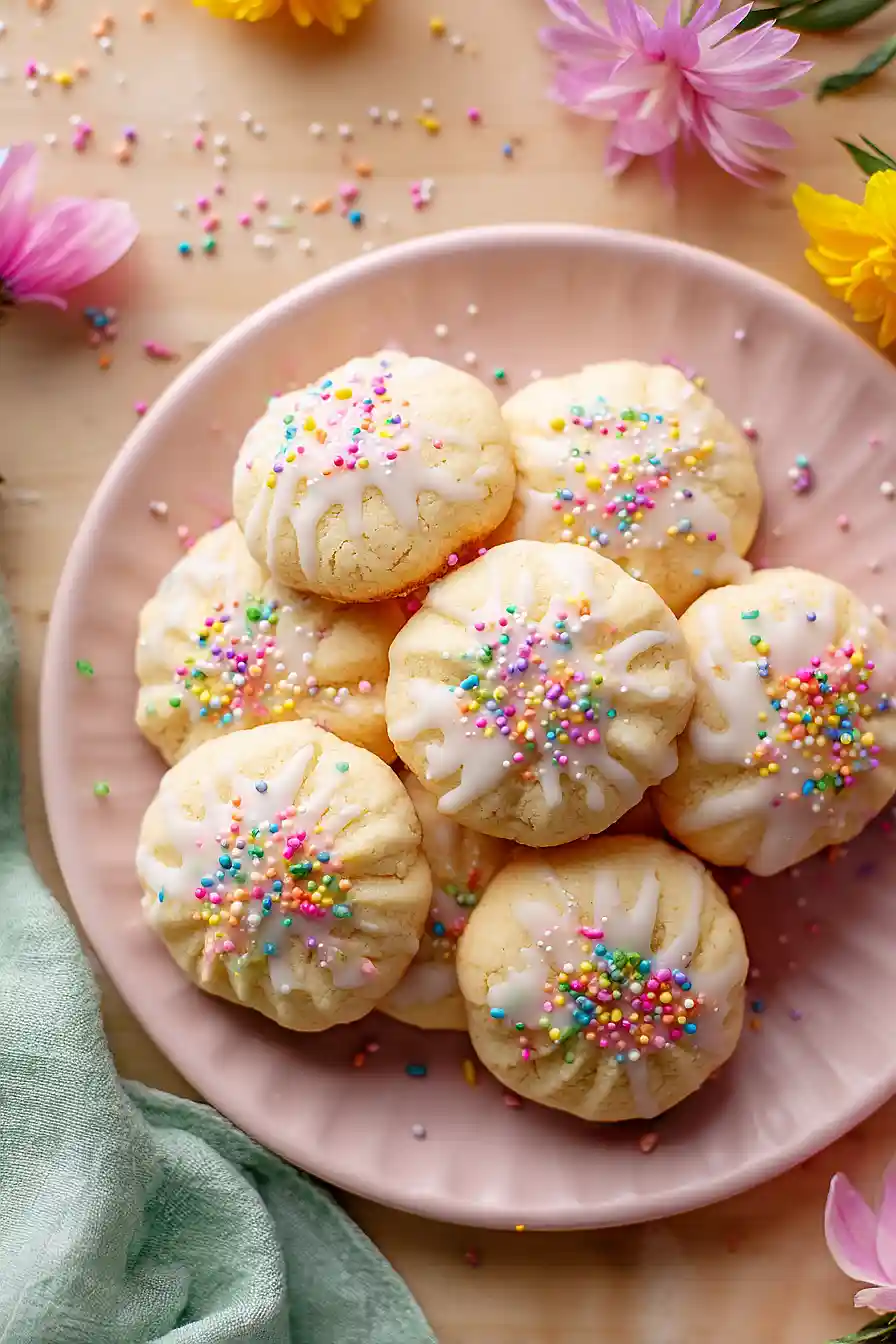
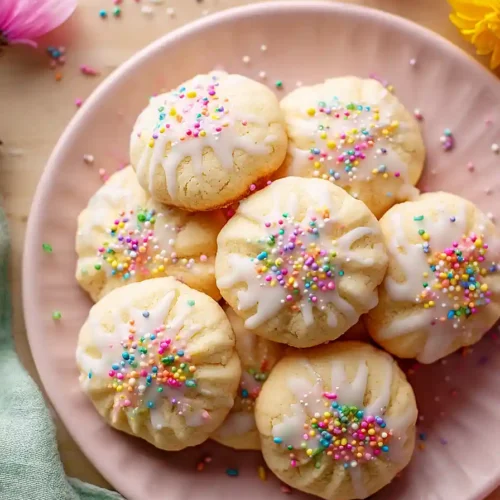
Here is my favorite spritz cookie recipe, with a buttery base, a hint of licorice flavor from anise extract, and a simple glaze that makes them perfect for any occasion.
These spritz cookies are always a hit at holiday parties and cookie exchanges. The anise gives them a unique flavor that stands out from regular butter cookies, and the fun shapes make decorating with the kids easy and fun.
Why You’ll Love These Spritz Cookies
- Quick and easy – These cookies come together in under 45 minutes, making them perfect for last-minute gatherings or when you need a sweet treat fast.
- Unique anise flavor – The anise extract gives these cookies a distinctive, slightly licorice-like taste that sets them apart from ordinary butter cookies.
- Fun to make – Using a cookie press to create different shapes makes baking these spritz cookies an enjoyable activity, especially if you have kids who want to help.
- Perfect for decorating – The simple glaze and sprinkles let you customize these cookies for any holiday or occasion, from Christmas to birthdays.
- Classic recipe with a twist – This traditional Scandinavian cookie gets an interesting update that adds a special touch to your cookie platter.
What Kind of Anise Extract Should I Use?
Anise extract can be found in the baking aisle of most grocery stores, usually near the vanilla and other flavor extracts. You’ll want to look for pure anise extract rather than imitation if possible, as it gives a more authentic, less artificial taste to your cookies. If you can’t find anise extract at your local store, you can substitute it with an equal amount of almond extract for a different but still delicious flavor profile. Some people find anise to have a strong licorice-like taste, so if you’re new to baking with it, you might want to start with a bit less than the recipe calls for and adjust to your preference next time.
Options for Substitutions
These cookies are pretty adaptable, so here are some swaps you can make:
- Anise extract: Not a fan of anise’s licorice flavor? You can swap it out for almond extract, lemon extract, or even peppermint extract for a completely different cookie. Use the same amount called for in the recipe.
- Cannabutter: If you’re not using cannabutter, just replace it with an equal amount of regular butter. The texture and baking time will stay the same.
- All-purpose flour: You can use a 1:1 gluten-free flour blend if needed, though the cookies might be slightly more crumbly. Don’t substitute with cake flour as the cookies need structure to hold their pressed shapes.
- Eggs: For each egg, you can use ¼ cup applesauce or a flax egg (1 tablespoon ground flaxseed mixed with 3 tablespoons water, let sit for 5 minutes). The cookies may spread a bit more with these substitutes.
- Milk in glaze: Any milk works here – dairy, almond, oat, or even water in a pinch. Just add it slowly until you get the right consistency for drizzling.
- Sprinkles: Get creative with toppings! Try crushed nuts, colored sugar, mini chocolate chips, or leave them plain for a classic look.
Watch Out for These Mistakes While Baking
The biggest mistake with spritz cookies is using butter that’s too soft or melted, which makes the dough too loose to hold its shape when pressed through the cookie press – your butter should be at room temperature but still hold its form when pressed with a finger.
If your cookies aren’t sticking to the baking sheet and keep coming off with the press, try skipping the parchment paper and pressing directly onto an ungreased cookie sheet, which gives the dough something to grip onto.
Another common issue is overmixing the dough after adding the flour, which develops too much gluten and makes the cookies tough instead of tender and crisp.
Finally, watch your baking time closely since these thin cookies can go from perfectly golden to overdone in just a minute or two – they should be set but barely colored around the edges when you pull them out.

What to Serve With Spritz Cookies?
These anise-flavored spritz cookies are perfect alongside a hot cup of coffee or tea, especially during the holidays when you want something sweet to nibble on. I love setting them out on a platter with other cookies like chocolate chip or sugar cookies so everyone can mix and match their favorites. They’re also great for dunking into hot chocolate or a glass of cold milk if you’re in the mood for something more indulgent. Since they’re on the sweeter side, pairing them with something simple like fresh fruit or a cheese plate helps balance things out nicely.
Storage Instructions
Store: These spritz cookies stay fresh in an airtight container at room temperature for about a week. Just layer them between sheets of parchment paper so they don’t stick together, and keep the container sealed tight to maintain that crisp texture.
Freeze: Spritz cookies are perfect for freezing! You can freeze the baked cookies in a freezer-safe container for up to 3 months, or freeze the dough shaped into logs wrapped in plastic wrap for the same amount of time. When you’re ready to bake frozen dough, just slice and bake as usual, adding a minute or two to the baking time.
Make Ahead: The dough can be made a day or two in advance and kept in the fridge until you’re ready to pipe and bake. Just let it sit at room temperature for about 15 minutes before using so it’s soft enough to press through your cookie press without too much effort.
| Preparation Time | 20-30 minutes |
| Cooking Time | 12-15 minutes |
| Total Time | 32-45 minutes |
| Level of Difficulty | Easy |
Estimated Nutrition
Estimated nutrition for the whole recipe (without optional ingredients):
- Calories: 4300-4600
- Protein: 34-38 g
- Fat: 220-240 g
- Carbohydrates: 530-570 g
Ingredients
For the dough:
- 1 cup butter (softened, I use Kerrygold unsalted)
- 2 large eggs (room temperature)
- 1 cup sugar
- 1 tsp vanilla extract (pure extract for best flavor)
- 1 tsp anise extract
- 1/2 cup cannabutter (softened to room temperature)
- 3.5 cups all-purpose flour (I use King Arthur)
- 1/8 tsp baking soda
For the glaze:
- 1/2 tsp anise extract
- sprinkles (optional, for decoration)
- 3 tsp milk
- 1 cup powdered sugar (sifted to remove lumps)
Step 1: Prepare Your Workspace and Mise en Place
- 3.5 cups all-purpose flour
- 1/8 tsp baking soda
- cooking spray
- foil
Preheat your oven to 350°F and line baking sheets with foil, then lightly spray with cooking spray to prevent sticking.
Measure out all your dry ingredients (flour, baking soda) into a small bowl and set aside.
This prepares everything you need so you can focus on mixing without interruption once you start combining the wet ingredients.
Step 2: Cream Butter, Cannabutter, and Sugar
- 1 cup butter
- 1/2 cup cannabutter
- 1 cup sugar
In a large mixing bowl, combine the softened butter, softened cannabutter, and sugar.
Beat together for 2-3 minutes until the mixture becomes light, fluffy, and pale in color.
This creaming process is crucial because it incorporates air into the dough, which helps the cookies spread evenly and bake with a tender crumb.
I find that using room-temperature ingredients makes this step much easier and ensures better incorporation.
Step 3: Incorporate Eggs and Flavorings
- 2 large eggs
- 1 tsp vanilla extract
- 1 tsp anise extract
Add the room-temperature eggs one at a time to the creamed mixture, beating well after each addition.
Then add the vanilla extract and the 1 tsp anise extract, mixing until fully combined.
The room-temperature eggs incorporate more smoothly into the butter mixture, creating a homogeneous batter that will yield more consistent cookies.
Step 4: Mix in Dry Ingredients
- dry ingredient mixture from Step 1
Add the flour and baking soda mixture from Step 1 to the wet ingredients and mix on low speed until just combined and a cohesive dough forms.
Be careful not to overmix once the flour is incorporated, as this can develop gluten and make the cookies tough rather than tender.
The dough should be smooth and pliable, ready for shaping.
Step 5: Shape and Bake the Cookies
- cookie dough from Step 4
Roll the dough from Step 4 into 1-inch balls and place them 2 inches apart on your prepared baking sheets.
Bake for 12-15 minutes until the edges are light brown but the centers still look slightly underbaked—they’ll continue to cook as they cool.
I like to pull them out when they look just barely golden because they firm up perfectly as they cool and stay tender inside.
Step 6: Cool Cookies and Prepare Icing
- 1 cup powdered sugar
- 3 tsp milk
- 1/2 tsp anise extract
Remove the baking sheets from the oven and let the cookies cool for 5 minutes on the pan before transferring them to a wire rack to cool completely.
While the cookies cool, prepare the icing by whisking together the sifted powdered sugar, milk, and the 1/2 tsp anise extract until smooth and pourable.
The icing should be thick enough to coat the cookies but thin enough to drip slightly—adjust milk as needed.
Step 7: Finish and Decorate
- cooled cookies from Step 5
- anise icing from Step 6
- sprinkles
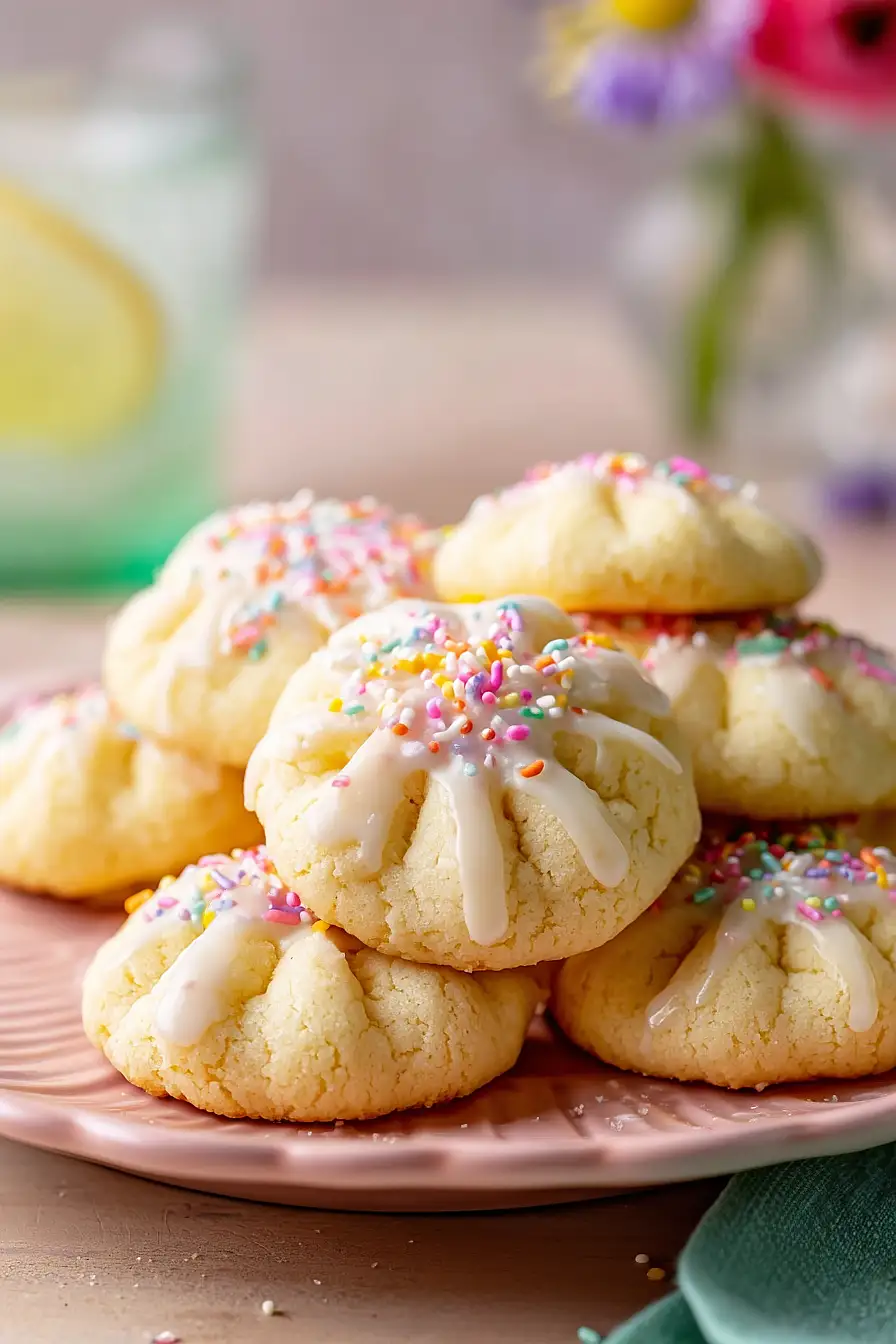
Once the cookies are completely cool, spoon the anise icing over each cookie, allowing it to drip down the sides.
Add sprinkles immediately while the icing is still wet so they adhere properly.
Let the icing set for 10-15 minutes before serving or storing.
Buttery Spritz Cookies with Anise
Ingredients
For the dough:
- 1 cup butter (softened, I use Kerrygold unsalted)
- 2 large eggs (room temperature)
- 1 cup sugar
- 1 tsp vanilla extract (pure extract for best flavor)
- 1 tsp anise extract
- 1/2 cup cannabutter (softened to room temperature)
- 3.5 cups all-purpose flour (I use King Arthur)
- 1/8 tsp baking soda
For the glaze:
- 1/2 tsp anise extract
- sprinkles (optional, for decoration)
- 3 tsp milk
- 1 cup powdered sugar (sifted to remove lumps)
Instructions
- Preheat your oven to 350°F and line baking sheets with foil, then lightly spray with cooking spray to prevent sticking. Measure out all your dry ingredients (flour, baking soda) into a small bowl and set aside. This prepares everything you need so you can focus on mixing without interruption once you start combining the wet ingredients.
- In a large mixing bowl, combine the softened butter, softened cannabutter, and sugar. Beat together for 2-3 minutes until the mixture becomes light, fluffy, and pale in color. This creaming process is crucial because it incorporates air into the dough, which helps the cookies spread evenly and bake with a tender crumb. I find that using room-temperature ingredients makes this step much easier and ensures better incorporation.
- Add the room-temperature eggs one at a time to the creamed mixture, beating well after each addition. Then add the vanilla extract and the 1 tsp anise extract, mixing until fully combined. The room-temperature eggs incorporate more smoothly into the butter mixture, creating a homogeneous batter that will yield more consistent cookies.
- Add the flour and baking soda mixture from Step 1 to the wet ingredients and mix on low speed until just combined and a cohesive dough forms. Be careful not to overmix once the flour is incorporated, as this can develop gluten and make the cookies tough rather than tender. The dough should be smooth and pliable, ready for shaping.
- Roll the dough from Step 4 into 1-inch balls and place them 2 inches apart on your prepared baking sheets. Bake for 12-15 minutes until the edges are light brown but the centers still look slightly underbaked—they'll continue to cook as they cool. I like to pull them out when they look just barely golden because they firm up perfectly as they cool and stay tender inside.
- Remove the baking sheets from the oven and let the cookies cool for 5 minutes on the pan before transferring them to a wire rack to cool completely. While the cookies cool, prepare the icing by whisking together the sifted powdered sugar, milk, and the 1/2 tsp anise extract until smooth and pourable. The icing should be thick enough to coat the cookies but thin enough to drip slightly—adjust milk as needed.
- Once the cookies are completely cool, spoon the anise icing over each cookie, allowing it to drip down the sides. Add sprinkles immediately while the icing is still wet so they adhere properly. Let the icing set for 10-15 minutes before serving or storing.
