Disclaimer: Our editors have used AI to create or enhance parts of this article. All content has been fact-checked by our team to ensure accuracy.
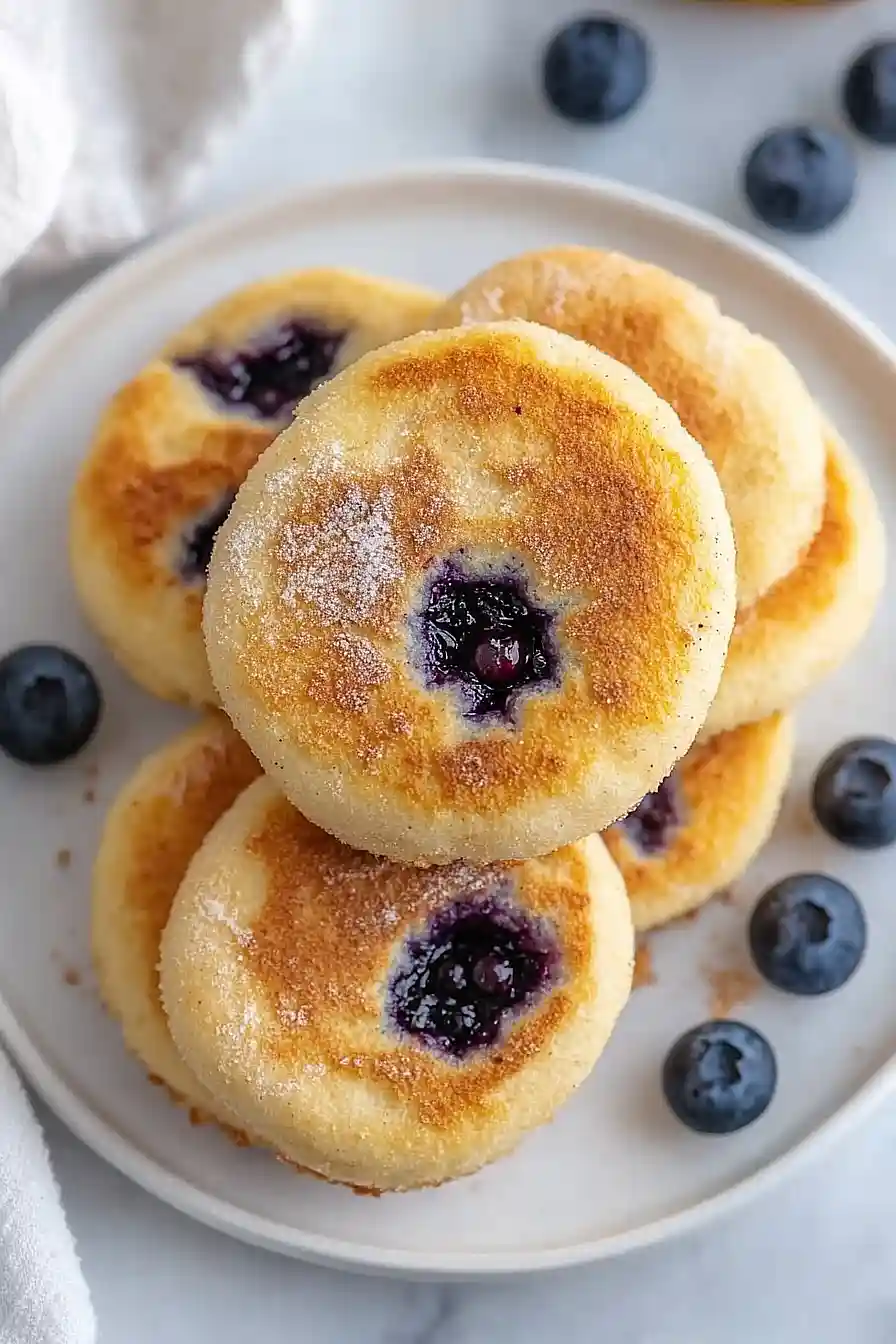
I’ve always had a soft spot for simple breakfast recipes that make mornings feel special. There’s something comforting about starting your day with warm, toasted English muffins topped with sweet blueberries. But let’s be honest – who has time for complicated cooking when you’re still trying to wake up?
That’s why this blueberry English muffin recipe has become my go-to breakfast choice. I can prep the topping the night before while I’m already in the kitchen making dinner, and in the morning, it takes just minutes to put everything together. My kids love helping to assemble their own muffins, and I love that there’s barely any cleanup.
Whether you’re a fan of classic breakfast flavors or just looking for a quick way to jazz up your morning routine, this recipe hits all the right notes. It’s perfect for busy weekdays, but special enough for lazy weekend brunches too.
Why You’ll Love These Blueberry English Muffins
- Made from scratch – These homemade English muffins taste so much better than store-bought ones, with real ingredients you can actually pronounce.
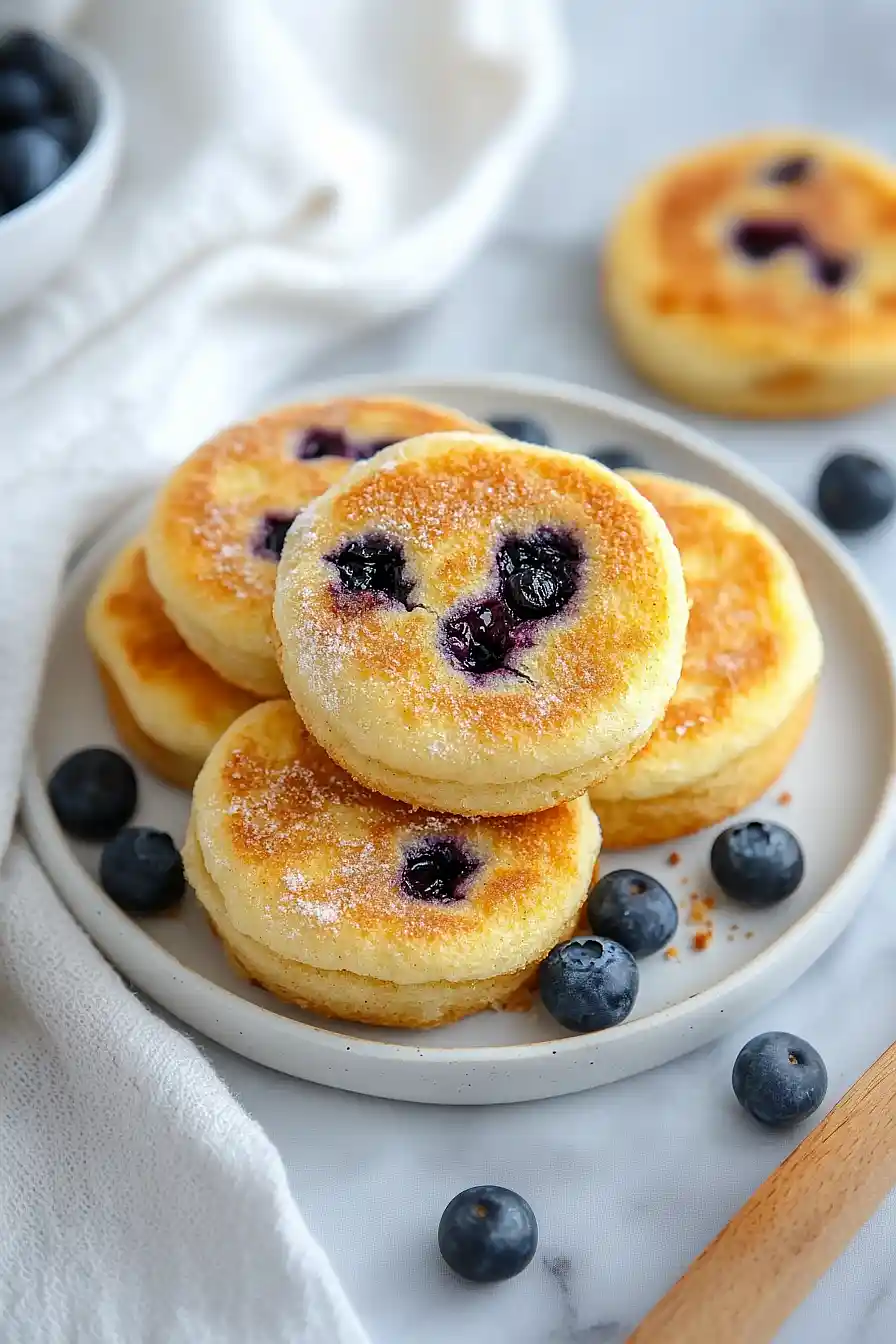
- Perfect texture – Each muffin has those classic nooks and crannies that English muffins are famous for, making them perfect for catching melted butter and jam.
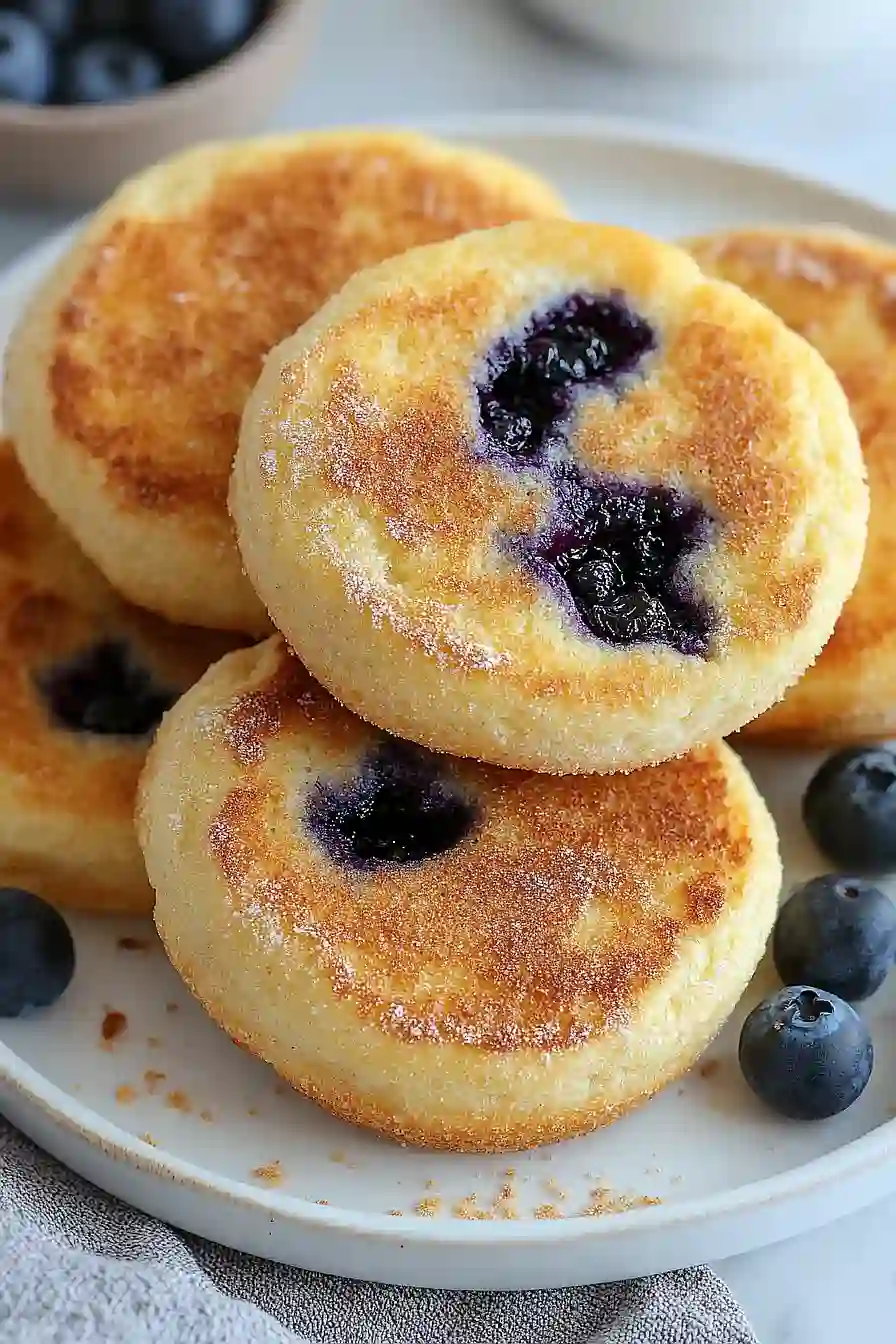
- Fresh blueberry twist – The addition of fresh blueberries adds natural sweetness and bursts of flavor that you just can’t get from regular English muffins.
- Make-ahead friendly – While they take time to rise, most of it is hands-off, and you can make a batch on the weekend to enjoy throughout the week.
- Freezer-friendly – These muffins freeze beautifully, so you can make a big batch and have fresh-tasting English muffins whenever you want.
What Kind of Blueberries Should I Use?
Fresh blueberries are the way to go for these English muffins, though frozen can work in a pinch if you thaw and drain them well first. When shopping for fresh blueberries, look for ones that are firm, plump, and have a dusty blue color – avoid any that are soft, wrinkled, or have a reddish tint. Small to medium-sized berries typically work better in this recipe than the jumbo ones, since they’re less likely to make your muffins soggy or create large gaps in the dough. Before adding them to your dough, give them a quick rinse and pat them dry with paper towels to remove any excess moisture that could affect the texture of your muffins.
Options for Substitutions
Need to make some swaps? Here are some helpful substitutions for this recipe:
- Whole milk: You can use 2% milk or even plant-based alternatives like soy or oat milk. If using non-dairy milk, add 1 tablespoon of neutral oil to make up for the fat content.
- Bread flour: While bread flour gives the best chewy texture, all-purpose flour can work too. Just know your muffins might be slightly less chewy. Don’t substitute with pastry or cake flour – they won’t provide enough structure.
- Fresh blueberries: Frozen blueberries work great – just don’t thaw them first! You can also try other berries like chopped strawberries or raspberries. If using larger berries, chop them into blueberry-sized pieces.
- Honey: Feel free to swap honey with maple syrup, agave nectar, or regular sugar. The sweetness level stays pretty much the same with any of these options.
- Cornmeal: For dusting, semolina flour works just as well. In a pinch, you could use regular flour, though you won’t get that classic English muffin texture on the outside.
- Instant yeast: If you only have active dry yeast, use the same amount but dissolve it in the warm milk first and let it sit for 5-10 minutes until foamy before mixing with other ingredients.
Watch Out for These Mistakes While Baking
The temperature of your milk is crucial when making English muffins – if it’s too hot, it’ll kill the yeast, and if it’s too cold, your dough won’t rise properly, so always use a thermometer to ensure it’s around 110°F. When working with blueberries in the dough, gently fold them in at the very end of mixing to prevent them from breaking and turning your entire dough purple – and consider using frozen blueberries since they’re firmer and easier to work with. The biggest mistake bakers make is rushing the rise time or skipping the second rise altogether – giving your dough enough time to develop (about 1-1.5 hours for each rise) creates those signature nooks and crannies that English muffins are famous for. For the perfect texture, cook these on medium-low heat in a skillet or griddle – too high heat will burn the outside while leaving the inside raw, so aim for about 7-8 minutes per side until they’re golden brown.
What to Serve With Blueberry English Muffins?
These homemade blueberry English muffins are perfect for breakfast or brunch with some simple, tasty toppings. A pat of salted butter is always good, but try spreading them with cream cheese or ricotta for something special. Since they already have blueberries baked in, they pair really nicely with other breakfast items like scrambled eggs, crispy bacon, or breakfast sausage for a more complete morning meal. If you want to keep things sweet, a drizzle of honey or maple syrup works great too – just toast the muffin first so it gets nice and warm!
Storage Instructions
Keep Fresh: These homemade blueberry English muffins stay fresh at room temperature for about 2 days when stored in a sealed bag or container. For longer storage, pop them in the fridge where they’ll keep well for up to a week. Just make sure they’re completely cool before storing to keep that perfect texture!
Freeze: Good news – these muffins are perfect for freezing! Place them in a freezer bag with parchment paper between each muffin to prevent sticking, and they’ll stay good for up to 3 months. I like to make a double batch just to have some ready in the freezer for busy mornings.
Enjoy Later: When you’re ready to eat a frozen muffin, let it thaw at room temperature or pop it straight into the toaster. For the best taste and texture, split the muffin with a fork (don’t use a knife – this helps keep those lovely nooks and crannies!) and toast until golden brown. They taste just as good as fresh ones!
| Preparation Time | 10-15 minutes |
| Cooking Time | 24-30 minutes |
| Total Time | 10 hours 34-45 minutes |
| Level of Difficulty | Medium |
Estimated Nutrition
Estimated nutrition for the whole recipe (without optional ingredients):
- Calories: 1600-1800
- Protein: 40-50 g
- Fat: 70-80 g
- Carbohydrates: 250-270 g
Ingredients
- 2 cups whole milk (heated to approximately 110°f/43°c)
- 4 tablespoons melted unsalted butter
- 2 tablespoons honey
- 1½ teaspoons salt
- 4 cups bread flour
- 2 teaspoons instant yeast
- 1 cup fresh blueberries
- Cornmeal for dusting
Step 1: Prepare the Dough
In the bowl of a stand mixer or a large mixing bowl, combine the milk, butter, honey, salt, 3 cups of the bread flour, and yeast.
Using the flat beater paddle attachment on medium-high speed, mix the ingredients together.
If not using a stand mixer, stir the mixture vigorously with a spoon.
Gradually add the last cup of flour, a little at a time, until the dough becomes sticky but not wet.
It is important to note that you may not need all of the flour.
Step 2: Add the Blueberries and Let Rise
Gently incorporate fresh blueberries into the dough.
Shape the dough into a rough ball and lay a piece of plastic wrap loosely over the top.
Cover the bowl with a clean towel and allow the dough to rise in a warm place for at least 10 hours.
The dough should more than double in size and develop bubbling on the top.
Step 3: Shape the Muffins
Sprinkle cornmeal over the top of the dough and your hands, as the dough will be sticky.
Take portions of the dough and form them into balls about 2 inches in diameter.
Continue until all dough is used, rubbing more cornmeal over your hands as necessary to manage the stickiness.
Step 4: Prepare for Cooking
Sprinkle a large baking sheet with cornmeal and place the dough balls on top.
Sprinkle additional cornmeal over the tops of the dough balls.
Cover the muffins with plastic wrap and a clean towel, allowing them to rest for 45 minutes.
Step 5: Cook the Muffins
Once the muffins have risen, transfer them to a non-stick griddle or a large skillet, arranging as many as will fit with a little space between them.
Cook over medium heat for approximately 12 to 15 minutes per side until the crusts are golden brown and the interiors are cooked through.
Use an instant-read thermometer to ensure they are done; the temperature should register 200°F (93°C) when inserted into the middle of a muffin.
Repeat with the remaining muffins.
Step 6: Cool, Split, and Serve
After cooking, allow the muffins to cool slightly.
Use a fork to split them open, creating lots of nooks and crannies.
Serve the muffins with butter and jam if desired.
")
")