Growing up, strawberry shortcake meant those little round sponge cakes from the grocery store with Cool Whip on top. That’s how we always had it at summer cookouts, and I never questioned it. My grandmother would shake her head every time she saw those store-bought cakes, but I didn’t understand why.
Then she showed me how to make real strawberry shortcake from scratch – with tender, warm biscuits that practically melt when you add the fresh berries and cream. Now I get it. Those store-bought cakes might be convenient, but once you try the homemade version, there’s just no going back.
Why You’ll Love This Strawberry Shortcake
- Made from scratch – Using basic pantry ingredients, you’ll create tender, buttery biscuits that taste way better than any store-bought version.
- Quick dessert – From start to finish, you can have this classic dessert ready in under an hour – perfect for last-minute gatherings or weekend treats.
- Customizable sweetness – You control the amount of sugar added to both the strawberries and whipped cream, letting you adjust the sweetness to your taste.
- Perfect for entertaining – The components can be prepared ahead of time and assembled just before serving, making it ideal for summer parties and gatherings.
- Family-friendly activity – Kids can help hull and slice strawberries, whip the cream, and build their own shortcakes – making it a fun kitchen project for the whole family.
What Kind of Strawberries Should I Use?
Fresh, ripe strawberries are the star of this classic dessert, and picking the right ones makes all the difference. Look for berries that are bright red all the way through, without any white or green patches near the stem – these are signs that the strawberries were picked too early. If you’re shopping at the grocery store, give your container a quick check for any moldy or mushy berries, and try to choose ones that are similar in size so they’ll macerate evenly. While you might be tempted to grab the biggest strawberries you can find, medium-sized ones often pack more flavor. If it’s not peak strawberry season, you can still make a delicious shortcake – just let your berries sit with the sugar a bit longer to draw out their natural sweetness.
Options for Substitutions
Let’s talk about some handy substitutions for this classic strawberry shortcake recipe:
- Strawberries: While strawberries are classic here, you can use other berries like raspberries, blackberries, or a mix. Peaches work great too when they’re in season. Just make sure to adjust the sugar based on the fruit’s sweetness.
- Heavy cream: For the whipped topping, you need real heavy cream – light cream or half-and-half won’t whip up properly. However, you could use store-bought whipped cream in a pinch.
- Buttermilk: No buttermilk? Mix 1 cup regular milk with 1 tablespoon lemon juice or white vinegar, let it sit for 5 minutes, and you’re good to go.
- Plain flour: All-purpose flour is key for the right texture. While you could use self-rising flour (just skip the baking powder and salt), avoid whole wheat flour as it will make the shortcakes too dense.
- Coarse sugar: Regular granulated sugar works fine for the topping if you don’t have coarse sugar. You could even skip it altogether, though it does add a nice crunch.
Watch Out for These Mistakes While Baking
The success of your strawberry shortcake largely depends on the temperature of your ingredients – using warm butter instead of cold can result in flat, dense biscuits rather than the flaky, tender layers you’re after. A common mistake is overworking the dough; once you add the buttermilk, mix just until the ingredients come together, as excessive handling will develop too much gluten and make your shortcakes tough. When cutting the biscuits, press straight down with your cutter and avoid twisting, as this seals the edges and prevents proper rising. For the best strawberry flavor, don’t skip the step of macerating your berries with sugar for at least 30 minutes, which creates a natural syrup and intensifies their sweetness. Remember to let your biscuits cool for about 10 minutes before splitting and filling them – cutting them while too hot can make them crumble and lose their shape.
What to Serve With Strawberry Shortcake?
This classic dessert is perfect on its own, but there are some really nice ways to make it even more special! A scoop of vanilla ice cream on the side adds an extra layer of creamy goodness, while a drizzle of chocolate sauce creates a fun strawberries-and-chocolate combo. I like to serve this with a hot cup of coffee or tea to balance out the sweetness – something like a medium roast coffee or Earl Grey tea works really well. For summer gatherings, you could also add a glass of champagne or prosecco on the side, which pairs beautifully with the fresh strawberries.
Storage Instructions
Keep Fresh: The biscuits taste best when eaten fresh, but you can keep them in an airtight container at room temperature for up to 2 days. For the strawberry mixture, store it separately in the fridge for up to 24 hours – the berries will get softer and release more juice as they sit.
Make Ahead: Want to prep in advance? You can make the biscuits ahead and freeze them unbaked! Place the shaped biscuits on a baking sheet, freeze until solid, then transfer to a freezer bag for up to 3 months. When ready to bake, no need to thaw – just add a couple extra minutes to the baking time.
Whipped Cream: It’s best to whip the cream fresh when you’re ready to serve. If you have leftover whipped cream, keep it in the fridge for up to 24 hours, though it might need a quick re-whip before using. For the best shortcake experience, I recommend assembling the components just before serving.
| Preparation Time | 20-30 minutes |
| Cooking Time | 18-22 minutes |
| Total Time | 38-52 minutes |
| Level of Difficulty | Medium |
Estimated Nutrition
Estimated nutrition for the whole recipe (without optional ingredients):
- Calories: 3500-3800
- Protein: 40-50 g
- Fat: 210-230 g
- Carbohydrates: 400-420 g
Ingredients
- 6 to 7 cups strawberries, cut into quarters
- 1/4 cup + 2 tablespoons (75g) white sugar, divided
- 1 teaspoon real vanilla extract
- 1 cup (240ml) heavy cream
- 2 and 3/4 cups (345g) plain flour, with extra for handling and surface*
- 1/4 cup (50g) white sugar
- 4 teaspoons baking powder without aluminum
- 1/2 teaspoon baking soda
- 1 teaspoon salt (fine sea salt recommended)
- 3/4 cup (12 tablespoons; 170g) unsalted butter, chopped and cold
- 1 cup (240ml) chilled buttermilk*
- 2 tablespoons (30ml) heavy cream or buttermilk
- Coarse sugar for topping
Step 1: Prepare the Strawberries
In a large bowl, combine the strawberries with 1/4 cup (50g) of granulated sugar.
Stir together until the sugar is evenly distributed.
Cover the bowl and place it in the refrigerator.
This resting period will help the strawberries release their delicious juices, enhancing the flavor of your dessert.
Step 2: Preheat Oven and Prepare Dry Ingredients
Preheat your oven to 400°F (204°C).
In a large bowl or food processor, mix together the flour, granulated sugar, baking powder, baking soda, and salt.
Whisk or pulse the ingredients until they are well combined.
Add the cubed butter to the dry mixture and use a pastry cutter or food processor to cut the butter into the ingredients until coarse crumbs form.
If using a food processor, transfer the mixture into a large bowl.
Step 3: Form the Dough
Pour the buttermilk over the dry mixture.
Use a large spoon or silicone spatula to fold the ingredients together gently, being careful not to overwork the dough.
The dough will be shaggy and crumbly with some wet areas.
Transfer the dough to a floured work surface and use generously floured hands to bring it together.
Be sure to have extra flour nearby to keep your hands and surface well-floured.
Flatten the dough into a 3/4-inch thick rectangle, fold one side into the center, then the other side, and repeat these steps to form a cohesive dough.
Step 4: Cut and Arrange the Biscuits
Cut the dough into 2.75 or 3-inch circles using a biscuit cutter, being careful not to twist the cutter as you press down.
Re-roll any leftover scraps to cut additional circles, aiming for about 10-12 biscuits in total.
Place the biscuits in a 10-inch cast iron skillet or arrange them close together on a baking sheet lined with parchment paper or a silicone baking mat, ensuring that the biscuits are touching.
Step 5: Brush and Bake the Biscuits
Brush the tops of the biscuits with 2 tablespoons of heavy cream or buttermilk, then sprinkle with coarse sugar.
Bake the biscuits for 18-22 minutes or until they are golden brown on top.
Once done, remove from the oven and allow them to cool in the pan for at least 10 minutes before assembling.
Step 6: Make the Whipped Cream and Assemble
Using a hand mixer or stand mixer fitted with a whisk attachment, beat the heavy cream with 2 tablespoons of granulated sugar and vanilla extract on medium-high speed until soft-medium peaks form, about 3 minutes.
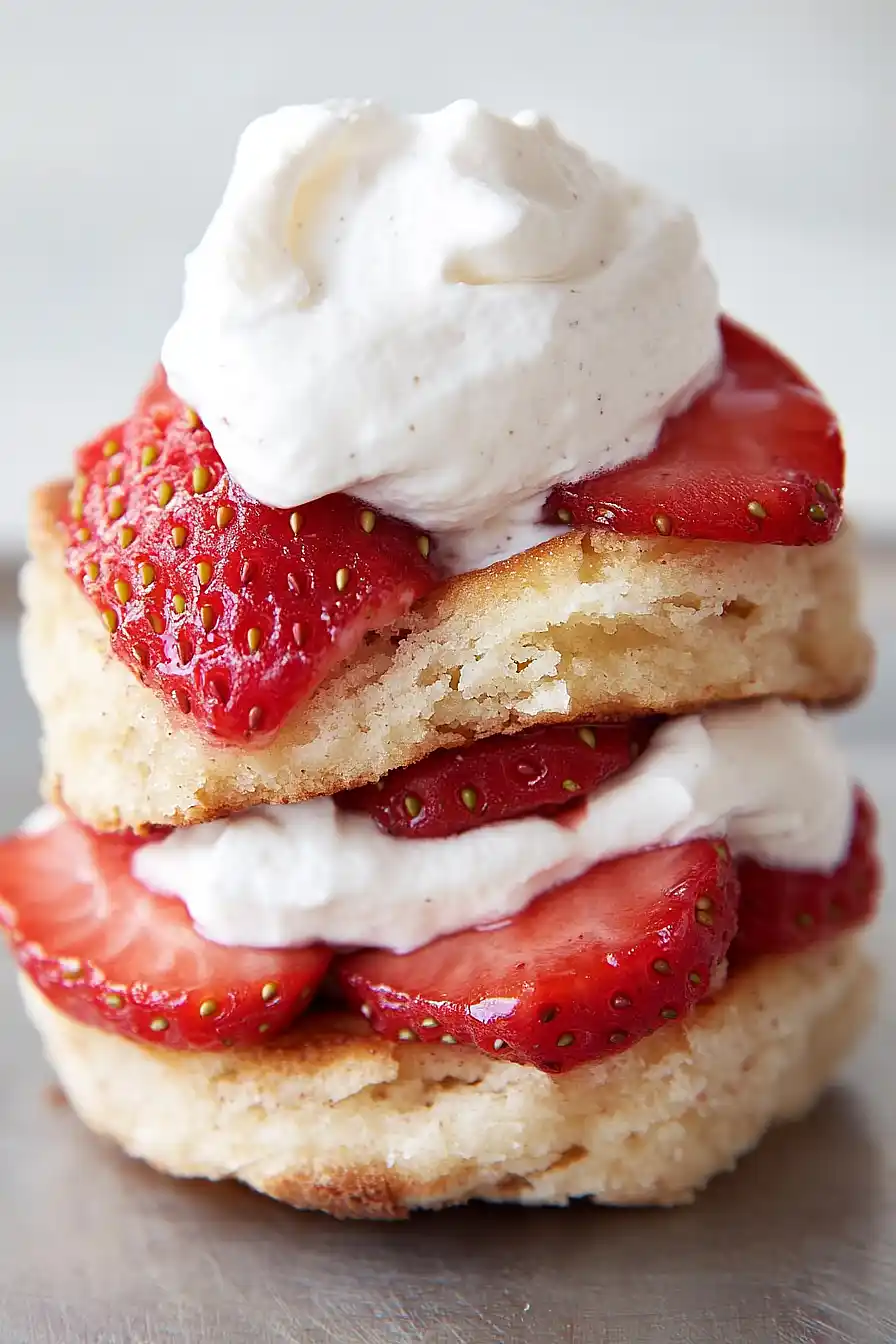
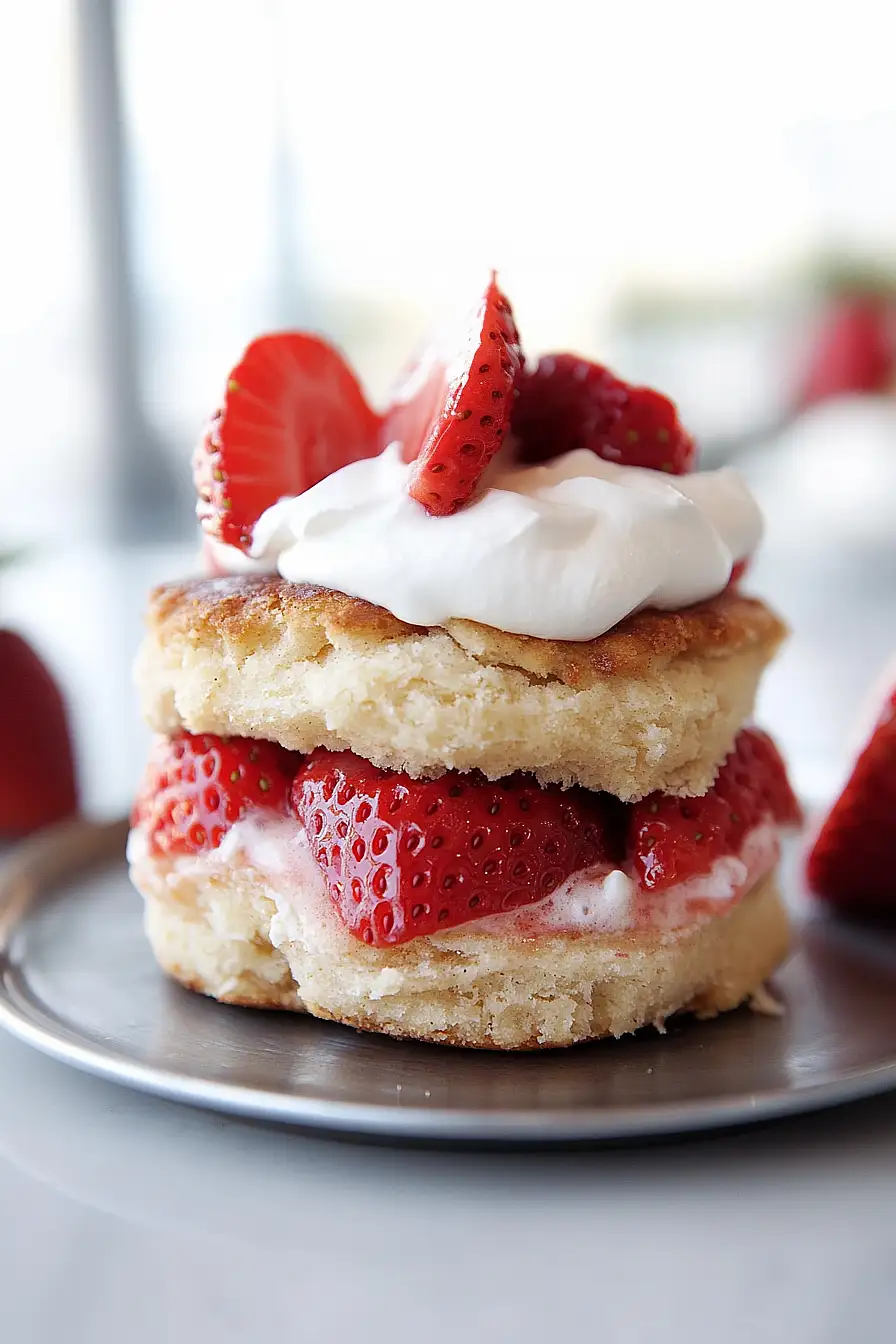
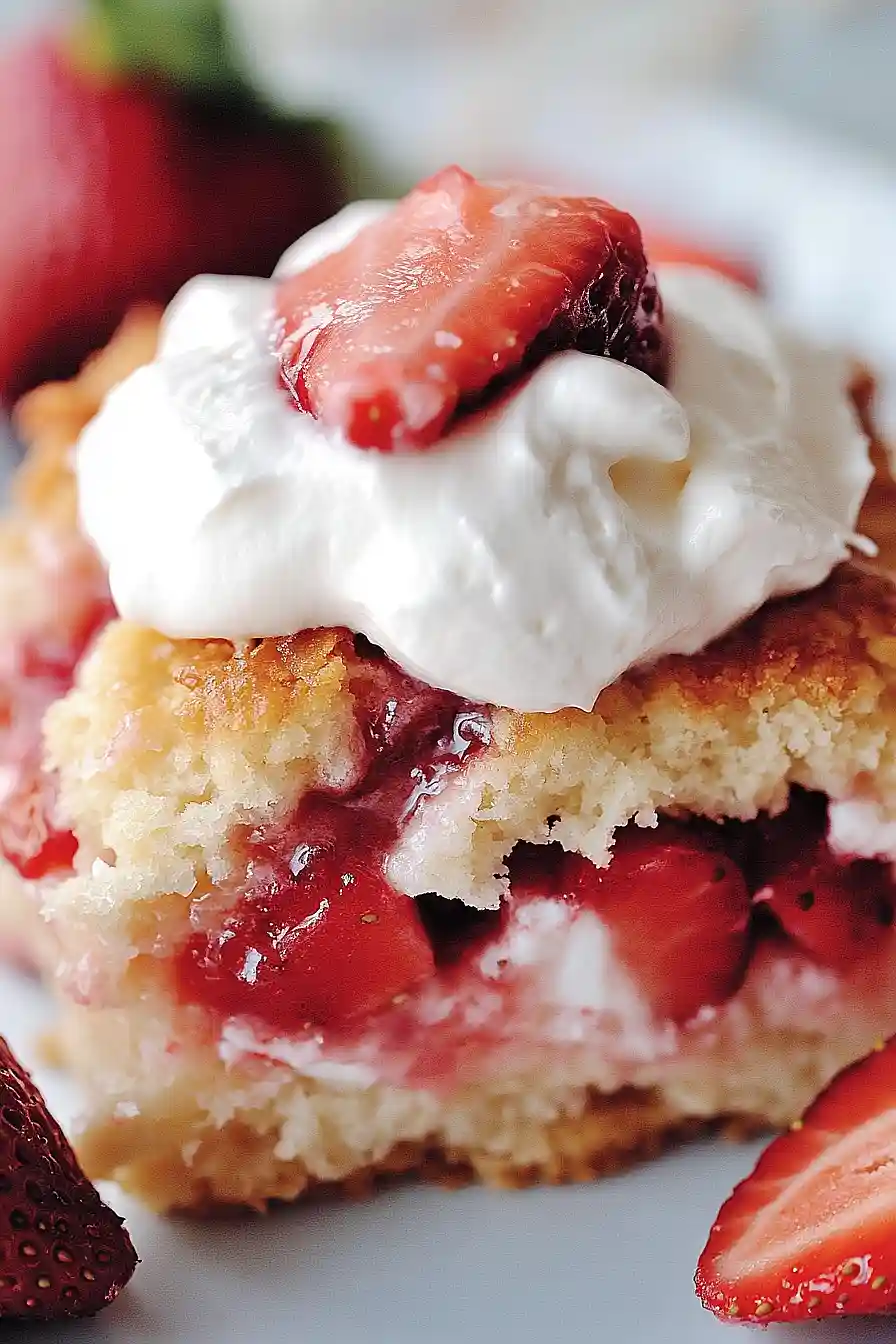
Slice the cooled biscuits in half and layer with the prepared strawberries and whipped cream.
Serve your strawberry shortcakes immediately for best results.
