I didn’t make my first pot of chili until I was in my twenties, and I had no idea you could make it without ground beef. Growing up, chili meant meat, beans, and a can of tomatoes thrown together on a Sunday afternoon. But then I tried a vegetarian version at a friend’s potluck, and it completely changed how I thought about this comfort food.
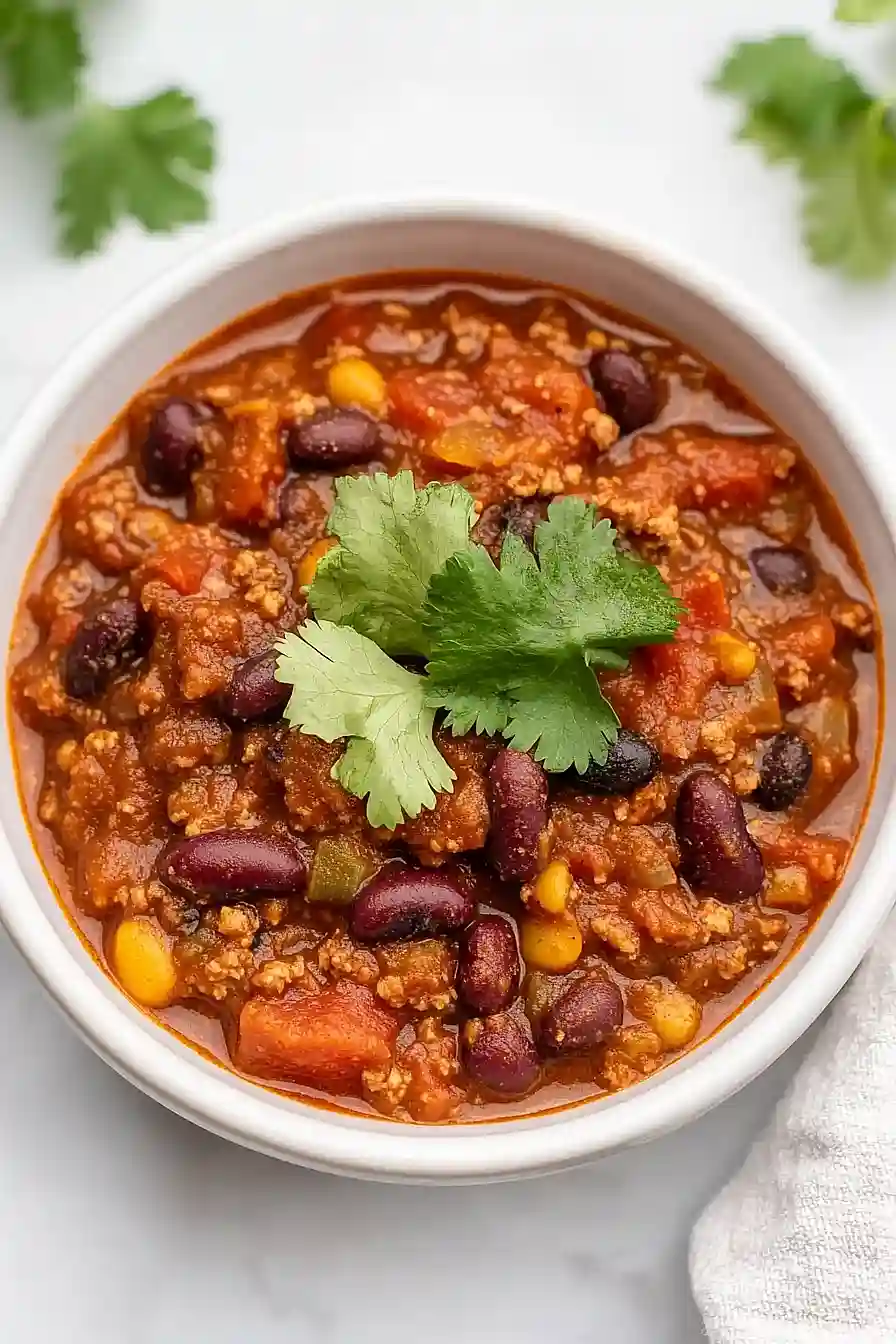
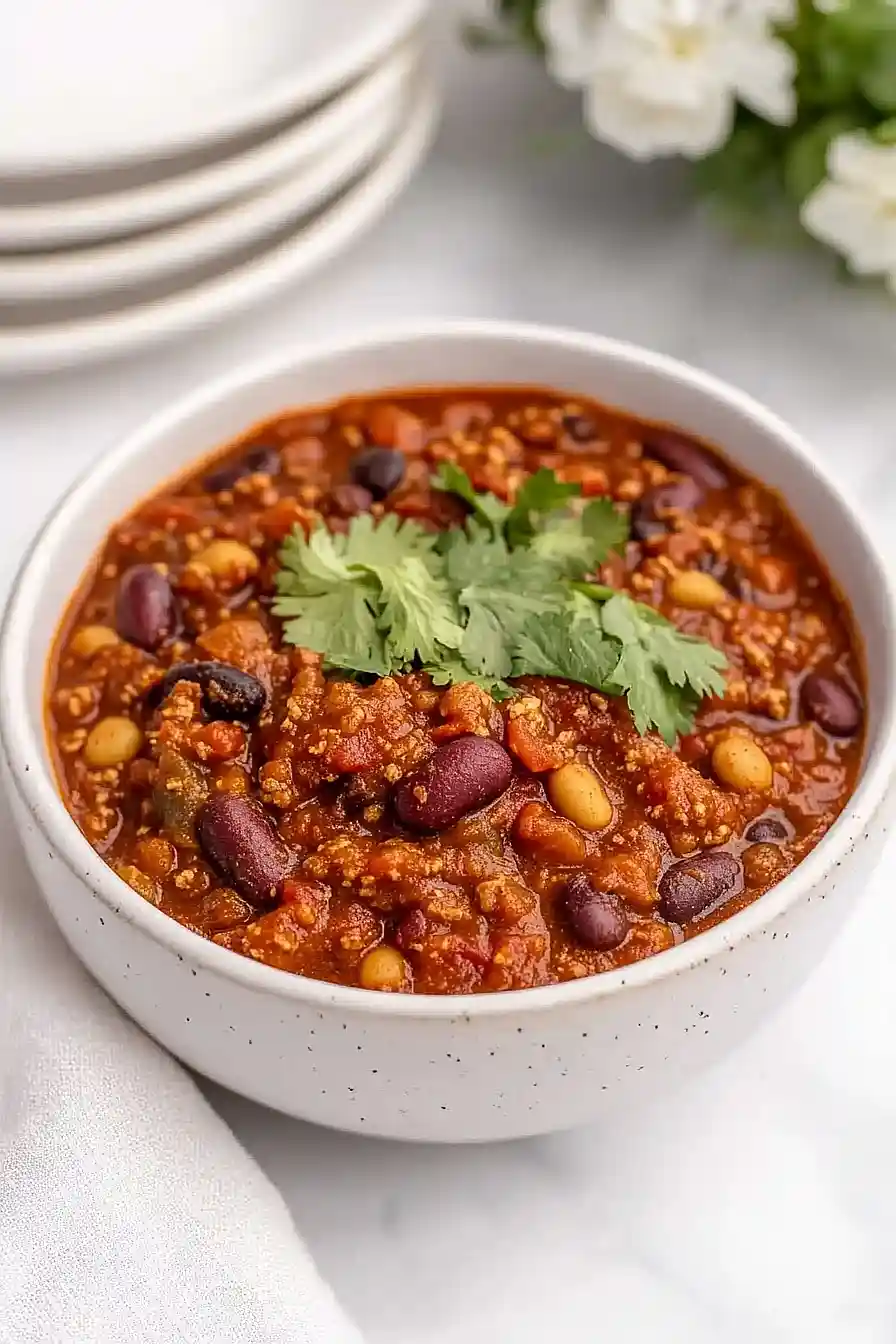
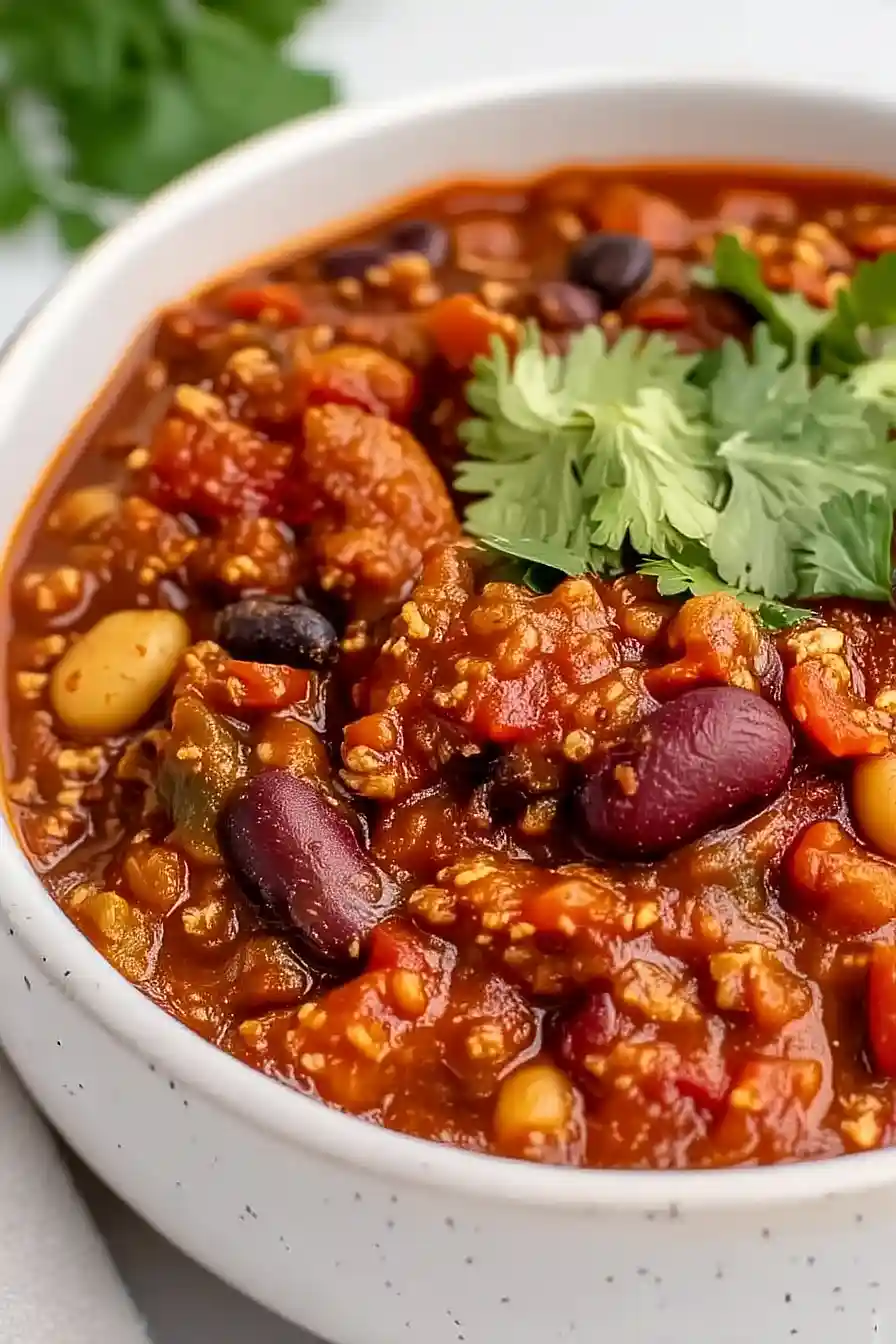
The best part about vegan chili? You can throw everything in the crockpot in the morning and come home to a house that smells incredible. No browning meat, no standing over a hot stove. The bulgur wheat gives it that hearty texture you’d expect from traditional chili, while the fire-roasted tomatoes and maple syrup create a flavor that’s sweet, smoky, and just a little spicy. Even my meat-loving family goes back for seconds.
Why You’ll Love This Vegan Chili
- Plant-based and hearty – This vegan chili is packed with protein from three types of beans and bulgur wheat, making it filling enough that you won’t miss the meat.
- Set it and forget it – Just toss everything in your crockpot in the morning, and dinner will be ready when you are—no stirring or checking required.
- Budget-friendly meal – Using pantry staples like canned beans and bulgur wheat, this recipe feeds a crowd without breaking the bank.
- Customizable heat level – The cayenne pepper is optional, so you can make it mild for the whole family or spice it up to your liking.
- Perfect for meal prep – This chili tastes even better the next day and freezes beautifully, giving you easy lunches or dinners for weeks to come.
What Kind of Beans Should I Use?
You’ve got plenty of options when it comes to choosing beans for your crockpot chili. The recipe calls for a mix of black, pinto, and cannellini beans, but feel free to swap in whatever you have on hand – kidney beans, great northern, or even chickpeas will work just fine. Using a variety of beans gives you different textures and flavors in each bite, but if you only have one or two types in your pantry, don’t stress about it. Whether you use canned beans (just drain and rinse them first) or cook your own from dried, both will turn out great in the slow cooker.
Options for Substitutions
This chili is pretty forgiving when it comes to swaps, so feel free to work with what you have:
- Beans: Mix and match whatever beans you like or have in your pantry. Kidney beans, navy beans, or chickpeas all work great. Just stick with about 4-1/2 cups total.
- Bulgur wheat: If you don’t have bulgur, try quinoa or brown rice instead. Use the same amount, but note that rice might need a bit more liquid and cooking time to get tender.
- Fire roasted tomatoes: Regular diced tomatoes work fine if that’s what you have. You’ll lose a little smoky flavor, but the chili will still taste good.
- Worcestershire sauce: Make sure you grab the vegan version without anchovies, or substitute with soy sauce mixed with a splash of balsamic vinegar for that tangy, savory kick.
- Maple syrup: Agave nectar, brown sugar, or even a bit of molasses can replace the maple syrup. Use about the same amount and adjust to taste.
- Vegetable broth: Water works in a pinch, but you’ll want to add an extra teaspoon of season salt or a vegetable bouillon cube to make up for the lost flavor.
Watch Out for These Mistakes While Cooking
The biggest mistake people make with crockpot chili is adding too much liquid at the start, which can leave you with a watery, soup-like consistency instead of a thick, hearty chili – if it looks too thin near the end of cooking, remove the lid for the last 30 minutes to let excess moisture evaporate.
Another common error is not rinsing your canned beans thoroughly, as the starchy liquid can make your chili gummy and affect the overall texture and flavor.
Don’t skip toasting your chili powder in a dry pan for 30 seconds before adding it to the crockpot, as this simple step brings out deeper, more complex flavors that make a noticeable difference.
Finally, resist the urge to lift the lid and stir frequently – every time you peek, you add 15-20 minutes to the cooking time, and this chili needs consistent heat to properly cook the bulgur wheat and meld all those flavors together.
What to Serve With Vegan Chili?
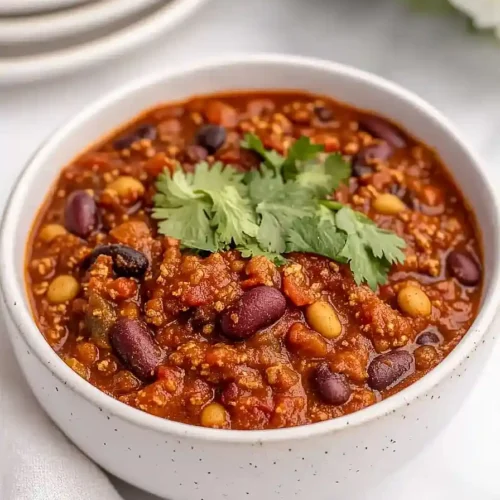
I love serving this chili with warm cornbread or tortilla chips for scooping up all those hearty beans and tomatoes. A simple side of Mexican rice or cilantro lime rice makes it feel like a complete meal, and you can even stuff the chili into baked sweet potatoes for something a little different. Don’t forget the toppings – diced avocado, fresh cilantro, sliced jalapeños, and a squeeze of lime really bring everything together. If you want to make it extra filling, serve it over a bed of quinoa or brown rice with some extra hot sauce on the side.
Storage Instructions
Store: This chili actually tastes even better the next day after all the flavors have had time to mingle. Keep it in an airtight container in the fridge for up to 5 days. It’s perfect for easy lunches throughout the week, and you can top it differently each time to keep things interesting.
Freeze: Chili is one of those recipes that freezes like a dream. Let it cool completely, then portion it into freezer-safe containers or bags and freeze for up to 3 months. I like to freeze individual servings so I can grab just what I need for a quick meal.
Reheat: Warm it up on the stovetop over medium-low heat, stirring occasionally until heated through. You can also microwave individual portions for 2-3 minutes, stirring halfway. If it seems too thick after storing, just add a splash of vegetable broth to loosen it up.
| Preparation Time | 5-10 minutes |
| Cooking Time | 240-360 minutes |
| Total Time | 245-370 minutes |
| Level of Difficulty | Easy |
| Servings | 8 servings |
Estimated Nutrition
Estimated nutrition for the whole recipe (without optional ingredients):
- Calories: 1350-1500
- Protein: 55-65 g
- Fat: 5-8 g
- Carbohydrates: 270-300 g
Ingredients
- 2 garlic cloves (freshly minced)
- 4.5 cups cooked beans (kidney, black, or pinto work well)
- 1/2 tsp ground cumin
- 1 tbsp maple syrup
- 1 tsp seasoned salt
- 3/4 cup ketchup (adds natural sweetness and depth)
- 3/4 cup onion (diced into 1/4-inch pieces)
- 1/2 tsp cayenne pepper (adjust to your heat preference)
- 2 tbsp chili powder (freshly ground preferred for more flavor)
- 4 cups vegetable broth
- 3/4 cup bulgur wheat
- 1 tbsp garlic powder
- 15 oz fire-roasted diced tomatoes (I use San Marzano brand)
- 1/4 cup Worcestershire sauce (I prefer Lea & Perrins)
Step 1: Prepare Ingredients and Aromatics
- 4.5 cups cooked beans
- 2 garlic cloves
- 3/4 cup onion
Rinse the cooked beans thoroughly under cold water to remove excess starch and sodium, which helps prevent a gummy texture in the final chili.
While the beans drain, mince the garlic cloves finely and dice the onion into uniform 1/4-inch pieces.
This mise en place ensures you’re ready to layer flavors efficiently when the crockpot comes into play.
Step 2: Build the Chili Base in the Crockpot
- rinsed beans from Step 1
- diced onions from Step 1
- minced garlic from Step 1
- 15 oz fire-roasted diced tomatoes
- 4 cups vegetable broth
- 3/4 cup bulgur wheat
Add the rinsed beans, diced onions, minced garlic, fire-roasted diced tomatoes, vegetable broth, and bulgur wheat to your crockpot.
Stir to combine these base ingredients evenly.
The bulgur will absorb liquid as it cooks and add body to the chili, while the tomatoes and broth create the foundational liquid component.
I find that using fire-roasted tomatoes really elevates the depth of flavor compared to regular canned tomatoes.
Step 3: Layer in Spices and Seasonings
- 2 tbsp chili powder
- 1/2 tsp ground cumin
- 1/2 tsp cayenne pepper
- 1 tbsp garlic powder
- 1 tsp seasoned salt
Add the chili powder, ground cumin, cayenne pepper, garlic powder, and seasoned salt to the crockpot.
Stir thoroughly to distribute the spices evenly throughout the mixture, ensuring no clumps form.
This layering of warm spices at the beginning allows them to bloom and develop deeper, more complex flavors as they cook low and slow in the moist environment of the crockpot.
Step 4: Add Sweet and Umami Elements
- 3/4 cup ketchup
- 1/4 cup Worcestershire sauce
- 1 tbsp maple syrup
Pour in the ketchup, Worcestershire sauce, and maple syrup.
Stir well to integrate these ingredients, breaking up any clumps of ketchup.
These components add natural sweetness, depth, and richness—the ketchup brings tomato and tang, the Worcestershire adds savory complexity, and the maple syrup rounds out the spice profile with subtle sweetness.
I always add these mid-way through assembly rather than at the start so they don’t separate during the long cook time.
Step 5: Cook Low and Slow
Cover the crockpot and cook on low for 6-8 hours, or on medium for 4 hours.
The long cooking time allows the bulgur to fully absorb liquid and soften, the spices to mellow and marry together, and all the flavors to deepen and intensify.
Stir occasionally (about halfway through) if you’re home, though it’s not essential.
The chili will develop the best flavor when given time to simmer gently rather than cook quickly.
Tasty Crockpot Vegan Chili
Ingredients
- 2 garlic cloves (freshly minced)
- 4.5 cups cooked beans (kidney, black, or pinto work well)
- 1/2 tsp ground cumin
- 1 tbsp maple syrup
- 1 tsp seasoned salt
- 3/4 cup ketchup (adds natural sweetness and depth)
- 3/4 cup onion (diced into 1/4-inch pieces)
- 1/2 tsp cayenne pepper (adjust to your heat preference)
- 2 tbsp chili powder (freshly ground preferred for more flavor)
- 4 cups vegetable broth
- 3/4 cup bulgur wheat
- 1 tbsp garlic powder
- 15 oz fire-roasted diced tomatoes (I use San Marzano brand)
- 1/4 cup Worcestershire sauce (I prefer Lea & Perrins)
Instructions
- Rinse the cooked beans thoroughly under cold water to remove excess starch and sodium, which helps prevent a gummy texture in the final chili. While the beans drain, mince the garlic cloves finely and dice the onion into uniform 1/4-inch pieces. This mise en place ensures you're ready to layer flavors efficiently when the crockpot comes into play.
- Add the rinsed beans, diced onions, minced garlic, fire-roasted diced tomatoes, vegetable broth, and bulgur wheat to your crockpot. Stir to combine these base ingredients evenly. The bulgur will absorb liquid as it cooks and add body to the chili, while the tomatoes and broth create the foundational liquid component. I find that using fire-roasted tomatoes really elevates the depth of flavor compared to regular canned tomatoes.
- Add the chili powder, ground cumin, cayenne pepper, garlic powder, and seasoned salt to the crockpot. Stir thoroughly to distribute the spices evenly throughout the mixture, ensuring no clumps form. This layering of warm spices at the beginning allows them to bloom and develop deeper, more complex flavors as they cook low and slow in the moist environment of the crockpot.
- Pour in the ketchup, Worcestershire sauce, and maple syrup. Stir well to integrate these ingredients, breaking up any clumps of ketchup. These components add natural sweetness, depth, and richness—the ketchup brings tomato and tang, the Worcestershire adds savory complexity, and the maple syrup rounds out the spice profile with subtle sweetness. I always add these mid-way through assembly rather than at the start so they don't separate during the long cook time.
- Cover the crockpot and cook on low for 6-8 hours, or on medium for 4 hours. The long cooking time allows the bulgur to fully absorb liquid and soften, the spices to mellow and marry together, and all the flavors to deepen and intensify. Stir occasionally (about halfway through) if you're home, though it's not essential. The chili will develop the best flavor when given time to simmer gently rather than cook quickly.
