Finding a dessert that brings back childhood memories while still impressing guests at your next gathering can feel pretty tricky. After all, you want something that tastes amazing but doesn’t require a culinary degree to pull off, and it gets even more complicated when you’re trying to satisfy both kids and adults.
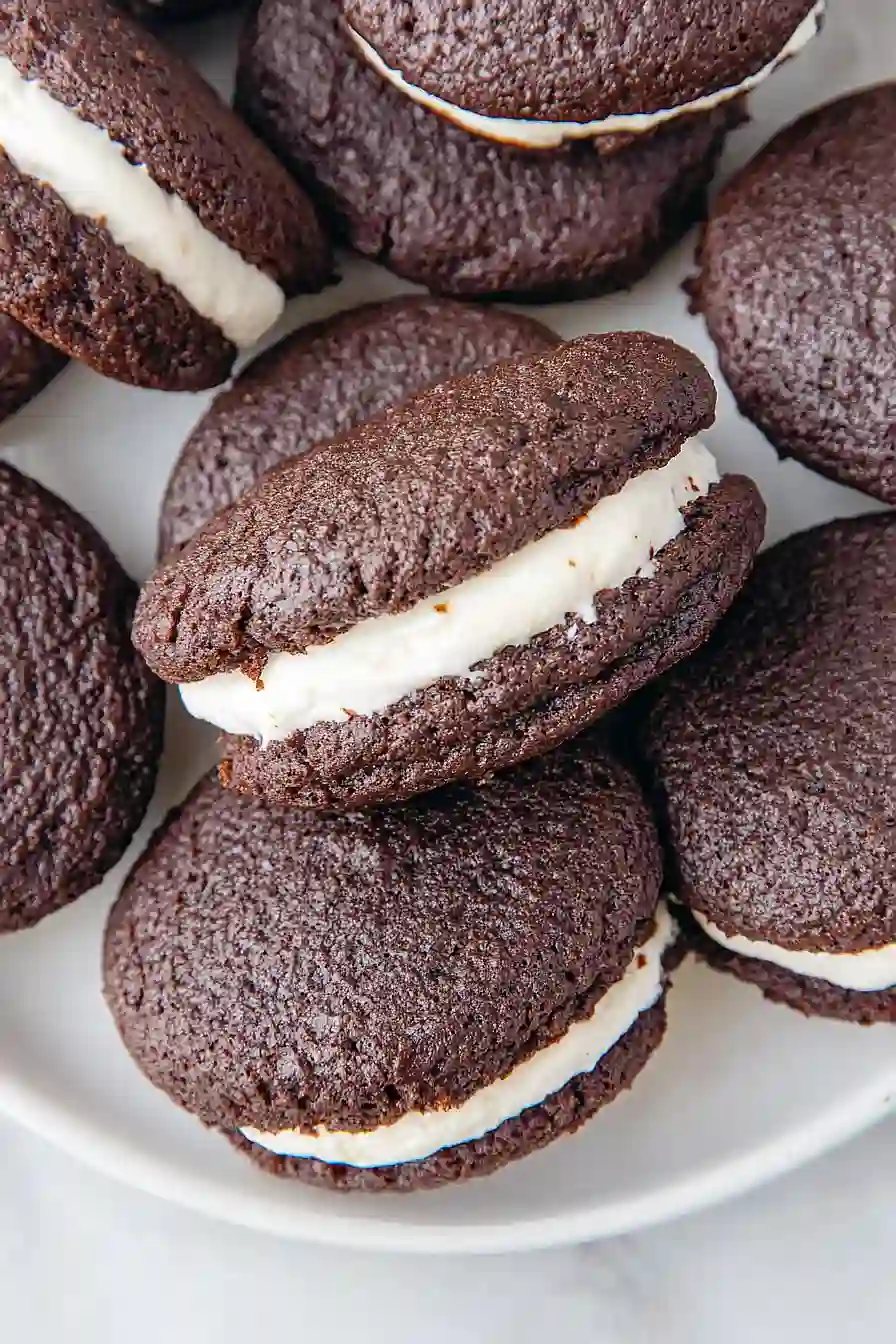
Luckily, these whoopie pies with marshmallow filling hit all the right notes: they’re nostalgic yet crowd-pleasing, straightforward to make with basic ingredients, and completely customizable with different cake flavors and fillings you might already have in your pantry.

Why You’ll Love These Whoopie Pies
- Quick and easy dessert – These whoopie pies come together in just 30-45 minutes, making them perfect when you need a sweet treat without spending all day in the kitchen.
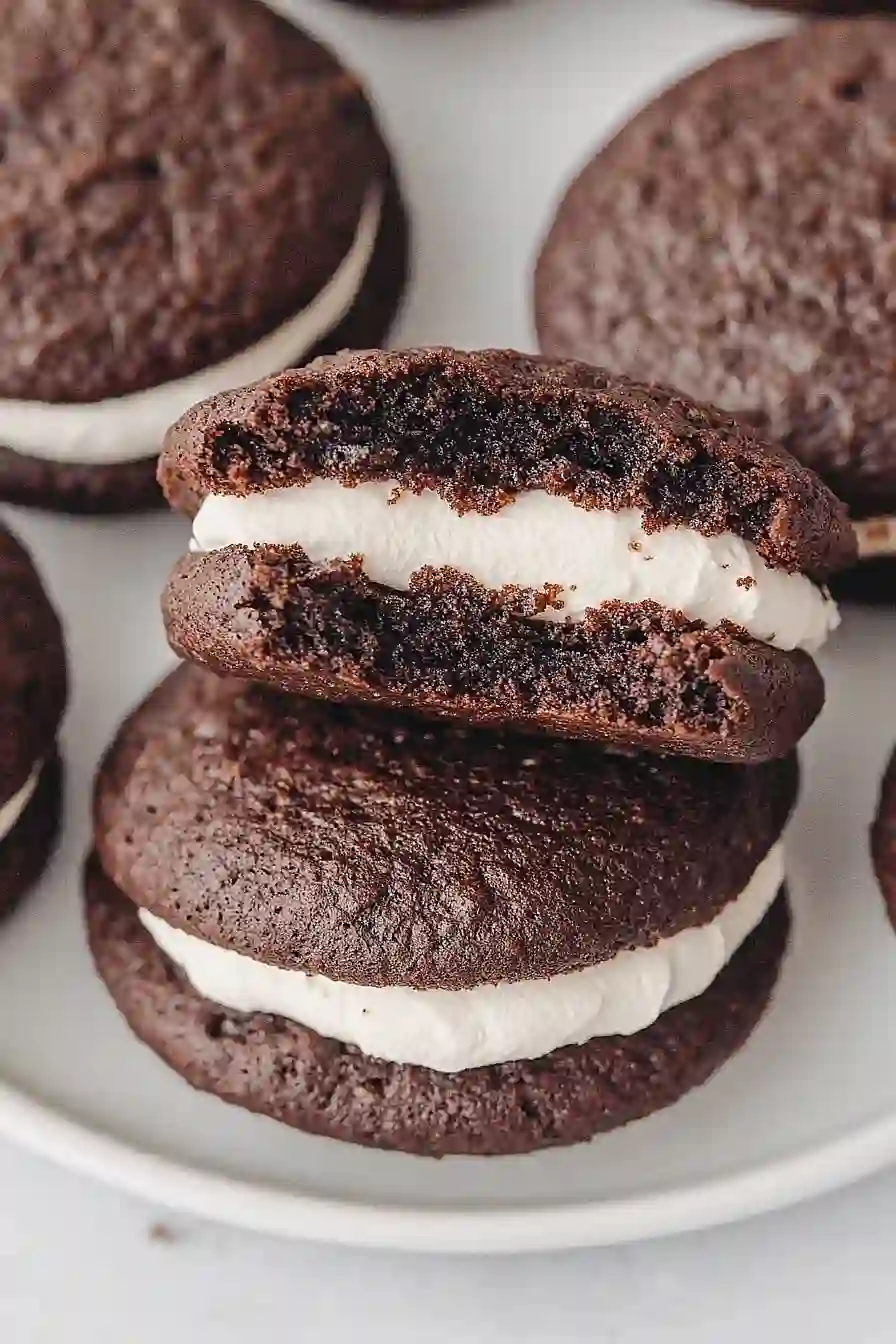
- Fluffy marshmallow filling – The creamy, cloud-like marshmallow filling sandwiched between soft chocolate cakes creates the perfect bite that melts in your mouth.
- Kid-friendly treat – These handheld desserts are like having s’mores without the campfire – kids absolutely love them, and they’re fun to make together as a family.
- Simple pantry ingredients – You probably already have most of these basic baking staples in your kitchen, so no special shopping trips required.
- Perfect for sharing – These individual-sized treats are ideal for potlucks, bake sales, or lunch box surprises that everyone will be talking about.
What Kind of Cocoa Powder Should I Use?
For whoopie pies, unsweetened cocoa powder is what gives these treats their rich chocolate flavor, and you have a couple of options to choose from. Regular unsweetened cocoa powder (also called natural cocoa) works perfectly fine and is what most people have in their pantry. Dutch-processed cocoa powder is another great choice – it’s been treated to neutralize acidity and tends to give a deeper, more mellow chocolate flavor. Either type will work well in this recipe, so don’t stress if you only have one or the other. Just make sure whatever cocoa powder you use is fresh and hasn’t been sitting in your cabinet for years, as old cocoa can taste flat and won’t give you that rich chocolate punch you’re looking for.
Options for Substitutions
These whoopie pies are pretty forgiving when it comes to swaps, so here are some options if you’re missing ingredients:
- Buttermilk: No buttermilk? Make your own by adding 1 tablespoon of lemon juice or white vinegar to 1 cup of regular milk. Let it sit for 5 minutes until it curdles slightly.
- Marshmallow Fluff: If you can’t find marshmallow fluff, you can make a classic buttercream filling instead using butter, powdered sugar, vanilla, and a splash of milk. The texture will be different but still tasty.
- Unsweetened cocoa powder: You can substitute with Dutch-process cocoa, but reduce the baking soda to 1 teaspoon since Dutch-process is less acidic. Don’t use sweetened cocoa mix as it will throw off the sugar balance.
- Granulated sugar: Brown sugar works great here and will give your whoopie pies a slightly deeper, molasses flavor. You can use either light or dark brown sugar.
- All-purpose flour: Cake flour can be substituted for a more tender crumb – use 2¼ cups cake flour instead of the 2 cups all-purpose flour.
- Vanilla extract: Feel free to experiment with different extracts like almond or peppermint for a fun twist, but use the same amount.
Watch Out for These Mistakes While Baking
The biggest mistake when making whoopie pies is overmixing the batter, which can lead to tough, dense cakes instead of the soft, cake-like texture you want – mix just until the ingredients are combined and no streaks of flour remain. Another common error is not letting your butter come to proper room temperature before mixing, as cold butter won’t cream well with the sugar and can result in lumpy batter and uneven cakes. Make sure to use an ice cream scoop or large spoon to keep your whoopie pie halves uniform in size, as mismatched pieces will be difficult to sandwich together and won’t look as neat. Finally, let the cakes cool completely before adding the marshmallow filling, otherwise the heat will cause the filling to melt and ooze out the sides, creating a sticky mess instead of the perfect handheld treat you’re going for.
What to Serve With Whoopie Pies?
Whoopie pies are pretty much perfect on their own, but they’re amazing with a cold glass of milk for dunking or a hot cup of coffee to balance out all that sweetness. These chocolate treats also pair really well with fresh berries like strawberries or raspberries, which add a nice tart contrast to the rich marshmallow filling. If you’re serving them at a party, consider setting out some vanilla ice cream alongside – the combination of warm whoopie pie and cold ice cream is pretty hard to beat. For a cozy afternoon treat, try them with hot chocolate or even a scoop of mint chip ice cream for something a little different.
Storage Instructions
Keep Fresh: Store your whoopie pies in an airtight container at room temperature for up to 3 days, or in the fridge for up to a week. The marshmallow filling actually helps keep the chocolate cakes nice and soft! Just layer them carefully so they don’t stick together.
Freeze: These freeze really well for up to 3 months – perfect for making ahead for parties or when you want a sweet treat on hand. Wrap each whoopie pie individually in plastic wrap, then pop them in a freezer bag to prevent freezer burn.
Thaw: When you’re ready to eat your frozen whoopie pies, just let them sit at room temperature for about 30 minutes to thaw completely. The marshmallow filling comes back to its fluffy texture perfectly, and they taste just as good as fresh!
| Preparation Time | 20-30 minutes |
| Cooking Time | 10-12 minutes |
| Total Time | 30-45 minutes |
| Level of Difficulty | Medium |
Estimated Nutrition
Estimated nutrition for the whole recipe (without optional ingredients):
- Calories: 3550-3750
- Protein: 32-38 g
- Fat: 165-180 g
- Carbohydrates: 500-530 g
Ingredients
For the cakes:
- 2 cups all-purpose flour
- 2/3 cup unsweetened cocoa powder
- 1 1/4 tsp baking soda
- 1/2 tsp salt
- 1/2 cup (1 stick) unsalted butter, room temperature
- 1 cup granulated (or brown) sugar
- 1 large egg
- 1 tsp vanilla extract
- 1 cup buttermilk, at room temperature
For the marshmallow filling:
- 1/2 cup (1 stick) unsalted butter, at room temp
- 2 cups marshmallow creme (such as marshmallow fluff)
- 1 cup powdered sugar (4 oz)
- 1 tsp vanilla extract
- Pinch of salt
Step 1: Prepare the Cake Batter
- 2 cups all-purpose flour
- 2/3 cup unsweetened cocoa powder
- 1 1/4 tsp baking soda
- 1/2 tsp salt
- 1/2 cup (1 stick) unsalted butter, room temperature
- 1 cup granulated (or brown) sugar
- 1 large egg
- 1 tsp vanilla extract
- 1 cup buttermilk, at room temperature
Preheat your oven to 350°F (180°C).
Sift together the all-purpose flour, unsweetened cocoa powder, baking soda, and salt, then set aside.
In the bowl of an electric mixer fitted with the paddle attachment, cream the room-temperature unsalted butter and granulated (or brown) sugar together until the mixture becomes light and fluffy, about 3 minutes.
Add the egg and vanilla extract, mixing until combined, then blend in the buttermilk.
Gradually add the sifted dry ingredients and mix just until the batter is combined—avoid overmixing for tender cakes.
I always recommend scraping down the sides of the bowl to ensure everything is evenly incorporated.
Step 2: Bake the Cake Rounds
Line two baking pans with parchment paper.
Using a medium ice cream scoop or a tablespoon, scoop mounds of batter approximately 1 1/2 tablespoons in size onto the prepared pans, making sure to space them 2–3 inches apart to allow for spreading during baking.
Bake the cakes in the preheated oven for 10–12 minutes or until the tops spring back gently when touched.
Once baked, carefully transfer the cake rounds to a wire rack and allow them to cool completely before filling.
Step 3: Make the Marshmallow Filling
- 1/2 cup (1 stick) unsalted butter, at room temp
- 2 cups marshmallow creme (such as Marshmallow Fluff)
- 1 cup powdered sugar (4 oz)
- 1 tsp vanilla extract
- pinch of salt
In a large bowl, combine the room-temperature unsalted butter, marshmallow creme, powdered sugar, vanilla extract, and a pinch of salt.
Beat the mixture with a mixer until the filling becomes creamy and fluffy—this may take a few minutes.
If the filling is too stiff to spread, you can mix in a little milk or heavy cream, a tablespoon at a time, until you reach your desired consistency.
For an extra-fluffy filling, I like to beat it an extra minute for more airiness.
Step 4: Assemble the Whoopie Pies
- cake rounds from Step 2
- marshmallow filling from Step 3
Once the cakes have fully cooled, spread a generous amount of marshmallow filling onto the flat side of half of the cake rounds.
Top each with a remaining cake round, flat side in, and gently press so the filling spreads just to the edge.
Continue with the rest of the cakes and filling.
I sometimes add a little extra filling for extra indulgence—it’s the best part!
Step 5: Chill and Serve
Place the assembled whoopie pies in the fridge, well covered, for up to a week.
For optimal taste and texture, allow them to come to room temperature before serving.
Enjoy your freshly baked whoopie pies!

Soft Whoopie Pies with Marshmallow Filling
Ingredients
For the cakes:
- 2 cups all-purpose flour
- 2/3 cup unsweetened cocoa powder
- 1 1/4 tsp baking soda
- 1/2 tsp salt
- 1/2 cup (1 stick) unsalted butter, room temperature
- 1 cup granulated (or brown) sugar
- 1 large egg
- 1 tsp vanilla extract
- 1 cup buttermilk, at room temperature
For the marshmallow filling:
- 1/2 cup (1 stick) unsalted butter, at room temp
- 2 cups marshmallow creme (such as Marshmallow Fluff)
- 1 cup powdered sugar (4 oz)
- 1 tsp vanilla extract
- pinch of salt
Instructions
- Preheat your oven to 350°F (180°C). Sift together the all-purpose flour, unsweetened cocoa powder, baking soda, and salt, then set aside. In the bowl of an electric mixer fitted with the paddle attachment, cream the room-temperature unsalted butter and granulated (or brown) sugar together until the mixture becomes light and fluffy, about 3 minutes. Add the egg and vanilla extract, mixing until combined, then blend in the buttermilk. Gradually add the sifted dry ingredients and mix just until the batter is combined—avoid overmixing for tender cakes. I always recommend scraping down the sides of the bowl to ensure everything is evenly incorporated.
- Line two baking pans with parchment paper. Using a medium ice cream scoop or a tablespoon, scoop mounds of batter approximately 1 1/2 tablespoons in size onto the prepared pans, making sure to space them 2–3 inches apart to allow for spreading during baking. Bake the cakes in the preheated oven for 10–12 minutes or until the tops spring back gently when touched. Once baked, carefully transfer the cake rounds to a wire rack and allow them to cool completely before filling.
- In a large bowl, combine the room-temperature unsalted butter, marshmallow creme, powdered sugar, vanilla extract, and a pinch of salt. Beat the mixture with a mixer until the filling becomes creamy and fluffy—this may take a few minutes. If the filling is too stiff to spread, you can mix in a little milk or heavy cream, a tablespoon at a time, until you reach your desired consistency. For an extra-fluffy filling, I like to beat it an extra minute for more airiness.
- Once the cakes have fully cooled, spread a generous amount of marshmallow filling onto the flat side of half of the cake rounds. Top each with a remaining cake round, flat side in, and gently press so the filling spreads just to the edge. Continue with the rest of the cakes and filling. I sometimes add a little extra filling for extra indulgence—it's the best part!
- Place the assembled whoopie pies in the fridge, well covered, for up to a week. For optimal taste and texture, allow them to come to room temperature before serving. Enjoy your freshly baked whoopie pies!
