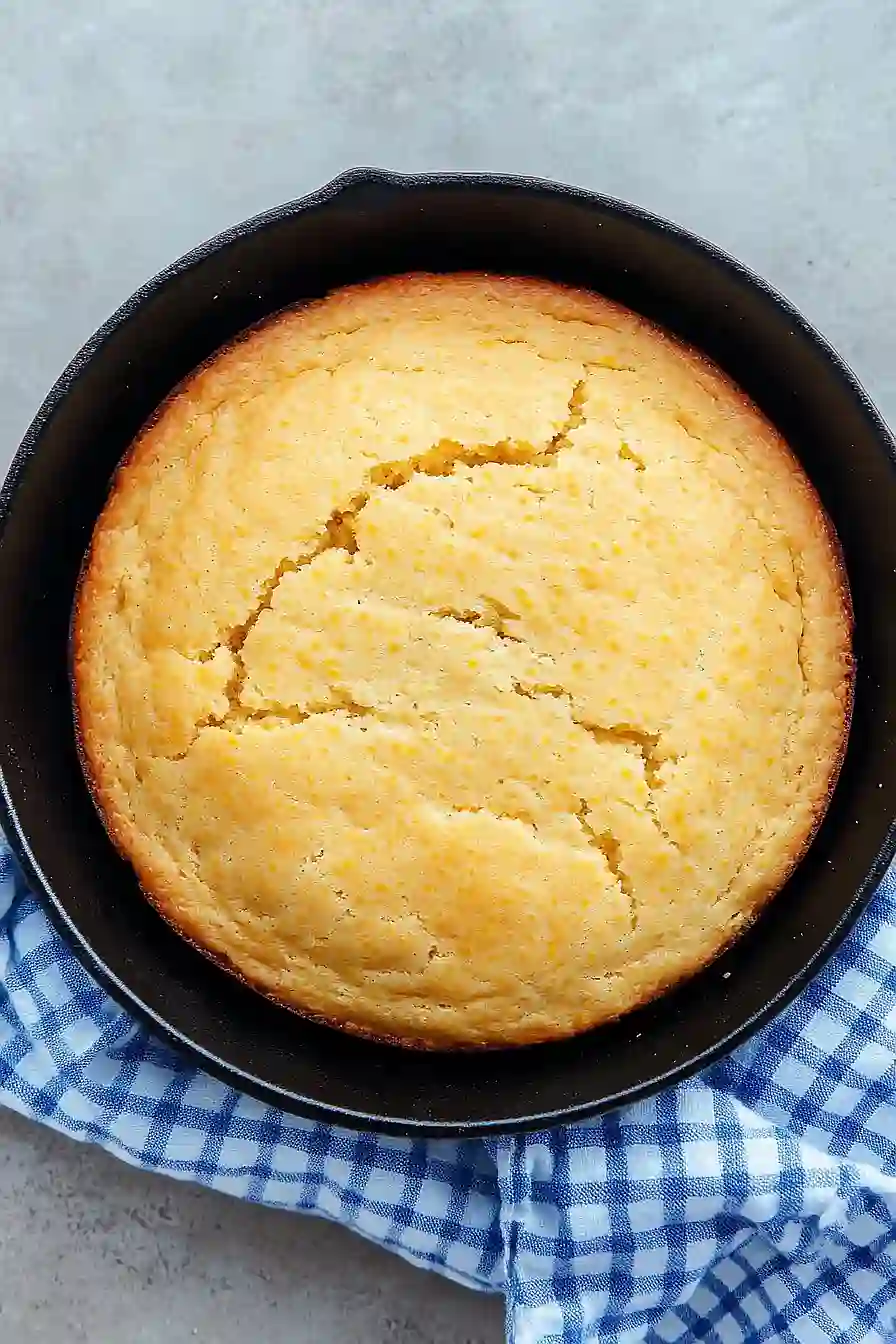
There’s something so comforting about fresh cornbread right out of the oven. I remember the first time I added hatch chiles to my usual recipe – it was a total game-changer. These green chiles from New Mexico bring just the right amount of warmth without overwhelming the sweet, buttery cornbread we all know and love. I started making this version for my family’s weekend brunches, and now they won’t let me go back to plain cornbread anymore.
When hatch chile season rolls around, you’ll find me stocking up at the farmer’s market. I’ve learned that a little heat goes perfectly with the honey butter I love to spread on top of each slice. The best part? This recipe is just as easy as regular cornbread, but it brings so much more to the table. Whether you’re serving it alongside a bowl of chili or just enjoying it on its own, this cornbread hits all the right notes.
Why You’ll Love This Hatch Chile Cornbread
- Perfect balance of heat – The roasted Hatch chiles add just the right amount of warmth and Southwest flavor without overwhelming the classic cornbread taste.
- Incredibly moist texture – Thanks to the buttermilk and bacon grease (or oil), this cornbread stays tender and never turns out dry or crumbly.
- Simple ingredients – You’ll only need basic pantry staples plus some fresh chiles to make this recipe – nothing fancy or hard to find.
- Versatile side dish – It pairs perfectly with everything from chili and soups to barbecue and holiday meals, making it a go-to recipe you’ll use again and again.
What Kind of Green Chiles Should I Use?
Hatch chiles are the star of this cornbread, but don’t worry if you can’t find them – Anaheim peppers make an excellent substitute since they have a similar shape and mild heat level. Fresh Hatch chiles are typically available in late summer during their short harvest season, and many grocery stores will roast them for you right on site. If it’s not Hatch season, you can find them canned year-round, though the flavor won’t be quite as bright as fresh ones. When choosing your chiles, look for firm, smooth peppers without any soft spots or wrinkles, and remember that the darker green ones tend to be a bit spicier than their lighter counterparts.

Options for Substitutions
This cornbread recipe can be adapted with several substitutions if needed:
- Hatch or Anaheim chiles: If you can’t find fresh Hatch or Anaheim chiles, you can use 2-3 poblano peppers or even 2 cans of diced green chiles (drained). Just remember that canned chiles are already roasted, so you can skip the roasting step.
- Bacon grease: While bacon grease adds amazing flavor, you can use vegetable oil, melted butter, or even melted shortening instead. Each will give slightly different results, but all work well.
- Buttermilk: No buttermilk? Mix 2 cups of regular milk with 2 tablespoons of lemon juice or white vinegar, let it sit for 5 minutes, and you’ve got a perfect substitute.
- Cornmeal: This is essential for cornbread and shouldn’t be substituted. However, you can use medium-ground if you can’t find finely ground – the texture will just be a bit more rustic.
- All-purpose flour: You can swap in whole wheat flour for up to half of the all-purpose flour. Using all whole wheat might make the cornbread too dense.
Watch Out for These Mistakes While Baking
The biggest mistake when making cornbread is overmixing the batter – stir just until the ingredients are combined, as too much mixing will lead to a tough, dense texture instead of that perfect crumbly consistency.
Temperature control is crucial: your skillet or baking pan needs to be properly preheated with the oil or bacon grease until it’s smoking hot before adding the batter, which creates that sought-after crispy crust.
When working with Hatch chiles, don’t skip the roasting and peeling step – raw chiles won’t give you the same deep, smoky flavor that makes this cornbread special, and leaving the skins on can create an unpleasant texture.
For the best results, let your buttermilk and eggs come to room temperature before mixing, as cold ingredients can prevent your cornbread from rising properly and create an uneven texture.
What to Serve With Hatch Chile Cornbread?
This spicy, savory cornbread is perfect alongside your favorite Southern and Southwestern dishes. A bowl of chili is the natural choice – the cornbread’s heat from the Hatch chiles adds an extra kick while soaking up all that good chili broth. For a complete meal, serve it with smoky pulled pork, barbecue ribs, or a hearty beef stew. I also love pairing it with simple pinto beans cooked with onions and bacon, or using it to round out a plate of collard greens. If you have leftovers, try warming up a piece for breakfast and topping it with a fried egg and some hot sauce – it’s so good!
Storage Instructions
Keep Fresh: This tasty Hatch chile cornbread stays good at room temperature for up to 2 days when wrapped well in plastic wrap or stored in an airtight container. For longer storage, pop it in the fridge where it’ll keep for up to a week. The chiles actually help the flavors develop even more over time!
Freeze: Cut your cornbread into portions and wrap them individually in plastic wrap, then place in a freezer bag. It’ll stay fresh in the freezer for up to 3 months. This is super handy when you want just a piece or two at a time!
Warm Up: To bring back that fresh-baked taste, wrap your cornbread in foil and warm it in a 350°F oven for about 10-15 minutes. If you’re in a hurry, a quick zap in the microwave works too – just 20-30 seconds should do the trick. A pat of butter on warm cornbread is always a good idea!
| Preparation Time | 30-40 minutes |
| Cooking Time | 18-20 minutes |
| Total Time | 48-60 minutes |
| Level of Difficulty | Medium |
Estimated Nutrition
Estimated nutrition for the whole recipe (without optional ingredients):
- Calories: 1400-1600
- Protein: 30-40 g
- Fat: 70-80 g
- Carbohydrates: 150-160 g
Ingredients
- 4 large green chiles (such as anaheim or hatch)
- 1/4 cup vegetable oil or bacon drippings
- 1 1/2 cups fine cornmeal
- 1 cup plain flour
- 2 tsp baking powder
- 1/2 tsp baking soda
- 1 tsp kosher salt
- 2 large eggs
- 2 cups buttermilk
Step 1: Roast and Prepare the Chiles
- 4 large green chiles (such as Anaheim or Hatch)
Set your oven broiler to high.
Place the green chiles on a baking sheet and roast them under the broiler until the skins are blackened and blistered on both sides, about 10-12 minutes, turning once for even charring.
Transfer the roasted chiles to a paper bag or a plastic food-storage bag, seal it, and let the chiles steam for 20 minutes to loosen their skins.
Once steamed, peel off the skins, remove the stems and seeds, and chop the chiles finely.
You should have about 1 cup chopped chiles.
Step 2: Preheat the Oven and Heat the Skillet
- 1/4 cup vegetable oil or bacon drippings
Preheat your oven to 450°F (232°C).
While the oven heats, add the vegetable oil or bacon drippings to a 10-inch cast-iron skillet.
Place the skillet in the oven so the fat heats up along with the oven.
Step 3: Prepare the Cornbread Batter
- 1 1/2 cups fine cornmeal
- 1 cup plain flour
- 2 tsp baking powder
- 1/2 tsp baking soda
- 1 tsp kosher salt
- 2 large eggs
- 2 cups buttermilk
In a large bowl, combine the cornmeal, flour, baking powder, baking soda, and salt, mixing well.
In another bowl, whisk together the eggs and buttermilk.
Pour the wet ingredients into the dry ingredients and stir until a smooth batter forms.
I like to mix gently to keep the cornbread tender.
Step 4: Add Hot Oil and Chopped Chiles to Batter
- hot oil or bacon drippings from Step 2
- chopped chiles from Step 1
Carefully remove the hot cast-iron skillet from the oven and pour the hot oil or bacon drippings into the batter.
Stir quickly to incorporate the hot fat, which helps create a crisp crust.
Then, fold in the chopped green chiles from Step 1 until they are evenly distributed.
I like to work quickly at this point so the batter stays light and airy.
Step 5: Bake the Cornbread
Pour the prepared batter into the hot cast-iron skillet, spreading it evenly.
Bake in the preheated oven for 18-20 minutes, or until the top is golden brown and a knife inserted into the center comes out clean.
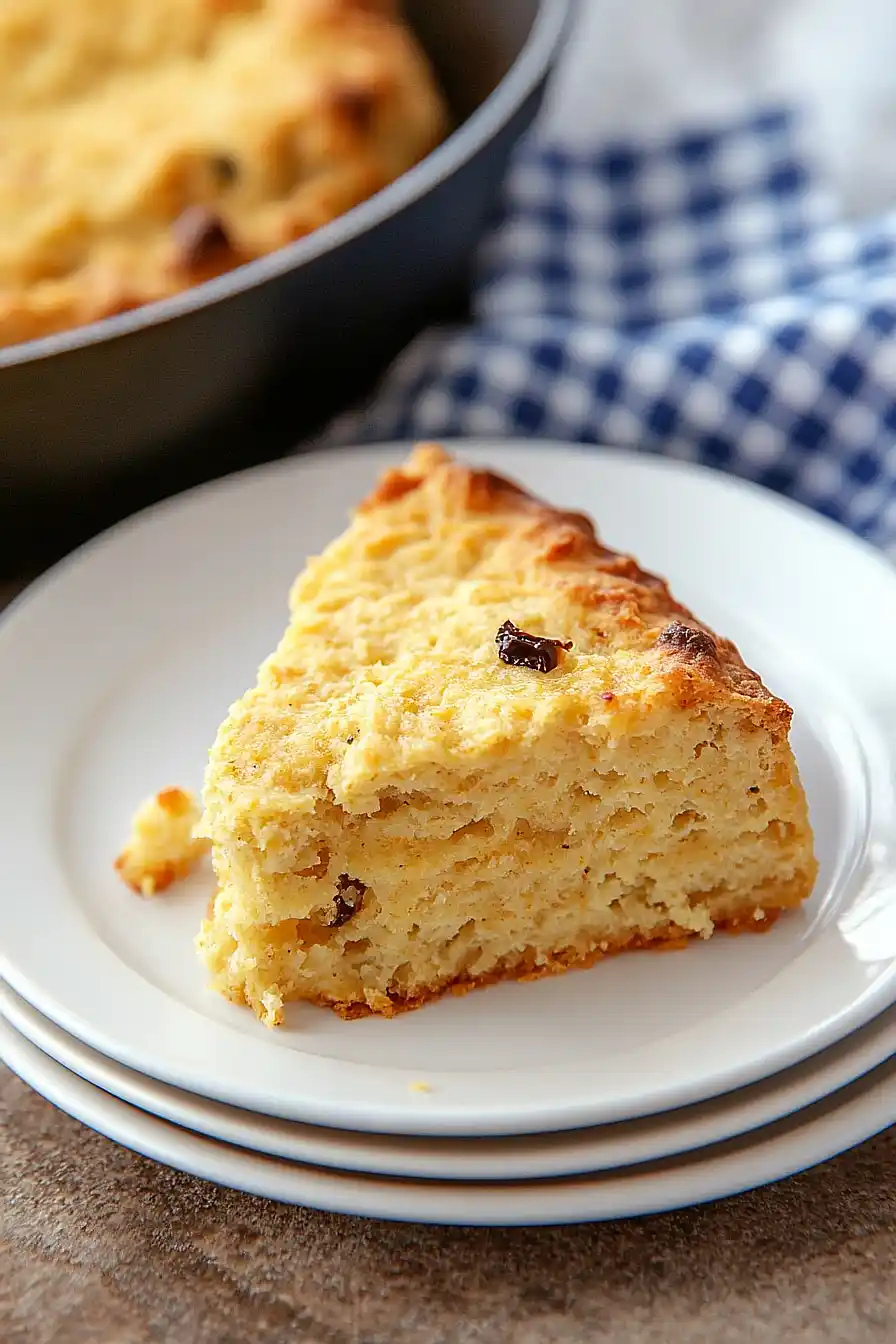
Serve warm, and I sometimes like to drizzle a little honey over a slice for extra flavor.
