Who doesn’t love s’mores around a campfire? There’s something special about that gooey marshmallow and melted chocolate sandwiched between graham crackers. But let’s be honest – sometimes you want those familiar flavors without having to build a fire or wait for the perfect summer night.
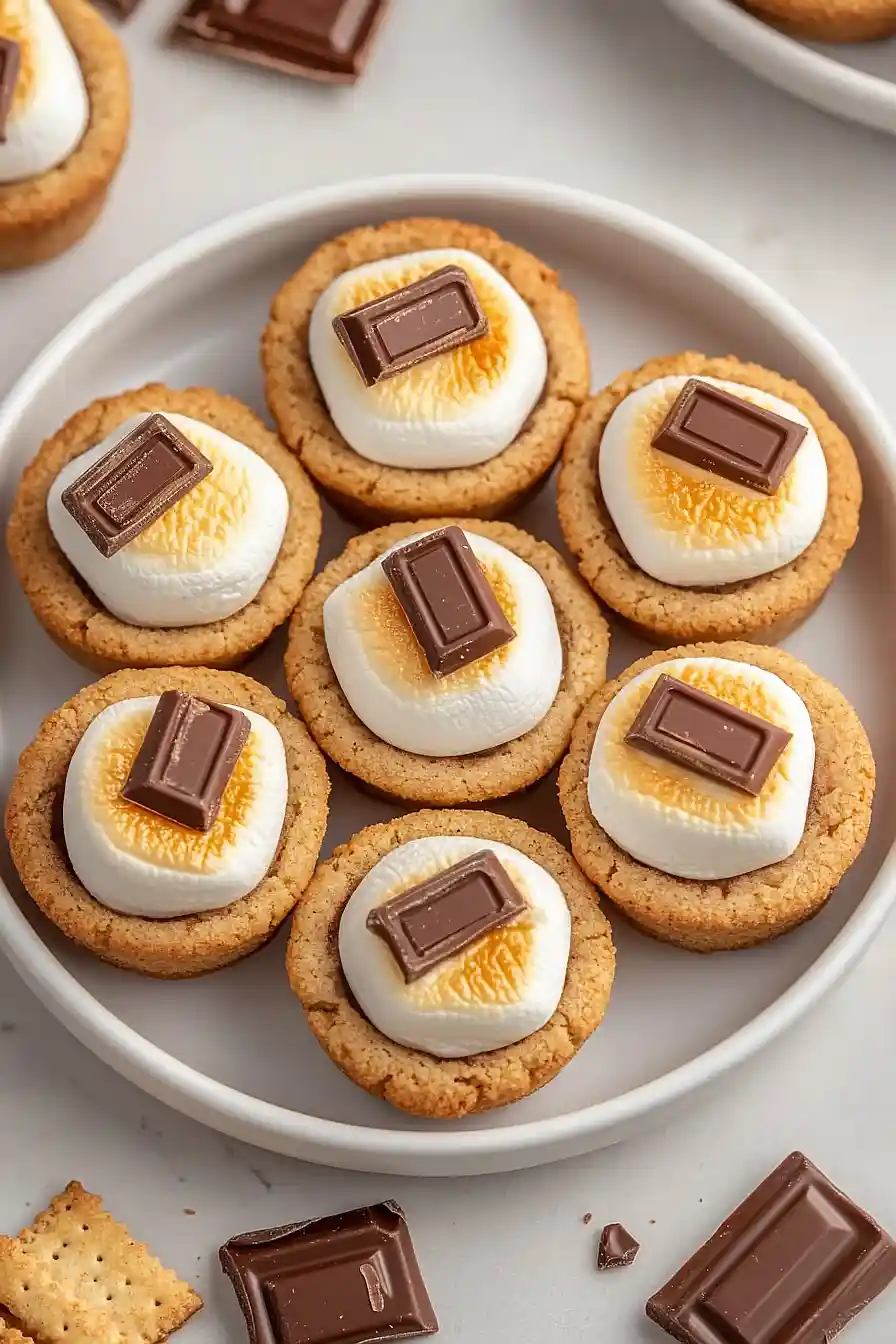
That’s why these s’mores cookie cups have become my go-to treat when I’m craving those campfire flavors. They’re basically everything you love about s’mores, wrapped up in a cute little cookie package that you can enjoy any time of year. I started making these for my kids’ school bake sales, and now they’ve become our family’s favorite dessert to share at potlucks and parties.
Want the taste of summer without the mosquito bites? These little treats deliver all that chocolate-marshmallow goodness, minus the sticky fingers and smoky clothes. Plus, you can make them ahead and store them for whenever the craving hits.
Why You’ll Love These S’mores Cookie Cups
- No campfire needed – Get that classic s’mores taste right from your oven – perfect for satisfying your craving any time of year, rain or shine.
- Quick preparation – These treats come together in just 35 minutes using basic baking ingredients you probably already have in your pantry.
- Kid-friendly fun – Kids love helping to assemble these cookie cups – from crushing graham crackers to placing the marshmallows and chocolate on top.
- Perfect portion control – Each cookie cup gives you the perfect ratio of graham cracker cookie, gooey marshmallow, and melted chocolate in one neat package.
- Make-ahead friendly – You can bake the cookie cups ahead of time and add the toppings just before serving – great for parties or bake sales.
What Kind of Graham Crackers Should I Use?
Regular honey graham crackers are perfect for this recipe, but you’ve got some tasty options to play around with. The classic Honey Maid graham crackers are a reliable choice and what most bakers reach for, but cinnamon graham crackers can add an extra warm, spicy note to your cookie cups. To make the crumbs, you can either pulse them in a food processor or place them in a zip-top bag and crush them with a rolling pin until they’re fine and sandy. Just make sure your crumbs are finely ground – bigger pieces can make your cookie cups crumbly and harder to shape in the pan.
Options for Substitutions
Need to make some swaps for these s’mores cookie cups? Here are some helpful substitutions:
- Graham cracker crumbs: If you’re out of graham crackers, you can use crushed digestive biscuits, crushed vanilla wafers, or even crushed gingersnaps for a spicy twist. Just make sure to crush them into fine crumbs.
- Butter: You can swap the regular butter with dairy-free butter alternatives for a non-dairy version. Coconut oil (in solid form) works too, though it might add a slight coconut flavor.
- Marshmallows: Regular marshmallows are key for that classic s’mores taste, but you can use vegan marshmallows if needed. Mini marshmallows work too – just use about 3-4 per cookie cup.
- Hershey’s milk chocolate: While Hershey’s gives that classic s’mores taste, feel free to use any milk chocolate bars. Dark chocolate or even chocolate chips can work in a pinch, though they might melt differently.
- All-purpose flour: For a gluten-free version, use a 1:1 gluten-free flour blend. Just make sure it contains xanthan gum for the right texture.
Watch Out for These Mistakes While Baking
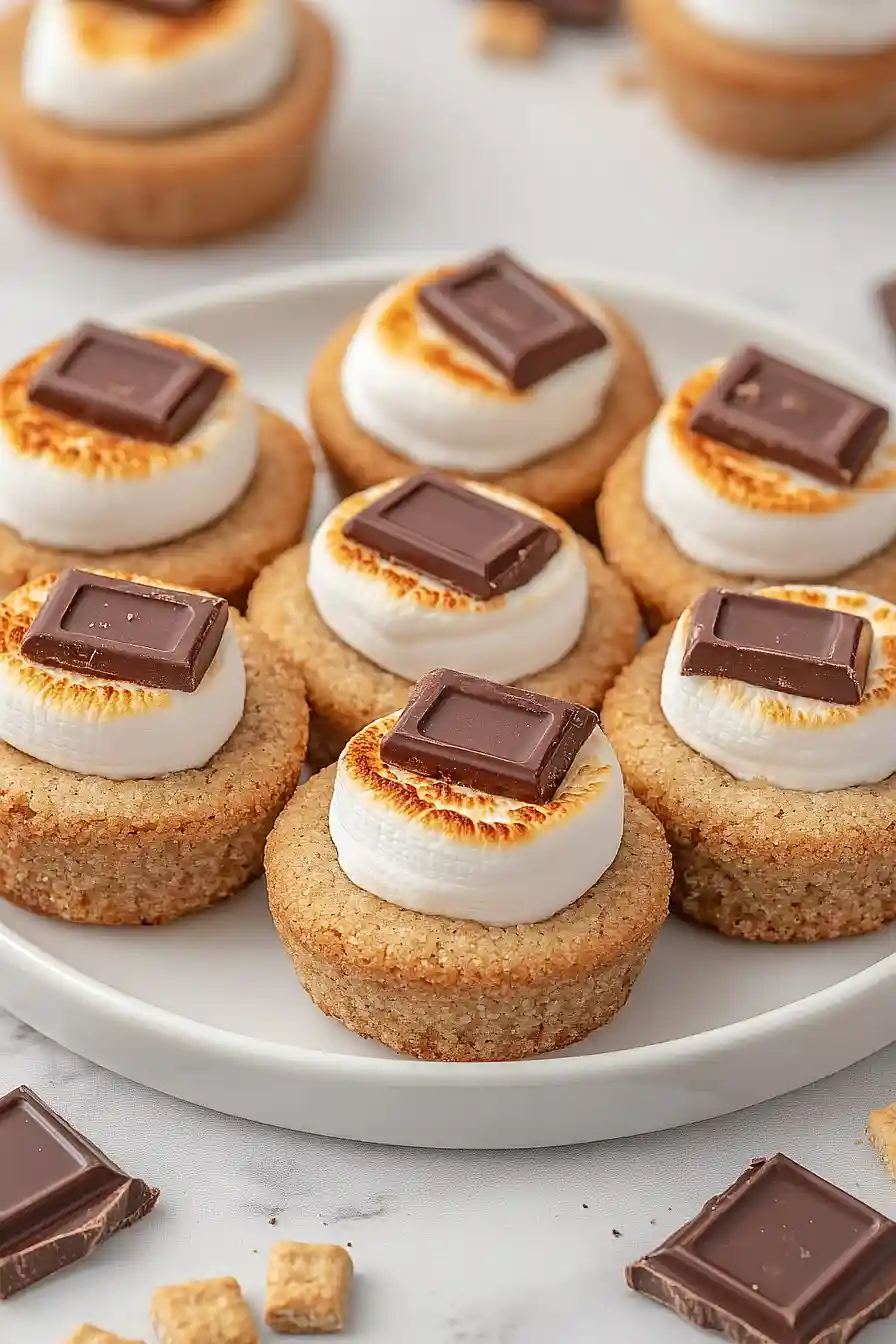
The biggest challenge when making s’mores cookie cups is getting the texture right – if you press the dough too firmly into the muffin tin, you’ll end up with dense, hard cookies instead of tender cups that mimic the graham cracker experience. Another common mistake is overbaking the cookie cups before adding the marshmallows – they should be just barely set when you take them out for the first time, as they’ll continue baking when you add the marshmallows on top. To get that perfect gooey marshmallow texture, keep a close eye on them during the final broiling step – marshmallows can go from perfectly golden to burnt in seconds, so don’t walk away from your oven. For the best chocolate-to-marshmallow ratio, let the chocolate pieces sit on the warm marshmallows for about 1-2 minutes before gently pressing them down – this helps them melt just enough to create that classic s’mores experience.
What to Serve With S’mores Cookie Cups?
These sweet and gooey s’mores cookie cups are perfect for serving alongside a cold glass of milk or a mug of hot chocolate, depending on the season! During summer gatherings, I love pairing them with some vanilla ice cream – the warm cookies create an amazing contrast with the cold, creamy ice cream. For a cozy fall or winter dessert spread, try serving them with warm apple cider or a cup of coffee to balance out the sweetness. If you’re hosting a dessert party, these cookie cups work great on a platter with some fresh berries or sliced strawberries on the side for a pop of freshness.
Storage Instructions
Keep Fresh: These s’mores cookie cups are best enjoyed within 3 days when kept in an airtight container at room temperature. Place them in single layers with parchment paper between each layer to prevent the marshmallows from sticking. They’ll stay soft and yummy, though the marshmallows might get a bit firmer over time.
Freeze: Want to make these ahead? You can freeze the unfilled cookie cups for up to 2 months in a freezer-safe container. Just add the marshmallows and chocolate fresh when you’re ready to serve. The filled cookies don’t freeze well since the marshmallows can get weird and sticky when thawed.
Make Ahead: If you’re planning a party, you can make the cookie cups a day ahead and store them unfilled. When you’re ready to serve, just pop the marshmallows on top, add the chocolate, and give them a quick broil. They’ll taste just like they’re fresh from the oven!
| Preparation Time | 15-20 minutes |
| Cooking Time | 10-15 minutes |
| Total Time | 25-35 minutes |
| Level of Difficulty | Medium |
Estimated Nutrition
Estimated nutrition for the whole recipe (without optional ingredients):
- Calories: 2200-2400
- Protein: 30-35 g
- Fat: 120-130 g
- Carbohydrates: 300-320 g
Ingredients
- 1 1/4 cups plain flour
- 1 cup crushed graham crackers
- 1/2 tsp baking soda
- 1/4 tsp salt
- 1/2 cup butter, softened (1 stick)
- 1/2 cup packed light brown sugar
- 1/3 cup white sugar
- 1 large egg
- 1 tsp vanilla flavoring
- 12 large marshmallows, halved
- 2 (1.55 oz) hershey’s milk chocolate bars
Step 1: Prepare Equipment and Dry Ingredients
- 1 1/4 cups plain flour
- 1 cup crushed graham crackers
- 1/2 tsp baking soda
- 1/4 tsp salt
Preheat the oven to 350℉ (175℃).
Spray a mini muffin pan with nonstick cooking spray to ensure the cookie cups don’t stick.
In a small mixing bowl, whisk together the plain flour, crushed graham crackers, baking soda, and salt, then set aside the bowl of dry ingredients.
Step 2: Make the Cookie Dough Base
- 1/2 cup butter, softened (1 stick)
- 1/2 cup packed light brown sugar
- 1/3 cup white sugar
- 1 large egg
- 1 tsp vanilla flavoring
- dry ingredient mixture from Step 1
Using a large mixing bowl and an electric mixer or the paddle attachment on a stand mixer, beat the softened butter, light brown sugar, and white sugar together for about 1-2 minutes, until the mixture looks fluffy and well combined.
Add in the egg and vanilla flavoring, beating again until fully incorporated.
Gradually add the dry ingredient mixture from Step 1 to the wet ingredients, mixing on low speed just until the dough forms and no streaks of flour are visible—you want it just combined.
Step 3: Fill and Bake the Cookie Cups
- cookie dough from Step 2
Scoop the finished dough into the prepared mini muffin tin, making sure to fill each cup fully and pressing down gently to even out the tops for a good cookie cup shape.
Bake in the preheated oven for 8 minutes, until they look set but slightly underdone.
That’s the perfect consistency for this treat.
Step 4: Add Marshmallows to Warm Cookie Cups
- 12 large marshmallows, halved
- baked cookie cups from Step 3
Right after baking, take a teaspoon-sized measuring spoon and press it into the center of each cookie cup to make an indent for the marshmallow.
Place a half of a marshmallow in each indent, sticky side down, pressing it lightly in.
Let the pan cool on a wire rack at room temperature for 15 minutes to gently warm the marshmallows without melting them too much.
Step 5: Top with Chocolate and Toast Under the Broiler
- 2 (1.55 oz) Hershey’s milk chocolate bars
- cookie cups with marshmallows from Step 4
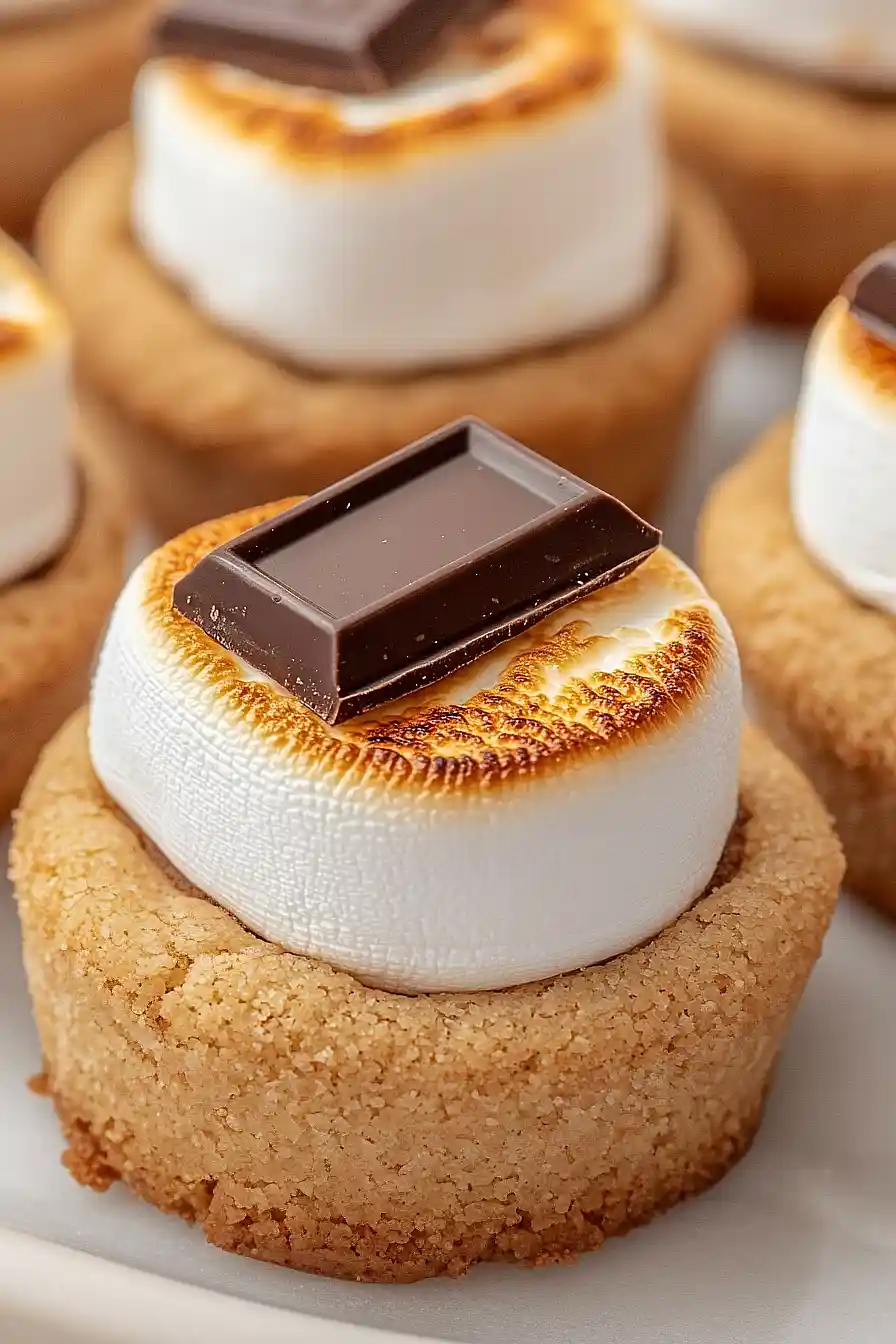
After the cookie cups with marshmallows have cooled slightly, top each marshmallow with a square of milk chocolate.
Set your oven broiler to high and place the pan underneath.
Broil for just 1–2 minutes, keeping a very close watch, until the chocolate begins to melt and the marshmallows are toasted.
I always stay by the oven for this step—the difference between golden and burnt happens fast!
Step 6: Cool and Serve
Let the finished s’mores cookie cups cool for 5–10 minutes before serving so the chocolate sets slightly but everything is still gooey.
They’re delicious served warm for that classic s’mores experience, but you can enjoy them at room temperature as well.
Personally, I like eating them while they’re still slightly warm for maximum gooeyness!
